Need help - issues while rigging a stylized character

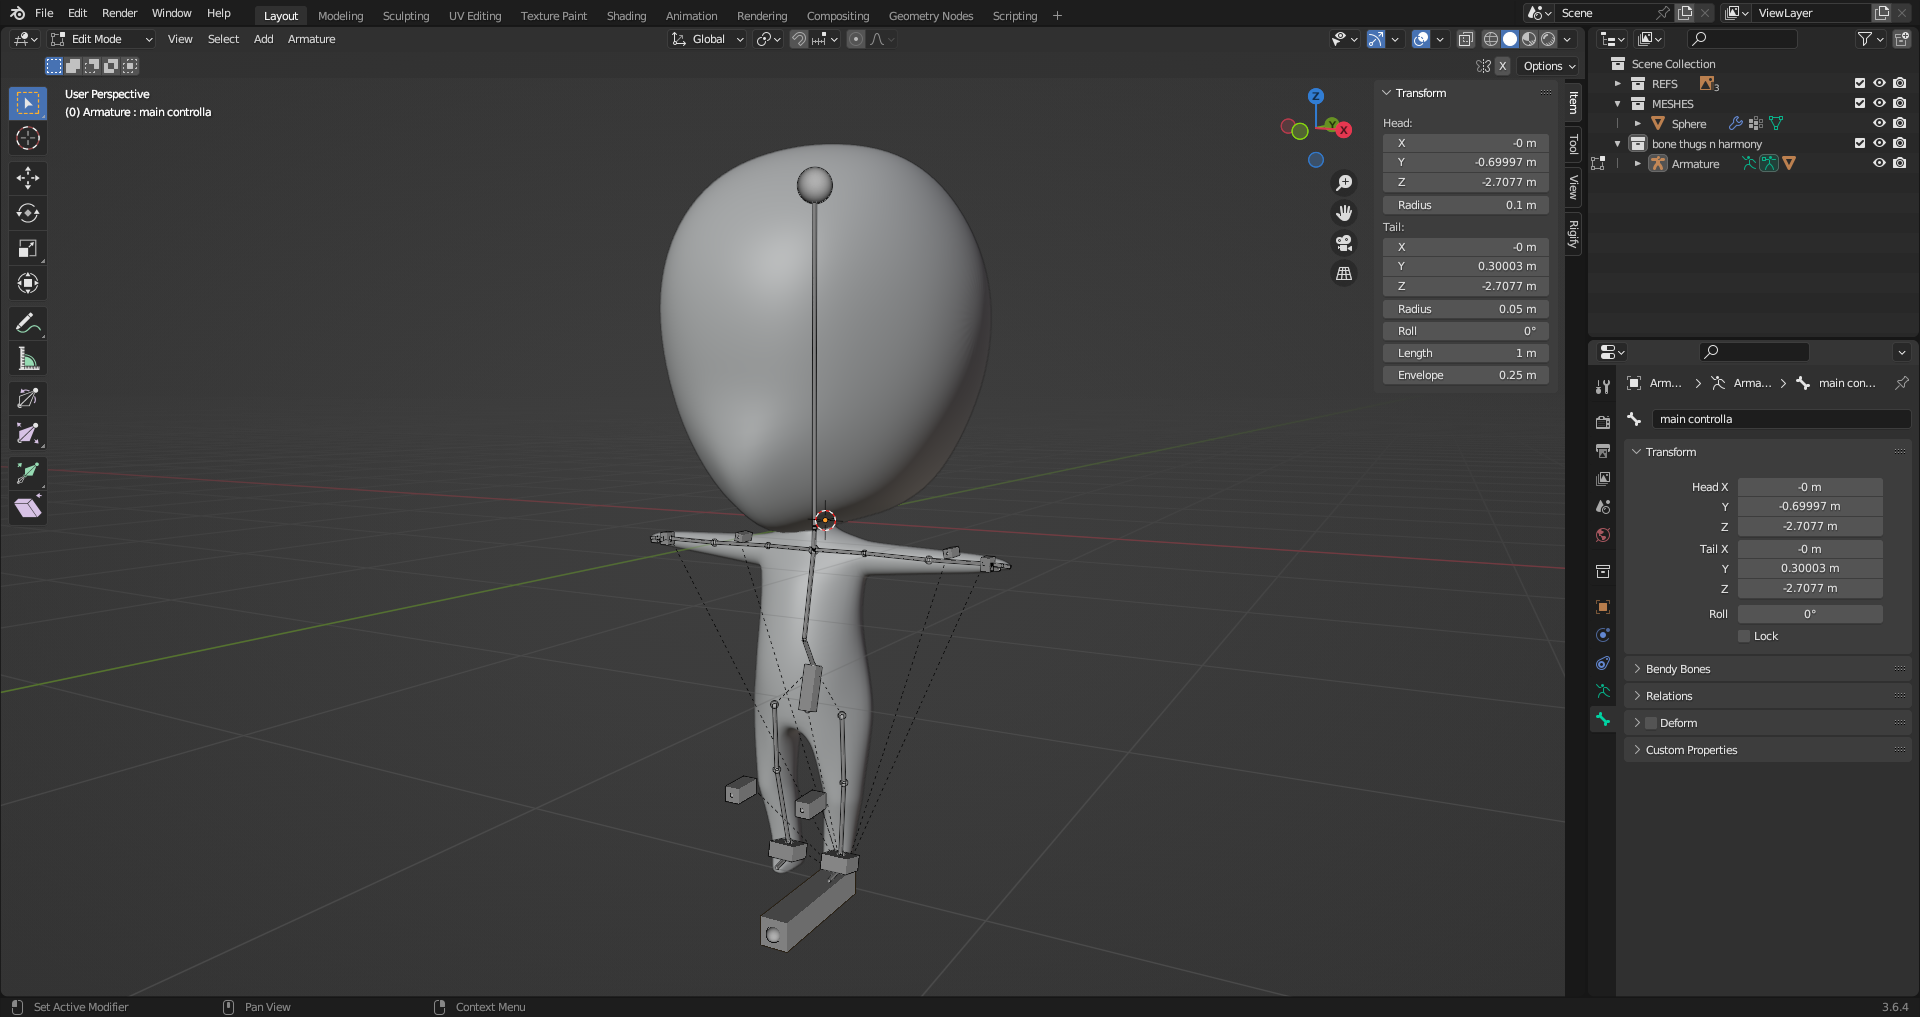
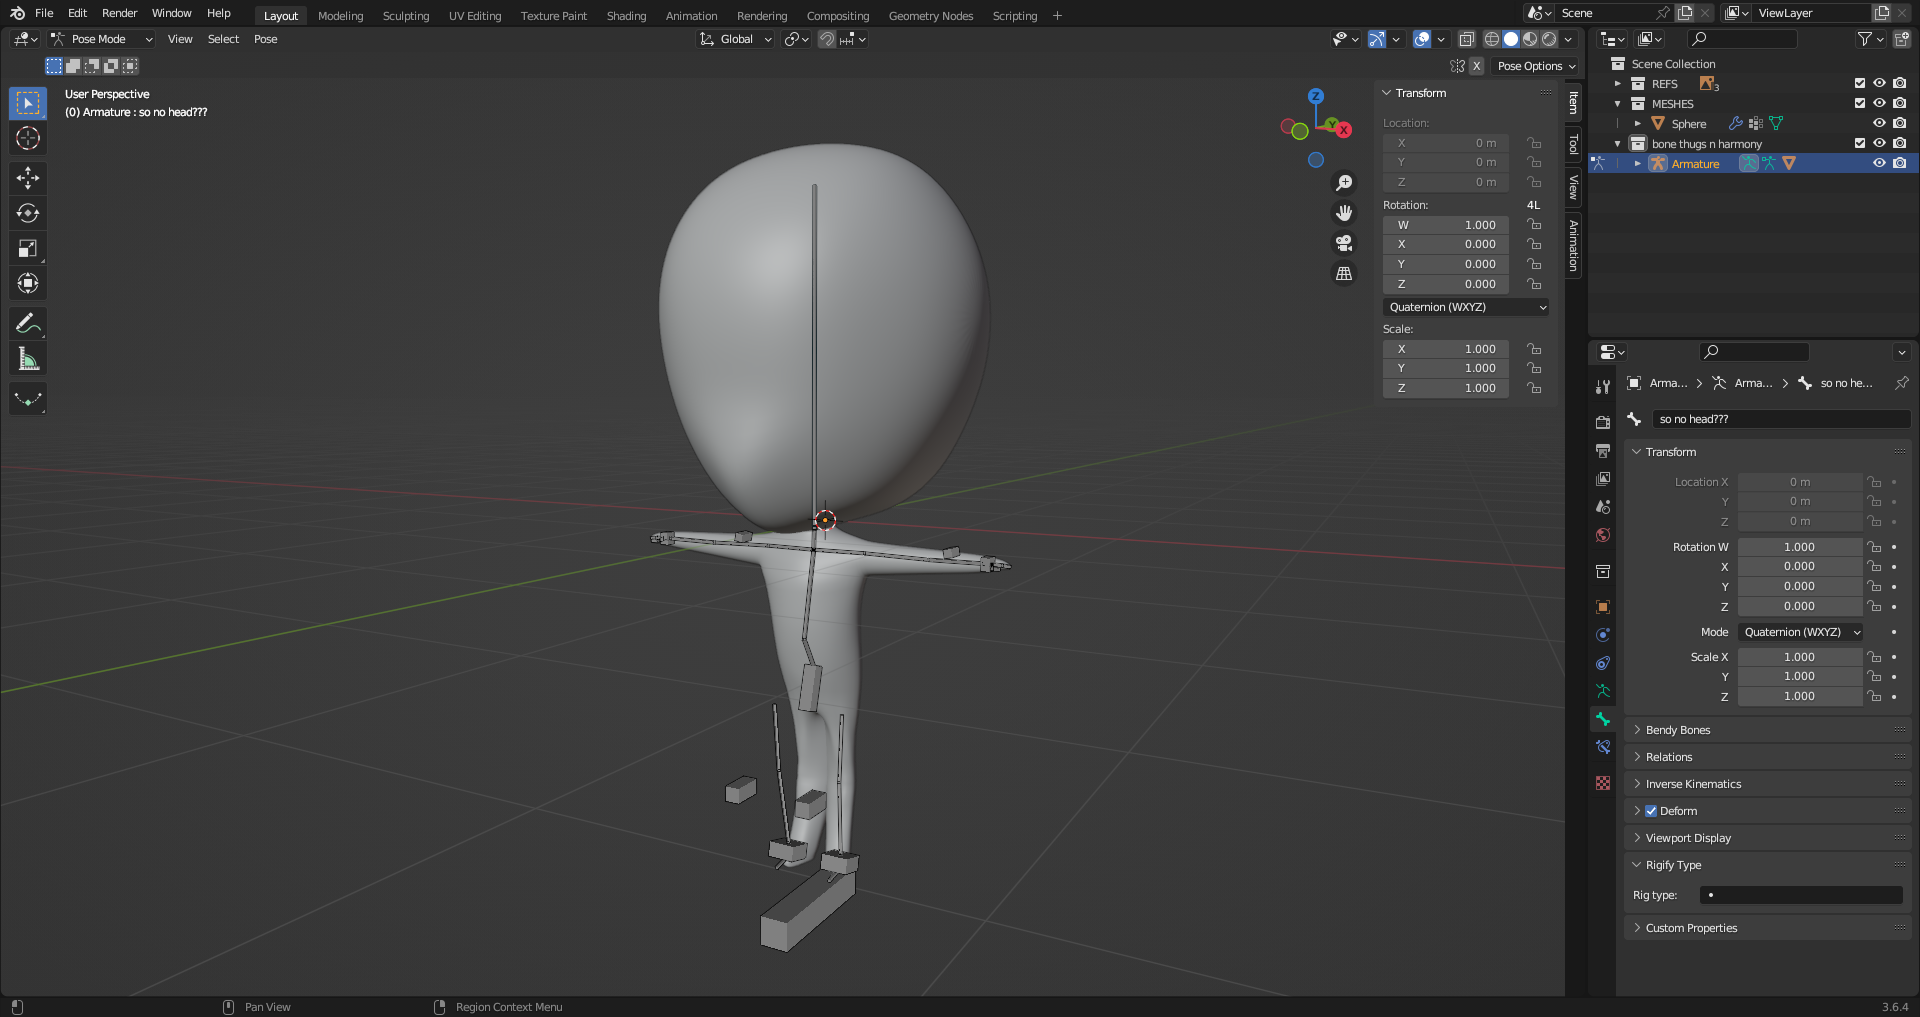
Hi everyone! I’m a Blender beginner (and working with 3D in general) - right now I’m trying to learn how to model and rig characters. My main reference has been Ryan King’s tutorials on modelling and rigging. I’ve been able to come up with this chibi/super-deformed model as well as its skeleton so far.

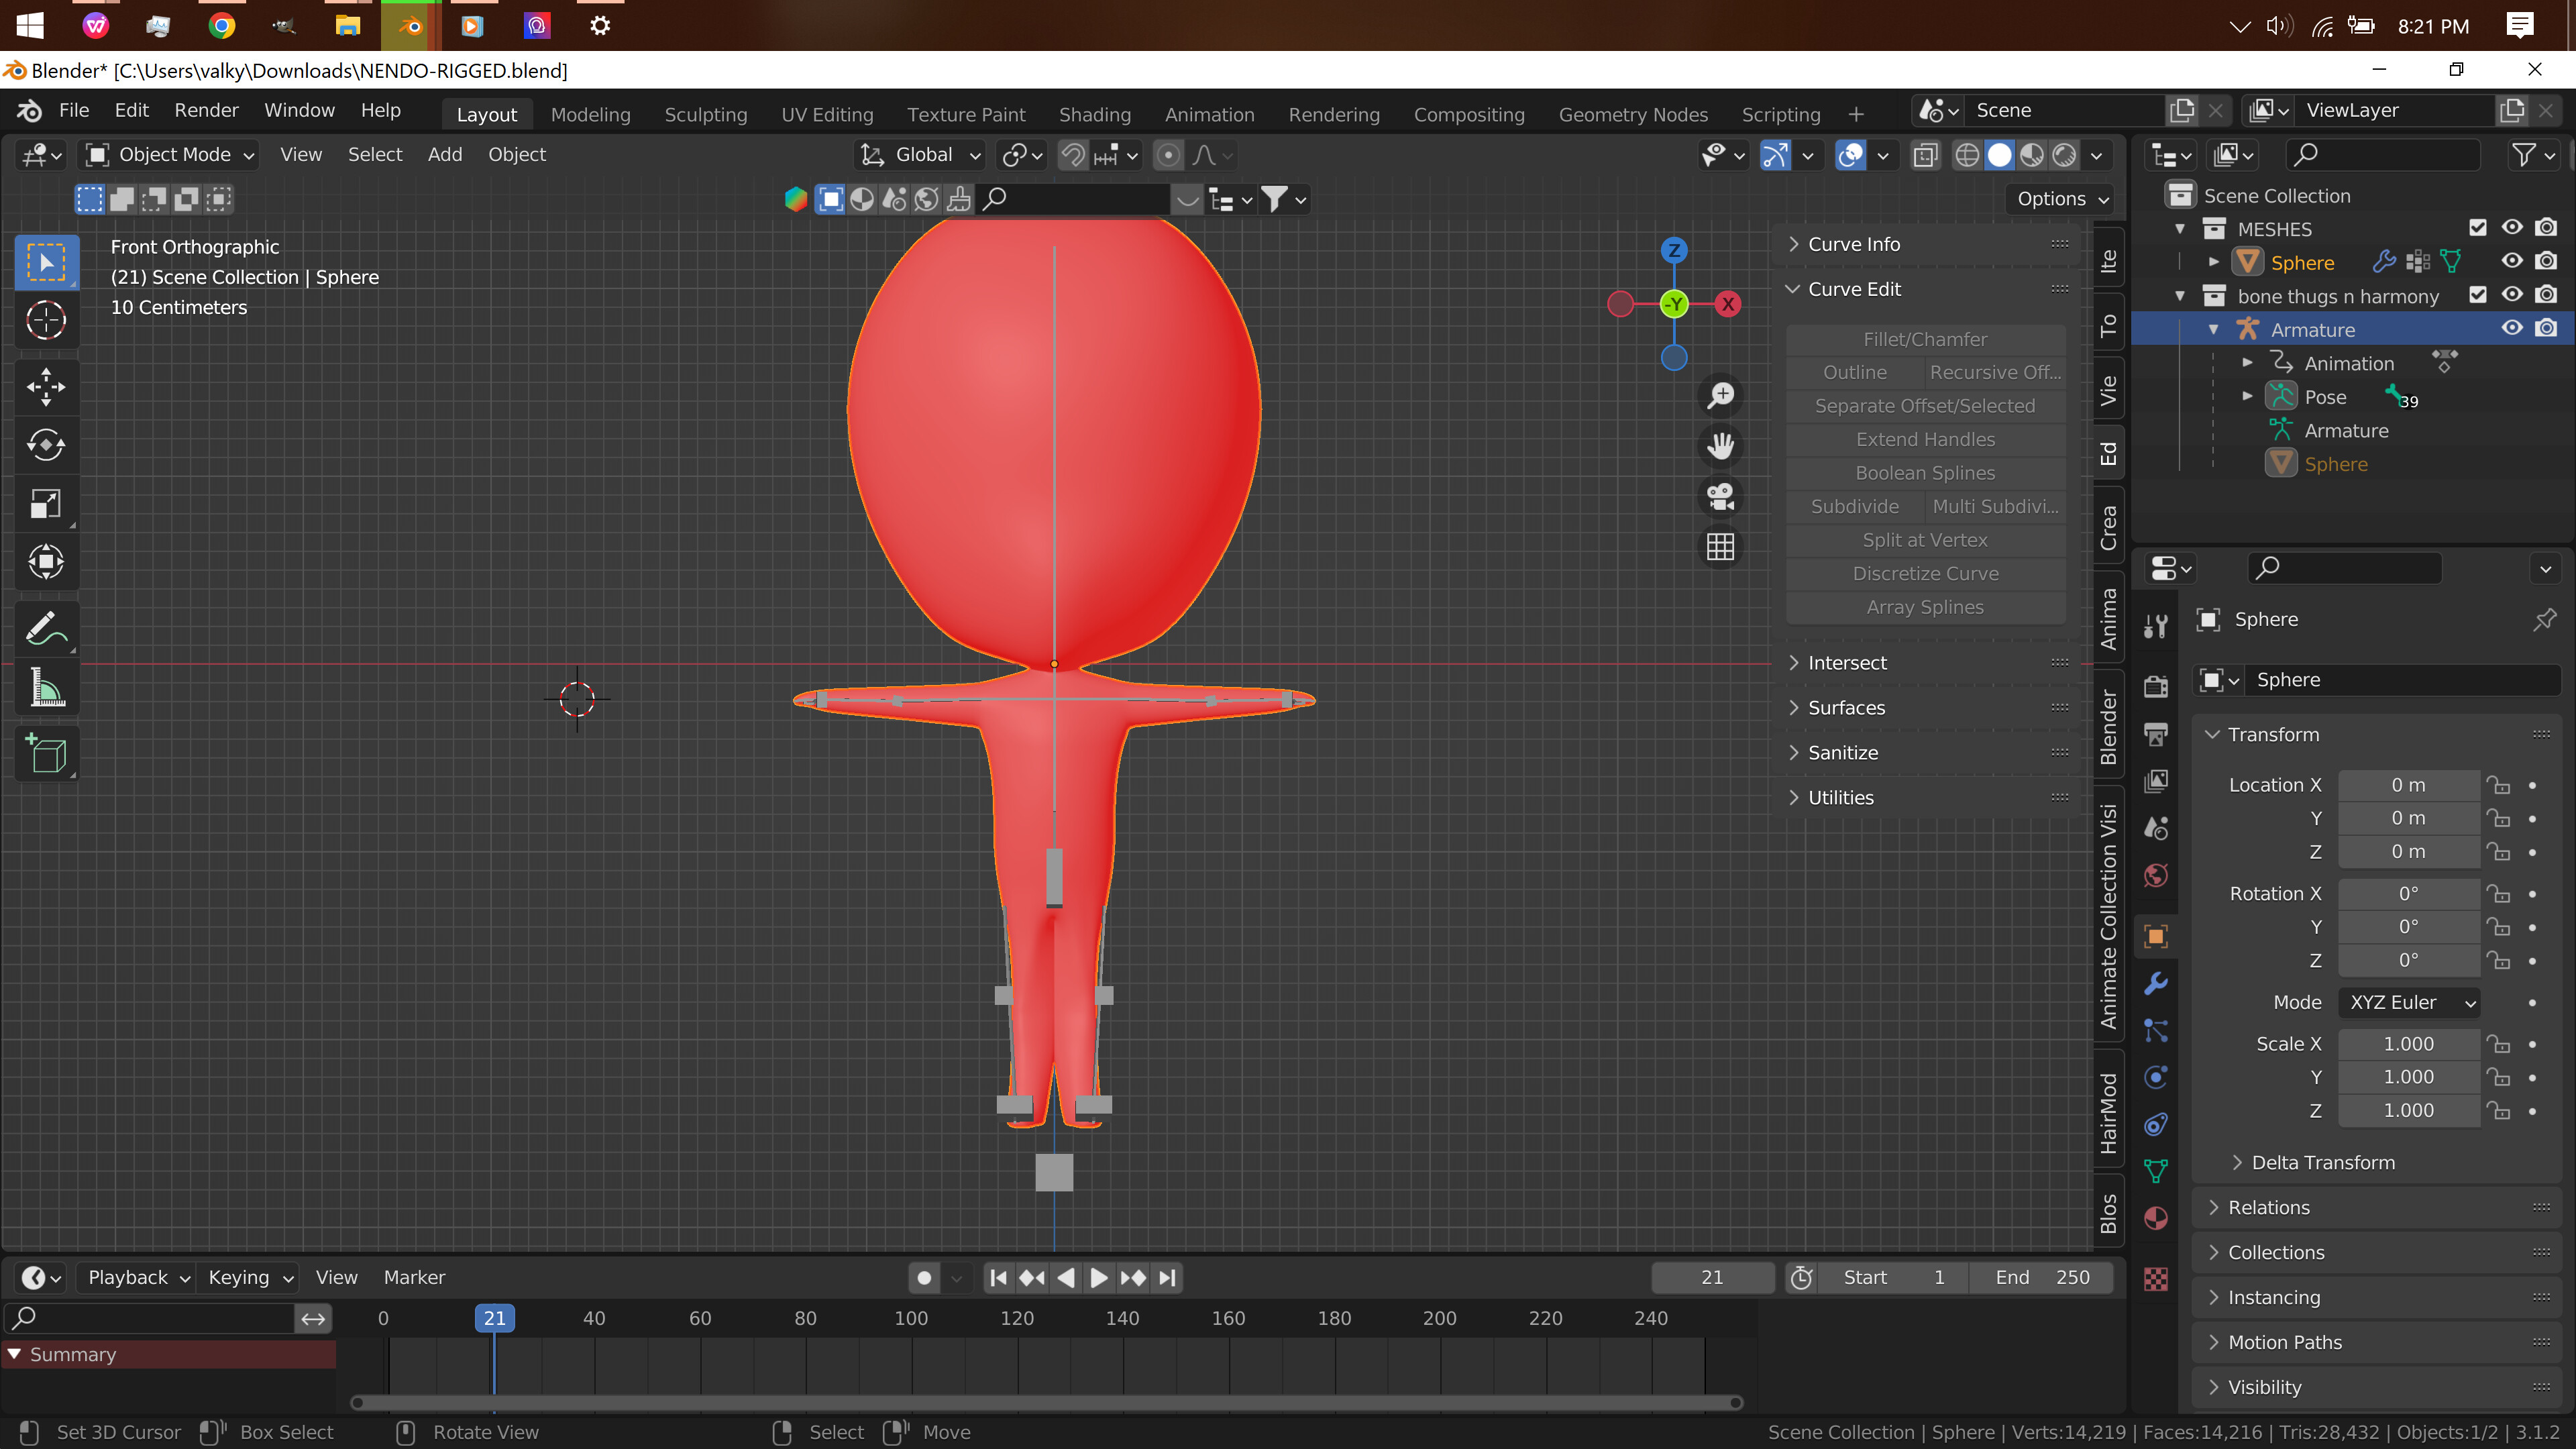
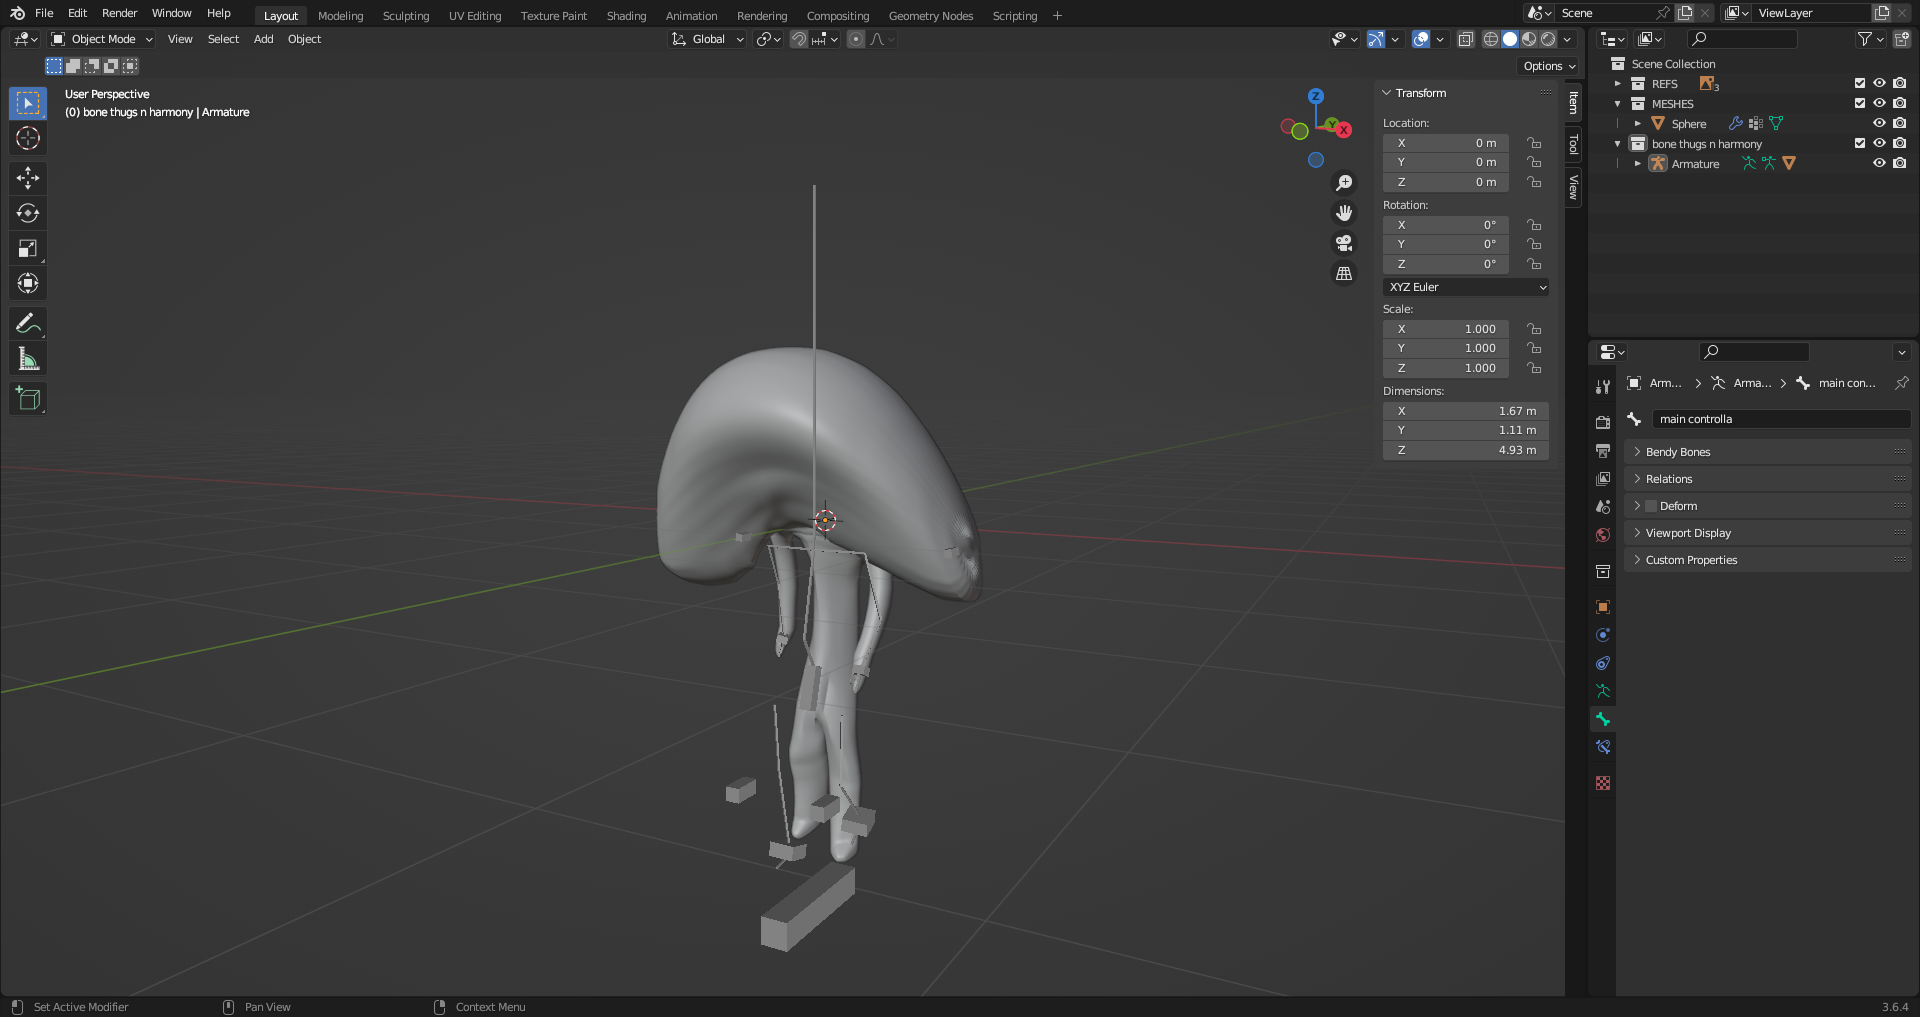
However, parenting the model to the skeleton is when things start acting weird. Parenting with automatic weights ends up looking like the image below. The upper part of the model seems ok, but as you go down the model it becomes obvious that something went wrong. The legs are all messed up are the most obvious problem.

Posing it makes the problems much more obvious. The leg bones look like they’re influencing both legs, arms only vaguely follow the bones, and the head is doing that. Yep.

I guess I want to understand if this is just a limitation of Blender not understanding the character I want to rig? In all the tutorials I’ve watched of humanoid, animal, and other meshes being rigged, Blender seems to have gotten all of them right off the bat, but not this one. Did I do something wrong with my model? I double checked and made sure I had all the transforms applied properly on the mesh, but again I’m new to this so I probably missed something.

Another thing that I thought of while first encountering this issue was weight painting. I considered the idea of jumping in and just repaint everything myself, but that sounds like a brute force way of fixing it. For now, I just want to understand what went wrong with my process and how to fix it. Thanks in advance!

Model .blend file
Rigged model .blend file

Hello;

First of all, Rigging can get extremely complicated very fast; as you are starting to learn Rigging in Blender, stumbling into many critical issues is also something to be expected —actually, it should be expected, at any level of Rigging. It doesn’t matter if the approach taken is that of making Custom Rigs, or of using Addons (such as in-built Rigify Addon) which have preset Rigs that can automate plenty of features: so many things can go wrong. Fortunately, most problems can be fixed or at least have workarounds or alternative methods to a proper solution.

I can see that your Objects are not in World center. You should use [ Shift+S ] to get set 3D Cursor to World Origin, get the Objects Origins to show from the Overlays Menu, Select All your Objects (Armature & Mesh) and with [ Shift+S ] again reposition them with set Selection to 3D Cursor Operator; must make sure the Origins for the Objects are matching, and stack at the same place.
Without centralization, Rigging can become very complicated regarding Mirroring and Symmetrizing features.

Then, also, when Editing the Armature Bones, it’s very relevant to be able to see the Axes Gizmos from individual Bones; otherwise, it won’t be possible to visualize the state of the Bone Rolls, and this will render Rigging very obscure. So you need to Enable Axes for Bones < Viewport Display Panel < (Armature) Data Tab < Properties Editor, when having the Armature Object Selected.

Use Ctrl+R on Edit Mode to change the Bone Rolls, Alt+R to Reset Roll, and look at Sidebar Region > Item Tab > Transforms Panel, to see the real Roll of a Bone.

For navigation on Weight Paint Mode, use this tutorial, there are valuable tricks here:

Good luck and keep learning.

PS: By the way, sometimes it’s good that the Objects’s Axes Gizmos are also shown in the 3D Viewport Editor… so this is another Viewport Panel setting in the Properties Editor, but on Object Properties Tab (not Data Properties Tab). Usually, we want the Objects’ Axes to be oriented exactly as the ones of World Axes (-Y being usually the direction the 3D Characters are facing). Enable Navigate Option (on Viewport Gizmos < Header Region < 3D Viewport Editor) to better visualize the actual +/- directions of the orientations; make sure your Objects Axes Gizmos orientations are matching those of the World Axes.
These are often passable I guess; but certainly not the case of being able to visuale the Bones’ Axes Gizmos when Editing the Armature.

1 Like

In addition to everything @Pxy-Gnomes said, for this specific model, when I went into edit mode, selected your entire model, hit ALT N, then RECALCULATE OUTSIDE, then reparented with automatic weights, it seems to have fixed the issue.

Before your faces were somehow pointing in:


You can check that quickly by turning on FACE ORIENTATION in the view port overlays tab. Blue means they’re pointing out (generally what you want) red means they’re pointing in.

In addition, you also need to check your POLE ANGLES. They’re off, and it’s causing your knees to point in when in pose mode.

1 Like

@Niets,

Yes, Inverse Kinematics done with IK Bone Constraint have the option of using Pole Targets; then this requires an adequate Pole Angle.
The Pole Angle at 0º means the Bone suffering the IK Bone Constraint will have it’s own X Axis facing in ‘realtime’ (Pose Mode, and to some extend, Object Mode as well) the Pole Target’s Position in 3D space.
This is also when it is fundamental to know, on Edit Mode for the Armature, the Bone Roll of individual Bones; therefore, Bones’ Axes Gizmos.
In the case of Legs Rig, usually riggers get the +Z of the IK Bone-Constraint Bone pointing forward or backward; and this results that, on Pose Mode, the Pole Angle must be adjusted to +90º or -90º respectively, because the X and Z Axes are perpendicular one to each other in Blender Gizmos, and make the XZ Plane, which is pecial because the Y Axis of the Bones represent the Bone Length, and the Y Rotation of a Bone represent its Bone Roll; but “Bone Roll” is simply a starting condition, an Edit Mode / Binding Pose State / Rest Position concept; as while on Pose Mode, it’s just the Bone’s Y Axis Rotation concept that matters; but it’s equivalent.

1 Like