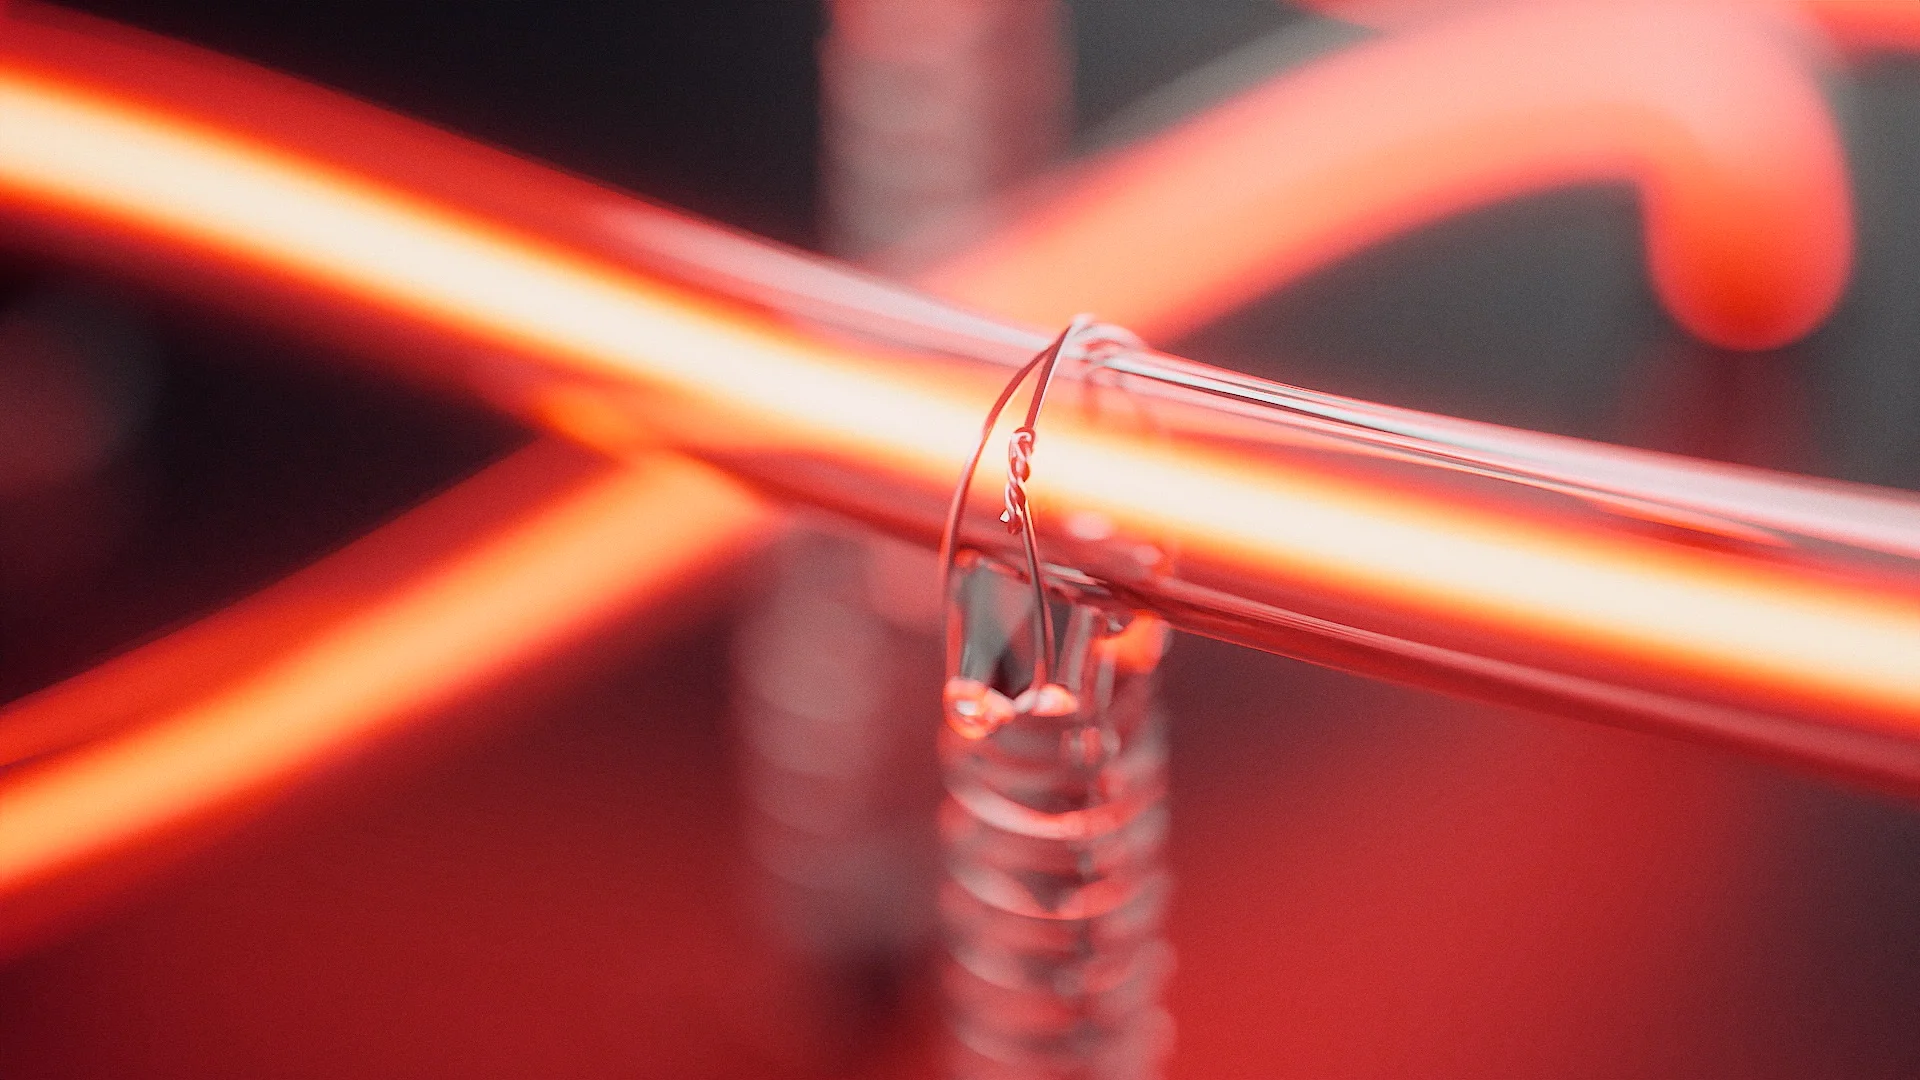
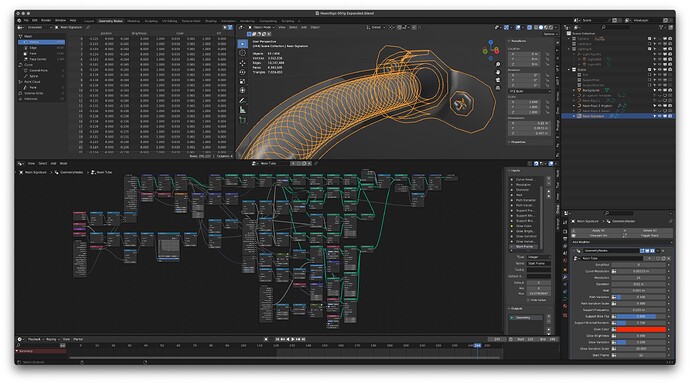
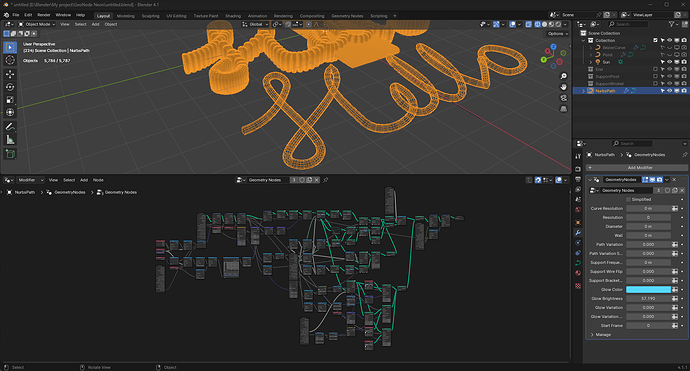
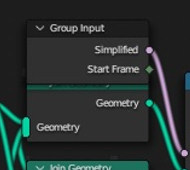
Neon sign system built in Geometry Nodes, with animation sequencing via the spline radius value and tubing blackout set through spline angle.
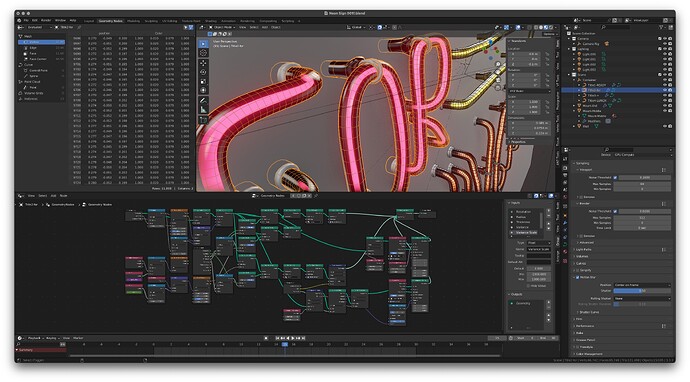
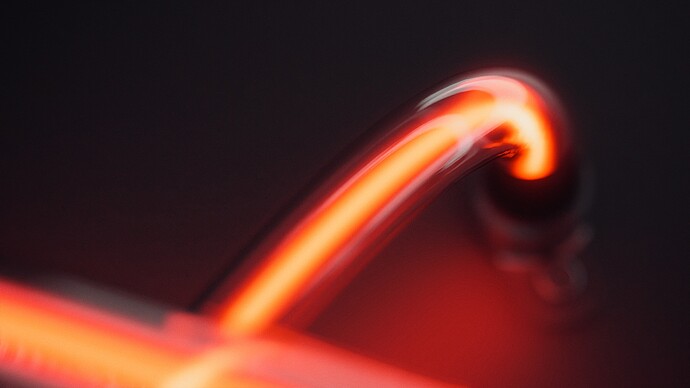
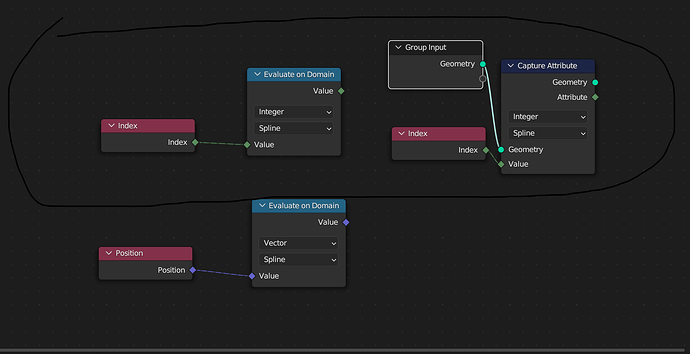
The process started when I did a “quick” 3D illustration during a meeting at work (that I spent a couple hours afterward finishing, haha). Pretty simplistic setup and details, but it sufficed for my purposes at the time. I attempted to use a solid core with motion blur to create the blurry arc within the glass tubing, but it wasn’t particularly successful. I haven’t really figured out how to properly abuse the Blender motion blur system like I used to in Lightwave. The glowing core does have variations, as difficult as it was to try and get them to travel along a path without being an exact repeat across multiple paths in the same object. If there’s a way to get the curve index (not the point index) in Geometry Nodes, please let me know. I need it!
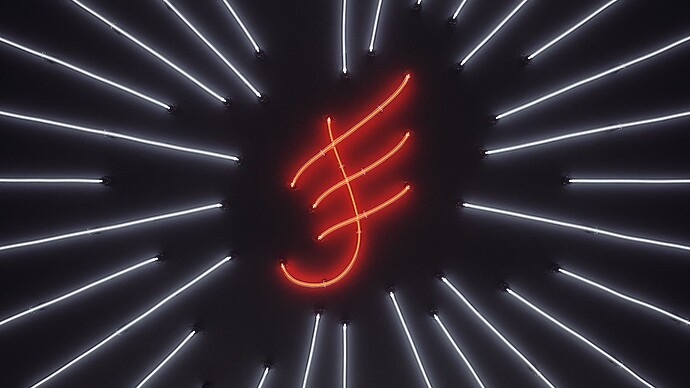
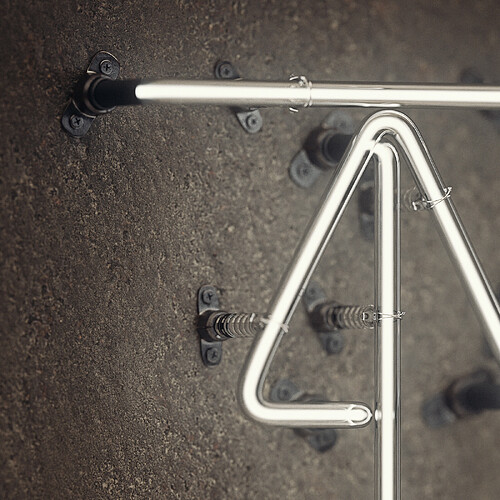
The animation represents my second attempt, rebuilding everything from scratch with a more robust Geometry Nodes setup, more features, and more accurate support modelling, including twisted wire attachment points. I kept the end points simplified as through-mounts as opposed to the loop-backs often seen on neon signs because it kept everything much cleaner, if perhaps idealised (I did find real-world examples, so felt somewhat justified in this decision).
Because the spline radius is being overridden by a singular GN input value, the original radius values can be used to offset the luminance animation curve in time. Which means a single object can contain multiple curves that flicker on at different times, simplifying the management of different noble gases (you just need a single object for each). In the case of this animation, neon (red-orange) and krypton (lavender-white).
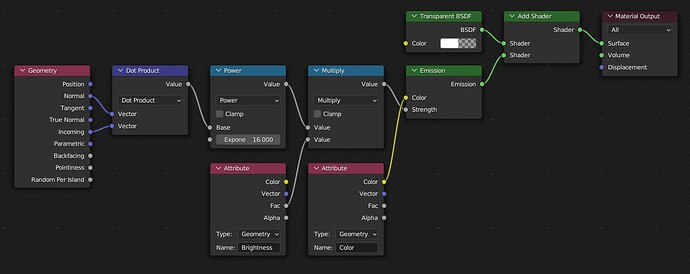
While I briefly played with the idea of using volumetrics for the gas arc, I quickly pivoted to a simple but high-polygon geometry approach; filling the entire tube with transparent spheres using incidence angle to provide falloff. It’s not fast to render, but it works. The spline tilt value is also overridden in the Geometry Nodes tree, so the spline tilt input can define areas of black paint on the exterior glass tube. Any portion of the spline can be blacked out by changing the tilt value of an associated spline point, much like any standard neon sign design where the tubing is painted black to block the light to create dashed lines or gaps in the illumination…a feature I didn’t actually end up using save for the ends of each curve. But hey, I have it ready for future projects I guess!
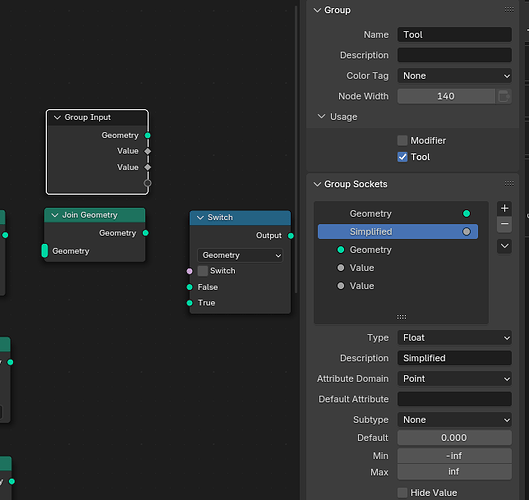
I maintained Eevee compatibility with a boolean input to switch between the transparent spheres approach and a simplified solid core (setting the inner glass surface to an opaque shader with emission and removing the spheres entirely)…which was especially helpful as I could quickly render out editing proxies with Eevee while still waiting on the full renders in Cycles.
Bloom was created in the Blender compositor using layered blurs and a reduced exposure copy of the render. Audio clips were created in Reaper (music retiming and sound effects), with final editing completed in Premiere. Colours and grading are a combination of Premiere, FilmConvert, and Photoshop (where I created a custom LUT for use in Premiere, skewing the red-orange of the neon to a more magenta-orange range…using it at half power in the final edit).
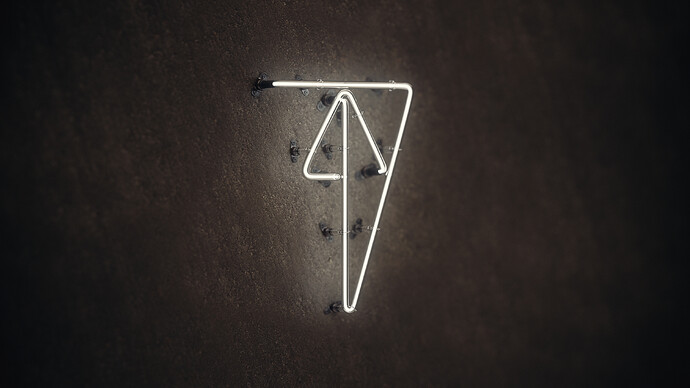
Of course immediately upon finishing the animation I wanted to make further revisions and changes! Modelling refinements and textures were added (thanks Polyhaven!), along with other small tweaks and improvements. The below render is another branding ligature I’ve been working on, staying up way too late on a week night just because the system is quite a bit of fun to play around with!
