Ahhhhh In case anyone else wants to know this is how you do it:
Blend Swap you tube neon tut by KBeres:http://www.blendswap.com/blends/view/72675
3:10 min in
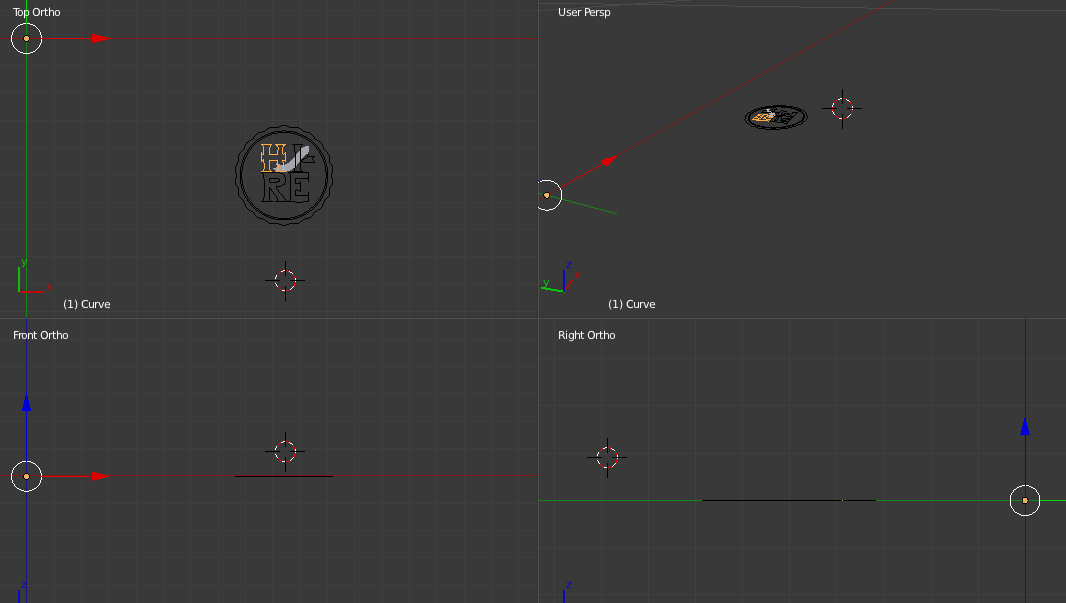
Shift + A
text - type in what you want
properties panel
right side font settings
align origin to center
change the font. he is not using a default font. provides download link
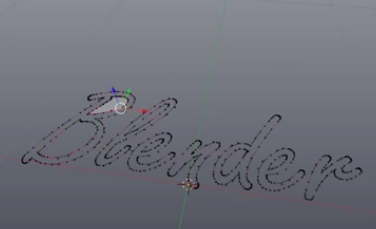
then convert into a spline/curve
Alt + C curve from mesh or text - nothing appears to change but then if you change to edit mode you can see the dots and curves
in edit mode please select the B
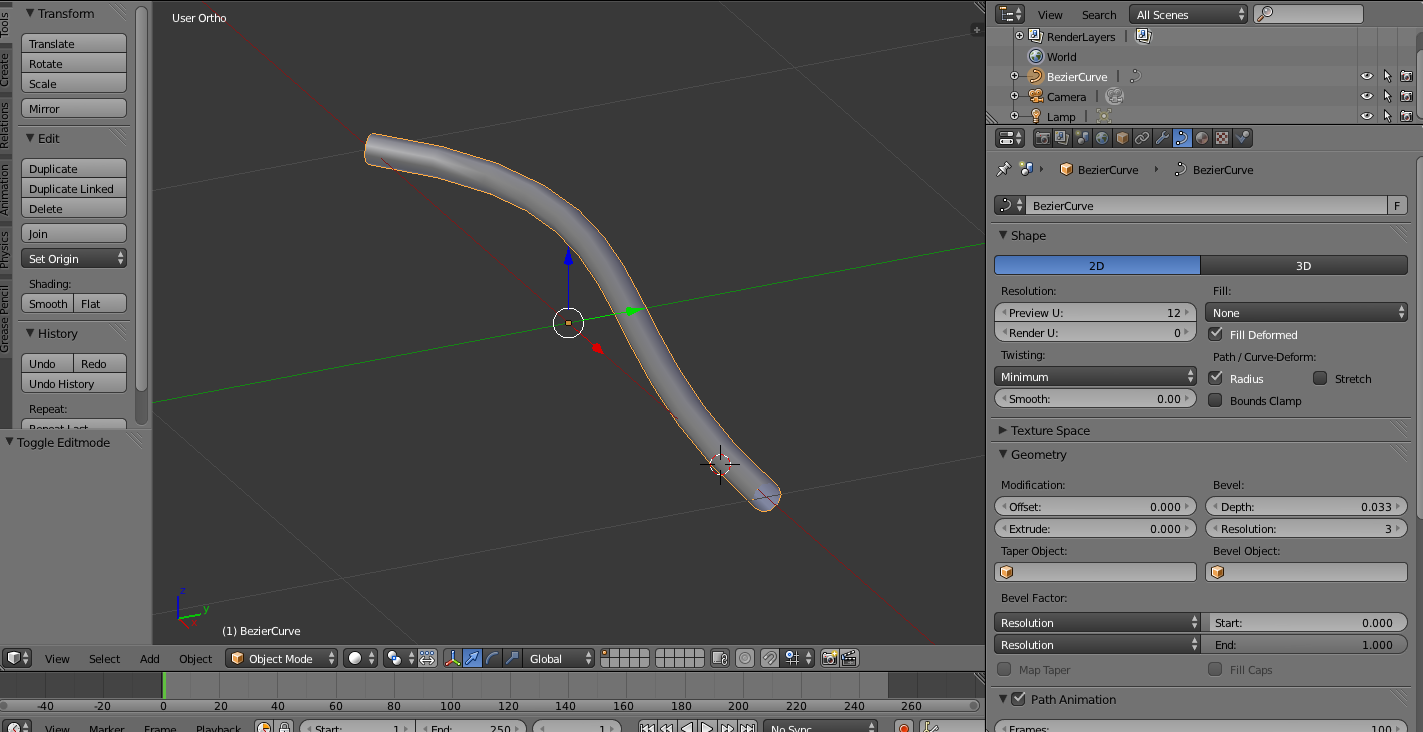
scroll down on properties panel un-select The U box
it gets rid of faces. do this for all the faces.
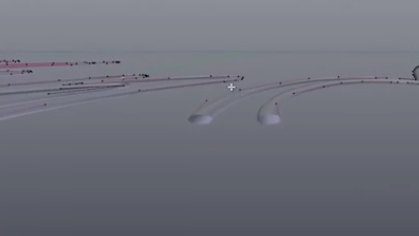
Once they are all gone then you want to extrude it just slightly.
in Geometery modification push twice for .002 under extrude
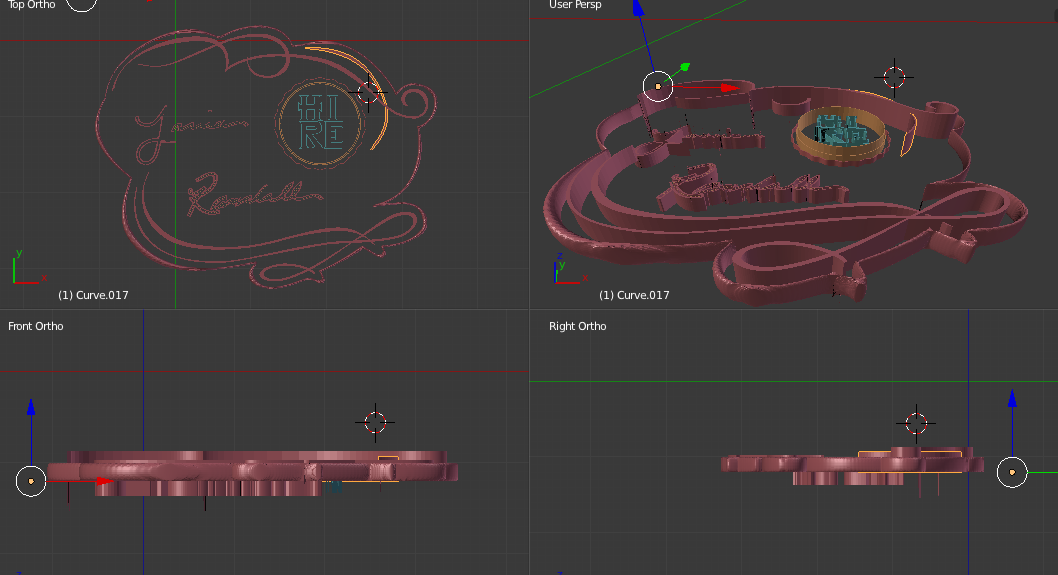
add solidify modifier
add subdivision surface modifier
change thickness to something thinner and then add subdivision for smooth curve
you can thicken by changing extrude or thickness
done.
out of edit mode
Alt +C changes it to mesh surface
8:30 into video:
no lights in the scene. he deleted something with the green blue red arrows
select the neon sign
split view
arrow is automatically selected in his demo on bottom menu
select node editor which is next to view
N add a new material
name it neon light on right in panel
delete diffuse black box on left
create new shader - emission shader
connect the black box to the pink box he refers to as the surface
strength 25 in black box
color box
set up as white emitted auto.
up the saturation a bit in that same color boxx just a different tab
you can adda glass shader onto it but he did not do that.
then he goes into how to do the brick wall background
Attachments