fmkguy- Nice stuff  and welcome
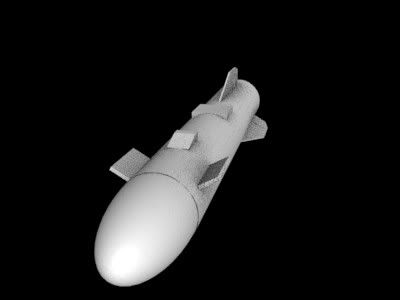
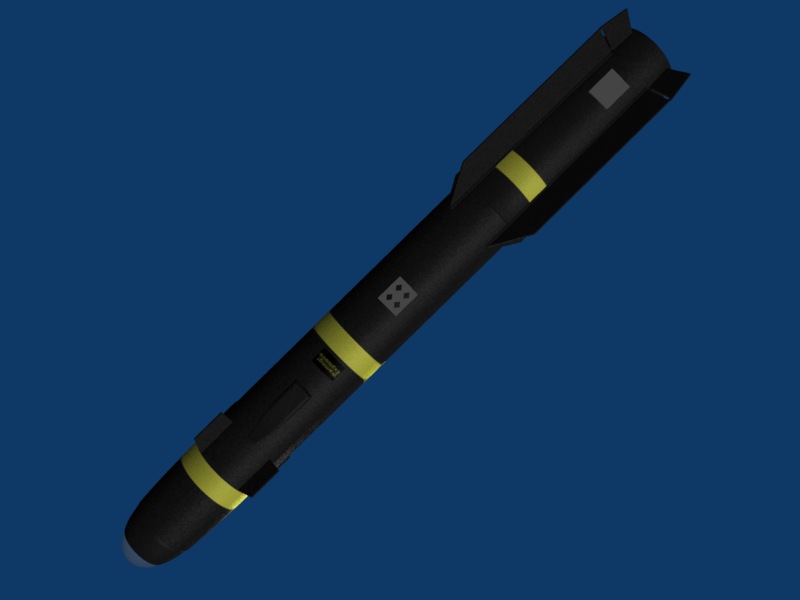
vidar_nelson - Looking good, the only thing is the front fins the round thing you got there isnt there, its just the fins. Im pretty sure 
Ok here it is, the unwraping tute
Basicly unwrapping is just taking your 3d m0del and remaking it flat, so that textures can be slapped on. The problem is this takes quite a while, depending on the m0del you are doing. Once you start unwrapping larger and more complicated things your job gets harder and harder. So one rule I try to keep is not to make one mesh too complicated, as it will most likely result in distortion. Thats one reason why the one mesh m0dels needed working on. So if you followed my advice you should have 4 seperate fins in the back and 4 seperate fins in the front, a main body and a couple different segments, as the body.
So pretty much everything on this m0del is fairly simple and shouldnt really be a problem to unwrap, so lets get to it!
Ok so to start split your main window in 2 (if you work in only one window) and change the right window to the uv editor. I prefer the right side as my uv editor but its up to you where you want it.
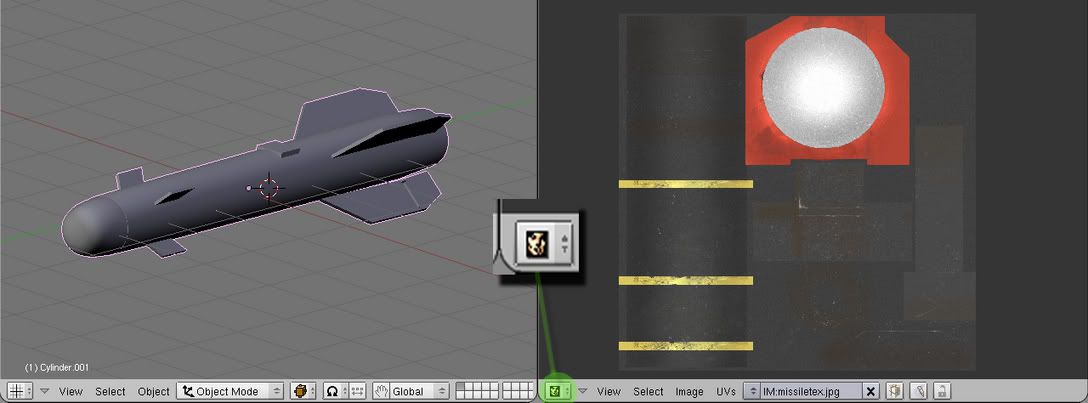
Ok now to actually unwrapping the m0del. The way blender unwraps is with this lovely little thing called LSCM. How it works is you select edges and mark them as a seam, then you press U and choose LSCM. So hide everything but the main body of you missile. If you have it seperated into segments just choose one and hide everything but that.
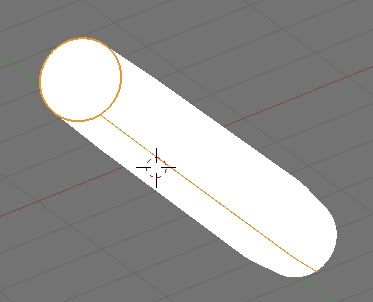
Now we need to decide where to put the seams, this might take some time on some m0dels but for our m0del it is fairly easy, since it is a cylender. When you are placing seams try to choose a place where it wont be seen as much. I chose the bottom of the missile (cylender), since you wont see that in the renders at all. The best way I have found to do the ends of the cylenders is to take, the edges right before it goes flat…yeah a picture would help 
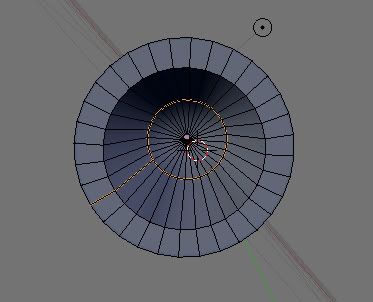
For those of you that extruded the rear in, just treat that like it wasnt going in, keep the seem you cut on the bottom going until you hit the end and then do the same as youdid for the front of it. Here is a pic…
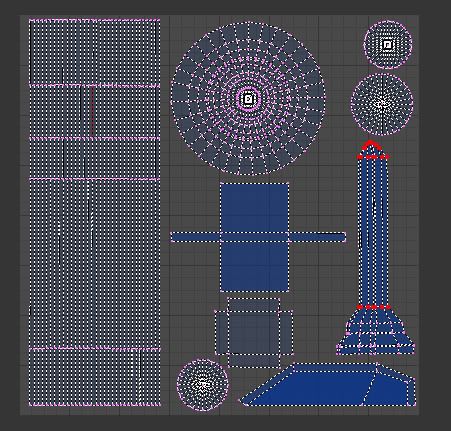
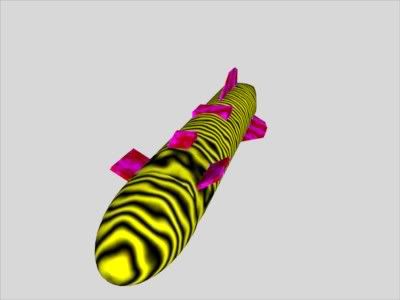
By doing this you will create a flat rectangle and two circles…but to get this go into face edit mode “f” then select the part you just put the seams on and press “u” then LSCM and your set You are going to want to scale and move the UV’s until they are straight, and then scale the main “rectangle” (unwrapped cylinder) so that it is as big as it can go without going out of the light grey area. Here is a picture of my UV’s…I will show how I did the fins in the next post. We will not be using LSCM for those, just to show you another way of doing it, at least when its a flat shape, such as the fin.
hopefully that made sense… :-? If not tell me what is un-understood and I can explain more


