EDIT: Original post
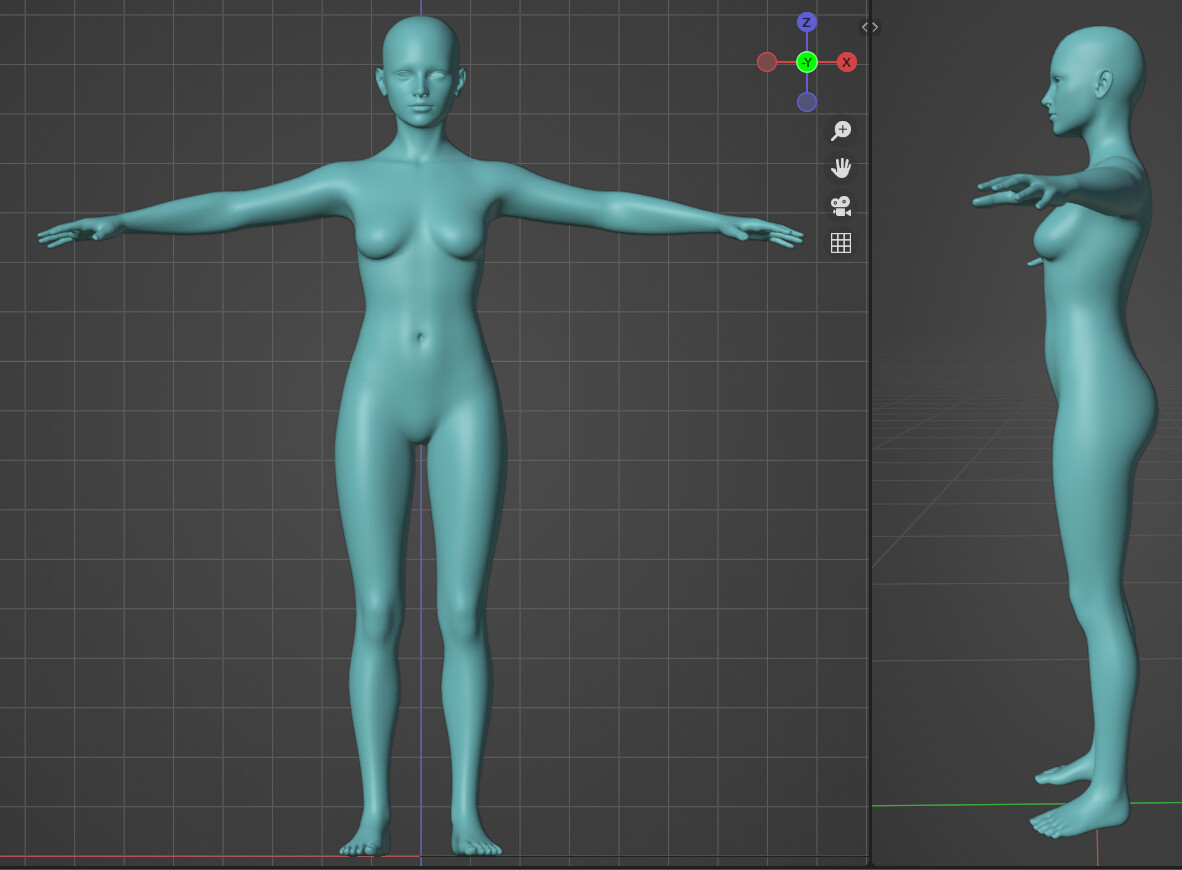
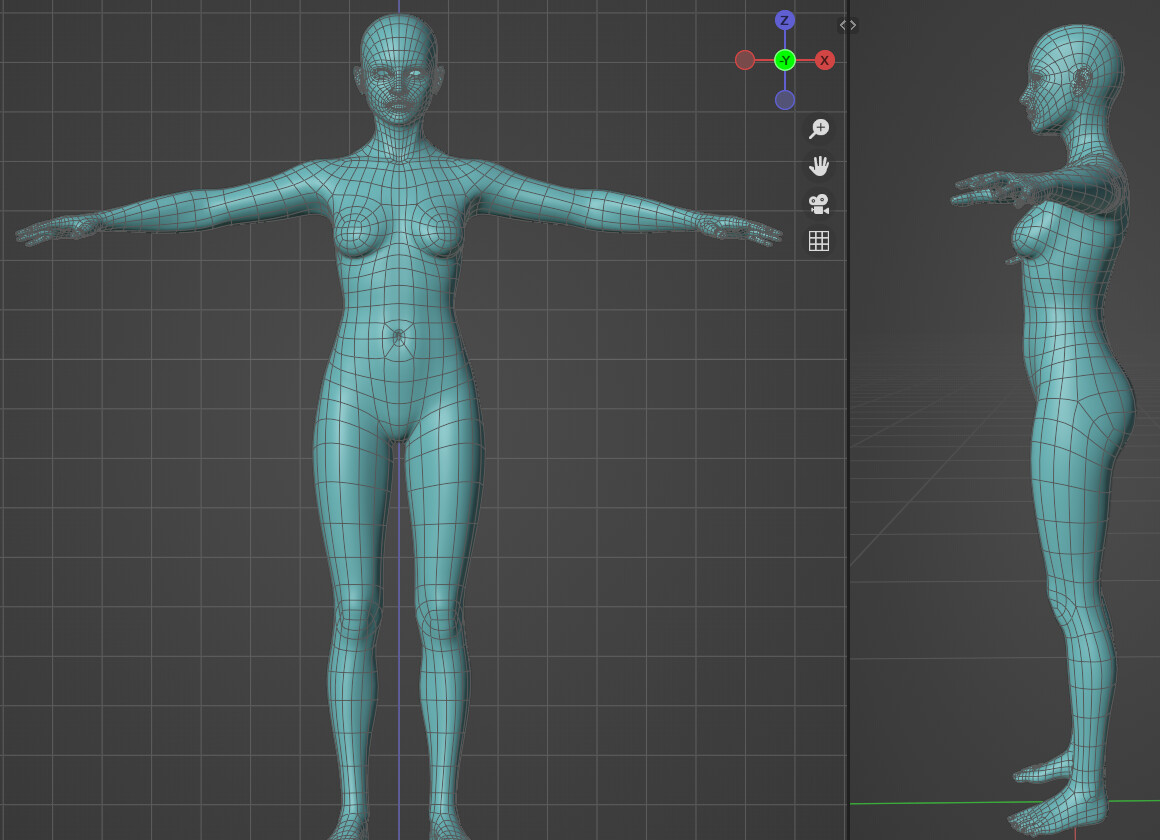
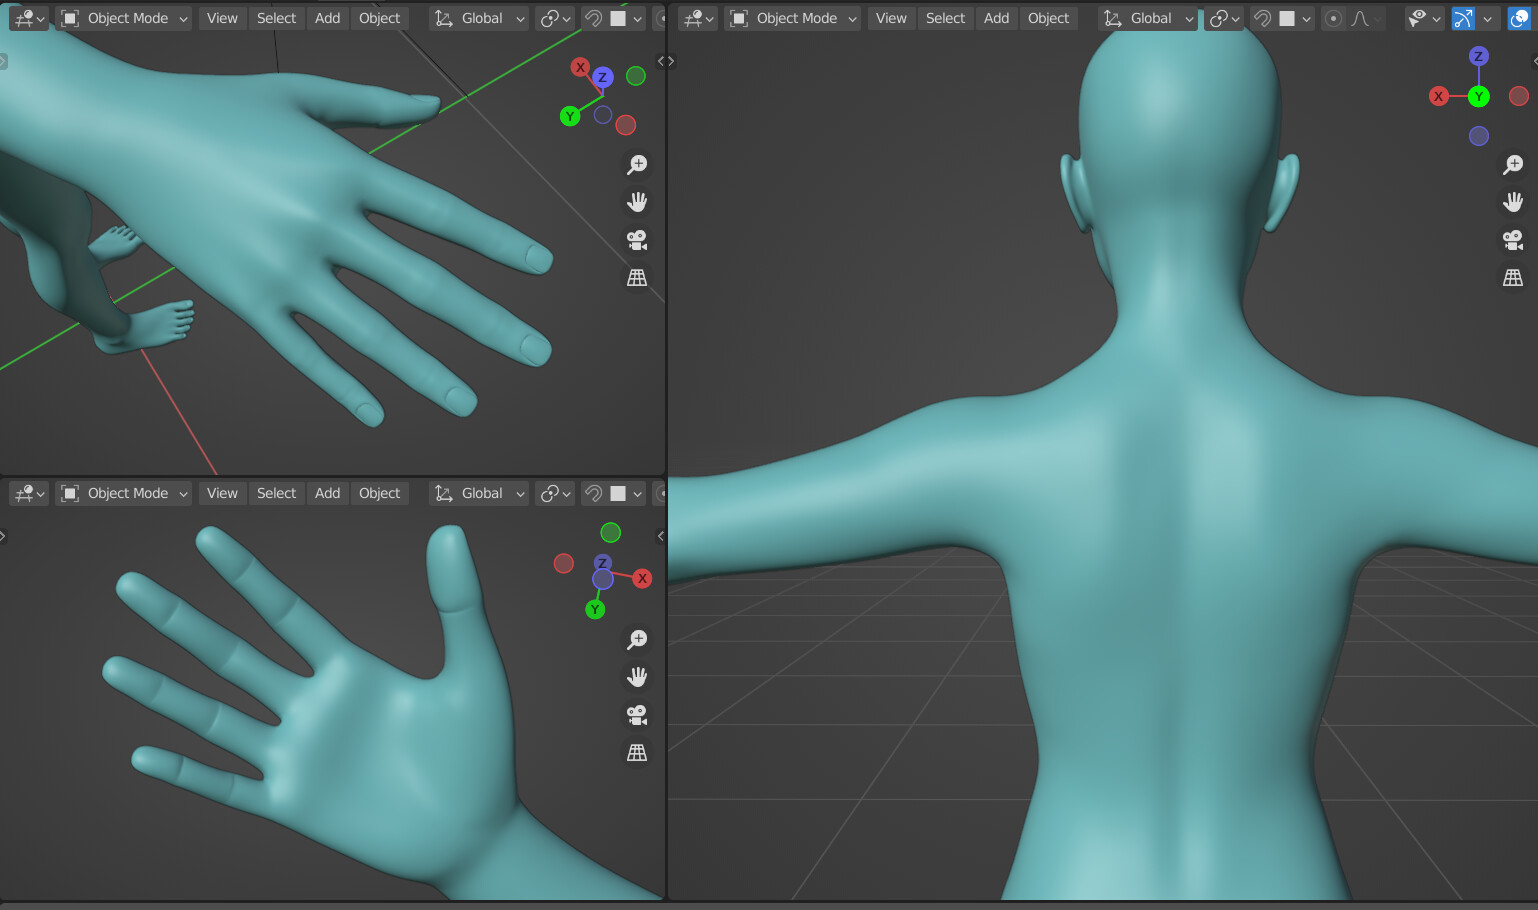
My latest attempt at character modeling, which I think turned out quite well, but I would appreciate critique, particularly in regards to topology, as once I’m done with the teeth and eyes, I’m going to start rigging.
She was made through a combination of box modeling and sculpting (mostly box modeling though), though the feet were retopologized from a heavily reshaped makehuman model (except the nails, I just reused those from the fingers).
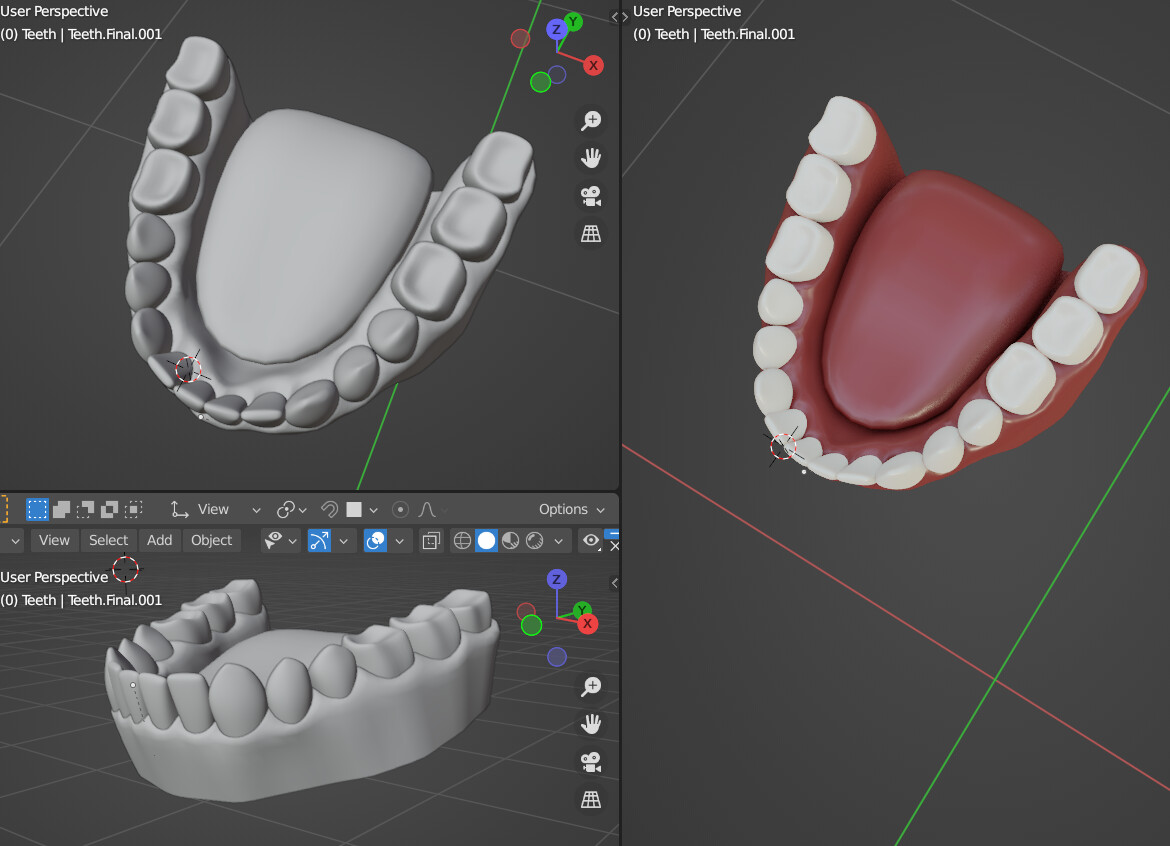
I don’t think the back teeth are super convincing, but since they probably won’t ever be seen, for now I’m going to leave them. I’m pretty happy with the front teeth though.
Impressive, I didn’t see any non-quads as I looked at your topology. I don’t know much about human modeling and the topology that is best, I use Make Human for my characters and edit them in Blender. My edits are mostly smoothing and cleanup of rough topology that is clipping.
Thanks! I was very careful to ensure it’s all quads (which was absolutely painstaking work when it came to attaching the ears to the head). Honestly it’s nice to get any feedback at all, even if you can’t advise on character modeling.
Originally I was going to use some Makehuman teeth to save time (Mindfront’s teeth look great and are CC0 - definitely check it out if you don’t mind the extra polys), and just changed my mind this week on a whim (or last, don’t remember when I started on the teeth). Probably mostly because I’m procrastinating rigging for the first time (which will also be from scratch if all goes well!), and modeling the eyes won’t take long, but also I am aiming for a lower poly count than the Mindfront and MH teeth, and I think the MH tongue was a little big for the MH teeth anyway.
I did end up referencing both Mindfront’s and the original MH teeth pretty closely while aiming for a much lower polycount, and I want my character’s tongue properly connected to the mouth floor (not that you can see it in these images).
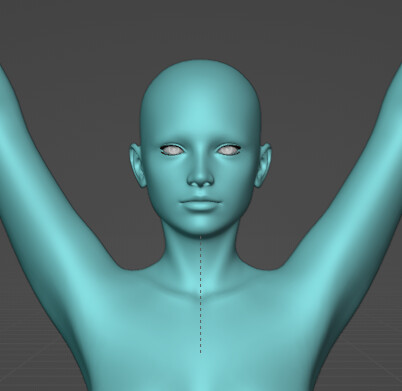
Rigging is coming along - which is something I’ve never done before. I have the armature nearly weight painted, and I think it’s coming along pretty well. Took a few tries though. ; D (She also has eyeballs now.)
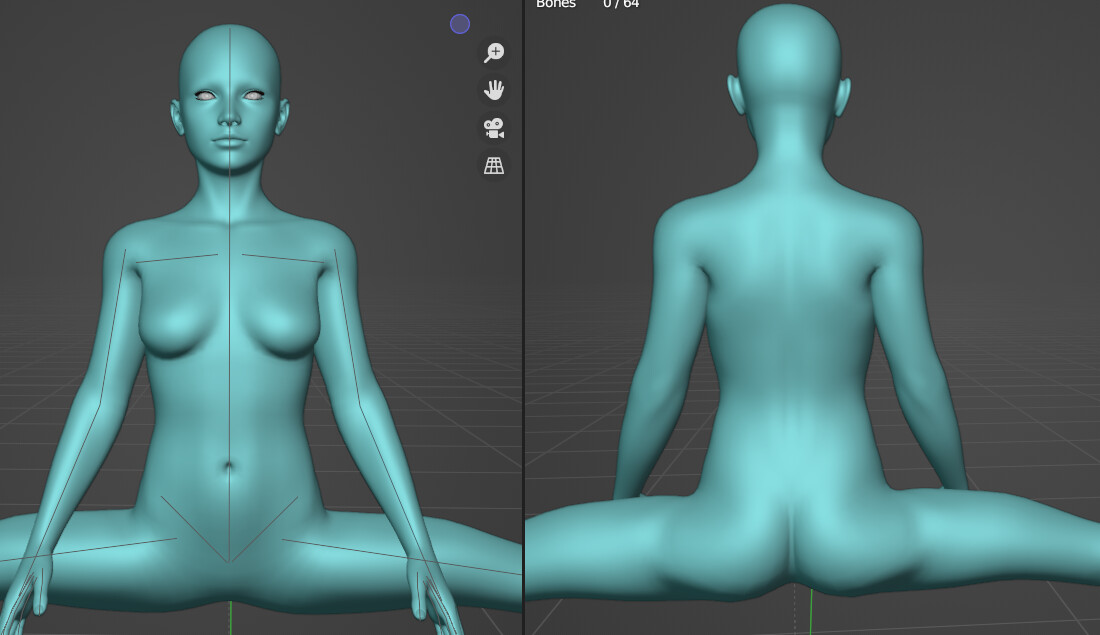
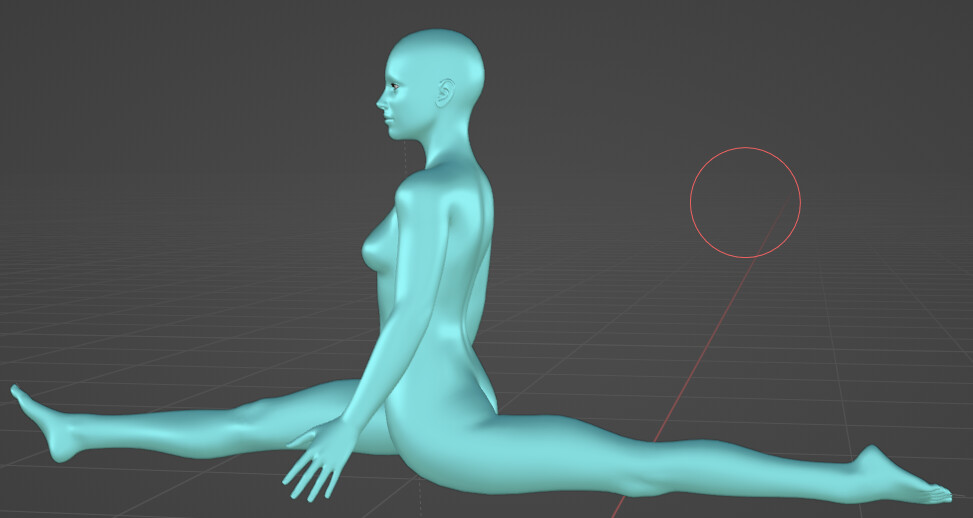
She can even do the splits and it doesn’t look terrible (this is with no corrective shapekeys).
While rigging, it has become apparent the leg shape’s curves are a little too exaggerated and may be a problem when posing, so I’ve adjusted them.
Old shape:
I’m going to come back to the rig since I’m not totally satisfied with my bendy bones face rig. But we’ve got IK and control bones (probably not worth posting a pic of that unless someone really loves seeing custom control bones), and I’ve come to realize some proportions could use adjustment…
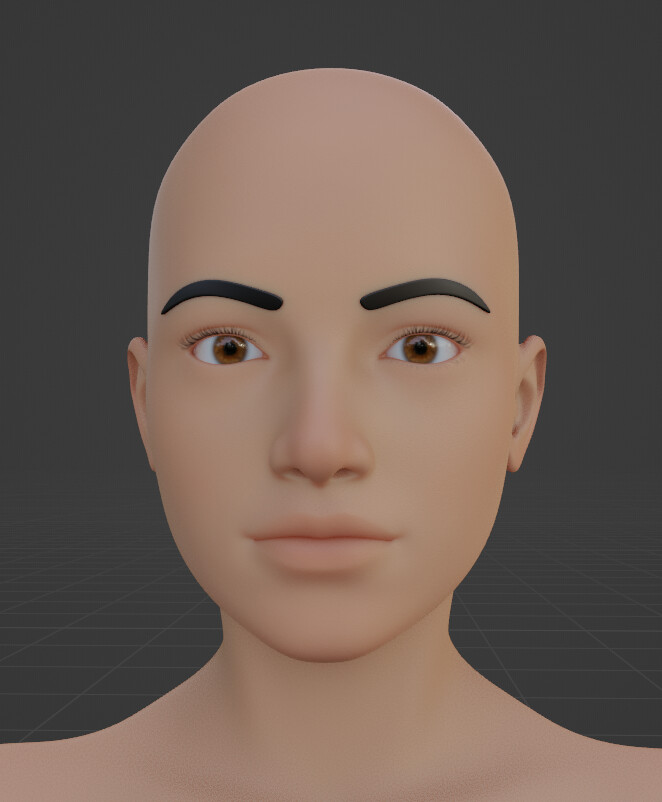
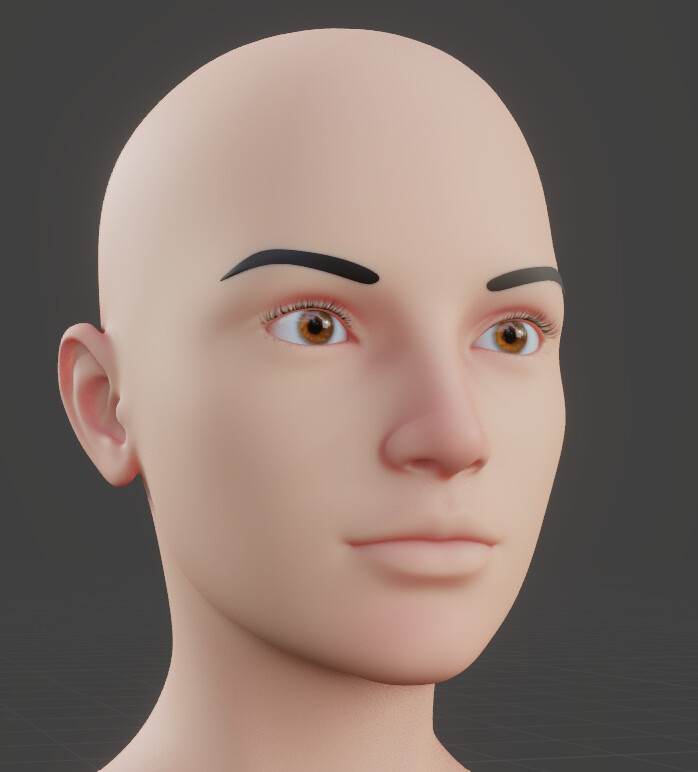
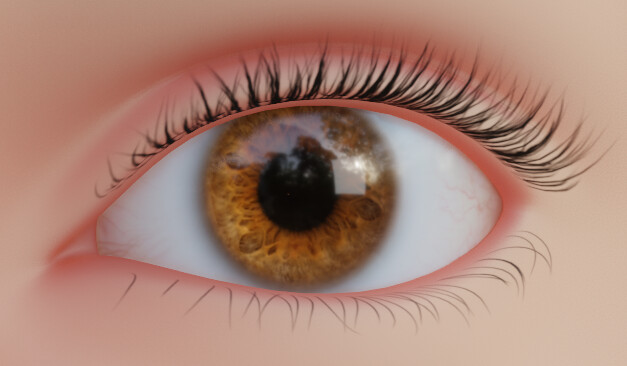
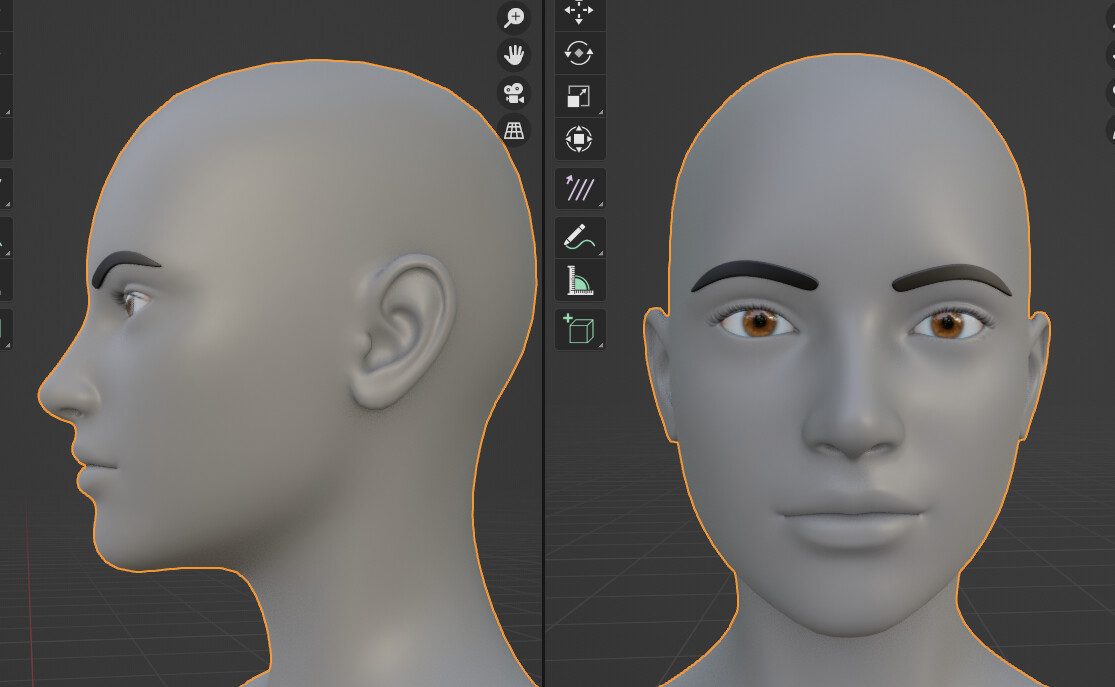
And some initial texture and shading work for the eyes and lashes.
(The eyebrow mesh is just a placeholder because she looks weird without eyebrows, and the skin is just some placeholder creative procedural work that looks much better than a flat color.)
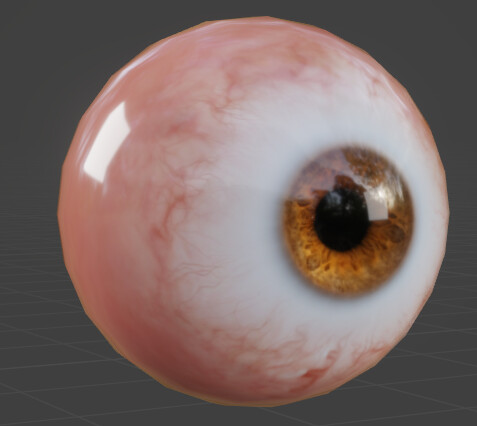
The Subsurface Scattering is too strong here. It does look like wax.
In Blender, the default SSS radius is way too large for human skin. When figure has real-life size, a max radius value between 1cm (plain skin) and 4cm (ears) could work.
If you have a laser pointer, you can use it and examine SSS on your own skin. There you can see how much it spreads. (Meassured SSS radius on hand skin around 1cm.)
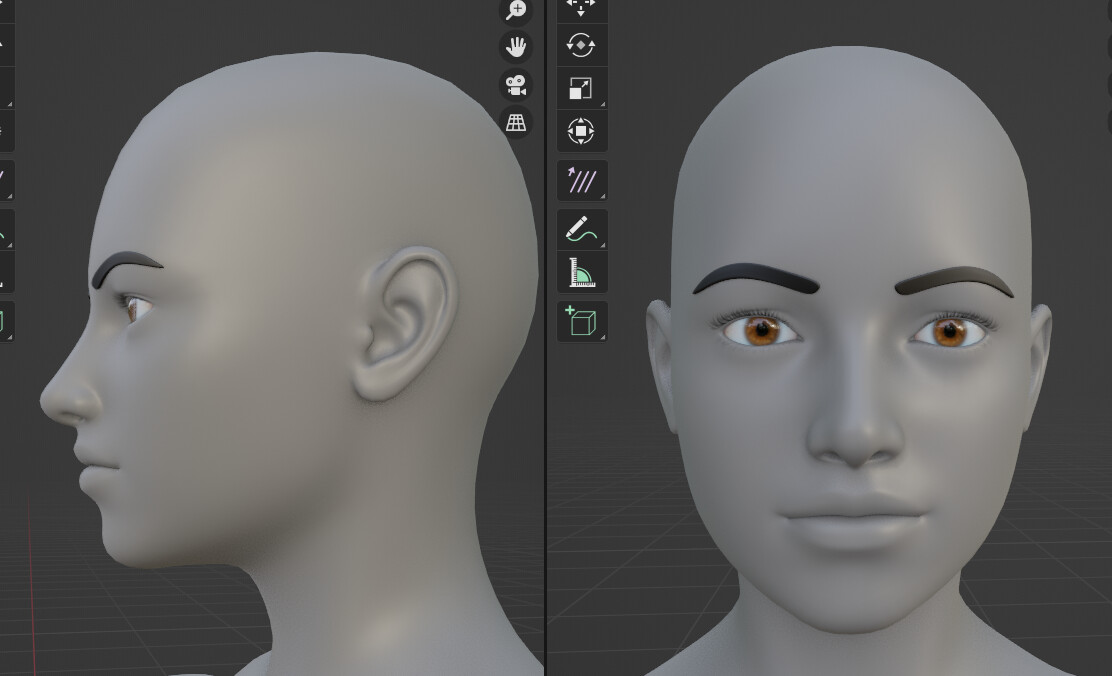
Yeah… I knew 5 cm was higher than physically accurate. The skin is nowhere near finished though (and texturing it is definitely proving to be a challenge…), but I did use 1cm on the sclera. The eyes are finished, or at least mostly finished.
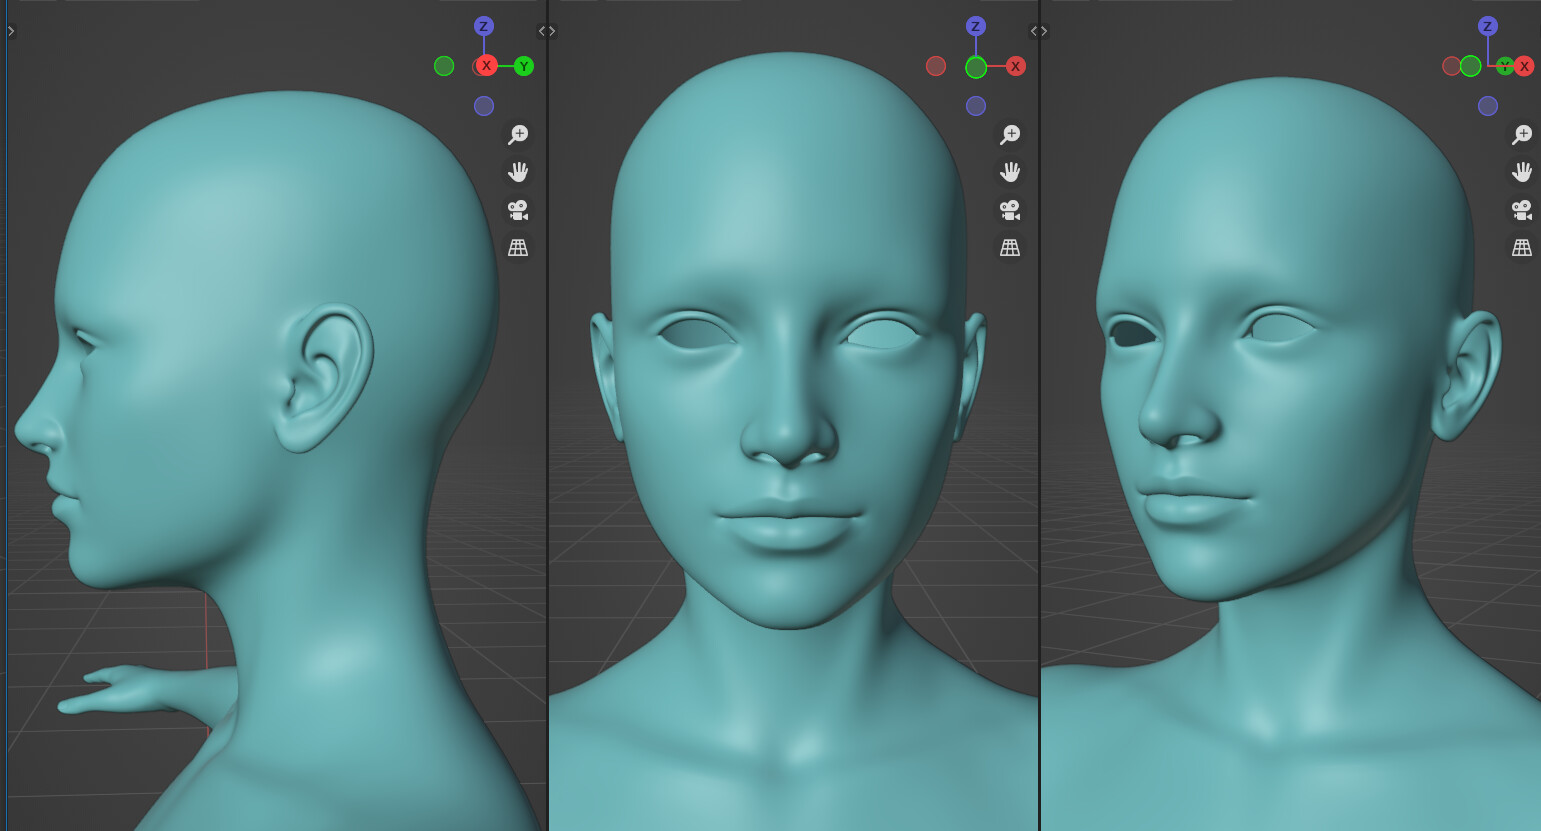
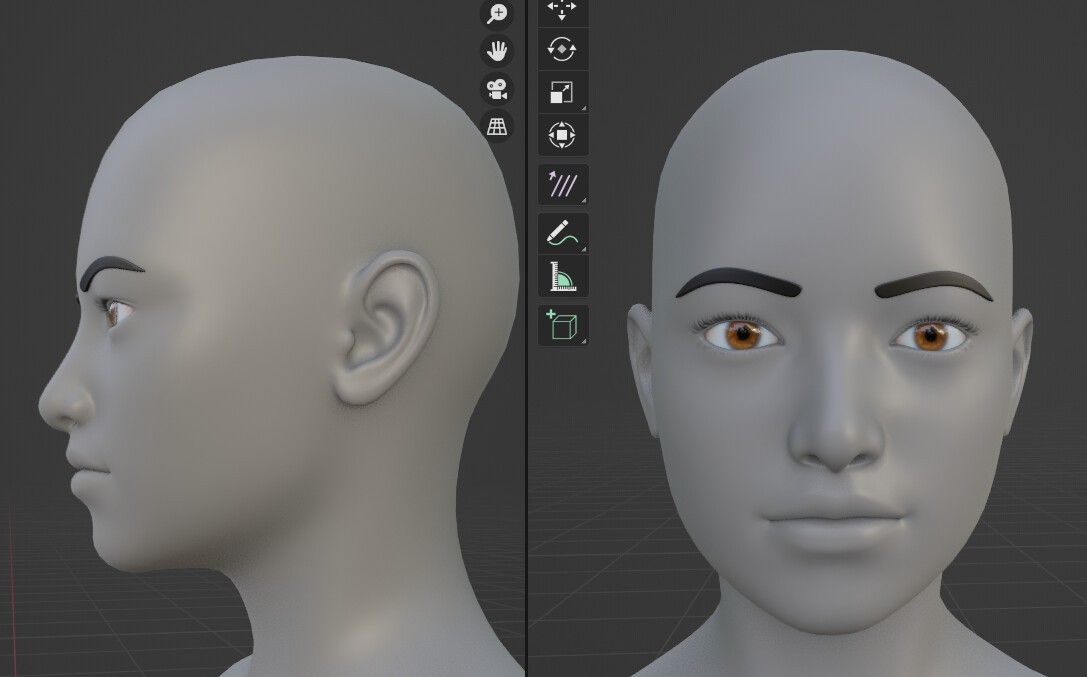
Still working on this. She’s got a new rig and weight paints so she can bend without relying on any special blender only utilities like the corrective smooth modifier, and I’ve adjusted the proportions and shaping, especially on the eyelids and nose.
The previous version had a small issue where it looked good in the solid viewport view, but looked off when shaded, and the proportions felt off as well. I’m much happier with this new version, but I think I don’t like the way I changed the undereye area as much.
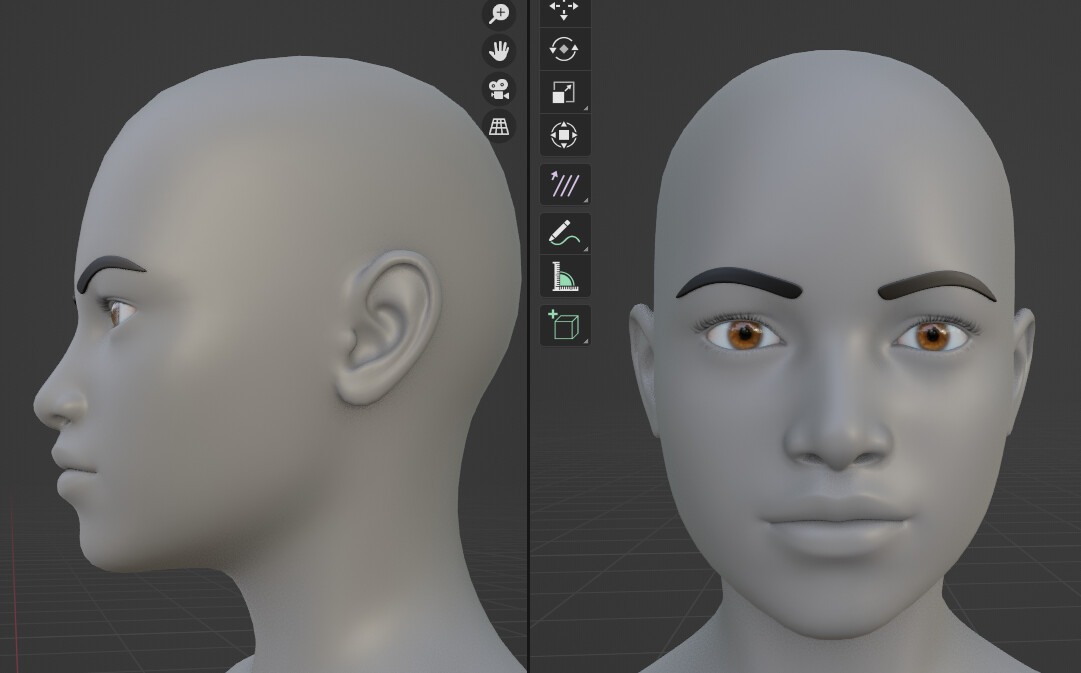
Also since my end goal is to make a morphable basemesh to work as a starting point for future projects, I’ve made a couple shapekeys for an Asian and Black version, as well as a male version.
Additional shapekeys for modifying the eye, nose, jaw, and a couple body shapes exist as well, but those are obviously less interesting to show off, and they need a bit of cleanup. This is also why the face shapes are still overall fairly similar.
I’ve also experimented with sculpting skin details, but so far my work for that has been largely experimental while I get used to zBrush so there’s nothing to show (Blender was more or less unusable in my attempts at high poly sculpting earlier last year so eventually I had to give up on that)
I see promise. Your rigging is better than most, but you could uplevel. If you want to discuss rigging, PM me and I’ll give you an invite to our Discord. If you wonder if I’m a lot of fun to talk about rigging with, see my youtube channel. https://www.youtube.com/channel/UCsuMM_xVywlWB8NMIT-L1dg for example,
Also, if you wonder about how to sculpt in Blender, you should check out Flycat, this workflow seems pretty good and is mostly Blender.
Thanks! I don’t use Discord, but your rig looks pretty cool.
The problem I’m having with Blender’s sculpting tools is that Blender chokes on the number of subdivisions multi-res needs for pore level detail, and zbrush can handle it fine. That and zBrush has sculpt layers built in - those would be hard to give up now. FlyCat is always fun to watch regardless.