Nieuport 17 Biplane

Scroll down for video
Nieuport 17 WW1 biplane model and material, created as a personal project with Blender 3.2 and Substance Painter. This was a lot of work to get looking right, but I’m pretty happy with how it turned out!
For more check out instagram.com/taliesinriver or artstation.com/taliesinriver, or email me at [email protected]

64 Likes

Very nice work, its one of my favorite WWI aircraft.

You could improve the model further by making the rigging wires thinner, struts thinner and wingtips thinner. The chunkiness of these items on you model does detract from the final result.
Textures you’ve done look great, you’ve captured that doped aluminium finish nicely.

2 Likes

This is pretty well done! I thought it was a photograph taken at some aviation museum!

2 Likes

Thank you!

1 Like

I featured you on BlenderNation, have a great weekend!

3 Likes

Thank you!

I agree with @kevjon’s comments on the struts and wires, but I also agree with him that these are beautiful images. :smiley:

I’m particularly jealous of your environment with the trees and hangars. Really well done!

The prop texture could use a little work as I’m not really feeling the laminated wood.

1 Like

You’re on the #featured row! :+1:

1 Like

i really hope you work somewhere because quality like yours getting no money from 3d means people like me have no chance

1 Like

Hey don’t say that, you’re making good progress and there’s an infinite range of possibilities for work in this world. Keep practicing, keep learning new things, and do things that you’re excited about.
Yes, I do work somewhere (a small company making a high-tech kids show at the moment), but even if I didn’t work in 3D at all, it doesn’t have anything to do with you - you are a different person with a unique set of skills and life experience, and the opportunities you encounter will be completely different from mine.

2 Likes

Bro very very amazing. Pls how did you made the airplane ? )))

1 Like

Nice model and render.
Feel free to post more renders of this beauty :slight_smile:

1 Like

Thanks!
I used subdivision modeling along with a solidify modifier for the main body parts and subdivision for any parts that needed smoothness or curves. For some smaller parts I went with the easier method of making simple models and using a bevel modifier to keep them looking realistic.
The key aspect for this entire project was getting all the details modeled, no matter how small - exact shape and proportions are important as well, but even if those are a bit off, having all the details present and modeled is essential for the photorealistic look.

1 Like

Thank you!
I probably won’t be posting more of this plane tbh, I’m moving on to another project that I’m even more excited about so am focusing on that.
This is the new project: https://youtu.be/nWp2-NO_z58

1 Like

Bro thank you for replying . Again i have a question . How did you get the textures . Did you make them yourself . Always i need good texs for my models but i cant find them :frowning: . Should i make myself , in what software can i make them ?

Bro pls . check my t-90 tank i need textures materials for it . How can i get help me

You’re models are incredible, I’m surprised you’re asking me for advice (but I don’t mind at all)! I make most of my materials in Substance Painter, which is really nice if you can afford it. It’s layer based like photoshop so very easy to learn, and it has tools for baking things like ambient occlusion and curvature, which allows you do easily do effects like weathering on edges, dirt in crevices, and a lot more.

There’s also the similar, free program Quixel Mixer which I don’t have experience with, but a lot of people like it so definitely give that a try as well.

1 Like

Thank you a lot :slight_smile: . Have a nice weekend

1 Like

i’am amazed by this work :star_struck:
i want to make such an environment like this if you want to give some little notes to begin with

1 Like

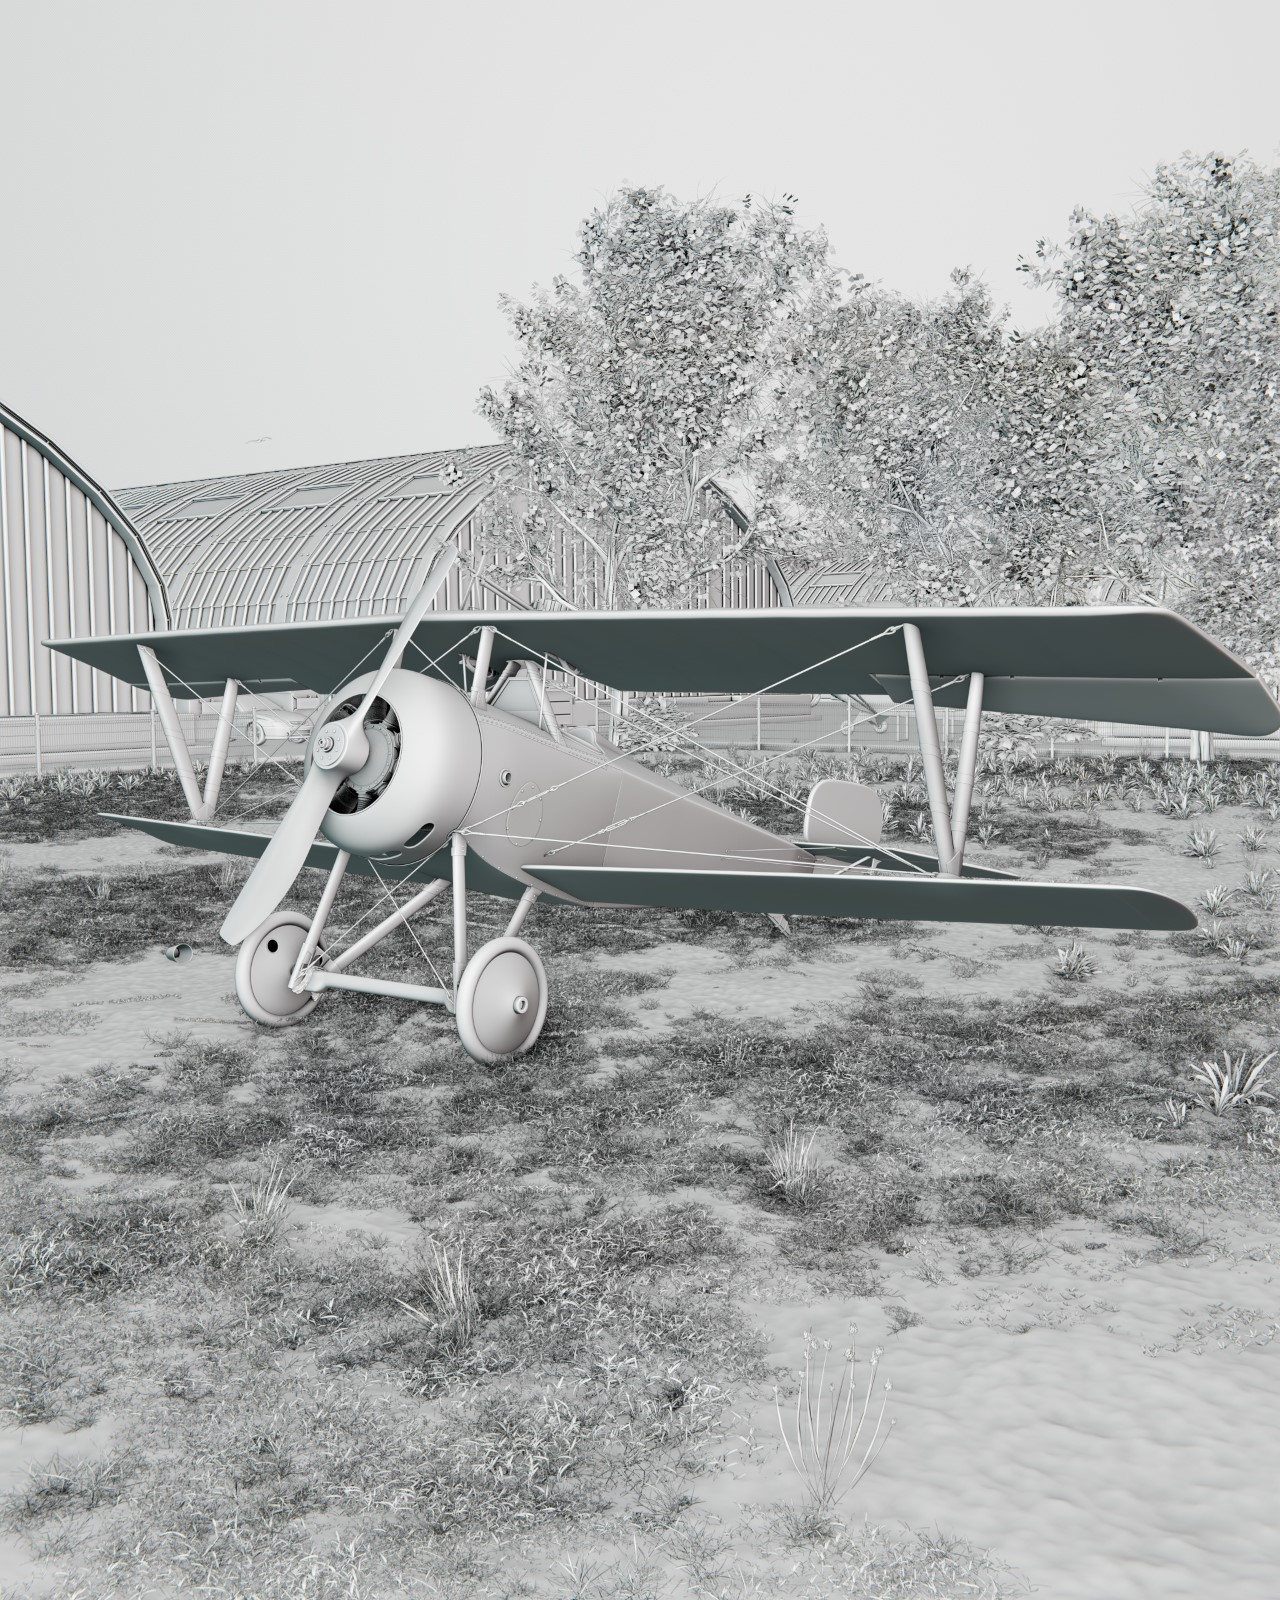
Thanks! So there are three main things I’m paying attention to with an environment like this: details, randomness, colours, and tones. I’ll go over them in some more detail.

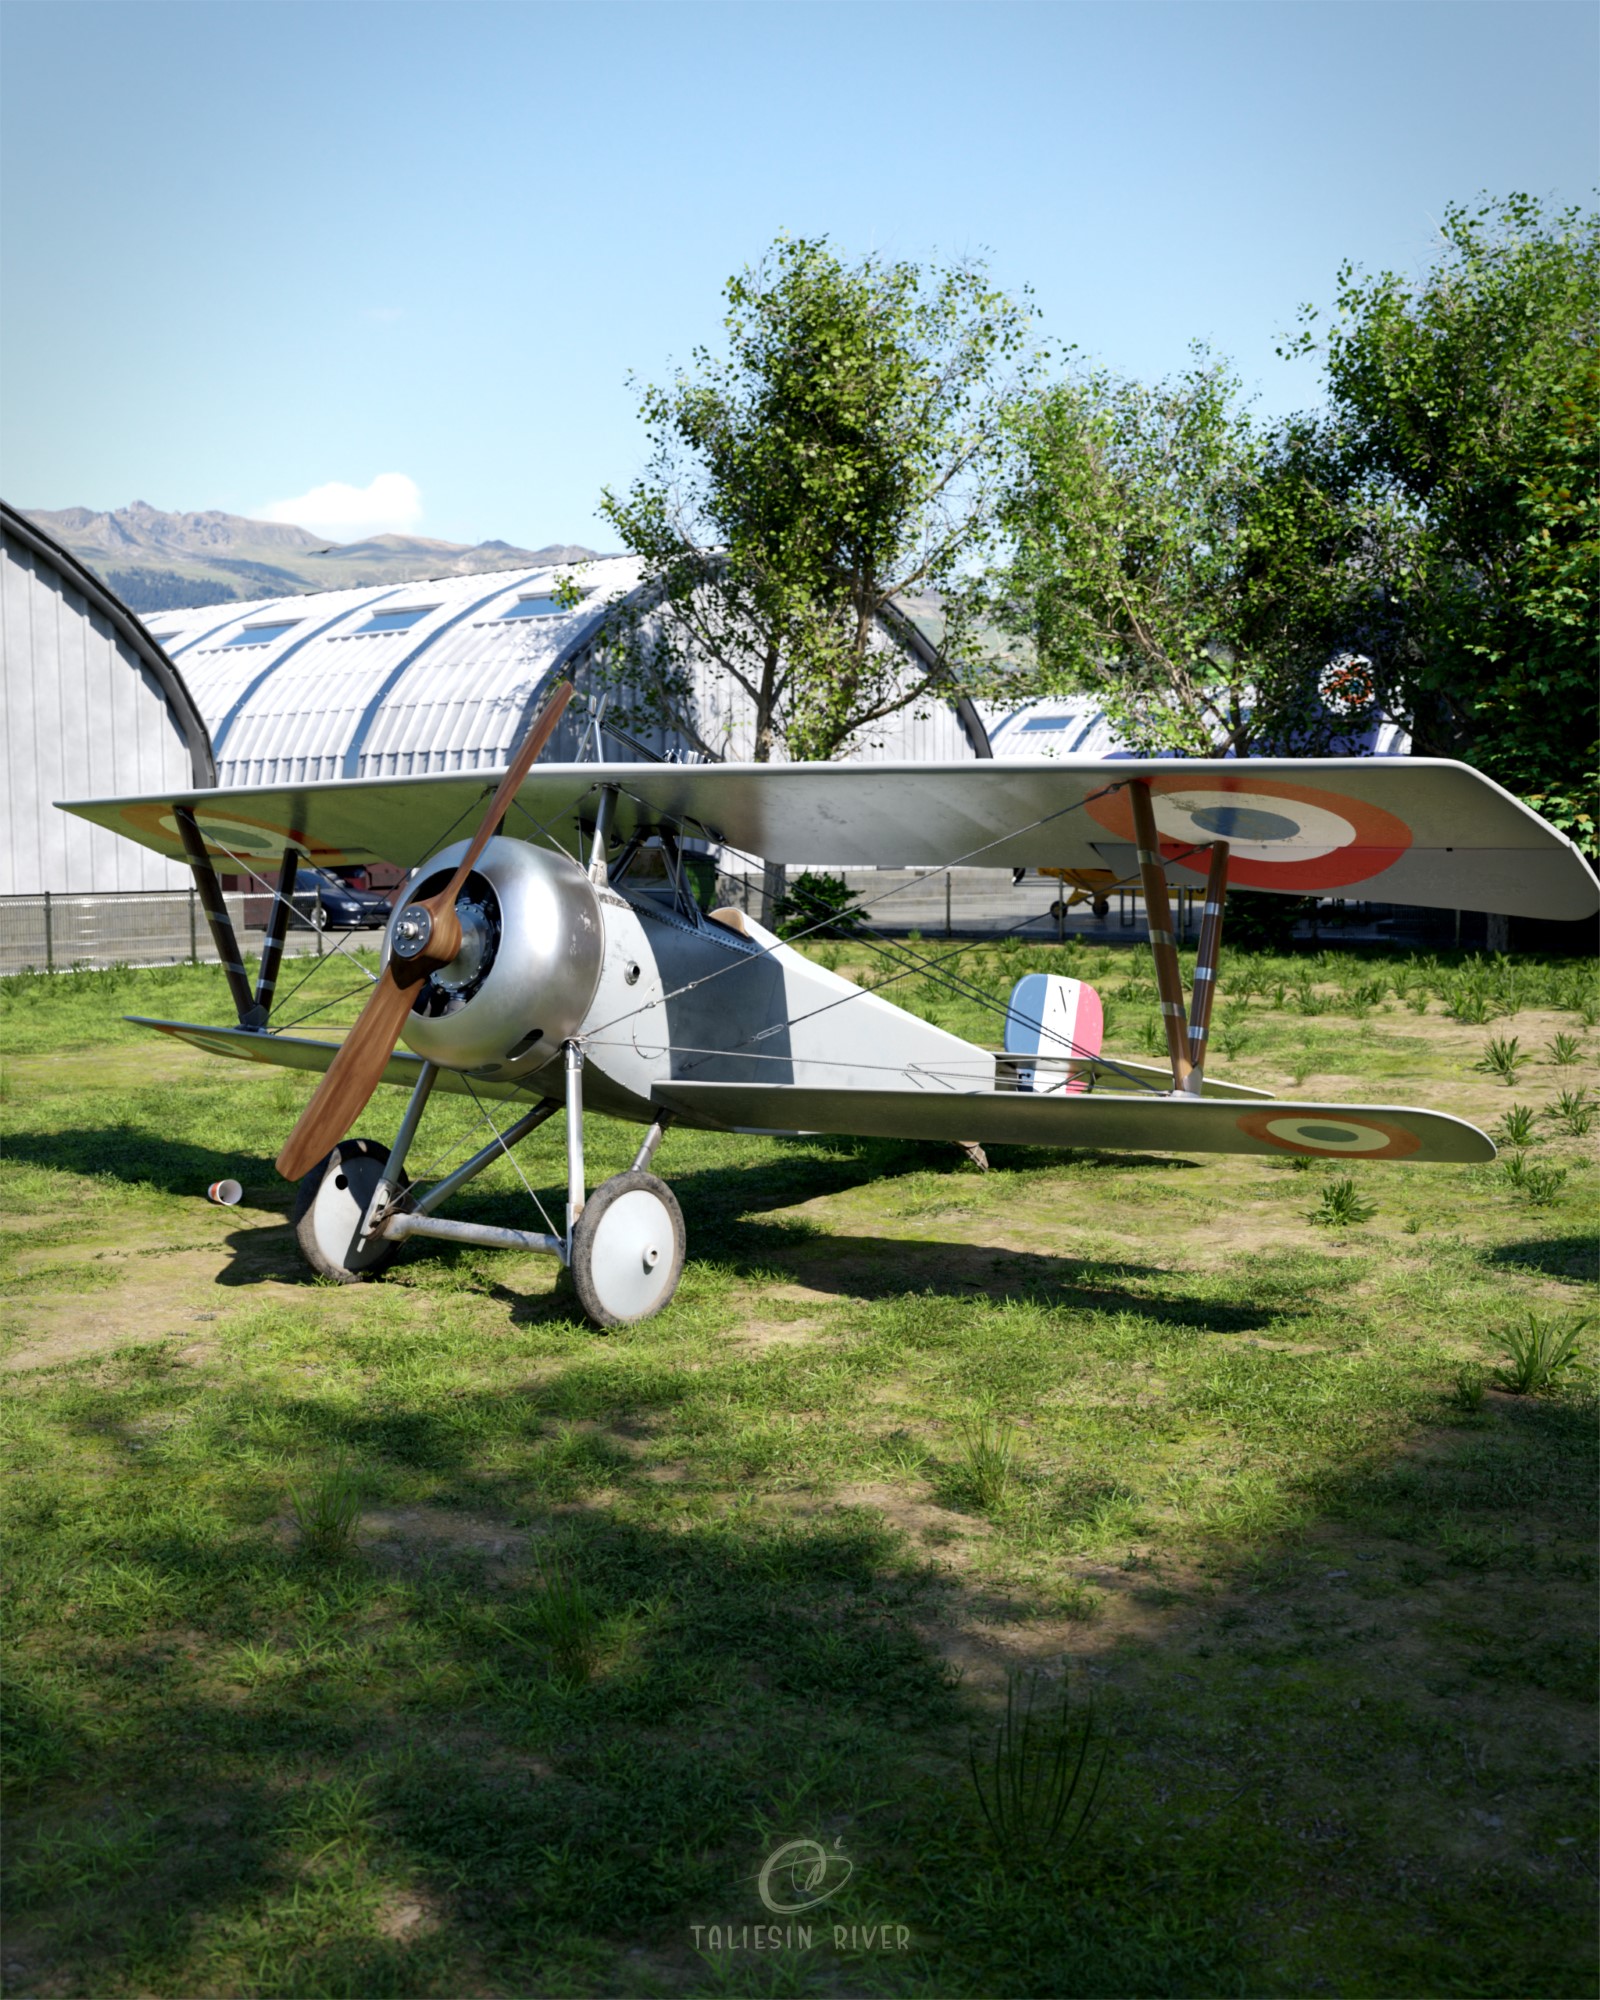
Details: Add a tone of small (and large) details that fit the environment, whether it’s branches on the ground in a forest or litter in a city. Use many different unique models. The more you add, the more realistic your scene gets. Tiny models don’t have to be great quality, so you can probably find free ones on blenderkit or other places. Make sure everything you add makes sense though - pay attention to scale and think about whether what you’re doing would make sense in real life.

Randomness: Real life is messy, so add imperfections, like stains, chips in concrete, or garbage. Not everything has to be there for a reason (eg. the paper cup on the ground in my render). Even tiny imperfections will help sell your image as real.

Colours: Colours of plants, objects, ground, and any natural or dirty objects in your landscape should be both coordinated and varied.

Start with getting them coordinated; textures naturally have variations in hue resulting from different lighting and the location they were made, so for example, if you were putting physical grass particles on a ground with a grassy texture, you’d want to make sure that the ground grass and particle grass colours match each other. Same thing would apply with different rocks, leaves, and concrete even - everything has to match each other to look like they’re part of the same world.

The best way I’ve found to do this is to use a mixRGB node, set the mode to overlay, and adjust the colours that way. It allows you to drastically change the colours of your material without looking weird.

Then making them varied is the next important thing. Having your colours match eachother is essential, but to make it realistic you also have to add a bit of variation into the mix - for example, in my scene I used overlay nodes to make the colours of the trees very slightly different from each other, which is not noticeable but adds a lot to the realism.

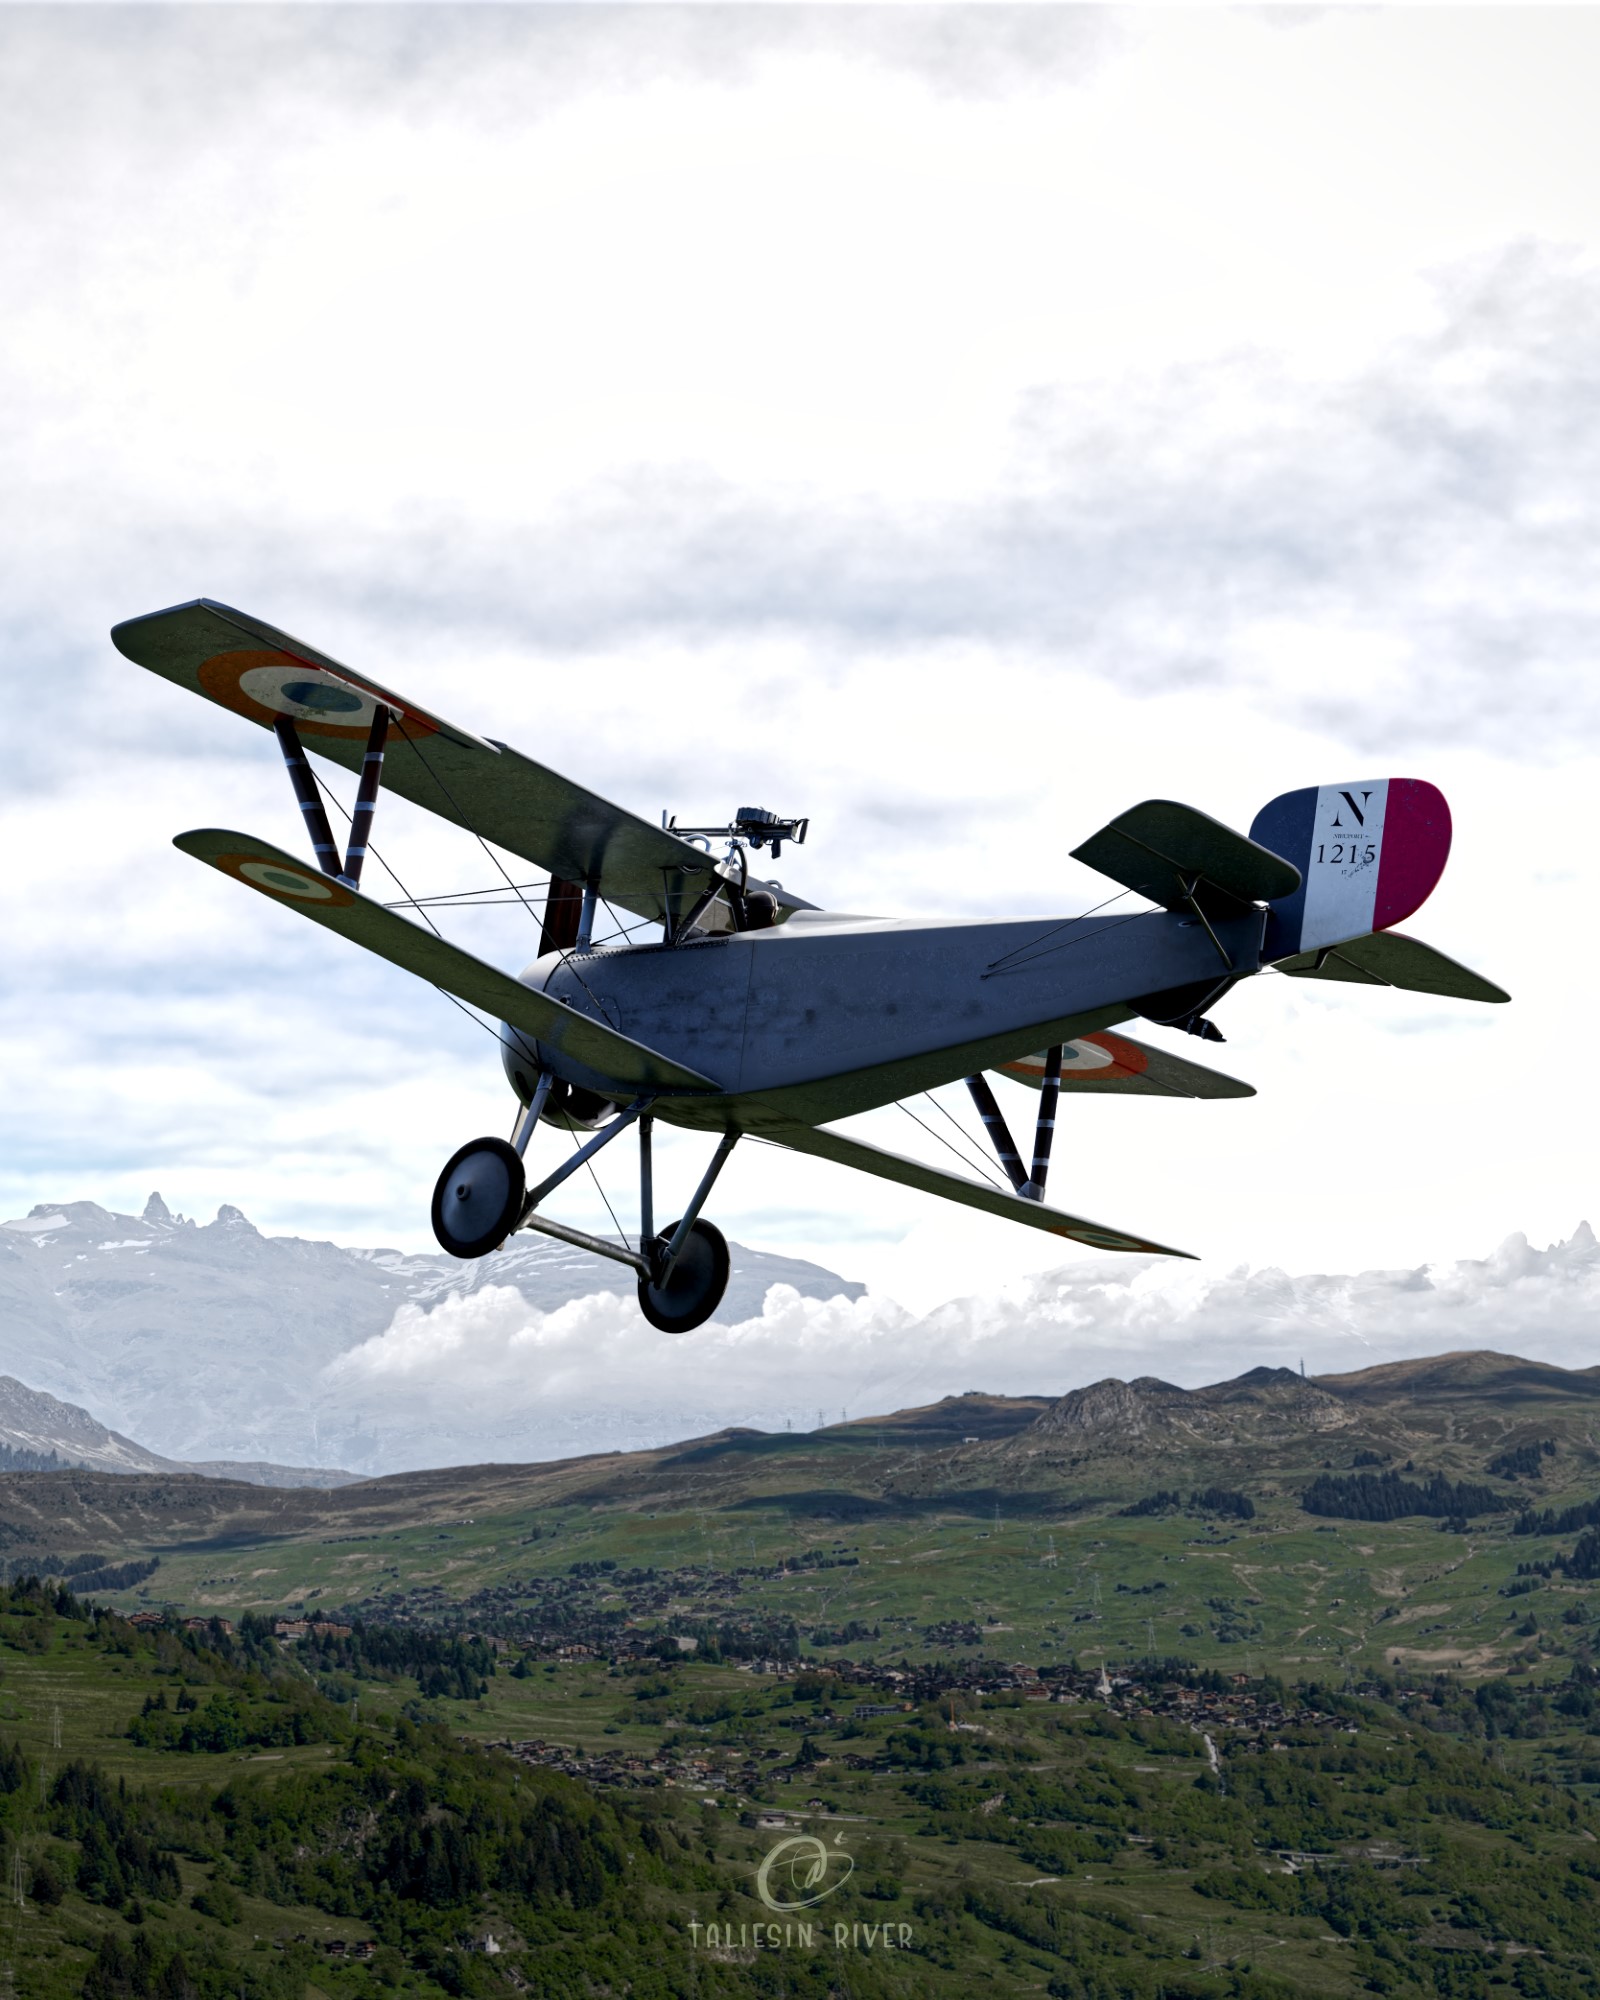
Tones: This is a super essential step for photorealism, more so than any of the others I mentioned. If you want your image to look like it was made by a camera, the brightness and darkness values have to match actual photos. So when you’re editing the final render (or ever when you’re setting it up) find reference photos similar to what you’re creating, and make sure the shadows, highlights, blown out areas and under-exposed areas all match.

One last thing: if you want a landscape, mountains, or clouds in background of an image render, simple image planes with transparent sky work surprisingly well. Textures.com has a lot of them with pre-masked sky, and you can easily add them to your scene using the “import images as planes” addon and set up an emissive material (since lighting should be ignored). I did it for both these renders and it’s a super quick way to get believable results.

3 Likes

i can’t thank you enough for giving us this great starter with such an amazing tips , learned a lot from them and i’ll go for it , i really appreciate your efforts👏

1 Like