A breakdown of my favorite Nodevember creation from last year:
TRAP
An animation of a toony bear trap closing where everything is made with nodes, including the animation!
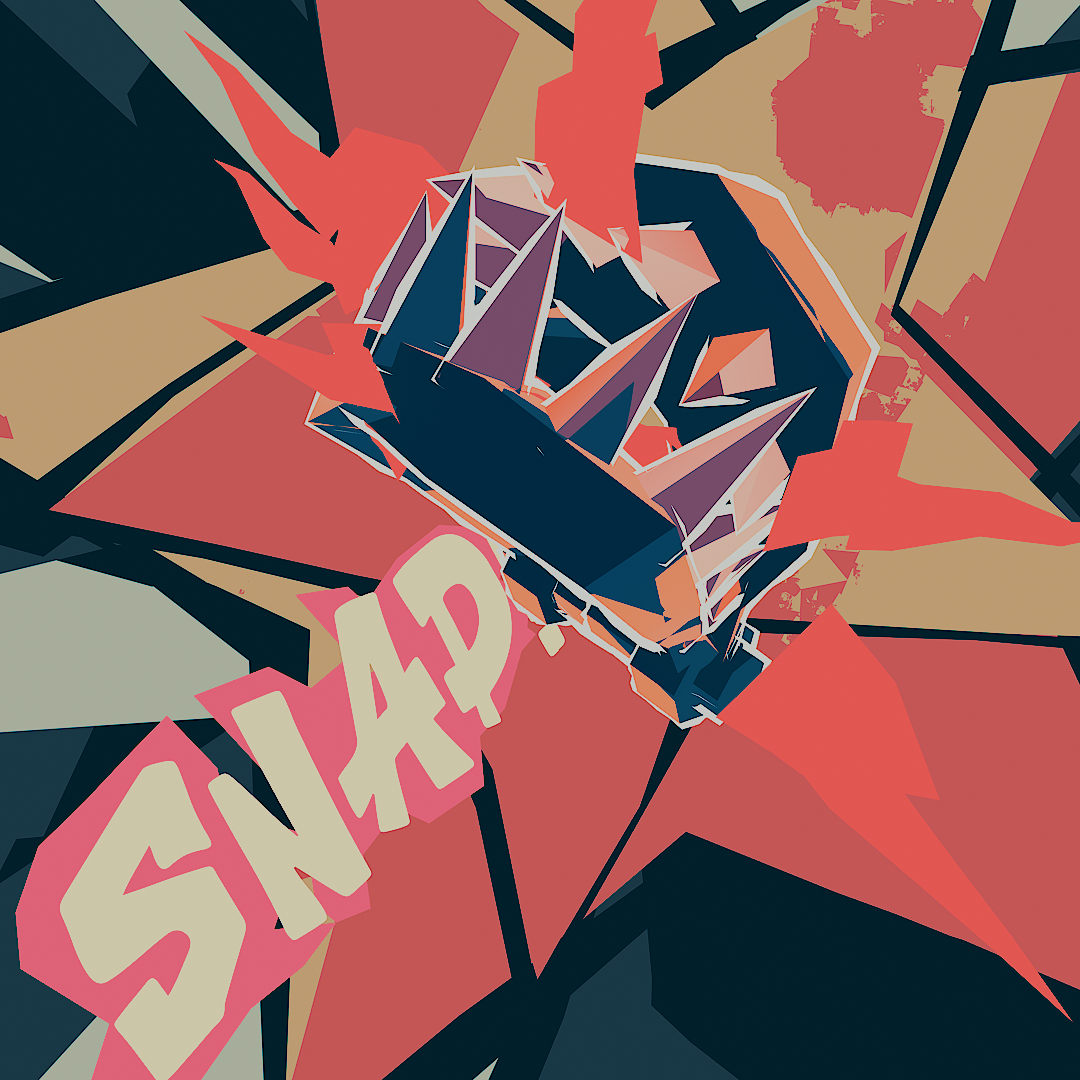
One of the most fun projects I have worked on still to this day!
Besides the limitations of Nodevember as a concept I also wanted to experiment with animating with nodes, so something simple like a bear trap closing seemed a good candidate for that.
Solid+wireframe
Some stills
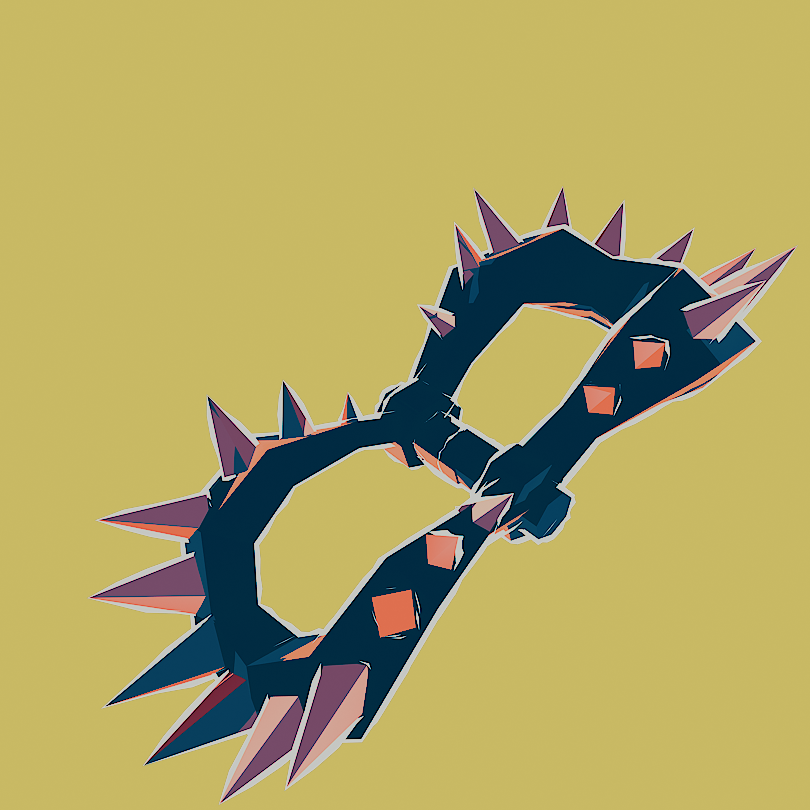
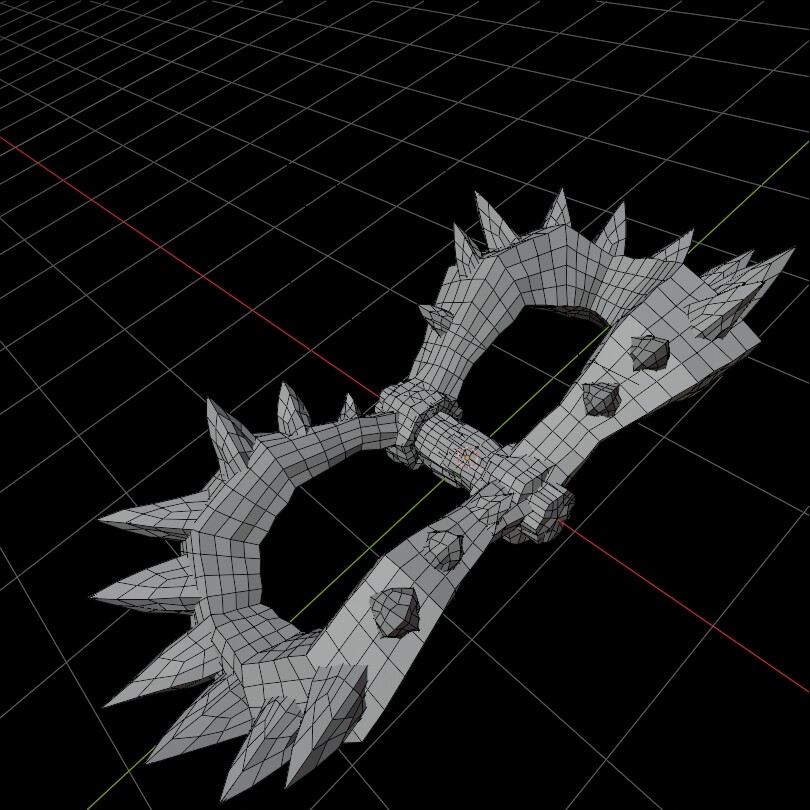
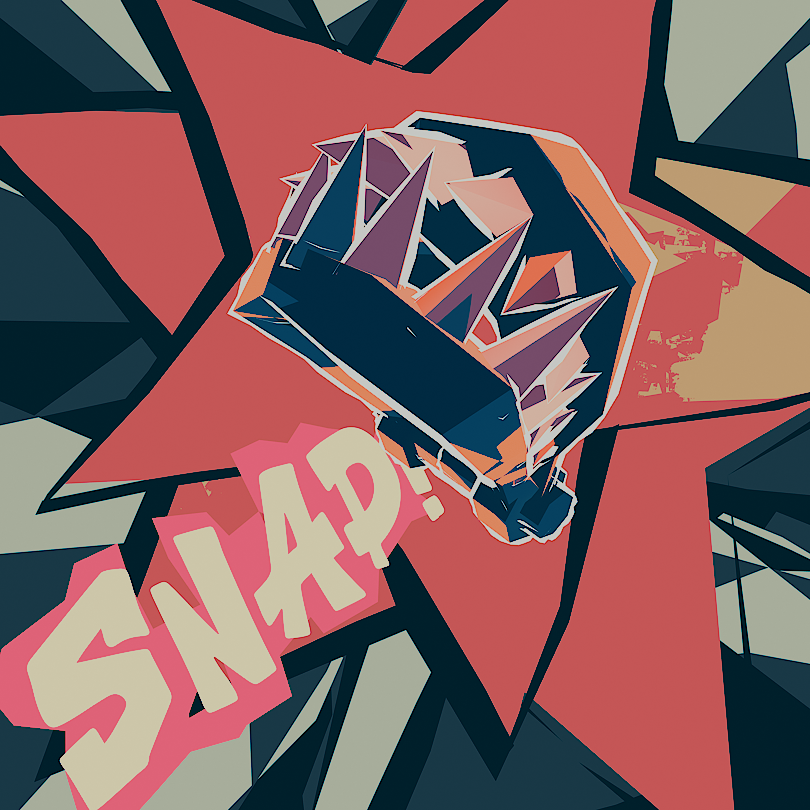
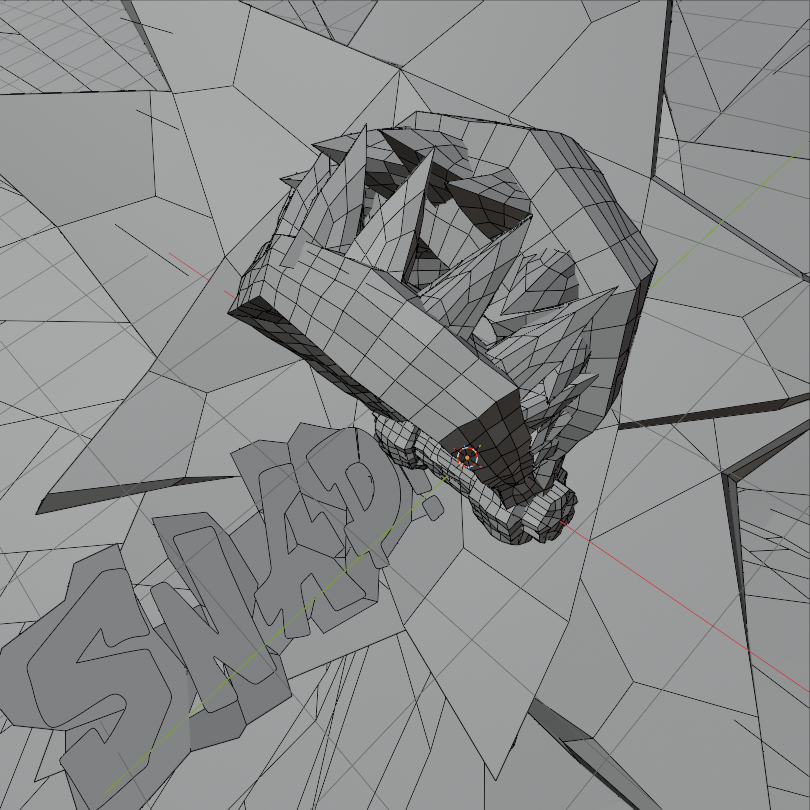
So how does it work?
Well, like most geometry nodes projects it all starts with a curve:
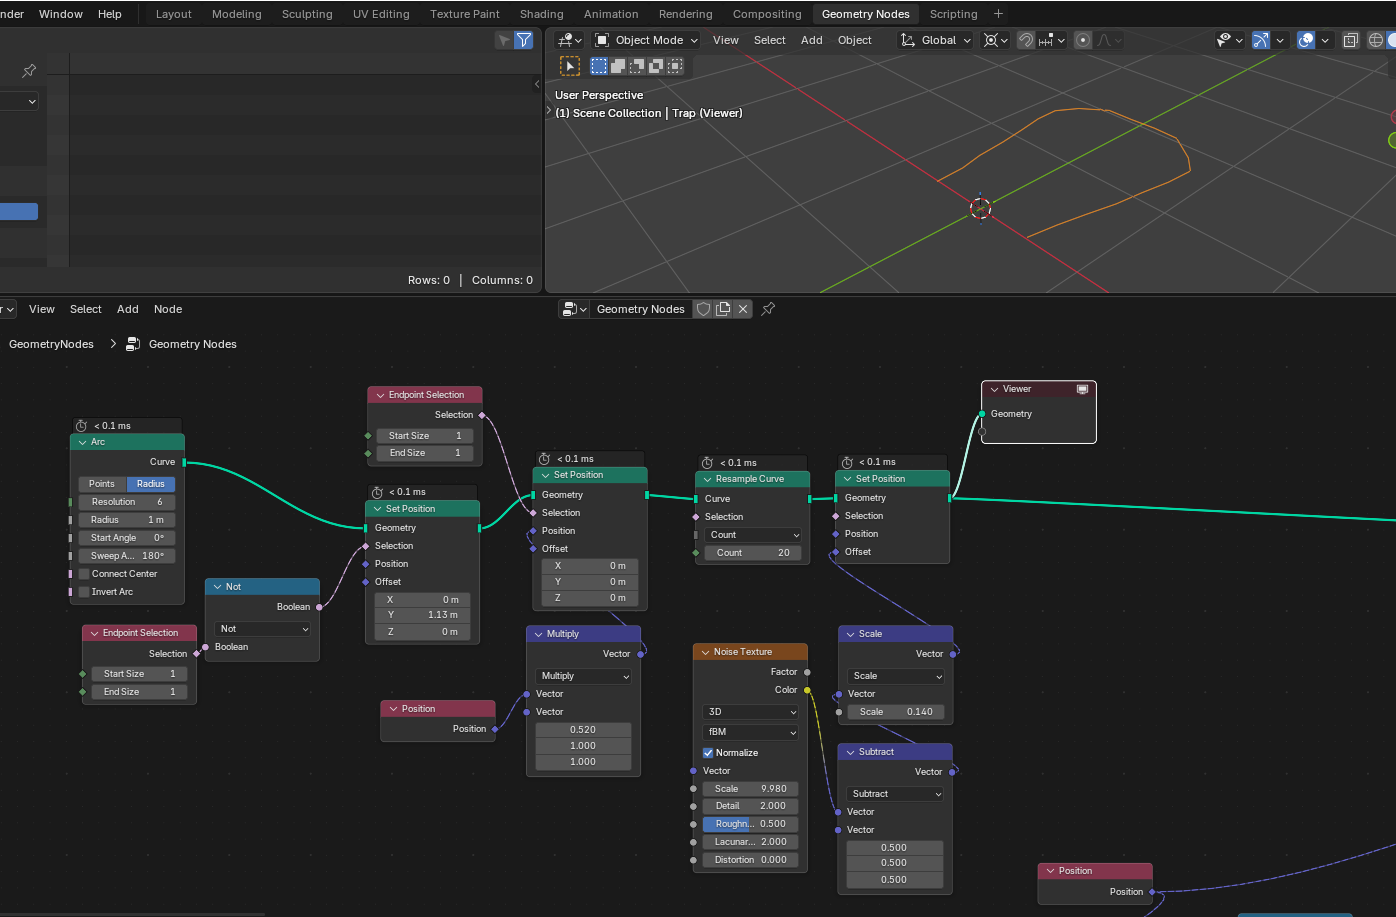
The first Set Position node moves the curve arc (sans the endpoints) away from the center while the second Set Position node moves the endpoints closer together. This creates the basic shape for one of the jaws.
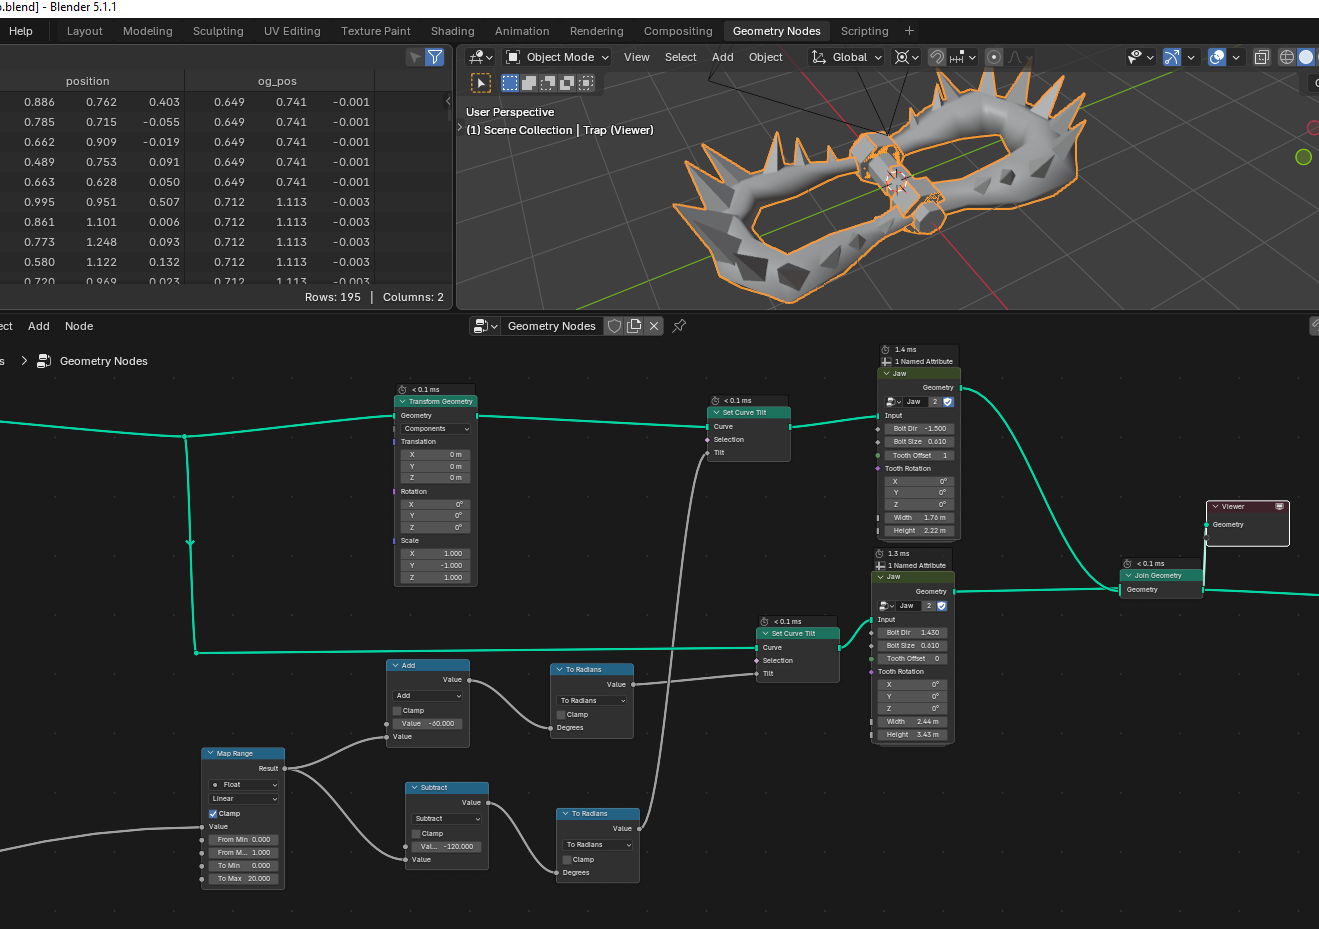
Next I copy the curve and mirror it along the X-axis (that way when I animate it I only need to animate one curve)
The Trap mesh itself is generated using the custom node group I made for the project, so let’s dive in and see what’s in there!
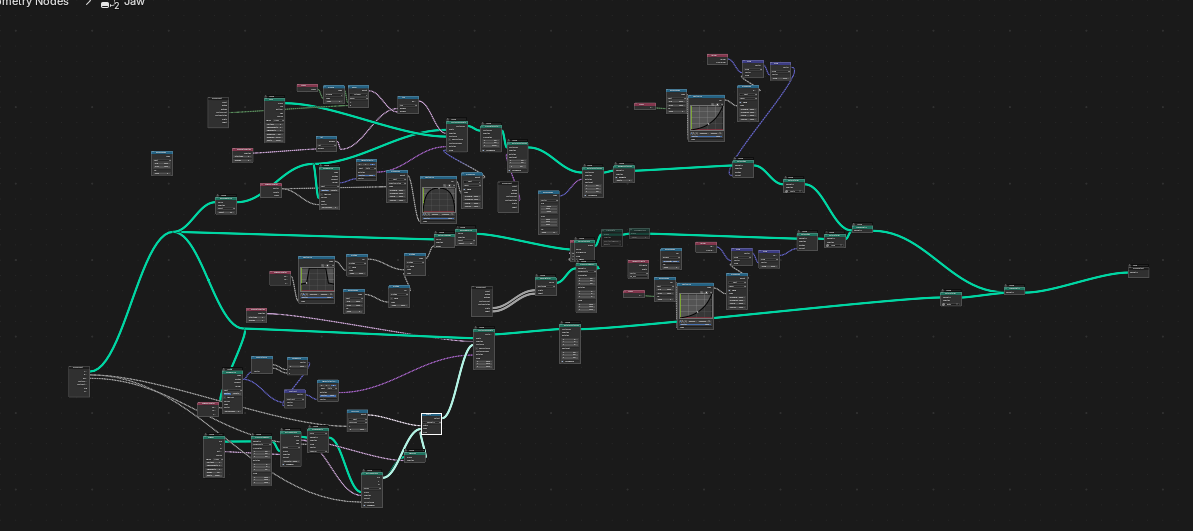
Yikes!
Well lets go through it so we can make sense of what is going on here
The node group consists of 3 different setups; one for generating the jaw mesh, one for generating the teeth and one for generating the bolt in the middle.
Let’s start with the bolts:
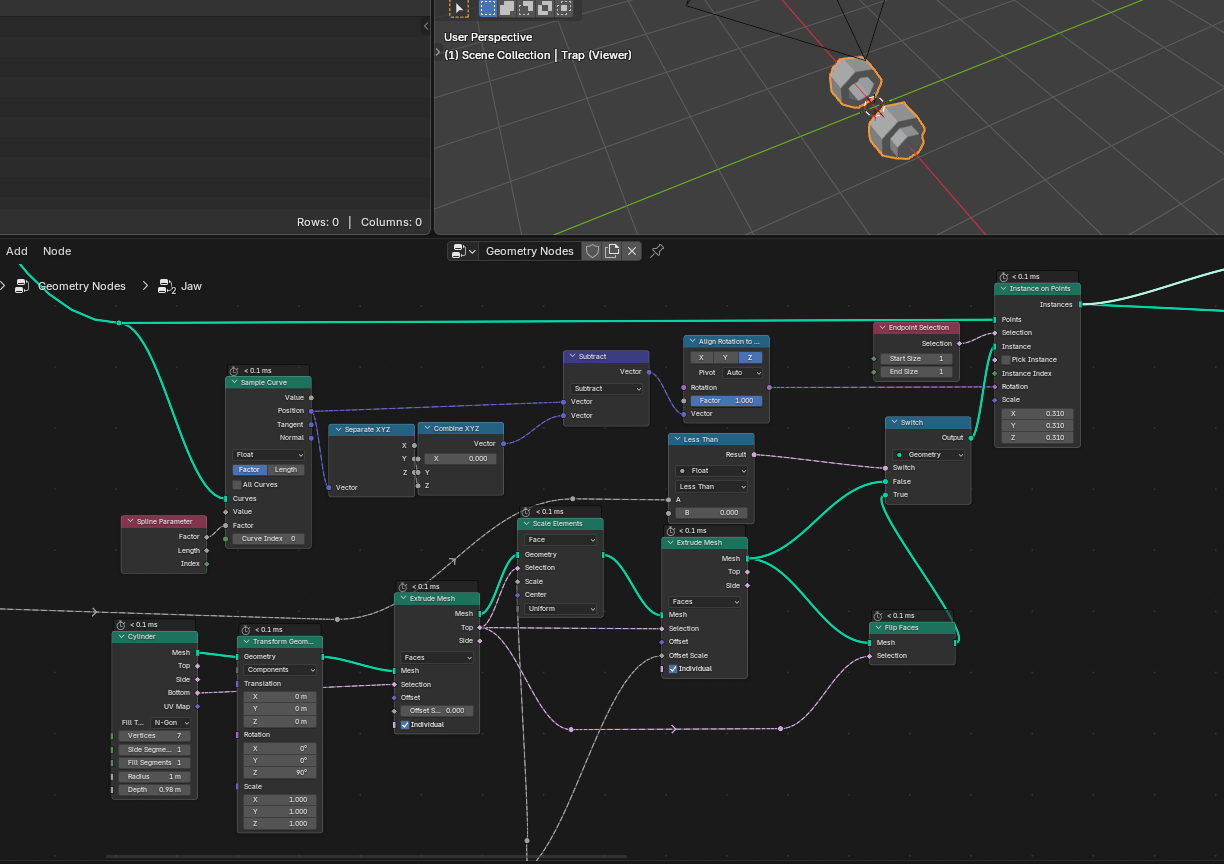
The bolts are made from a cylinder with some extrusions that is then instantiated on the endpoints of the curve and aligned along the X-axis.
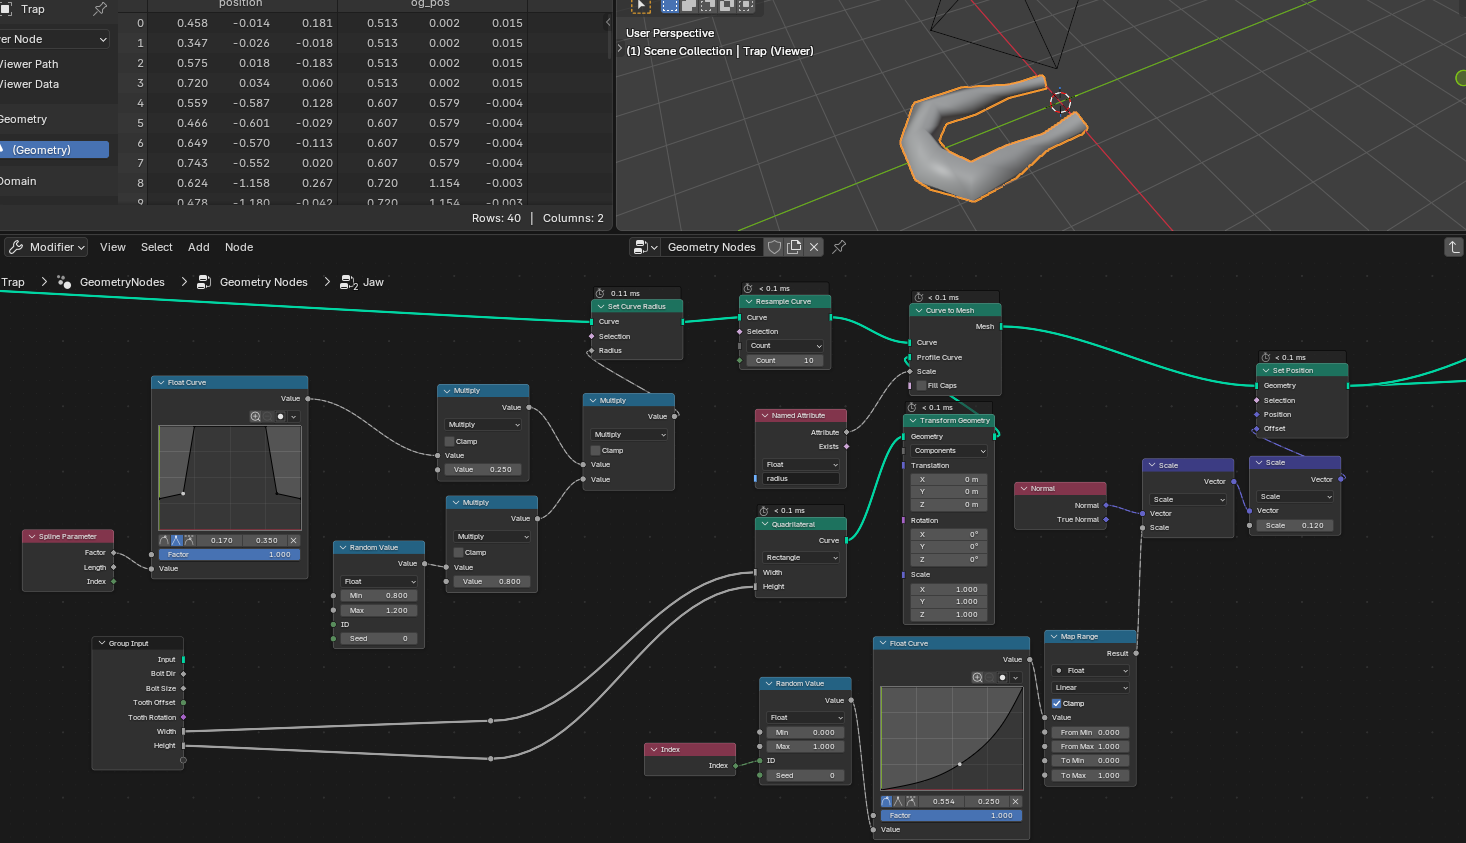
The jaw is also very simple as it’s just converting the curve to a mesh using a Quadrilateral curve as the profile. At the end I add some minor distortion to it to make it more “organic”.
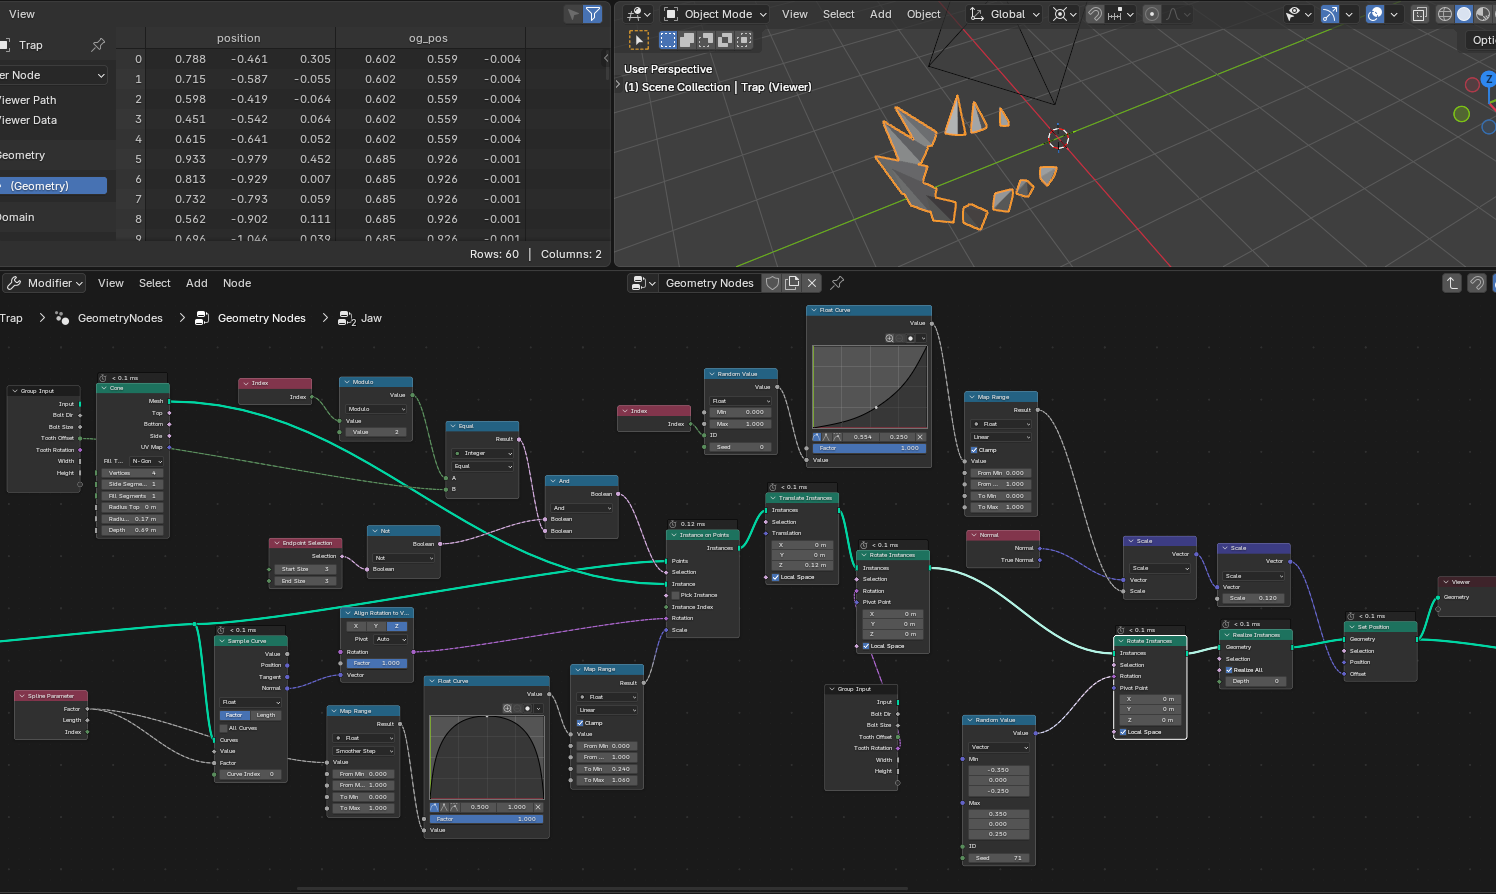
The teeth setup was pretty fun to make!
They are basically just a cone mesh instantiated along the curve where I use a modulo operator to skip every other index of the curve points. The offset parameter is there so that the teeth of the other jaw (which is using the same node group) will be placed between the teeth of this jaw.
I also make sure to align the teeth along the normal vector of the curve which will be important for the animation part.
At the end of this setup I also add some random rotations to the teeth to again make the whole thing look more “organic”.
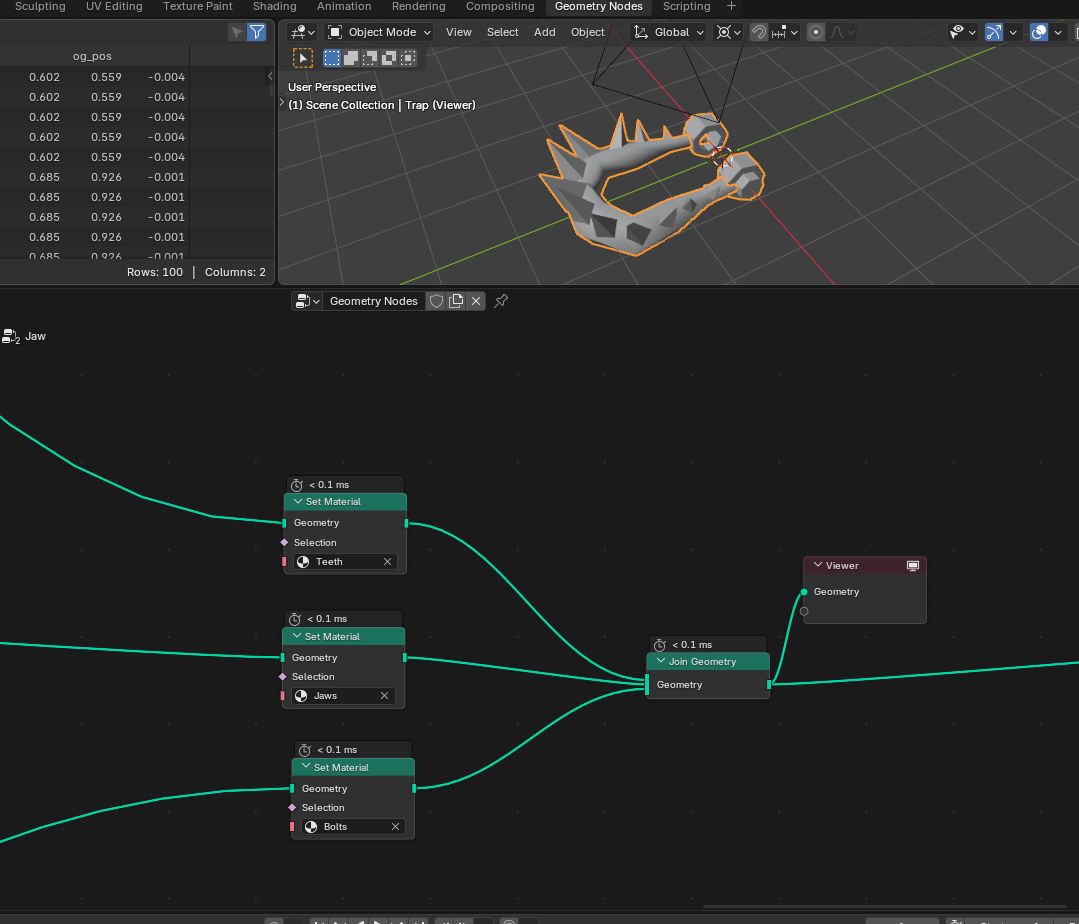
At the end of the node group I assign some materials and join everything together, and the result is one bolted and toothed jaw!
Here are the different settings for each of the jaws:
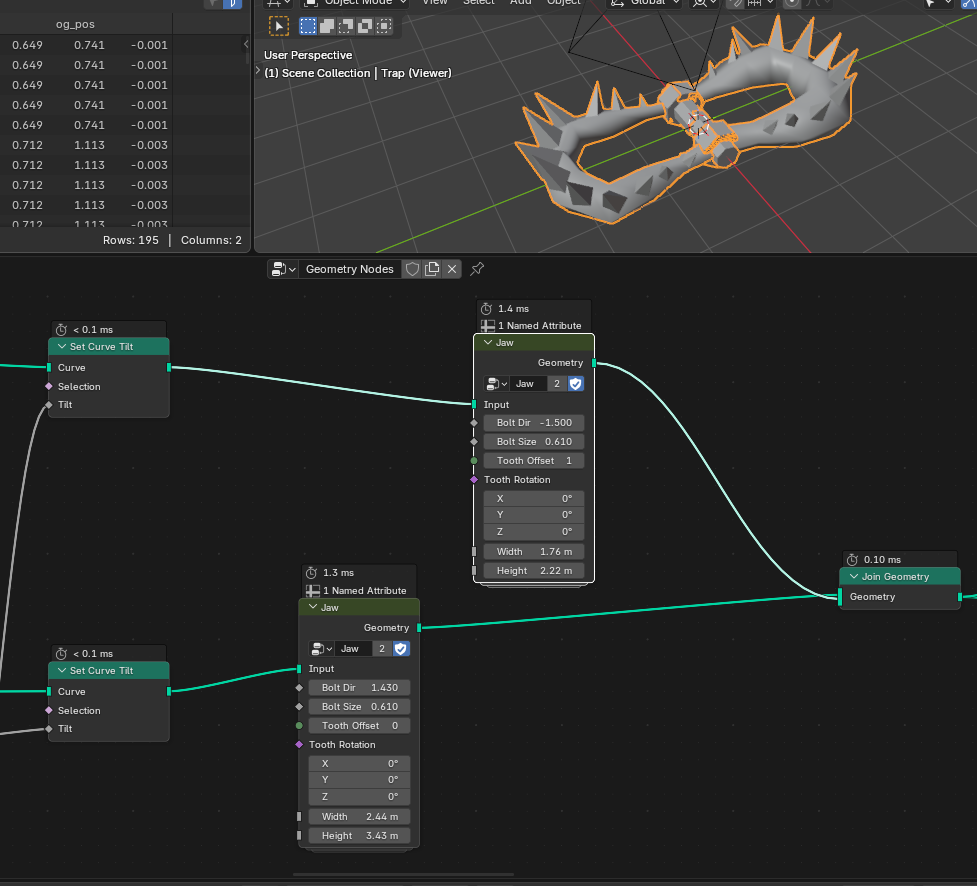
And finally for the “modelling” part I create a backfacing extrusion of the whole mesh and assign an outline material to it.
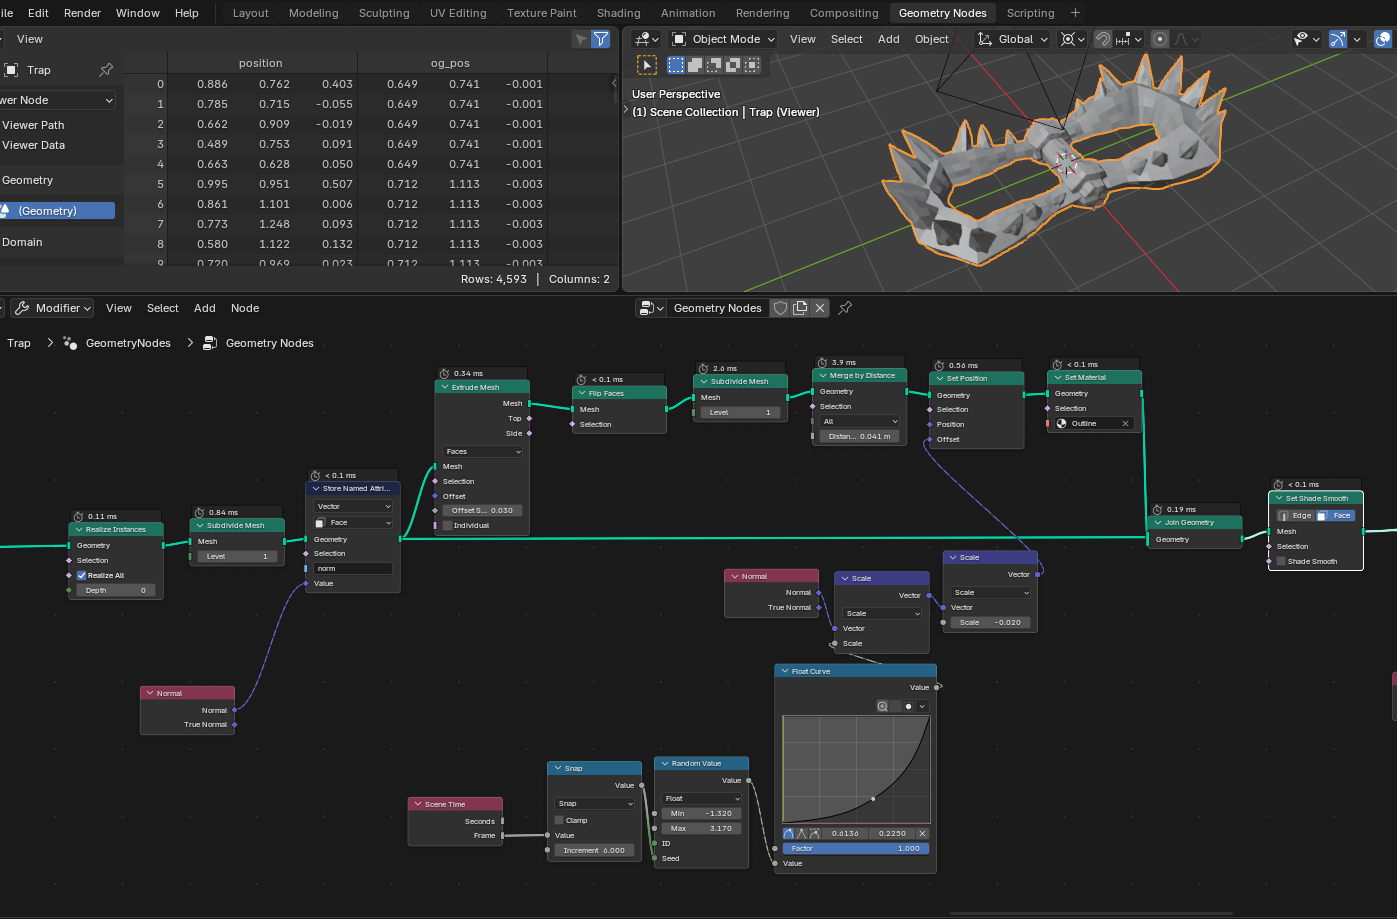
Using the Scene time node with a Snap node (very fitting name) I create a boiling effect for the outline mesh by updating the seed of a Random value node to add a random distortion to the mesh which updates every 6th frame.
The animation
So now the fun part; the animation!
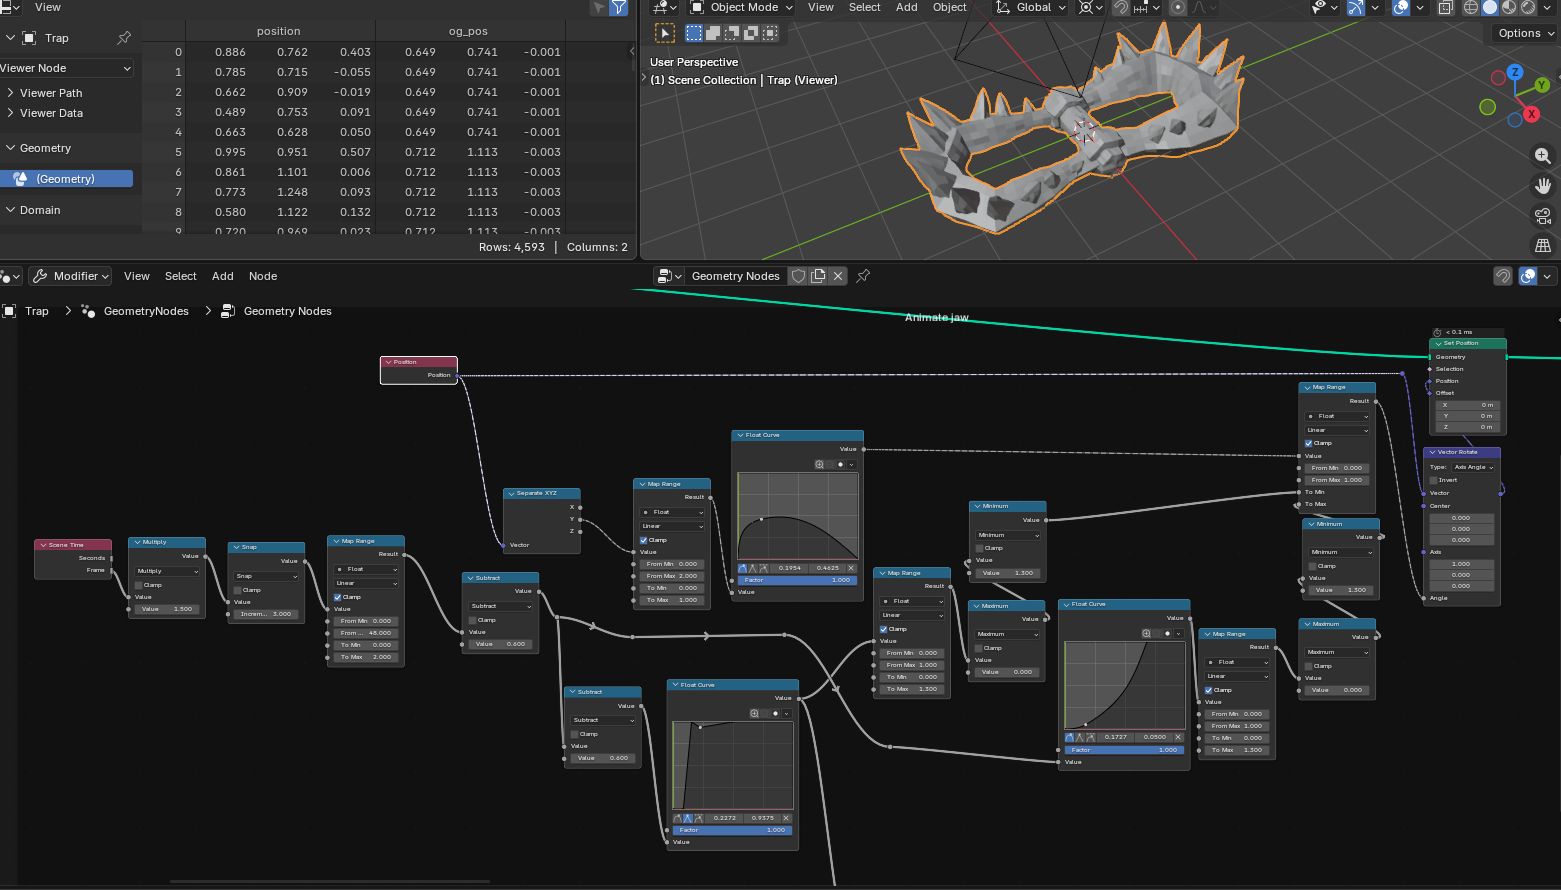
So first of all, I map the frame number from 0 (min) and 48 (max) to 0 and 2.
This essentially creates my animation block! Using this block I can then subtract or add to create offsets for any animation/action that I want to create.
I can then use Float curve nodes to create graphs for speed and acceleration for the different actions.
Let’s take the bottom Float curve for example:
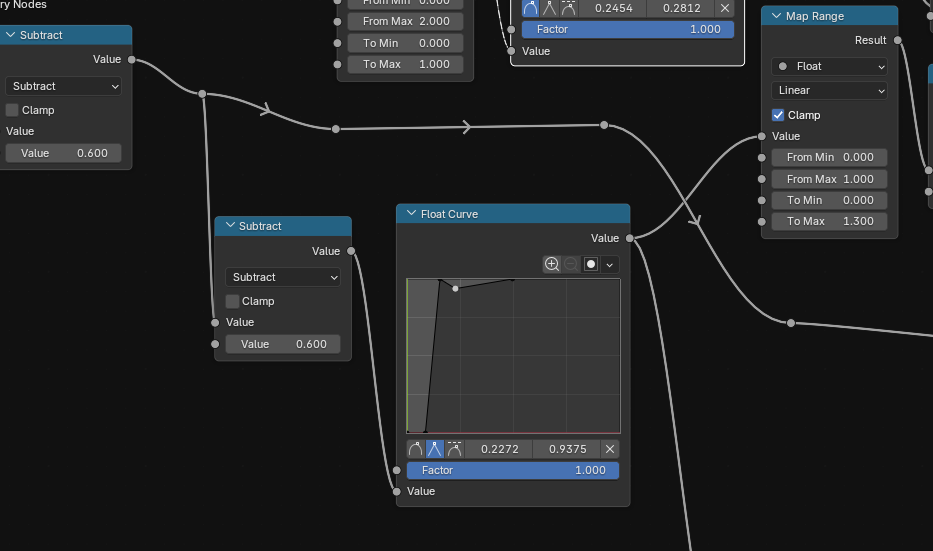
This float curve controls the overall closing speed of the trap. It starts dormant, and after a few frames it fully closes, quickly bounces back slightly and then fully closes again.
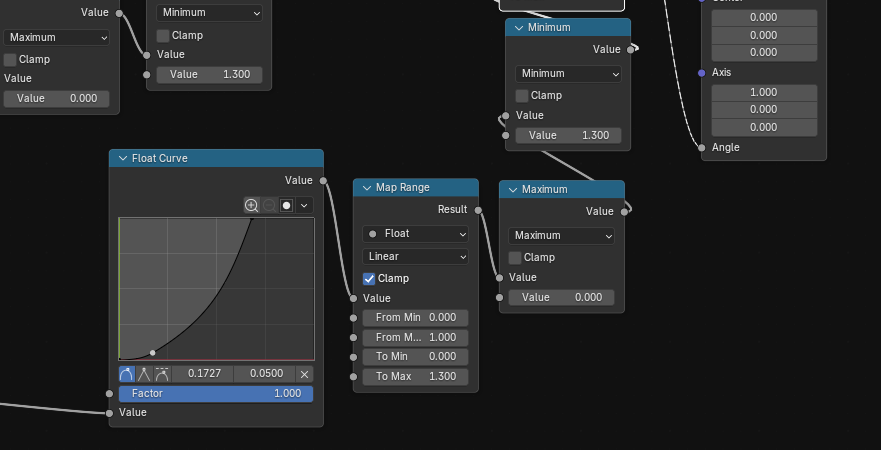
The right-most Float curve controls the anticipation before the snap, ie. the bending of the jaw before it snaps close. The map range to 1.3 is just the value that looked the best to me.
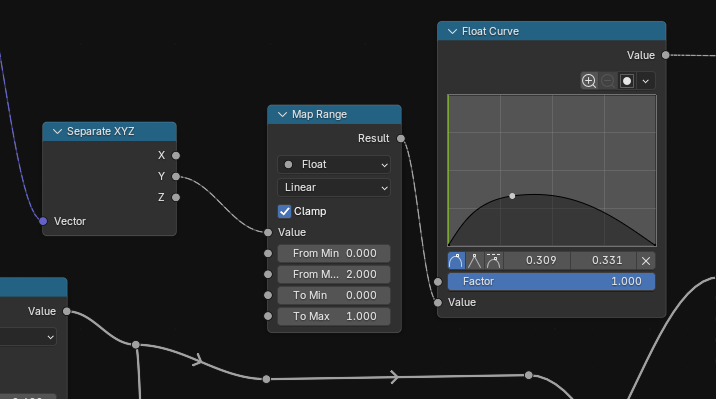
And finally the top-most Float curve node. This one controls how far the middle part of the jaw can bend.
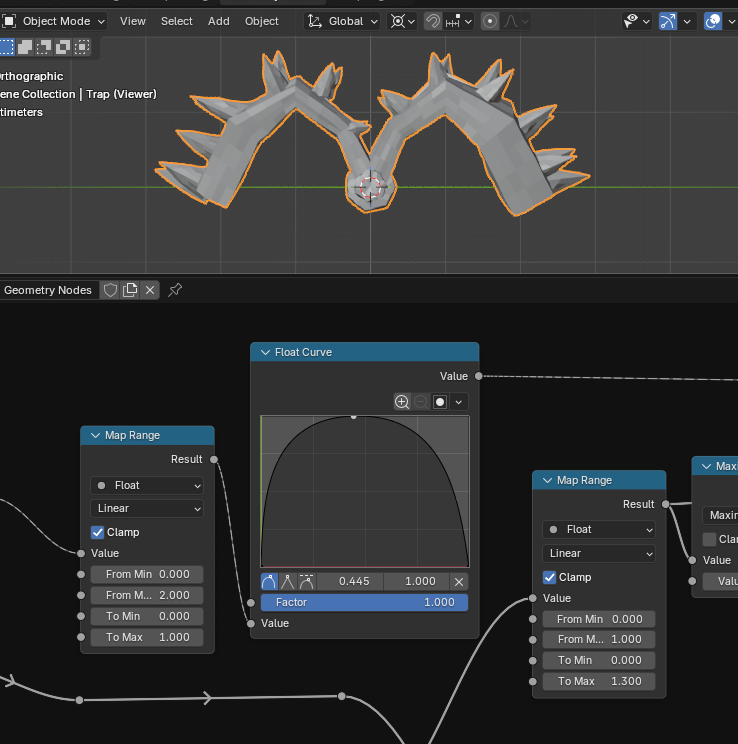
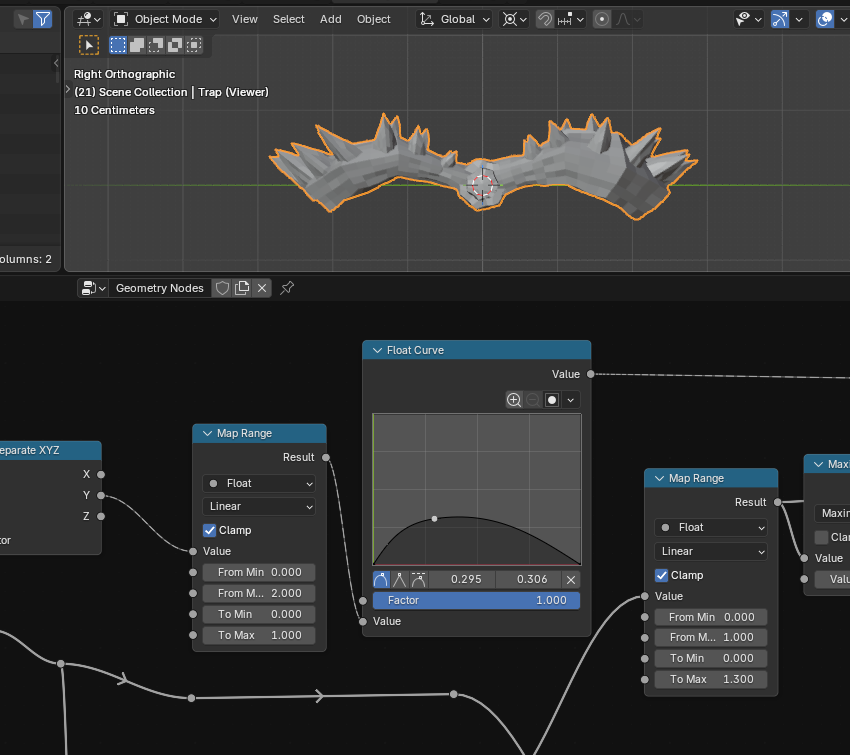
The float curve for this one was kept pretty modest but as you can see it can be pushed to get some truly cartoony bending!
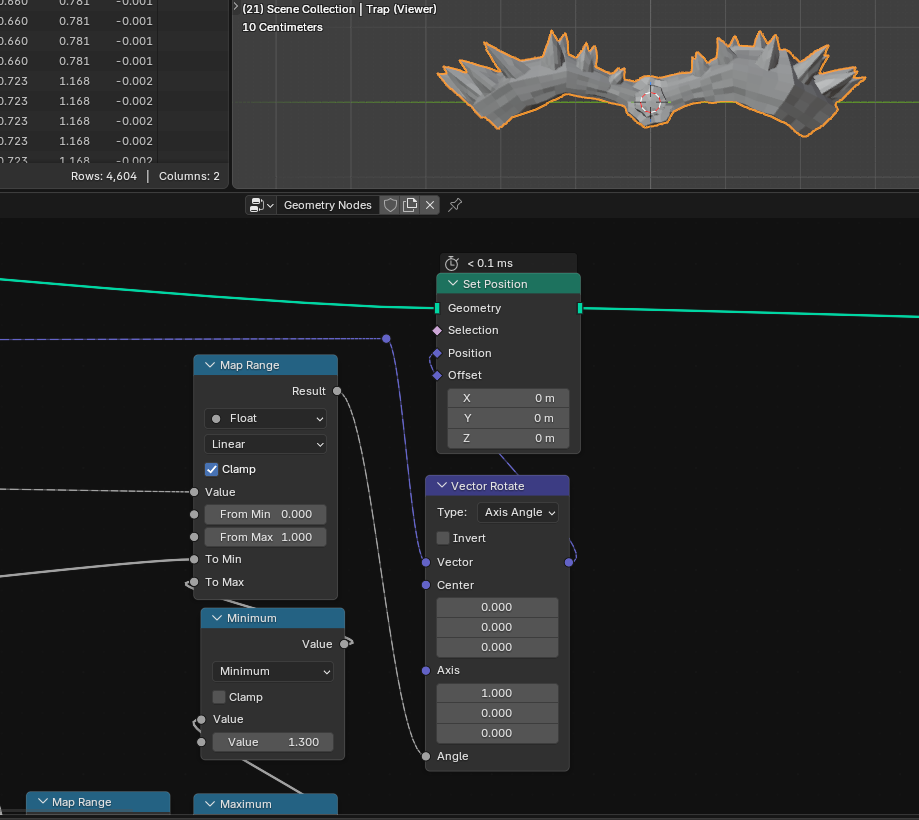
These three Float curve nodes are then connected to a Map range node and then used to rotate the positions of the curve along the X-axis.
By doing this animation before the curve is copied and turned into a mesh I get some cool extra effect for free by happenstance! One of the coolest being something that adds even more anticipation to the animation: the outwards bending of the teeth!
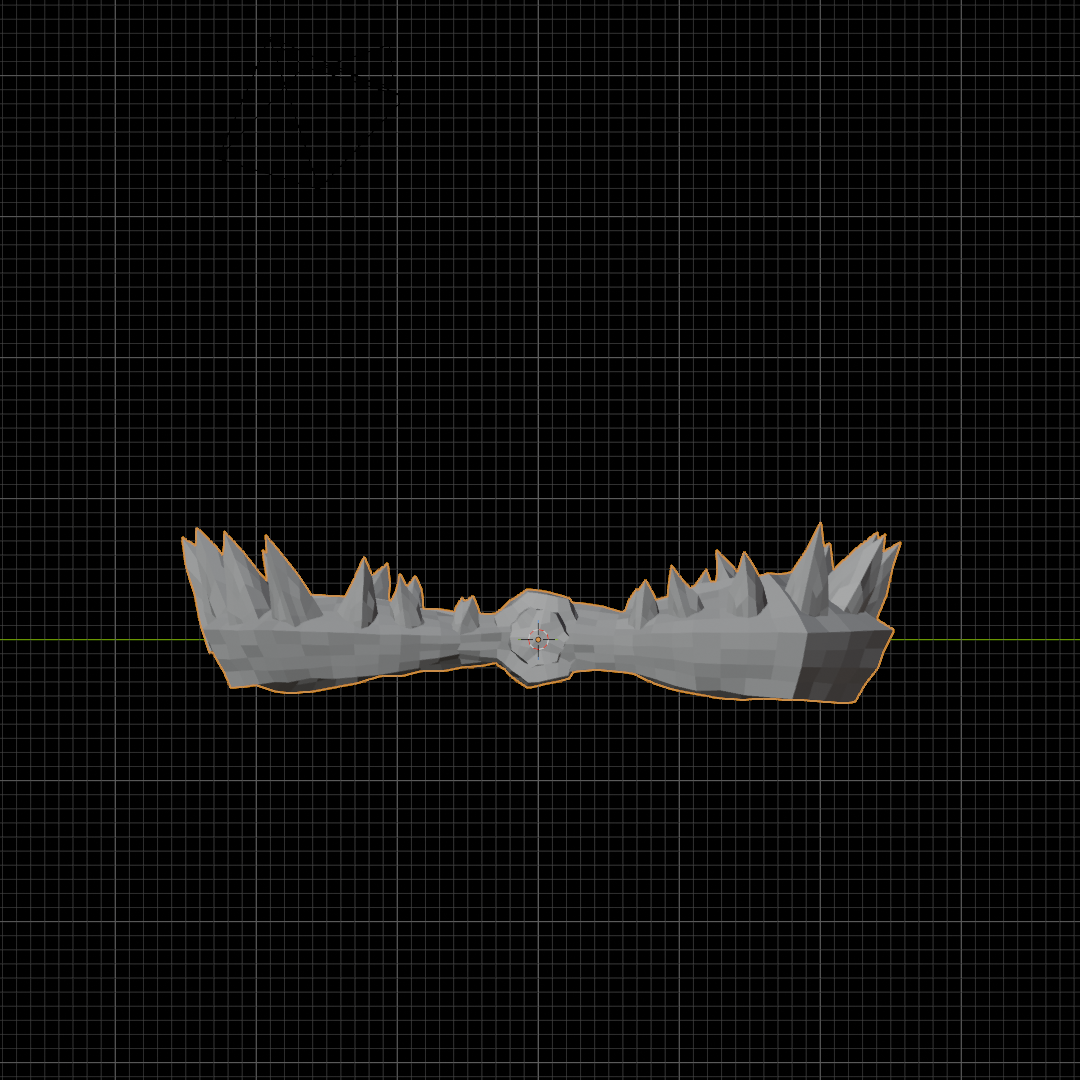

Since I align the teeth to the curve’s normal vector, any changes to that normal vector also changes the alignment of the teeth.
And due to the bending of the curve before the snap, that normal vector gets quite affected
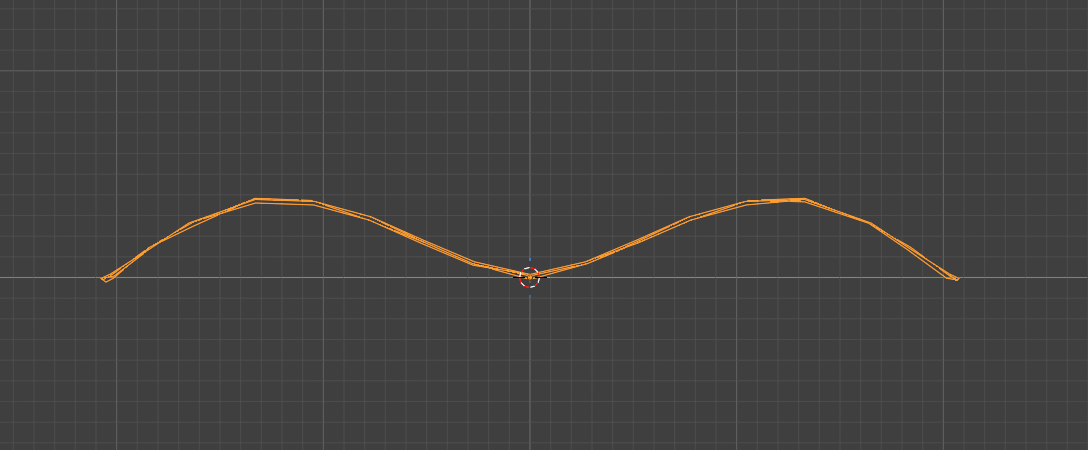
The material
The materials, unlike the geometry nodes setup, are mostly extremely simple
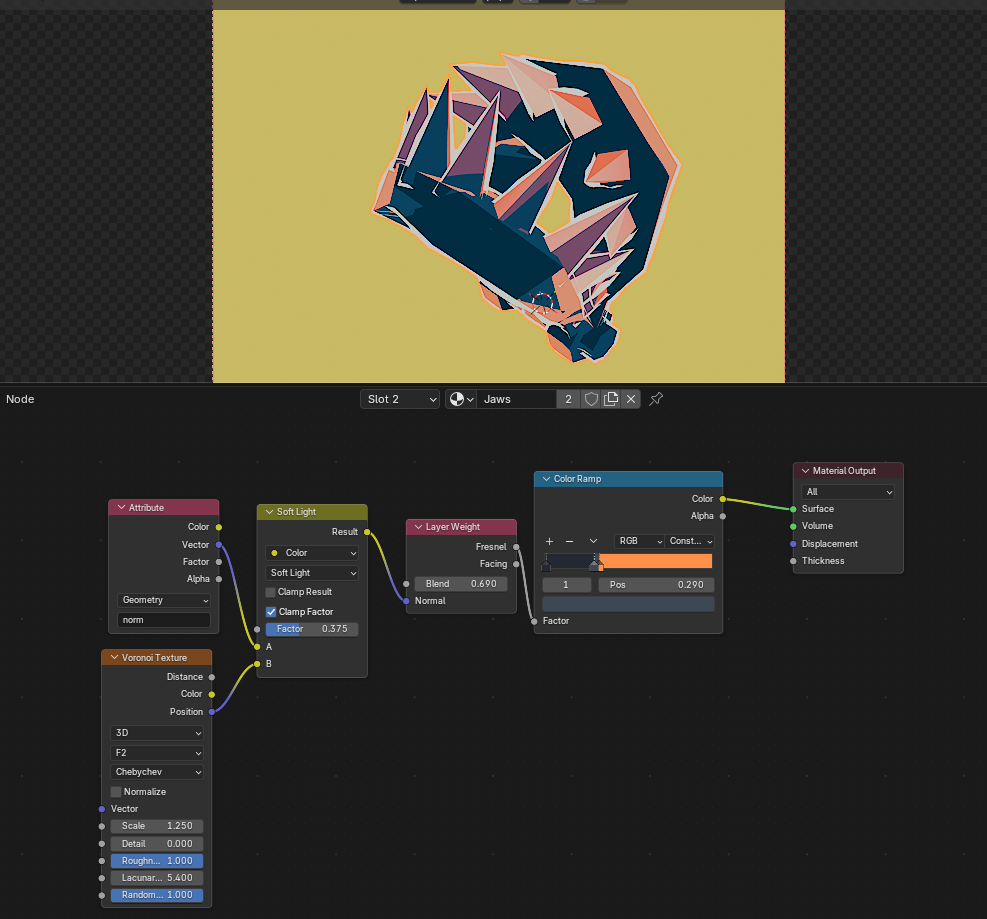
I just mix the mesh normals with a Voronoi texture and use that as the Normal input for a Layer Weight node.
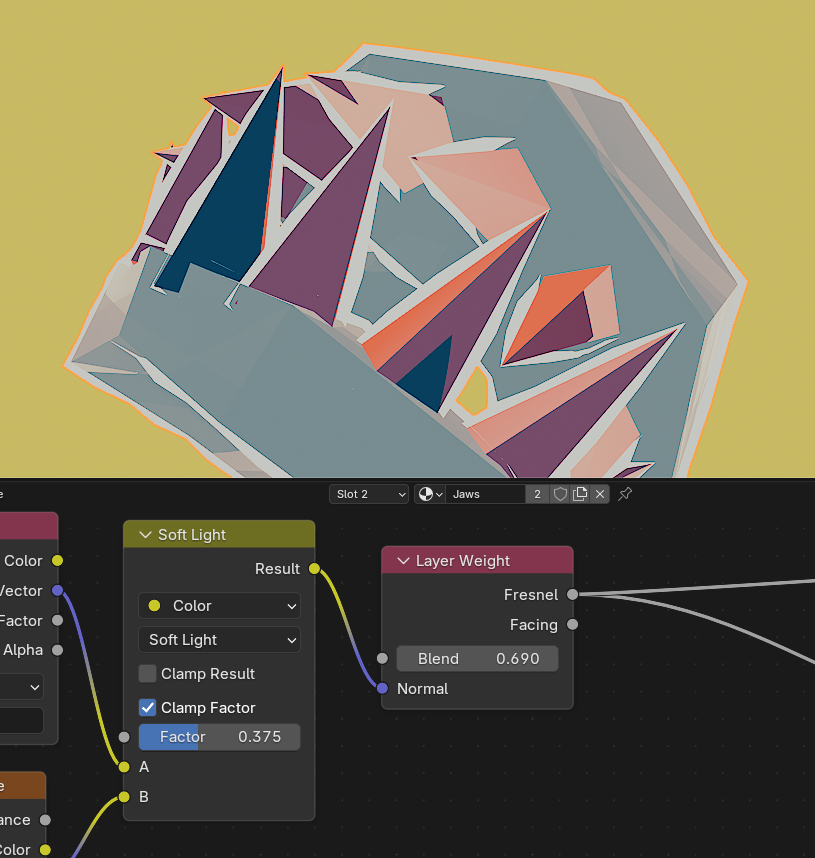
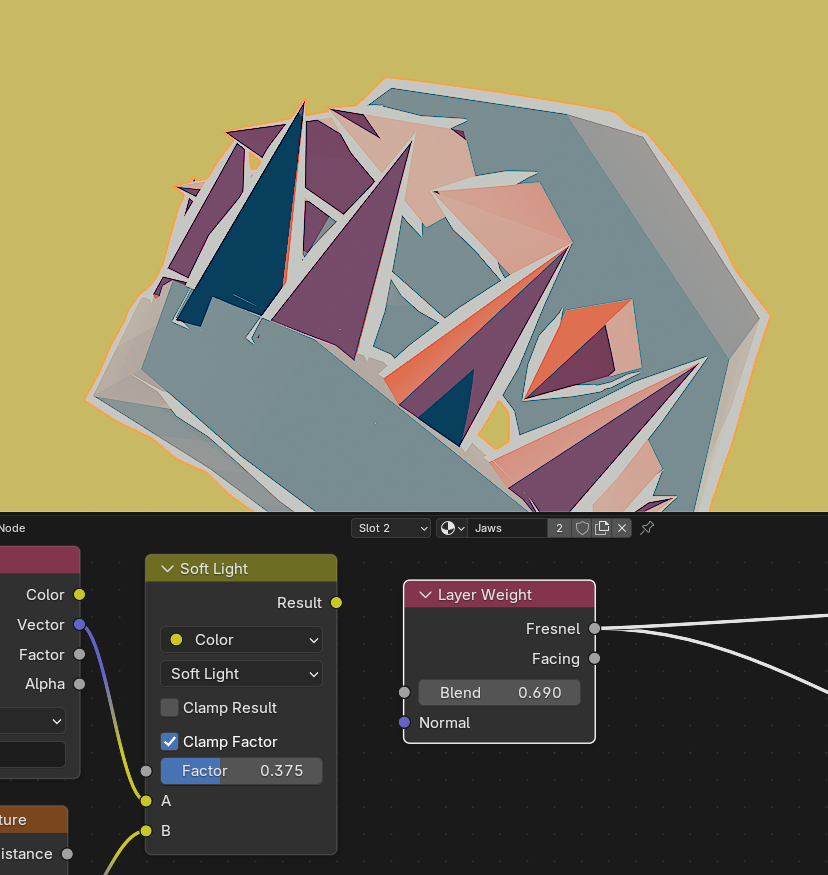
It’s not a crucial part but it adds a nice little color variation in some places which makes it look a bit more like it was hastily drawn.
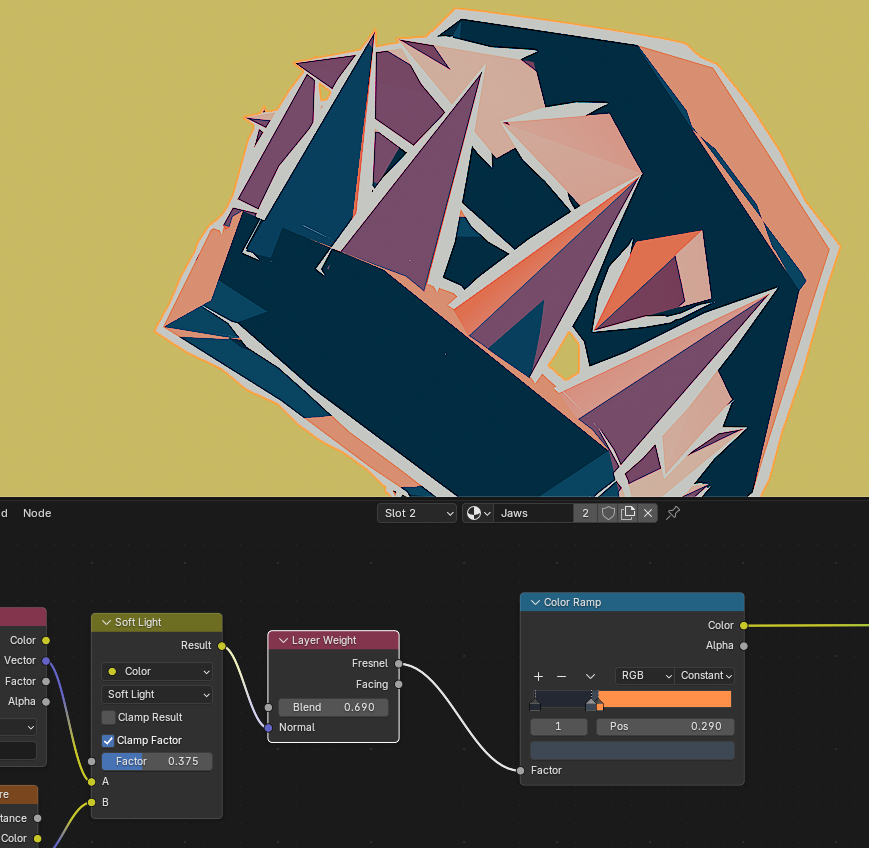
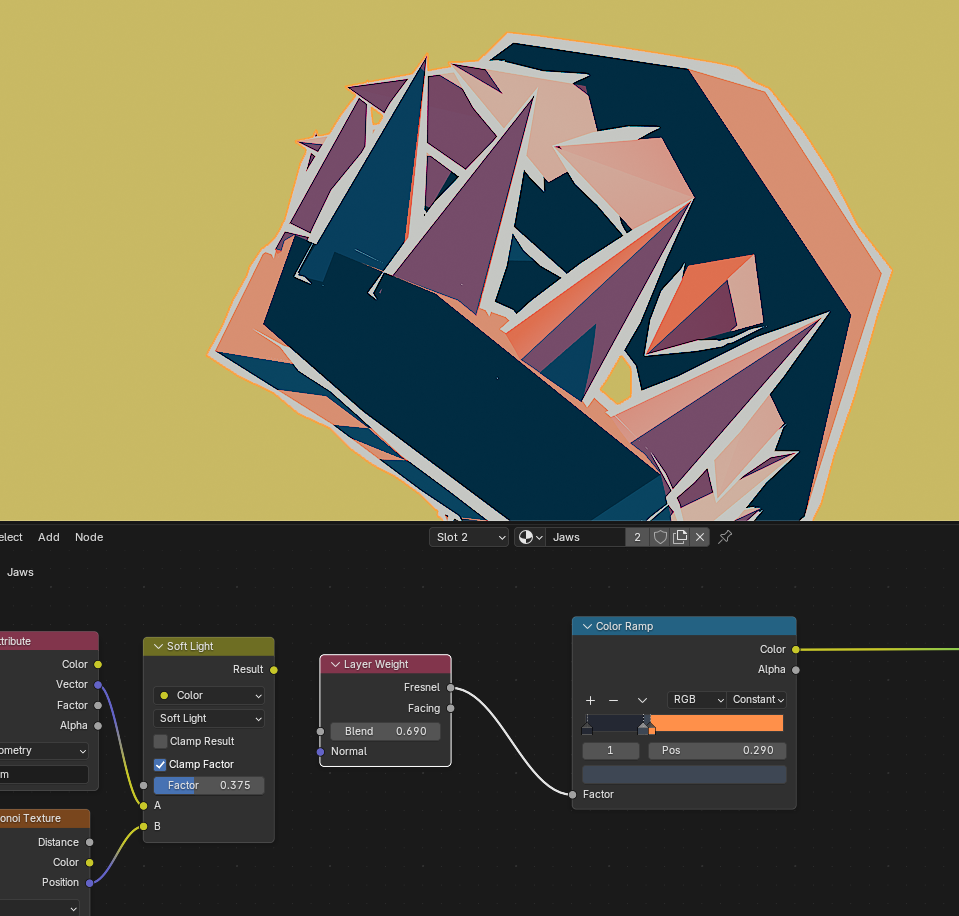
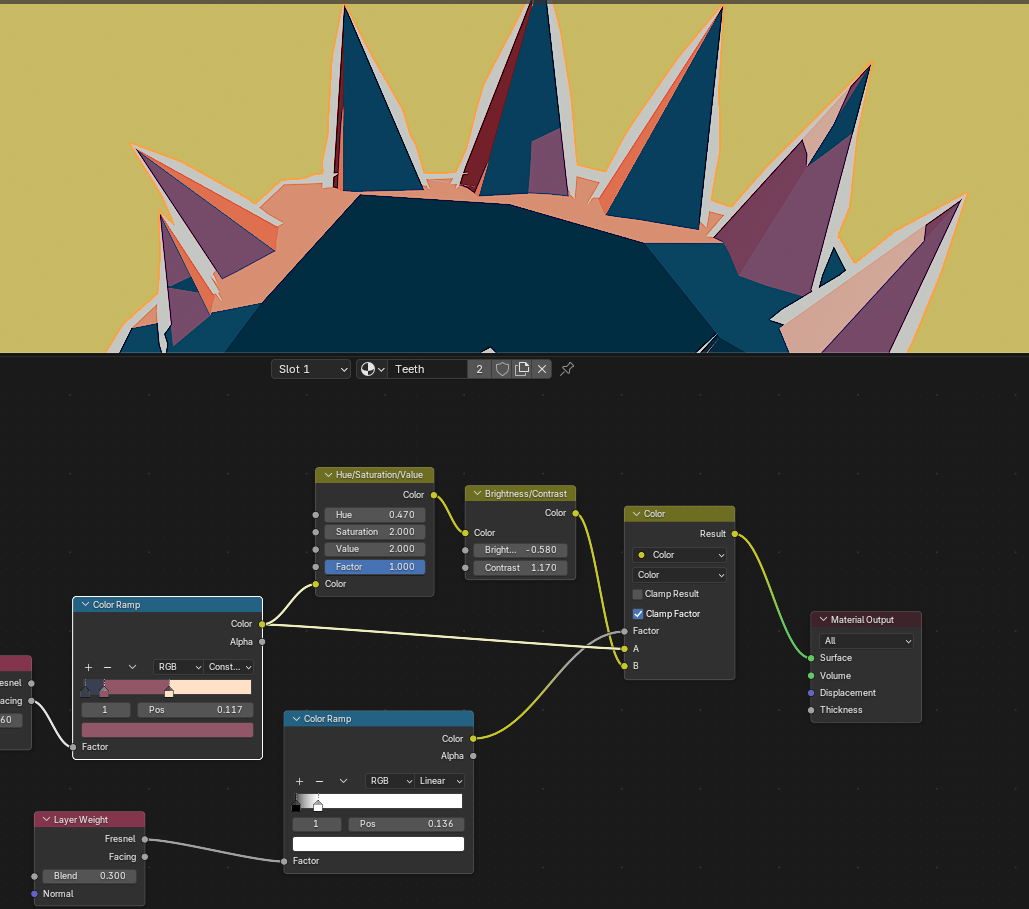
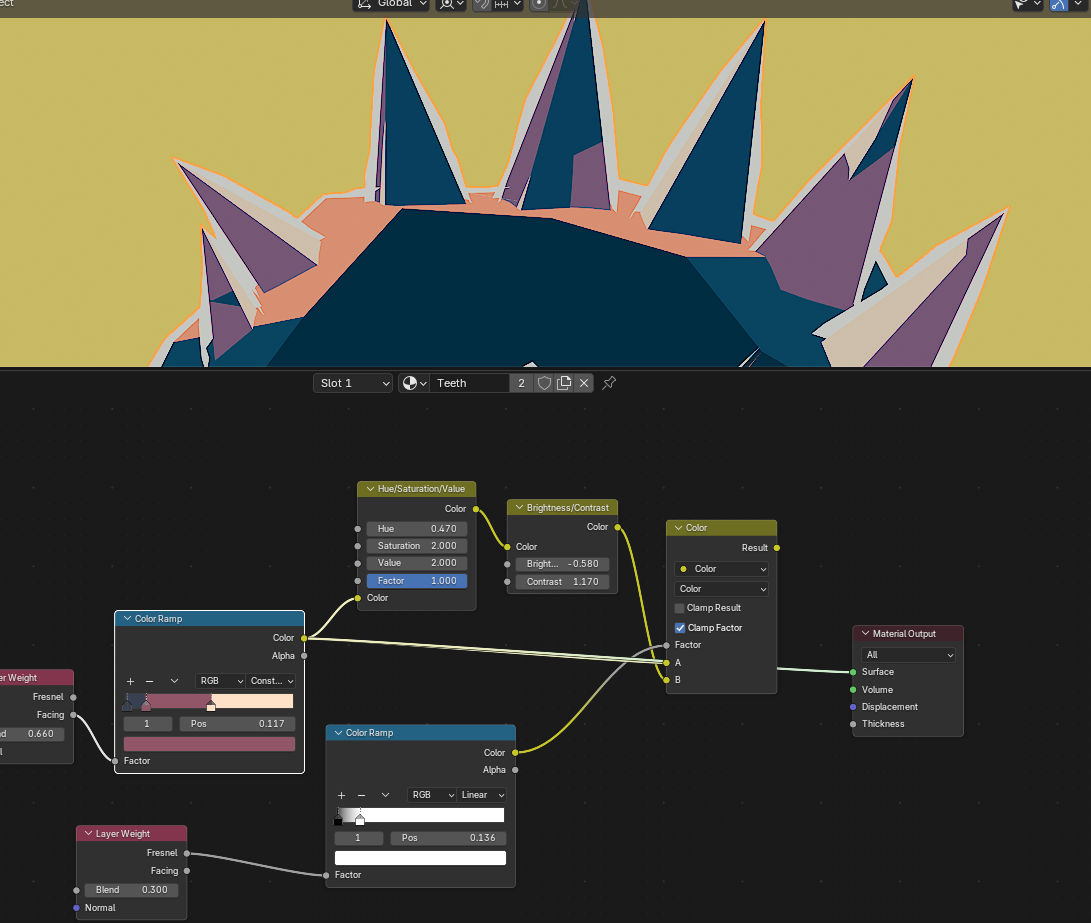
The teeth material follows the same base but with some extra things added to it to create some super-saturated areas.
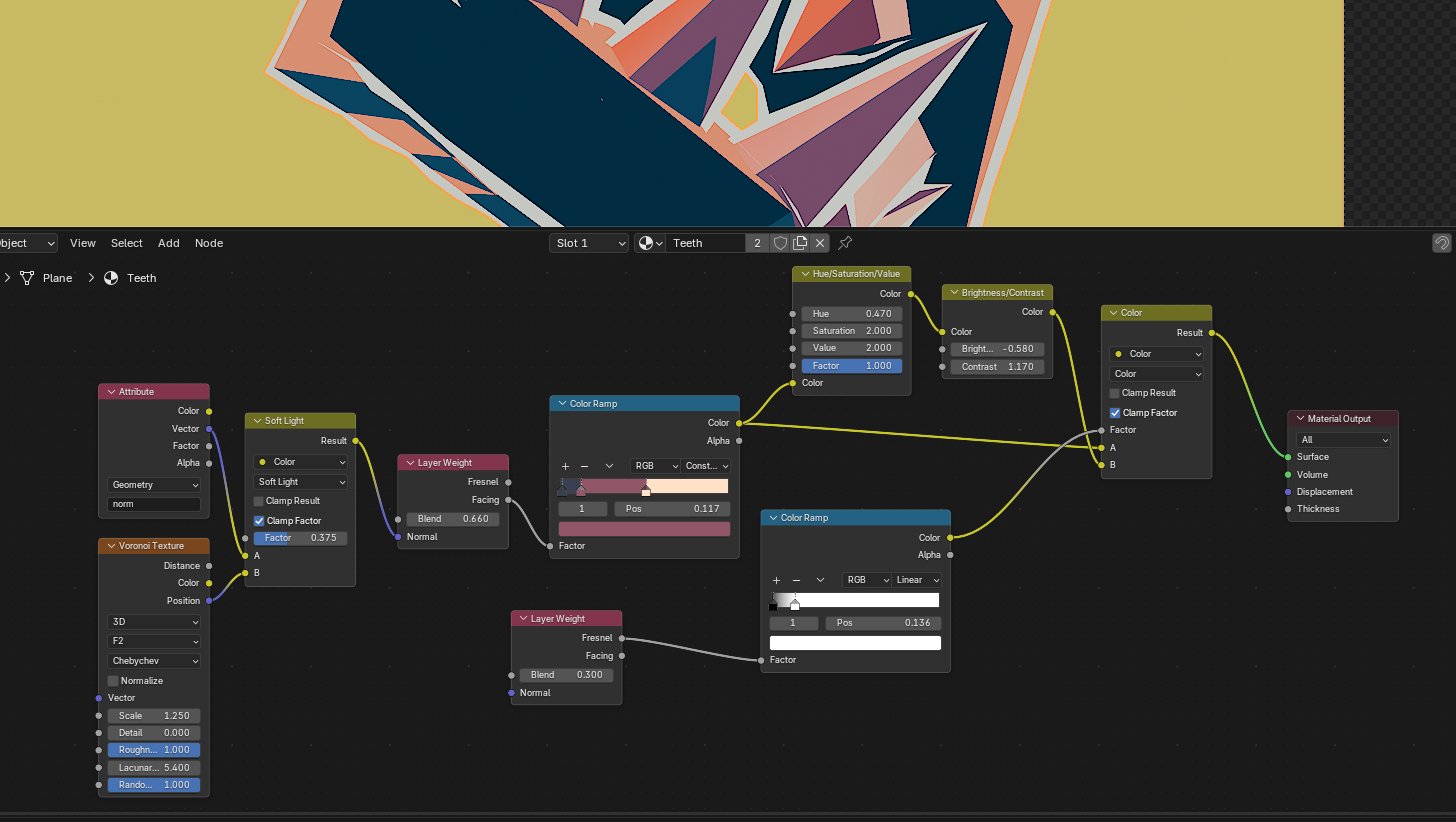
Here is a good example of what the extra saturation with the second Fresnel node does:
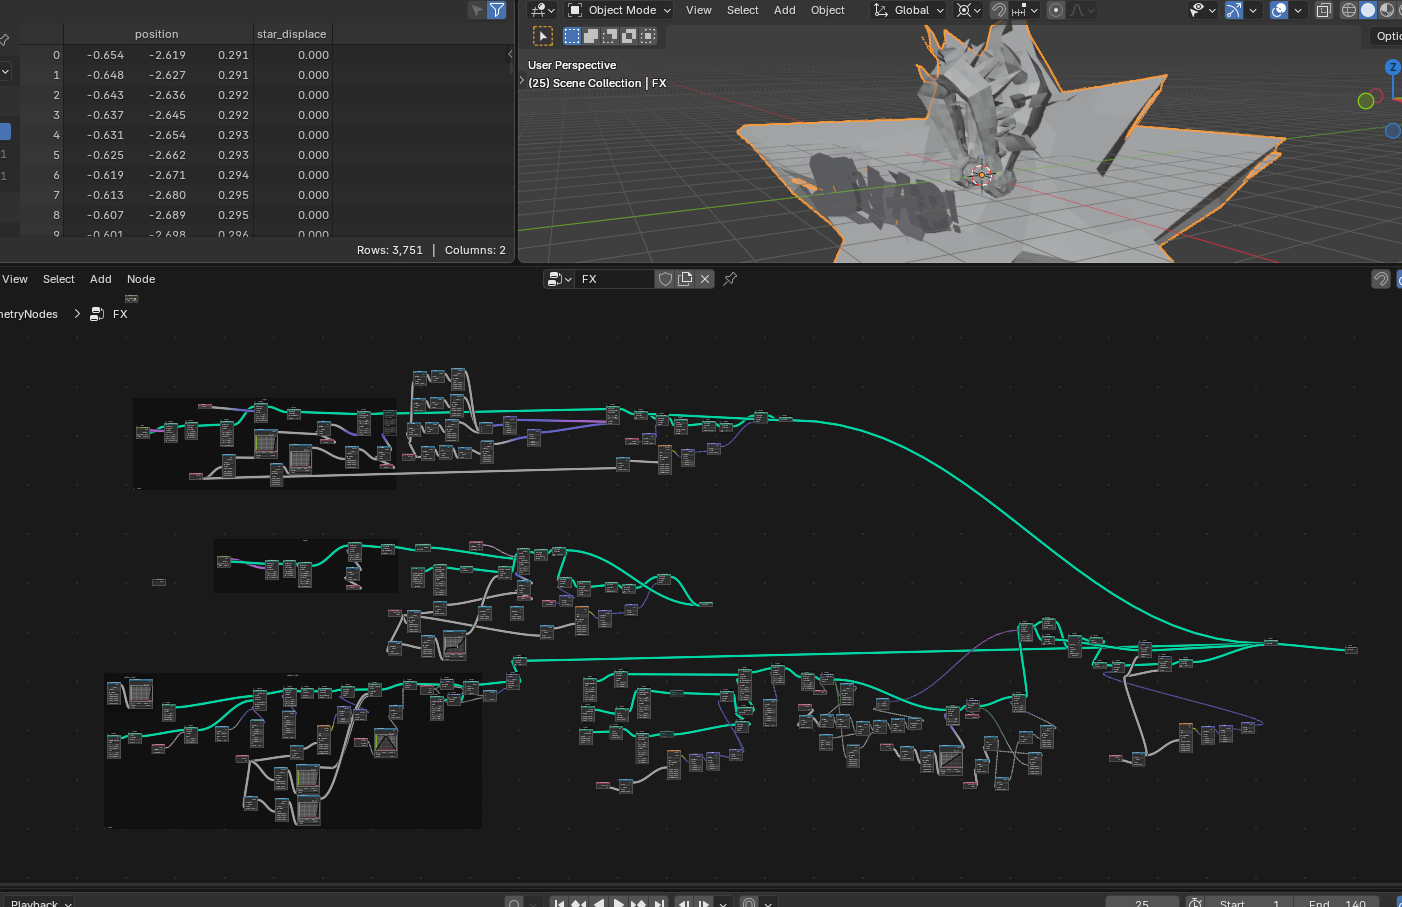
The background elements that pop out with the snap are also created with a geometry nodes modifier on a separate object, but there is no way I will be able to explain this mess
Thanks for reading!