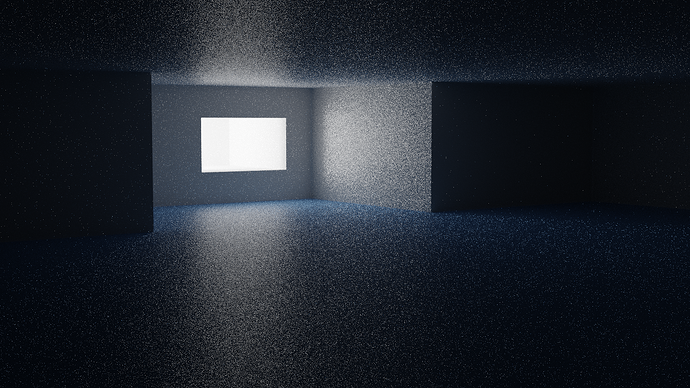
If that isn’t enough, here is my best render accelerating method, though it works only if the lighting doesn’t change much.
I have a way to make an interior scene render way faster and cleaner. You have to bake the diffuse lighting, then use it as diffuse rays in the materials using the light path node.
Explanation:
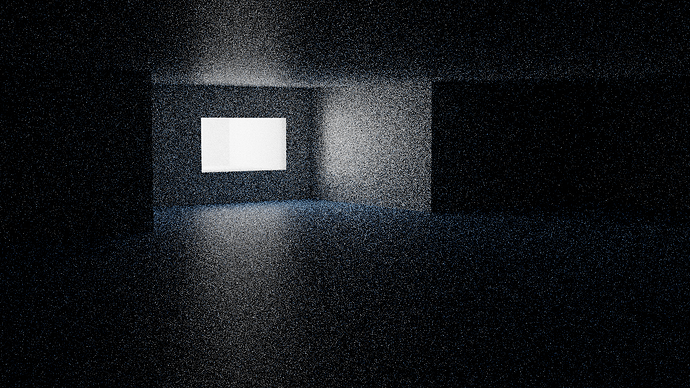
1- We start with a very noisy interior. I have used 2 materials, to better showcase how this works.
2- Let’s make sure the room is unwrapped and ready to receive a bake. If there already are textures, create a second UV set on those objects for the bake. I suggest doing this trick only on the walls, floor and ceiling to start with, as the small objects will have less of an impact.
3- Create a new image which will be used to bake the lighting. Make it a 32-bit image, so it can capture the full range of values. Don’t connect it yet, but make sure it’s present and selected into every material you choose to bake.
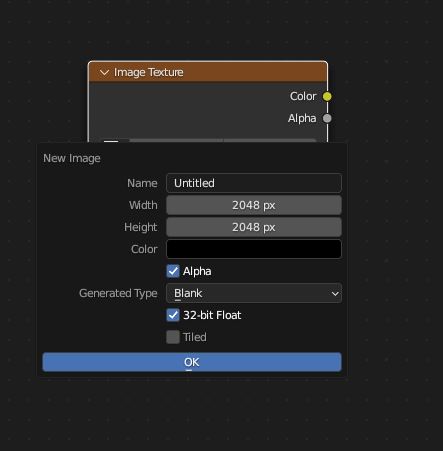
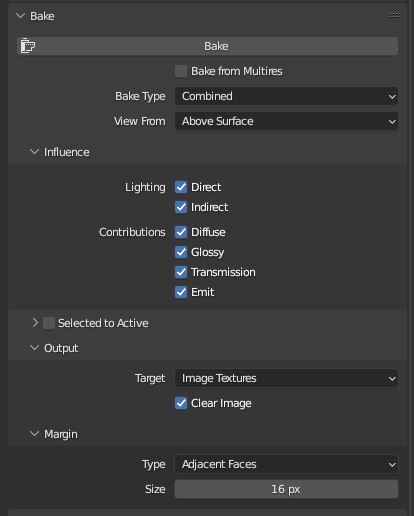
4- Do a full combined bake on these objects. It doesn’t need to have many samples (I use 32 here), because it won’t be directly visible in the final result.
5- Here is what the bake looks like. It’s ugly, but it doesn’t need to be better than this.
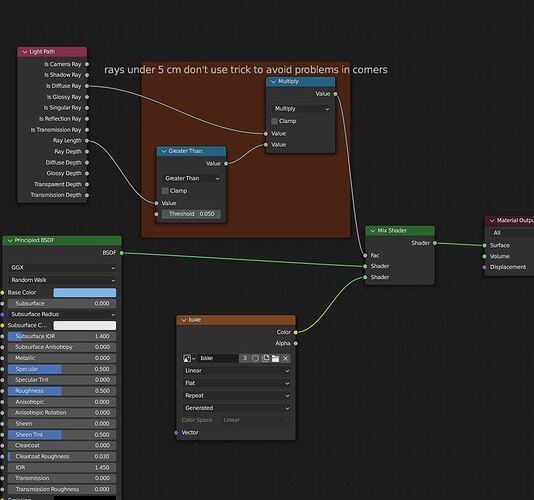
6- Now, we are going to plug it the right way. In every material that was baked, add this setup at the end of the node tree. The diffuse rays now perceive the walls as flat, pre-rendered emissives.
7- In the material settings, set the “emission sampling” to none. It’s less noisy that way, because we aren’t trying to actually sample the walls as if they were light sources.
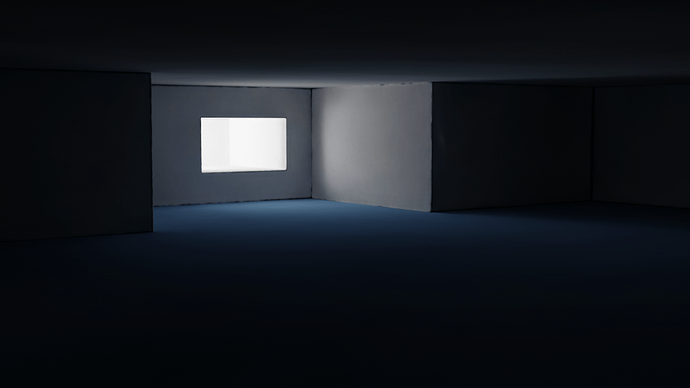
Here is the final result. Same number of samples as the first image, looks cleaner and also took less time to render.
The advantages of using the lightmap in an indirect way is that you hide the flaws of the bake. Also, it allows the direct light to change a little without causing much of a problem.
