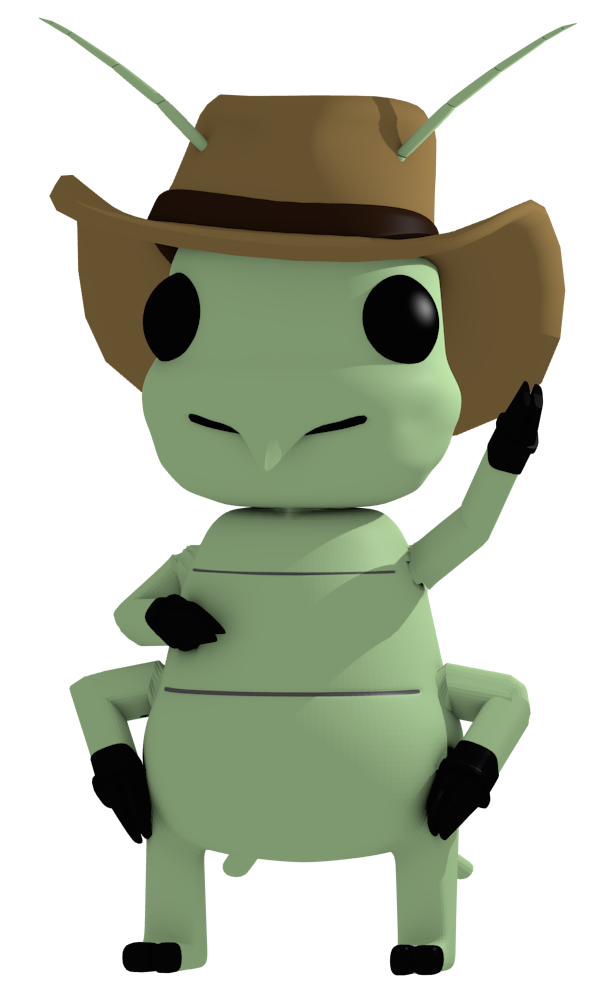
I’m a blender amateur. I am working on a website for my work (I’m an entomologist, www.sixleggedaggie.com) and designing a little guy that I can easily manipulate into different poses for use in different pages. I learned the modelling bit and followed some rigging tutorials, but when I move the limbs, I get some strange jagged edges around the joints. This especially rings true when I move the head; the neck just looks horrible! I have attached a sample image, you’ll be able to see the weird edges around the shoulders.
Hey erfanv, blend file worked fine for me, model, armature and all. It looks like you may need to use some additional geometry around the “shoulder areas” where the arms connect, some funky wrinkles going on there. But as far as the neck issue, you should probably (in pose mode of course) grab the “head bone” and rotate it to one side or another to reveal the jaggedness, then (with the head bone still selected) hold shift and right click the body mesh, so that the armature is highlighted orange and the body mesh is highlighted yellow. Then, go into weight painting mode, and since you will have the head bone already selected, use a subtract mode on the current weight brush to reduce the weight influence off of what you dont want the head bone pulling on (paints that stuff blue) and use the mix or add mode on the brush to paint any parts of the head that ARENT moving with the head (paint that stuff red). You may find that you need to play with adding geometry to the neck maybe as well, to establish good bending points on it (didnt check that out in your blend file, so not sure).
Hopefully that helps!
Actually man, opened it back up to check out again about the geometry suggestion, and actually ALL of the issues of jaggedness look to me like they’re weight painting issues. Just go into weight painting with the method I mentioned before with EACH bone where the problem areas look to be at, and play around with your weight painting.
REMEMBER, dont go solid red to solid blue, you need to play with gradually fading from red to blue to get the best effect. Just play with that and see if it helps!