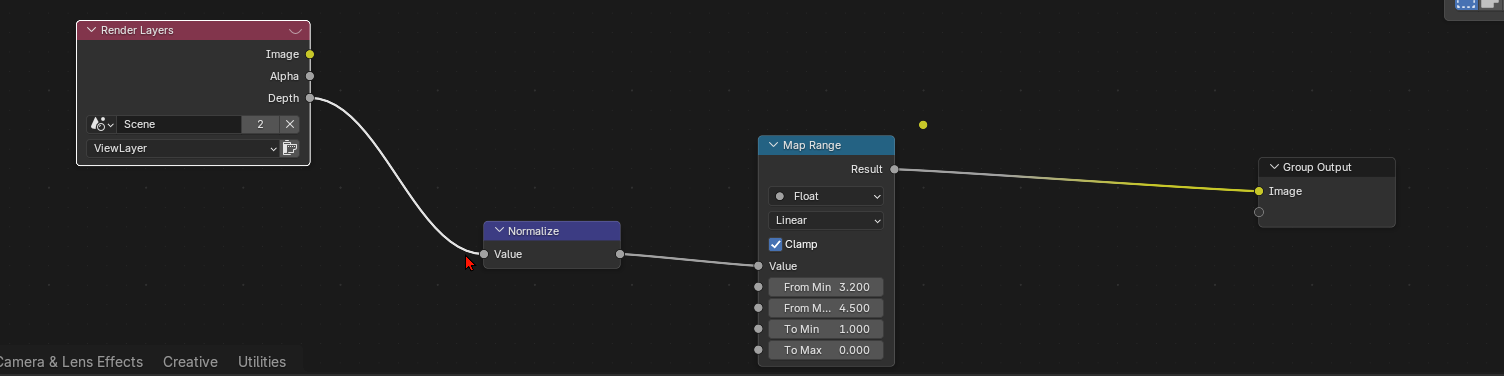
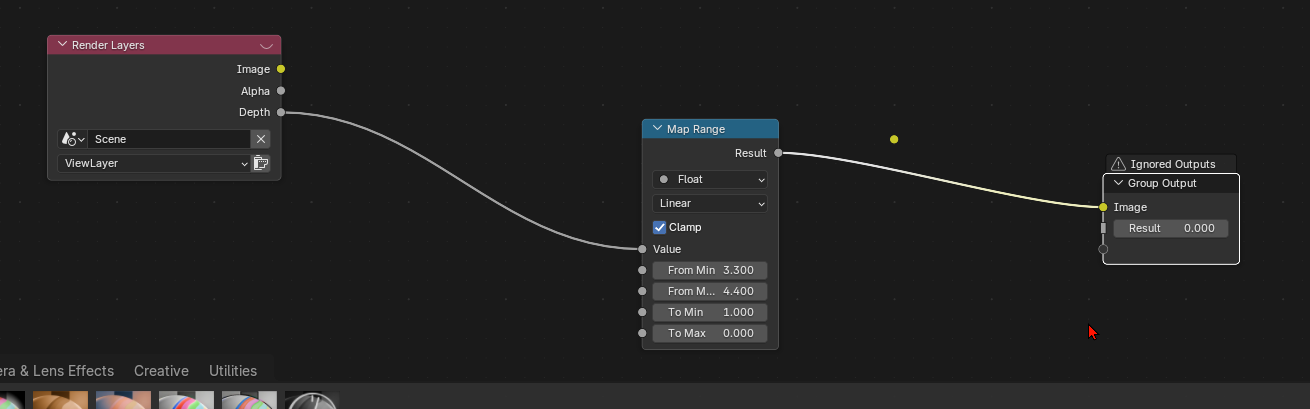
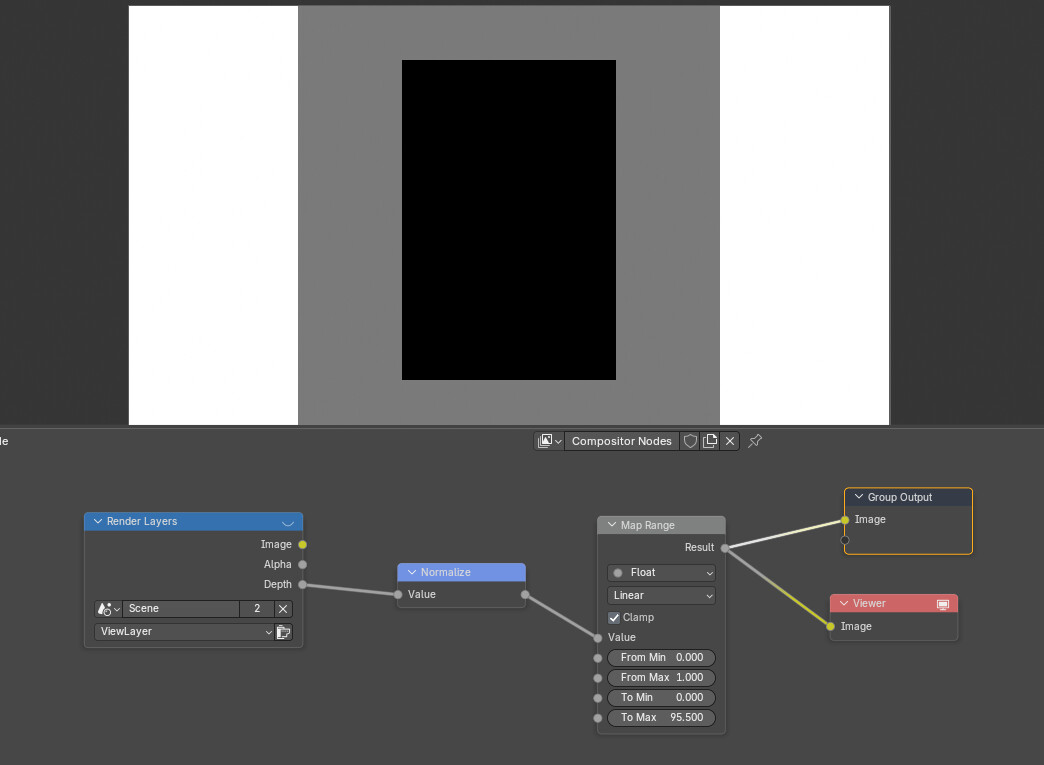
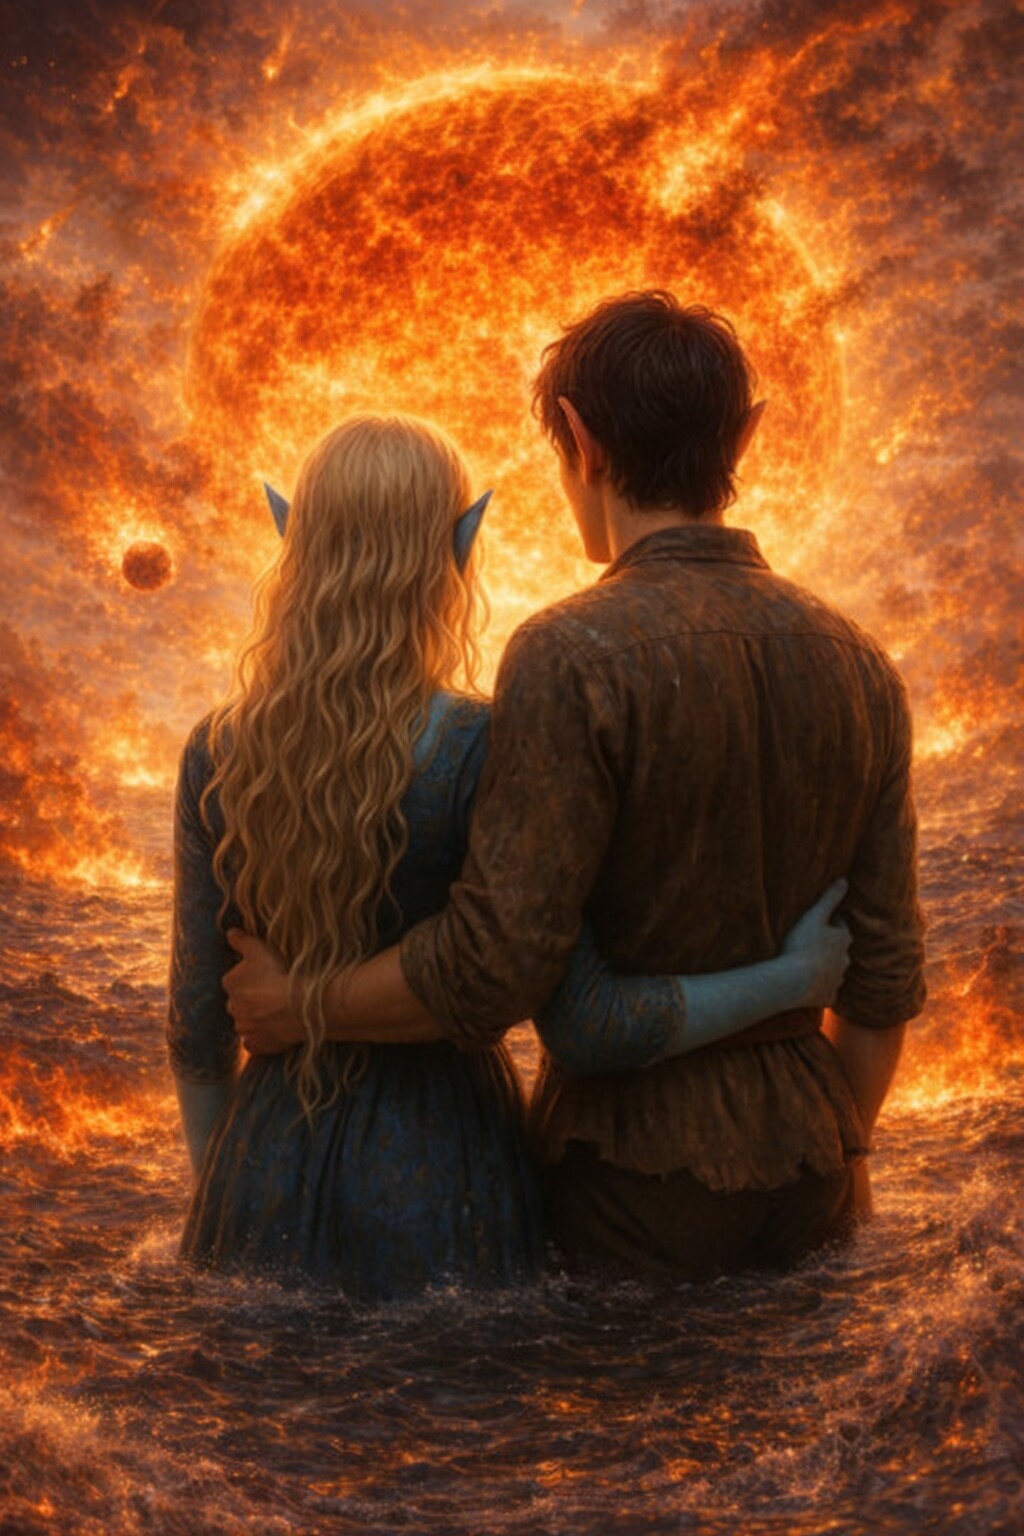
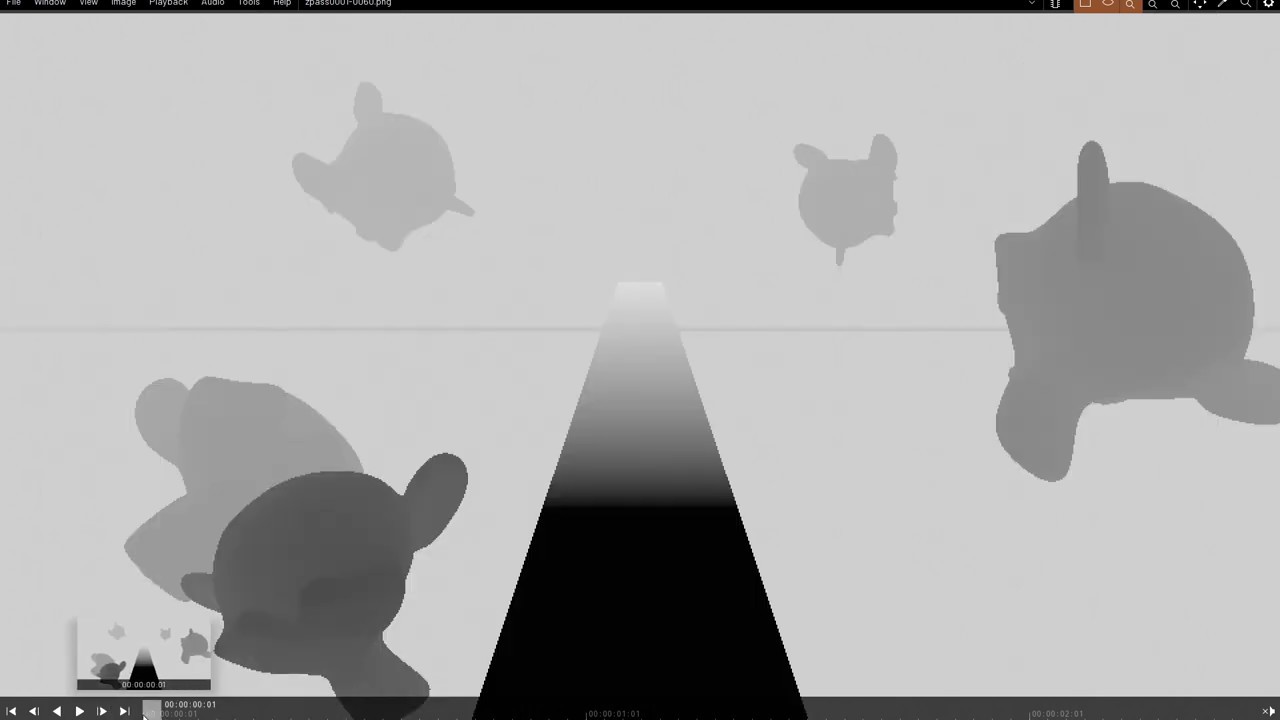
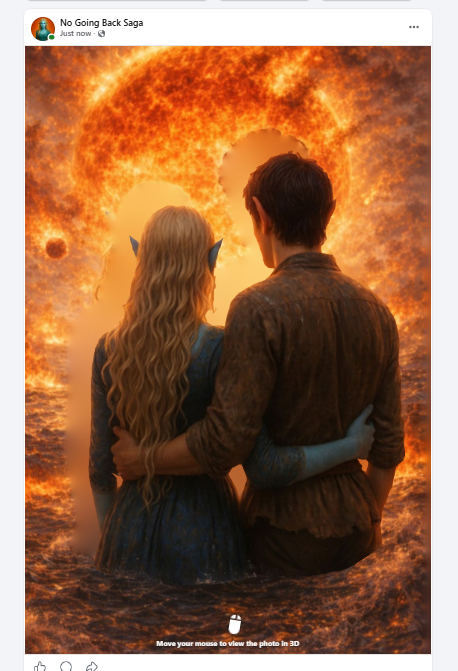
My scene, containing only transparent image planes in an empty world (no floor or walls), the Z/Depth pass is returning a uniform gray value instead of distance variation.
Normalizing or mapping the depth data does not change the result.
The camera is positioned at Y = -3.5.
It would be great if someone replied with the specific reason the depth pass is flat in this setup and how to correct it, or an explanation that Gemini or Grok can use to move forward, as I’ve already dedicated 20 hours to creating a 3D parallax image following the AI’s advice. It’s my first time with Blender. Anything would help.
Just to be clear, you tried ONLY the normalize node without the map range (not shown in your screenshots)?
It’s hard to tell what the issue is without more information. If possible, could you send the blend file (or an example blend file which has the same issue if you don’t want to share your full project)?
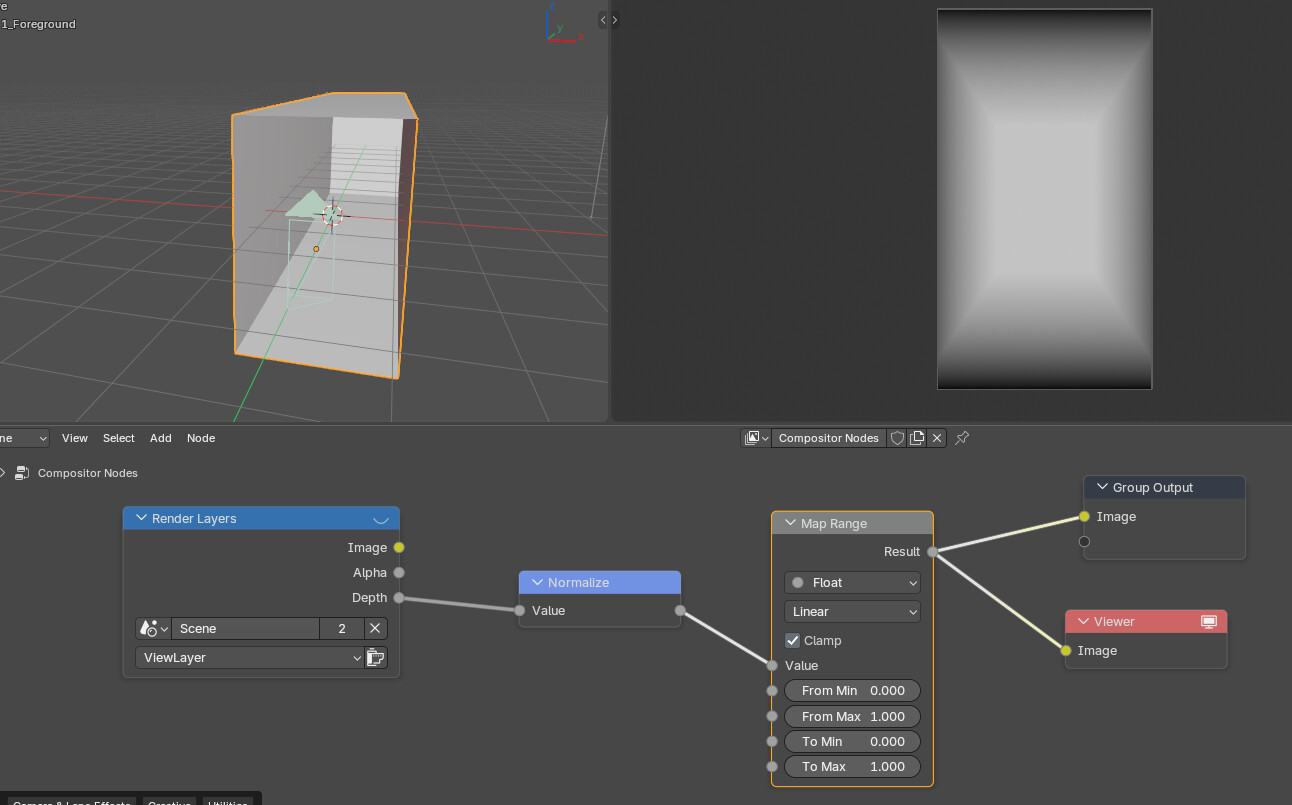
When I tested it, it shows the depth value accurately.
※ Because of the size of the scene, we expect that there may be differences in the precision or extent of the depth. (estimated)
Add…
You can also use Mist Pass as an alternative to depth.
The Mist has an impact area based on the camera distance (start and end).
Apologies, Copilot wrote this post. My intention was simply to design 3D parallax images for Facebook, but it encountered persistent problems, managing only to get this far.
It has attempted various solutions, but not that one.
My apologies for the late response; I wasn’t notified of replies via email.
I’m working from this prompt
Starter Prompt – Mass 3D Facebook Photo Creator (Blender 5.1)
You are an expert at creating Facebook 3D photos in Blender 5.1.1.
Goal:
Take the image I provide and create a working Facebook 3D photo by generating a clean grayscale depth map saved as photo_depth.png.
Exact Standard Setup (follow exactly unless I say otherwise):
Start a new Blender file or load the current .blend I tell you to use.
Set Output Properties resolution to 1024 × 1536 (the resolution of the clean foreground PNG I commonly use). If I give you a different image, ask me for its exact resolution.
Add the main image as Image → Mesh Plane.
Set the plane to:
Rotation X = 90°
Location X=0, Y=0, Z=0
Set the Camera to:
Location X=0, Y=-3.5, Z=0
Rotation X=90°
Scale the plane (S + Shift + Z) until it perfectly fills the camera frame (Numpad 0).
Duplicate the plane twice and name them:
1_Foreground at Location Y = -0.2
3_Background at Location Y = 0.8
Keep both with Scale 1,1,1 and Rotation X=90°.
Switch to Compositing workspace and turn on nodes.
Enable Z/Depth pass in View Layer Properties.
Set up nodes: Render Layers → Depth → Normalize → Map Range → Group Output.
Adjust Map Range so foreground is bright and background is dark with smooth gradient.
Render (F12) and save the result as photo_depth.png (PNG).
Rules:
Wait for my confirmation or screenshot after each major step.
Keep instructions short and numbered.
would you be able to fix in the prompt of what was wrong?
If what you’re trying to do is to generate a somewhat accurate depth map based on a photograph those steps won’t do what you expect, that setup will only give you 3 flat planes with a slight depth map but it will still be just 3 flat planes, no info from the original photograph will be used for the creation of the depth map.
So, while not technically incorrect (though some of the steps would need more context and explanation to make sense), the chatbot is basically giving you the wrong answer, it’s describing something that won’t do what you want.
I don’t think there’s an easy way to generate an automated depth map from a photo with Blender, unfortunately. At least not without addons or with the help of other software
Sorry for the late replies. I went to donate plasma this morning, and afterward I stopped by to check on the little old lady I’ve basically adopted. She’s 78, has no family, lives alone, and I check on her every two weeks. She texts me good morning every day so i can tell she’s ok so far. I mopped her floor for her while I was there today.
First thing I want to say is thank you for all the replies.
I’m matching your node setup exactly, but I’m getting a ‘Wrong Output Type’ error on my Group Output that you don’t seem to have. To help me fix this, could you share a screenshot of your ‘N’ sidebar with the Group Output node selected? I need to see exactly what ‘Type’ and ‘Subtype’ you’re using for that final socket—or, looking at my screenshot, do you see what I’m doing wrong that is causing Blender to ignore or reject my depth data?
To be honest, I don’t think Gemini/Copilot explained it well initially, so my intent may have been lost. I’m not doing automated 3D reconstruction (which usually creates distorted, stretched results). Instead, I’m creating a clean spatial parallax effect. I manually separated the foreground and background, then placed them on different planes in 3D space. For vertical social media scrolls, this multiplane approach better preserves the original art and delivers a beautiful 2.5D pop-up effect through camera movement, not automated depth maps. Does that change your reply?
And I’m sorry if using AI in a post seems to insult you; that is not my intent. I just didn’t know how to explain it. This is also AI.
Ai is useful when you’re a little knowledgeable but don’t know exactly. You should be able to point out and correct the wrong parts.
Otherwise, it will flow in the wrong direction.
When you ask Ai about a topic you don’t know anything about, make sure to check the content of the link presented during the question.
Its the passing the message problem. Rather than hearing your problems direct from you your assigning an AI lacky to explain everything for you. Your not being judged on your spelling or grammer - and its you we want to help.
PS if copilot is creating forum accounts and posing without your knowlage you should make sure it isnt doing other more harmful things without your knowlage.