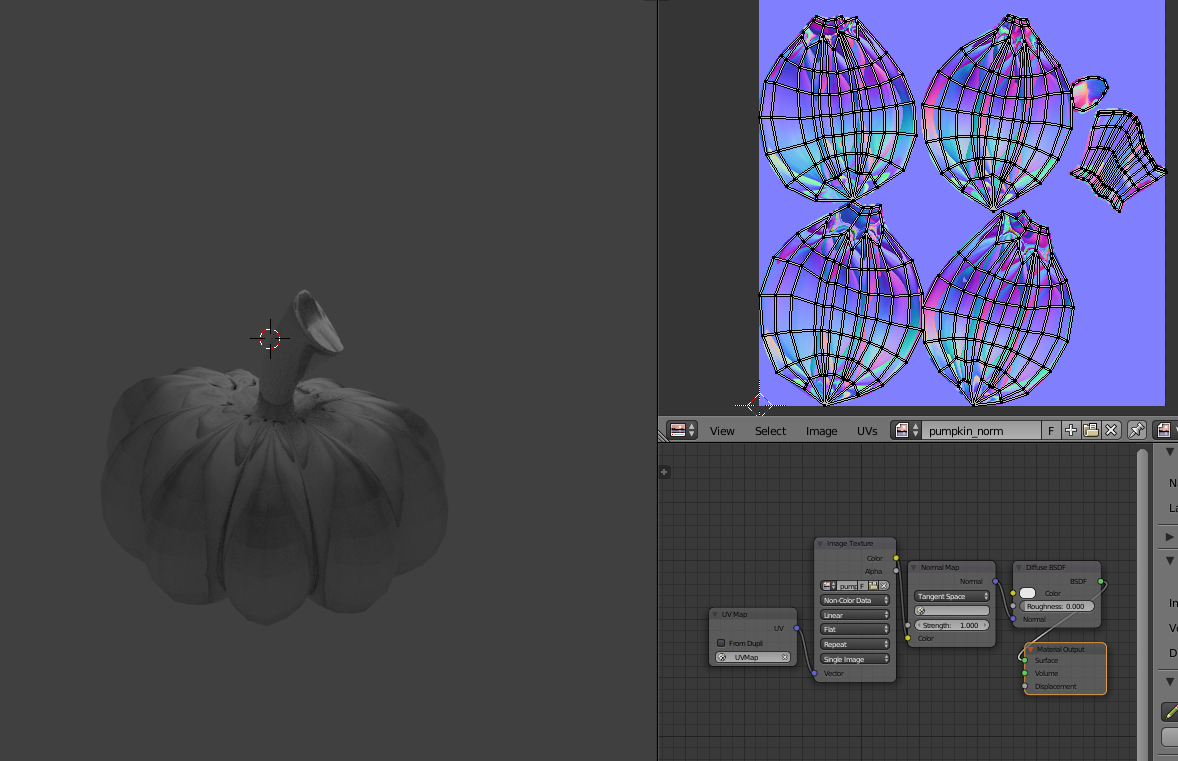
Hello! I’m a newbie to Blender, and also to 3D modeling. Today was my second day with Blender, and it was a productive one. I spent the day making a pumpkin, and then, making a high-poly version of a pumpkin to turn into a normal map. As far as I can tell this went okay, but… Now, whenever I try to apply the normal map to my low-poly pumpkin.
Note that the UV Map node was one of my (failed) attempts to fix this issue. I’ve checked the UVs (they appear aligned), and the only modifier i have on the pumpkin is a subsurface. Really I wouldn’t even begin to know what to describe that could help with diagnosing this issue.
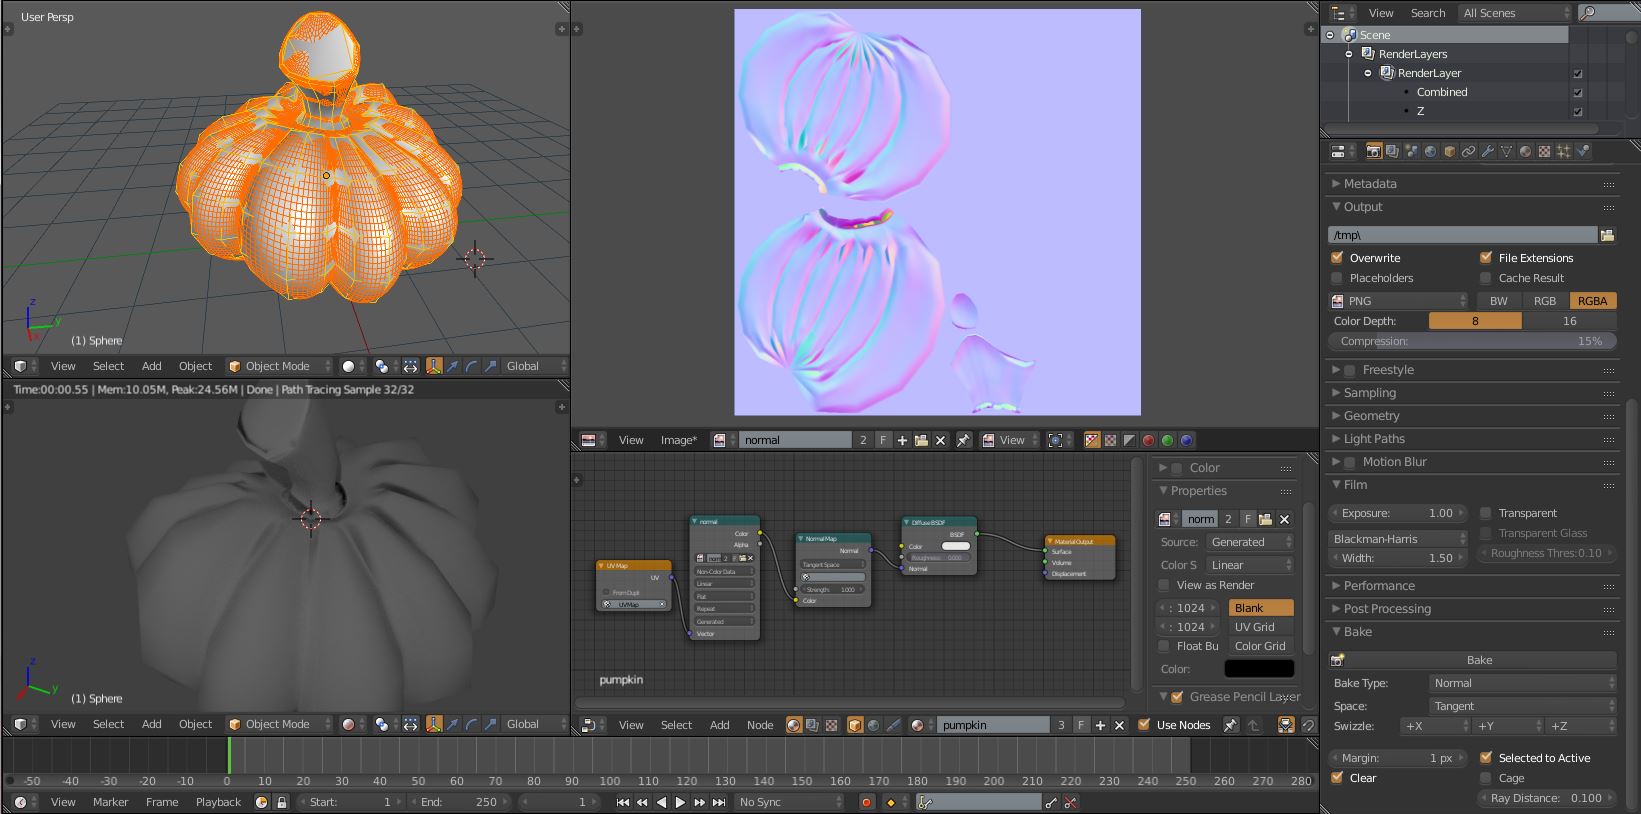
Hrm. I baked it at basically the minimum I could without getting green and brown sections. Would a cage help? I don’t really know what one of those is or how to use one.
Edit: Apparently I baked it at a lot higher than the green and brown sections by mistake. It’s still turning up weird though.
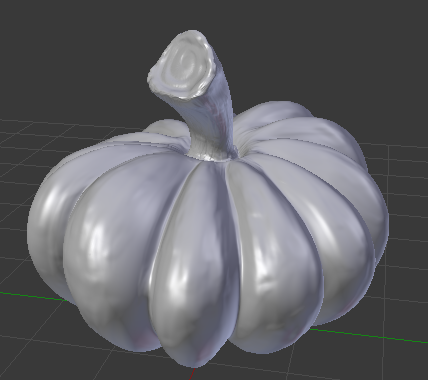
Yeeeah, the high-poly swells up the filesize like fifteen times, and I’ve very got slow internet, so I don’t think I can do much there, sadly. At the very least, this is what it’s supposed to look like:
edit: oh. turns out it wasn’t updating my normals upon successive bakings. it’s looking a little better now.
Your normal map shows extreme gradients. Some thoughts after review:
Geometry should not have smoothing angles over 90 deg (autosmooth)
Your geometry should not have Ngeons as different software interprets them with different smoothing due to automatic triangulation
Highpoly and lowpoly geometry should match a bit better. You can use “smooth” operator or modifier on your lowpoly and it will do most of the work.
Make sure that HIGHPOLY object does not share material with Lowpoly as you had normal map affect high poly also.
Make sure to read in normal in LINEAR space, Normal map is not sRGB
In short, you should work a bit on your lowpoly so it conforms better to HP and does not have very sharp angles.
Tip: As you bake in Blender, the key is to start with smaller texture size, something like 256x256. That way you can quickly rebake as you find optimal settings.
Hello! I’ve taken advice from both of you, and have also further tweaked the sculpting on my hipoly model to reduce some of the more extreme geometry the baker has to deal with. It helped, but I can’t seem to avoid having a few heavy artifacts. However, I think I’m at a point where I can just open this thing up in an image editor and remove those by hand. Thanks!