Now that SSS in in Cycles, show us your creature tests.

To start this thread, it already is a known thing that the SSS implementation for Cycles is incomplete, but it already allows us to do what it needed to create realistic scattering materials and that includes the materials that make it possible to create creatures in Cycles.

If you don’t already know, not long after the raylength output was created, I ported my old Dragon model to Cycles because of how one can now do scattering materials with falloff and with no need for multi-layered object shells.

Over the next year or so, I managed to slowly improve on my scattering material and eventually make it more convincing, the method I used was, in a way, a bit more complex than a lot of solutions posted on this forum and was happy with how it was able to take more things into account than simply looking at the thickness from the camera (like how it used lightpaths to allow the glass shader to drive some of the scattering without it being see-through and the enhanced energy loss when the interior rays hit backfaces).

Over the last year, I managed to get something that looked vastly improved from my first attempts, but then the SSS node was committed to trunk and allowed me to add a piece that was still missing, which was a front-scattering effect. All in all, this led me to take all what I have learned and compile it into a single group node where, with the help of multi-layered groups, the mixed and subtle use of the ‘add shader’ node along with higher-than-1 values for scattering RGB data (to compensate for energy loss while maintaining conservation), the subtle use of the ‘velvet’ node, and the use of separate diffuse and glossy components, had everything I needed to create a scattering material suited for use with creatures.

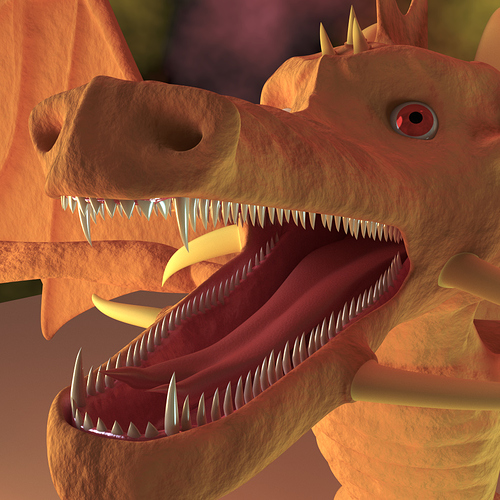
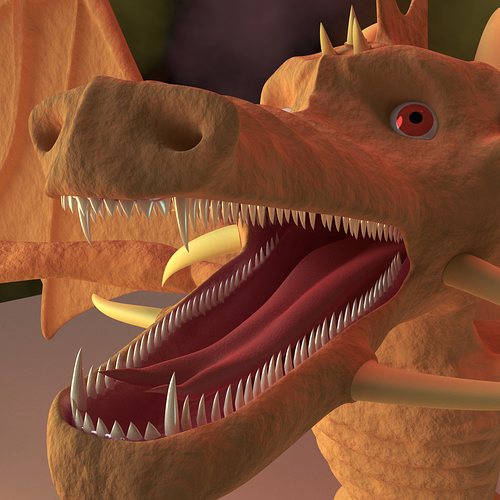
The result, after countless hours of learning and constructing the components of what would become the final material (along with some cinematic treatment with the compositor), is this.


Now I realize the environment is just a simple thing placed in there with him to try out lighting, but that’s why I consider this a test of new materials and lighting rather than a full image. In my mind, the materials I had for him in BI could hardly compare, something which you would be hard-pressed to achieve with legacy shading methods and a lack of GI. In all, my inspiration to do another push with this model was somewhat influenced when I did a laser-like focus on the Smaug part at the end of the trailer for the second Hobbit movie. And before you ask, yes, I am aware of some niggling things with the modeling around the eyes and the base of some of the horns, but my main focus in this case was the existing materials along with a basic rigging setup.

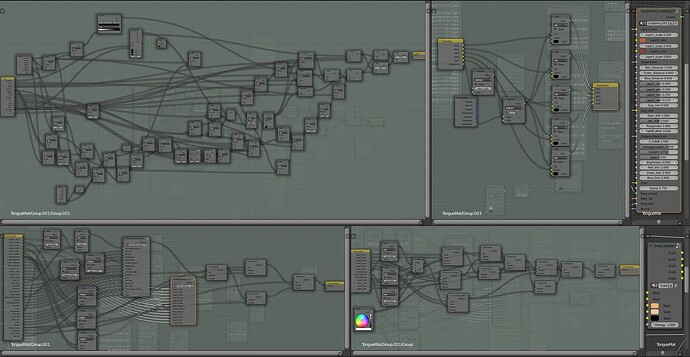
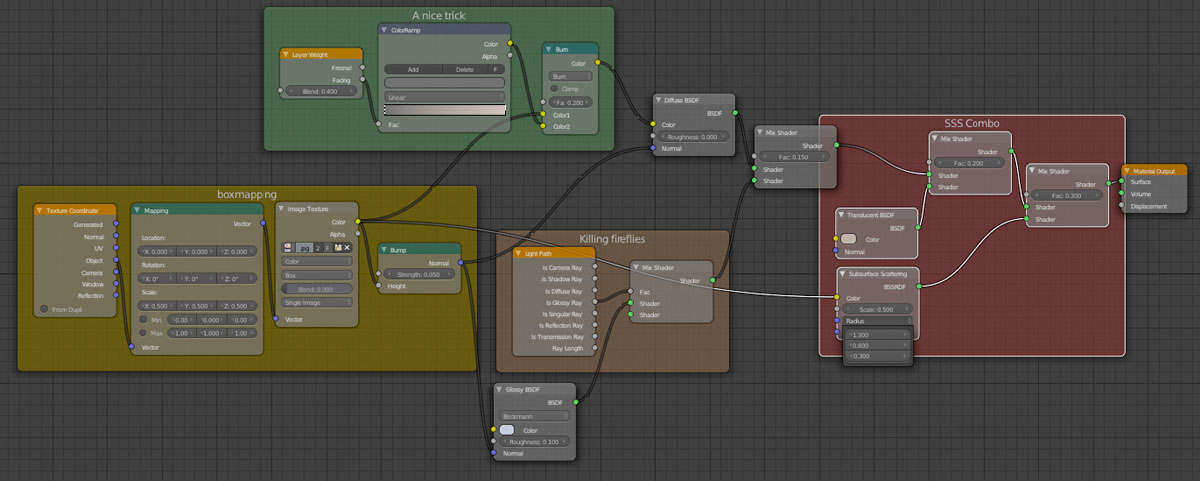
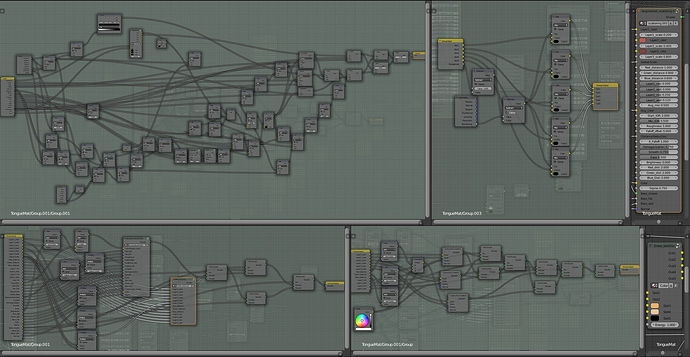
Meanwhile, you can also look at just how large the final node setup is for the scattering component, which utilizes both the SSS node and my custom raylength-based setup in an attempt to make it as complete as possible (beginners avert your eyes).


And yes, I know that not everything is readable, but it wouldn’t have been possible to fit it all on one screen otherwise. Now the setup in the top-right green window is not an actual part of the scattering setup, but is simply there to force energy-loss from backface bounces to create a more realistic falloff for some of the scattering.


Finally, we now come to the main point of this thread, and that is you feeling free to show off your Cycles creature tests and accompanying node setups here, so post them. :slight_smile:

Man, no offense, but that seems like an incredibly overcomplicated node tree considering the result. maybe a different lighting environment would make it more obvious, but I’d be hard pressed to differentiate that from a straight diffuse + bump.

I was thinking just this - it would be interesting to see an image with just diffuse, or one with just a single lamp from one side so we can appreciate what the nodes are doing.

Hard to see in the nodes, but is the texture purely procedural?

Also, not sure if you have one, but a glossy map to make some areas more glossy like the tongue and mouth area would also be improvement.

I use a mix of procedural textures and images here, the images are tiled textures that wrap around the mesh using blended box mapping.

Also, I already use a vertex color channel to do some basic changes in the size of the image texture and the glossiness of the tongue, the channels also do things like blend the tongue into the gums which then blends over to the skin surface.

I can personally verify that the scattering components are doing something, but I was trying to get a lighting that did not have so much emphasis on a single strong directional component. I have the same node group in another test scene that is specifically designed to show off the scattering, and will likely be the one I will share when it comes time to posting the latest version.

Also, part of the reason for this thread is that everyone who is making creatures in Cycles (with the help of the SSS nodes and other scattering setups), can post their tests, this isn’t just about the ones I made.

Seems way too complicated for a very unnoticeable effect. Perhaps the model doesn’t do your shader justice.

That being said the latest version of blender happily takes care of all my needs especially sss.

Attachments


And another


The scattering materials for the Dragon is strongly based off of this from an earlier test using both the SSS node and my comprehensive ray-length-based scattering (specifically designed to show off the scattering.


Anyway, I’ve been doing some tweaks that will try to make things more automatic in some cases while giving a boost to scattering, and the group node as a result has options that have been removed and a few different ones added (as in, using some extra nodes to increase automation and allow the removal of some options from the group node UI, which will make the overall setting of options easier).

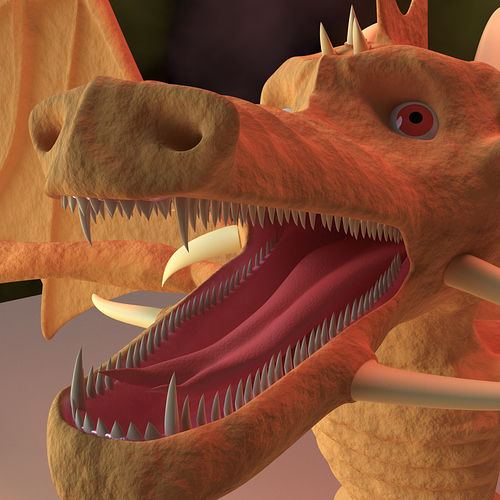
The new results after the automation and tweaking of the material settings within the group nodes (resulting in a simplified and easier to use UI), along with lighting tweaks and a basic specular map using vertex colors on the gums.


I’m thinking it is an improvement, I look in places like the eye comparing the old to the new and there is indeed a softer feel that suggests better scattering visibility.

I wish I could contribute to this thread, but SSS in Cycles is so slow on my PC, it goes back in time. But I am with the others as far as your result, I’m just not seeing it much at all for that insane node setup. And that setup is insane…like lunatic asylum insane. Can I see your lighting setup please? :slight_smile:

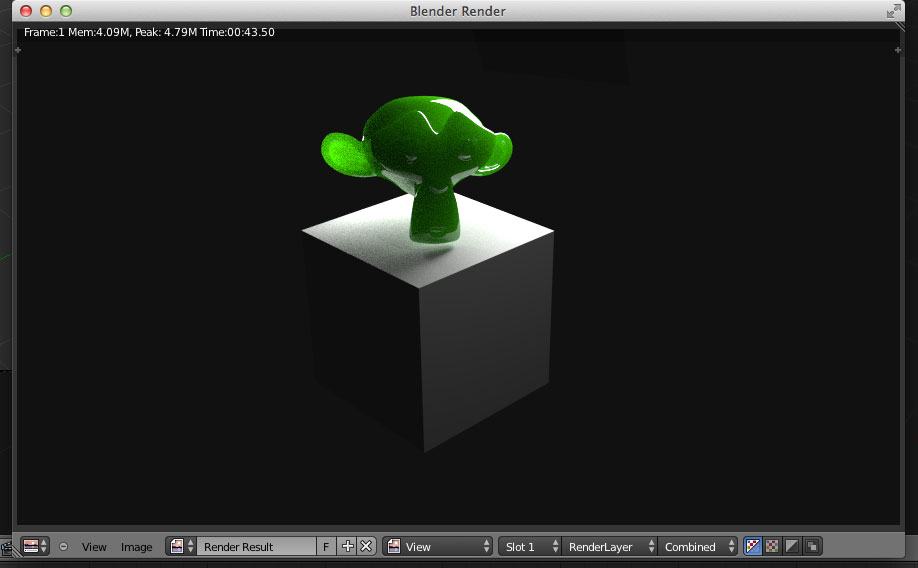
Ace Dragon - cool idea for thread. There was so much poking blender devs to implement sss, and when it is finally implemented, there are not many monsters! Your setup seems bit overkill imo, but I don’t know cycles as much as you do, so I did something simpler:
Nodes:

And monster:

I hope more people will join.

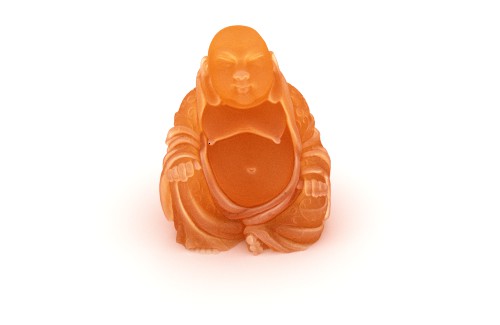
My contribution on this
Marble material.
what translucent BSDF is doing there? It tries to save some crispness, lost under heavy SSS.

Nice job on that, it seems to look okay despite the apparent lack of a diffuse component.

Anyway, it seems like several times a day I find something else in my setup that could use a tweak or an extra node as a method of continual refinement and improvement, it turns out I was probably adding the shaders too conservatively which dampened the brightness in the mouth as well as its contribution to GI. (to note, I am using a method that uses mix shader nodes to control how much of an effect an add shader node provides, which allows for maintaining the power of the various shading components while still conserving energy).

The result after realizing that and other tweaks.


I know, it’s my Dragon dude again, but I’d much rather see him throughout a thread than that human head with its eyes closed :wink:

EDIT: Updated the result after changing around some of the setup after realizing that the SSS nodes already had the diffuse component more or less built in.

Your dragon looks like he is made out of tortilla chips. :cool:

@Charlie: Ha!

@AceDragon: There’s not much of a difference between all 3 of your pics to be honest. The SSS in non-existent, and the GI is really not doing anything. The eyeballs and teeth have that default glossy blurred cycles look, and the skin looks like straight-up diffuse. I know you worked hard on that SSS setup, but I would trash that faster than you can say ‘subsurface scattering’. I’d be willing to bet about at least 1/3 of your nodes are cancelling others out. I’d go back to the drawing board on this one, start simple. The theory behind what things should do, and what they actually do, are usually two different things, coming from someone who experiments quite a bit and has tons of renders.

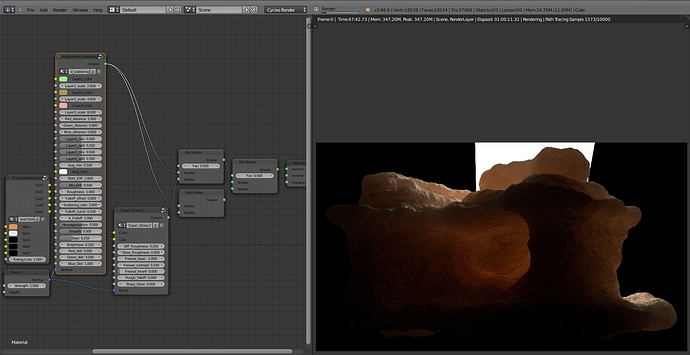
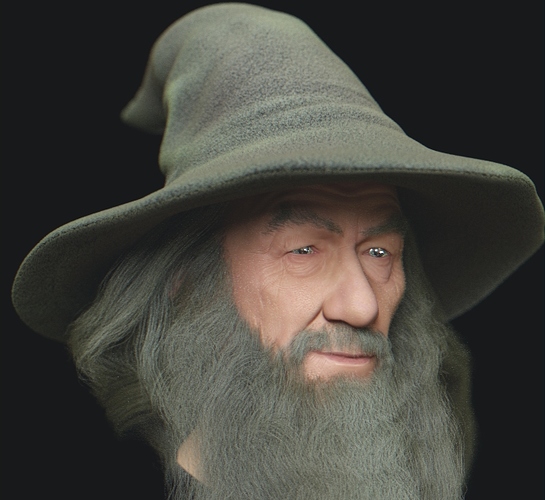
gandalf WIP


@nikko: I love it! :smiley:

Well I just recently discovered that the SSS node acted like a diffuse node with an added scattering attribute (the way light bounces off of it is more or less the same as the diffuse node).

That was when I realized that it would probably be better if I just have one of the interior group nodes act as the entire diffuse component and just have the glossy component that is plugged in from the outside (except in cases where I don’t want or need as much scattering to take place).

Also, the skin was never intended to have any sort of scattering, so the fact it appears as mostly diffuse is on purpose.

Well, changed a few things around to take into account the fact that the SSS nodes more or less have the diffuse component built in, and found that a recent change broke the visibility of the custom ray-length scattering even (which I had to fix O.o). The third image has been replaced with the updated version.

Wonderful Gandalf (where is the node setup?). If I understood correctly, this was the main reason Ace started this thread. No?
@Ace

Something goes wrong here. Ace, can’t you realize it?

@Jose
Same here. I thought people would like to see a readable setup. To learn, to understand.
Posting groups is not helpful at all.

Anyway I regret it, to post on this thread.
It supposed to be a kind of SSS related library.
You’re all acting like… nevermind.

If a moderator could delete my posts… not a bad idea.

Gandalf is awesome.
michalis - there is nothing outside my node group except diff and spec textures. I just wanted to show that simplest node setup in good enough - maybe to much rubber like, but very simple.
Your trick with firefly killing is very cool. I didn’t knew about it. But is it ok, to mix spec with diffuse, then with sss like you did? Shouldn’t glossy node be at the end so it would be mixed on top of diffuse+sss ? The way it is done now your spec is reduced to something like one tenth of original value.
About sss library - heh for me it is about monsters! Nodes are boring…