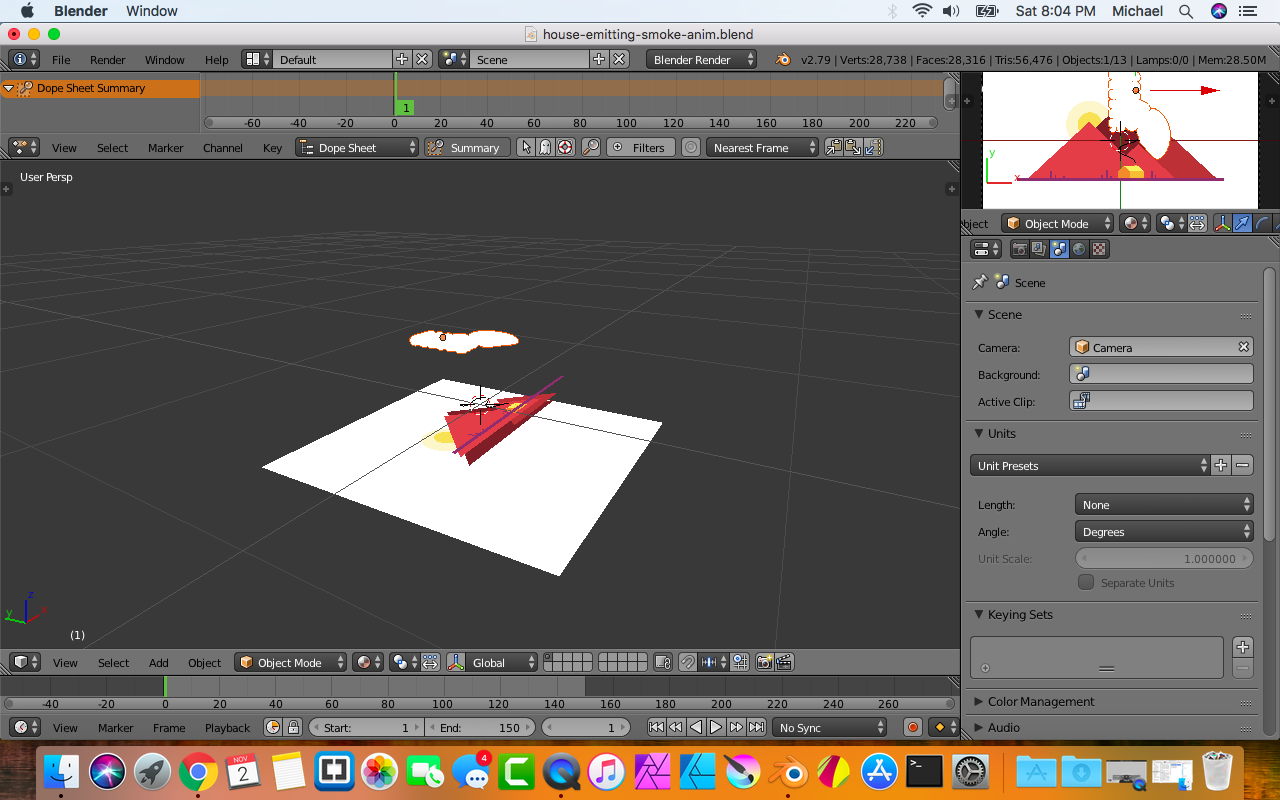
However every time I try and get my object to move along a path it always moves it’s rotation or scale to move along the path instead of leaving the size and orientation alone just to move along the path.
Not tried it, but off the top of my head, if it’s just following the curve and not using the curve for deform, use an empty to follow the curve so it does all the rotating etc. Then use an object contraint to copy the empty location, I would expect the object then to “tag along” with hte empty but stick to it’s own rotation etc.
It works! I didn’t think of that. However how can I set a keyframe for the path/curve animation where it follows but behind so I can make that cloud effect as seen in the after effects how to video?
I honestly don’t know, my first thought was to keyframe the influence of the constraint, but that doesn’t give fine control over the realtive position. I’m sure there probably is a way, it seems something you’d do quite a bit, having that “follow on drag”. Maybe a second empty with an offset and somehow have the object react to the intensity of the relation? Hopefully someone with more knowledge can jump in here. I’m pretty sure I’ve seen this done in the past.
I’m not really sure what you’re trying to do here (I didn’t watch the tutorial video) but you might want to look into the use of a clamp-to constraint. It turns a body’s world location into position along a curve, without acquiring scale or rotation from that curve. Because it turns world location into curve position, it’s easy to create bodies that lag each other along the curve by fixed length-- just parent one body to the other, then clamp both to the curve, and you can drag both bodies along the curve by translating the parent, or just the child by translating it.
This is exactly what I’m after. One thing I can’t figure out is how to control the speed of the animation around the curve. Can I keyframe that anywhere? Or parent it to another empty which controls the rotation speed?
You can animate it by the influence factor. I am assuming here you have it at zero for the start and 1 at the end. You can go to any point in hte timeline and keyframe it by RMB on the value and insert keyframe, then adjust the value and replace keyframe. That allows you to make it slow down and even go back.
Thanks for the quick reply. I just stumbled on the Offset settings.
I was trying to get it to follow an empty’s Z rotation, but I’ve no idea how to write the expression in the driver options. Keying the Offset while having the Fixed Position box checked allows me to animate it, so for now I’m just eyeballing it so that it looks close enough for what I need it to do.
Sweet, there’s a lot to this sort of thing and I admit, I don’t use it often so I’m sure there’s all sorts of ways to get the effect. Some techniques may actually give you more control. I usually end up trawling youtube looking for keywords such as “animate path”, “follow curve” etc then picking apart the bits I think suit me.
It’s all very new to me in Blender also, but coming from an After Effects background, using nulls (empties) to control certain parts of an animation while having other nulls and positional values nested in null upon null all controlling things at different levels, I know all of this sort of stuff is possible. It’s just a matter of me finding it in Blender. I’ll also be doing lots of adventures in rigging in this latest project, and man, that won’t be fun in my limited timescale. To say the learning curve will be steep is an understatement. Hence my love of Blender youtube videos and this forum right here. So much info out there.
Yeah, that’s a nice way to control it. Set up some basic keyframes then mess with them in the graph editor. I did that for this test I made for checking things I was telling you, I used the second cube empty as a reference for how far behind / ahead I was using offset. untitled4.blend (655.9 KB)
I learned that using the follow path constraint I would use the graph editor to adjust the “restrict frame range” setting in modifiers. I would need to apply it on every duplicated part of the element. Which would’ve taken more time. So I ended up making the whole animation manually which was time-consuming but still smooth. No follow path used this time.