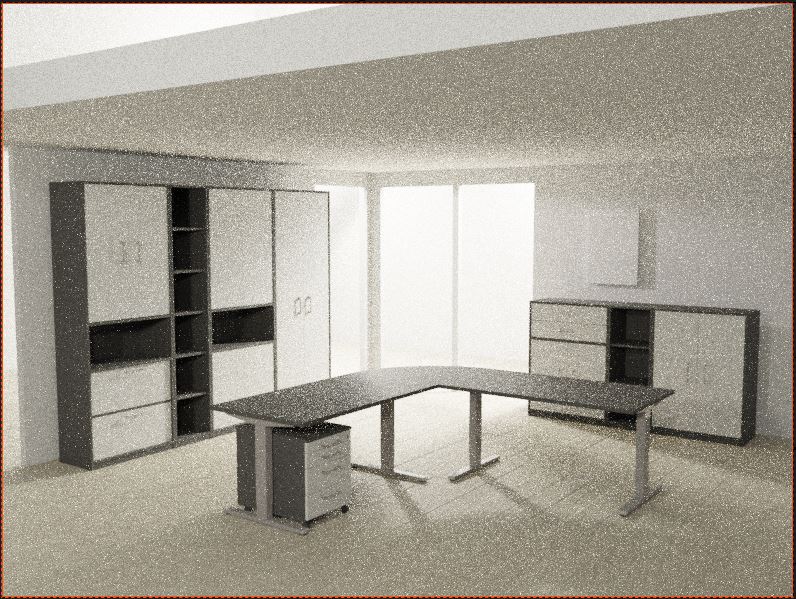
I am trying to recreate this photo. My main focus is the physically correcting lighting and shading.
There are some parts where I struggle and I am hoping for some feedback.
(This is closely related to the filmic view transform by @troy_s and the photographer Addon by @chafouin )
I modeled the scene as closely to the studio it was shot in as possible.
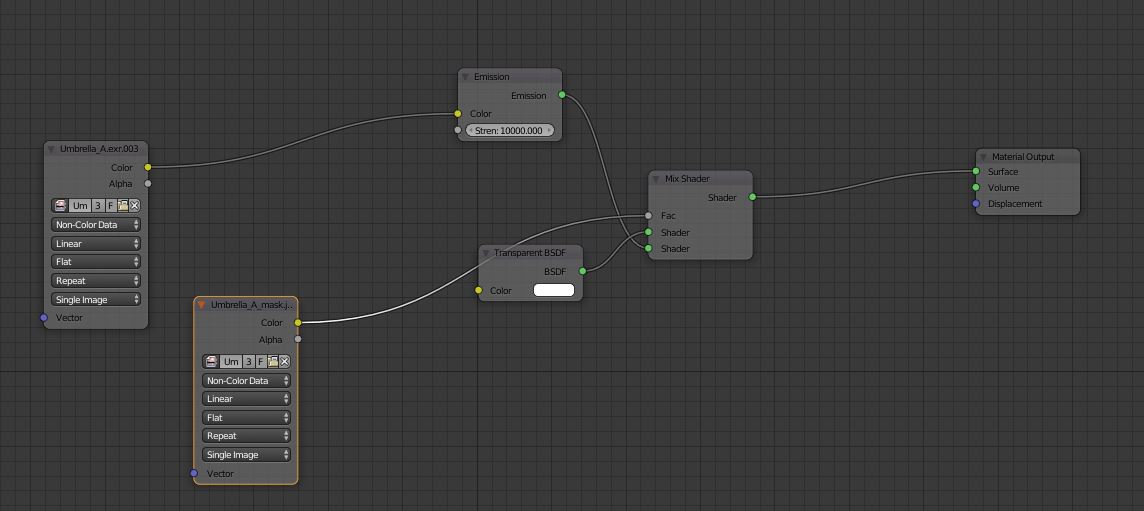
I used the exact camera settings the photographer used. Also I am using mostly EXR lights from HDRLabs.
I find it diffult to set up these lights and rotate them. Also I have to use unreasonable amounts of strength to get the image bright enough. Plus the shadows are still not sharp enough.
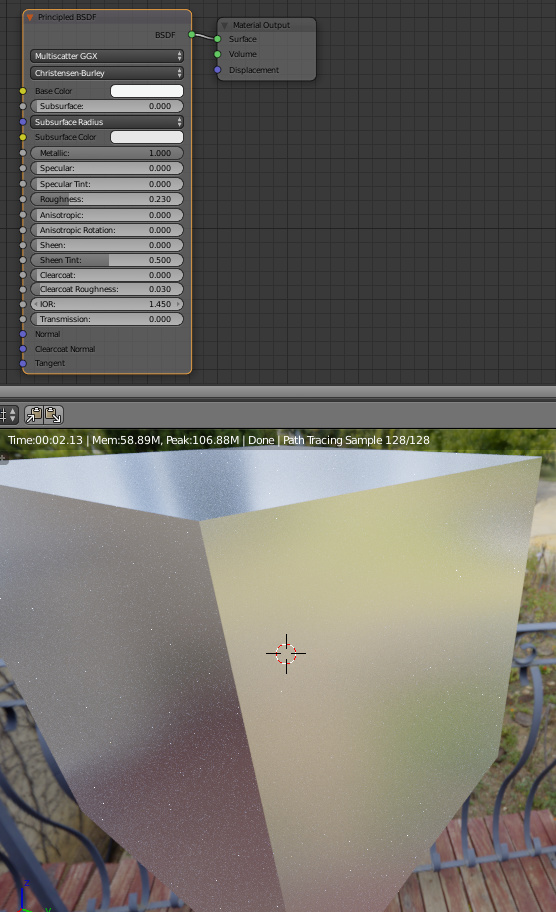
Using Albedo values for the Aluminum handles also makes them way too bright.
Does anyone have suggestions how to balance the scene better? Shouldn’t it be possible to get a closer match when using the physically plausible values from the real world scene?
Any help on this project is greatly appreciated. I am trying to deepen my knowledge on physically based rendering in Blender in the hopes to get a closer match to the real world. Thanks to everyone who is willing to contribute.
Your lights source must be smaller in order to get sharper shadows. If you only use HDRI to lighten the scene, it might be diffucult to get the effect since HDRI produce light in 360 degree (kind of).
You can try using an area/sun lamp along with HDRI to get sharper shadows.
What is the value you use? Where did you get it?
Try this document maybe from Unreal Engine. They give RGB values for aluminium: (0.913, 0.921, 0.925) . Make it metallic (1) and adjust roughness value as you desire.
Thanks filibis. I am using those values already. And since I am using EXR lights on a mesh it doesn’t make much sense to scale them down to an unrealistic size.
No, you can use HDRI images of lamps (not 360 captures) to light your scene.
It’s actually a good way to do it, although sampling will require more time than with normal lights. What I’d recommend is to turn off Diffuse in the Ray Visiblility of the mesh light. Replace the diffuse component by an actual light that you match to your HDRI results, and turn off the Reflection Ray Visibility for the light.
A couple of things, not having looked too closely:
An EXR that contains colour data is colour data. It appears you have it flagged as non colour data. In this particular instance, it won’t change anything, but a good practice to use the correct transform. Is the data RGB encoded? If so, it is colour data and should not be flagged as non-colour data.
One can see that the light is spilling in along the ceiling, which indicates that the HDRI may be:
Pushing too much fill in from lower.
Not positioned to match the original scene and / or camera position not perfectly positioned.
Not proper ratios reflecting the primary hot source in the scene.