I’ve been making an action film alone for several years, and as I’m on my way to get it finished in a couple of months, I decided to document the process in this thread. So maybe someone with similar ideas could get some tips and inspiration out of it. I will go through the process step by step, starting from the year 2020, and eventually up until this day when I’m in the middle of the post production phase. As this has been such a huge project, everything will be simplified a lot in this making of story to make it more readable. I’ll also be focusing on the usage of Blender in this project and not so much all the other aspects of filmmaking. Some of it I have already covered in my previous posts, but this will be kind of a sum up of everything. The film is called TERMINARIUM, I’ll start my actual story in the next entry, but here is the first and so far the only teaser of the film (after a cover pic):
BEGINNING AND LEARNING BLENDER
My previous film project was a found footage horror film “Saalis” (“The Prey”) that I filmed with my phone. It was a kind of a test about is it possible to make a decent horror film all alone. It was a success, at least that’s what my family and friends thought about it. When editing it on my father’s working laptop I realized that Premiere Pro has many advanced ways to composite videos on top of each other, so it gave me the first idea, like would it be possible to make also an action film alone? Obviously, there is only so much you can do storywise if you are working on a live action film totally alone, because you will be the only actor. So one obvious solution was to make a film about clone soldiers. I also wanted it to have some deeper social psychological and philosophical themes and not only action. Most of my ispiration came from Metal Gear Solid game series, and of course from Mad Max franchise. Also Star Wars: Attack of the Clones gave me much ideas about how an army of clones would work. The idea of them being eusocial was my own, but when I had already written the basic story I rewatched Attack of the Clones and was like oh my gosh, this is too similar to my ideas… But eventually I realized it makes my film even better on meta level, because it would be logical that a film about clones is also… a clone itself.
Also my anxiety about global warming gave me an idea about a future Earth that is almost like Venus.
Originally I wanted to film everything on real sets and composite them together in editing, but soon it became clear that finding suitable locations for a film happening in desert is very difficult when you are living in Scandinavia. Especially with almost zero budget. Also my father had suggested to rather try and make the environments somehow in post. So I ended up building a green screen studio in my living room (the screen was actually blue). First I thought about using CC0 images as backgrounds, but they were also hard to find in correct angles and sizes especially for indoors scenes. So I thought about warping or 3d transforming images together to make the backgrounds. Then I heard from my father about a 3D software called Blender. And after a few donuts, chair, anvil and Mars surface I realized maybe I could actually learn 3D well enough to make the film using it.
After trial and error I realized I have to make some raw sets in 3D to be able to aim the camera properly and have good compositions in shots. So with my rather primitive modeling skills I modeled a simple bunker to act as a set. I even managed to make my first simple human characters that I could use as a reference for setting up camera. The models were still very simple and raw, but I was not too worried about it, because I knew that the filming itself will take so much time that I’ll have plenty of time to learn 3D skills before post production. I also realized some of the models were way too difficult for me at that point, so I left them for later time when my skills would be better.
LINING UP THE STUDIO WITH THE 3D BACKGROUNDS
I also realized I need a system for lining up my studio setup and camera with the 3D backgrounds, but I could not find any instructions to it from YouTube. So I developed my own system. Basically, I made a 3D copy of my studio room. Then I added a simple coordinate system with tape on the floor, and copied that to the 3D version too. I also made a vertical metering stick to make setting up the camera easier.
After that I made a separate collection in Blender for each shot and named it with the camera height, position and clip number. Then, I just placed the camera for each shot in 3D environment and moved the studio room around it to get the studio setup I will need. I marked two base positions for the camera to be used most of the time: front and back position. I also had a code system for some corner and middle positions in the back of the room. For other positions I marked simple x-y coordinates. With indoor scenes and door openings etc I taped the areas to the ground, based on the 3d viewport. I had extensions on both sides of the blue screen that were made of cardboard, which made them modular and I could use them as corners of walls when needed. The camera I had was equipped with a cropped sensor, so I made a test scene to see which size the focal length should be for each common focal length, and marked them on a tape I had put around the objective.
The most time consuming thing seemed to be the changing of the camera height, even though I learned some simple hand and finger width based ways to quickly measure the legs of the tripod and get it to a correct height without needing to measure it every single time. Also after every height change the camera needed to be leveled and aimed again, the focal length and focus adjusted etc which always required setting up the reference measure and the mannequin. So to make things smoother, I listed my scenes in an order from lowest position to highest, so that filming would go more easily. With raw sets, a 3d copy of myself and a studio copy I could also test lighting before filming to get it right. I also had a stand in dummy with my height to act as a focusing point and lighting tester.
DESIGNING THE QUEENS
Even though I made a decision to do everything alone in this film project, I still needed female characters as the Queens of the swarm. After my skills with 3d got gradually better, I finally decided to make the Queens fully CGI. Fortunately, the most important female character Q8 does only appear in flashback scenes, so I can obscure the CGIness by using strong bloom, vignette and depth of field effects. Also I wanted to keep her look somewhat vague, in case that I some day make a sequel (or prequel) with an actual actress, so there would not be too much problems with continuation.
Modeling human characters must be one of the most difficult skills I have ever managed to learn. Even though I’m still not on any professional level, the improving process has been extremely painful and frustrating. With my first attempts, I actually had to get a styrox mannequin head, draw a grid on it, then take reference images of it from front and side, and use that to make a somewhat decent human head model. Later I made a new base mesh from scratch by only using reference images, but it took about two years of practice to get at least some confidence in making human faces.
Here are some glimpses of different phases of my Queen design process. I’m not sure if the final one is really the final version yet because it’s still not photoreal, but now it is at least decent enough to be used in some dream like blurry flashback scenes I think.
This is the best one, fantastic progress ![]()
Wait! What? Why did i missed this all along ??
Designing the Desert - Part 1
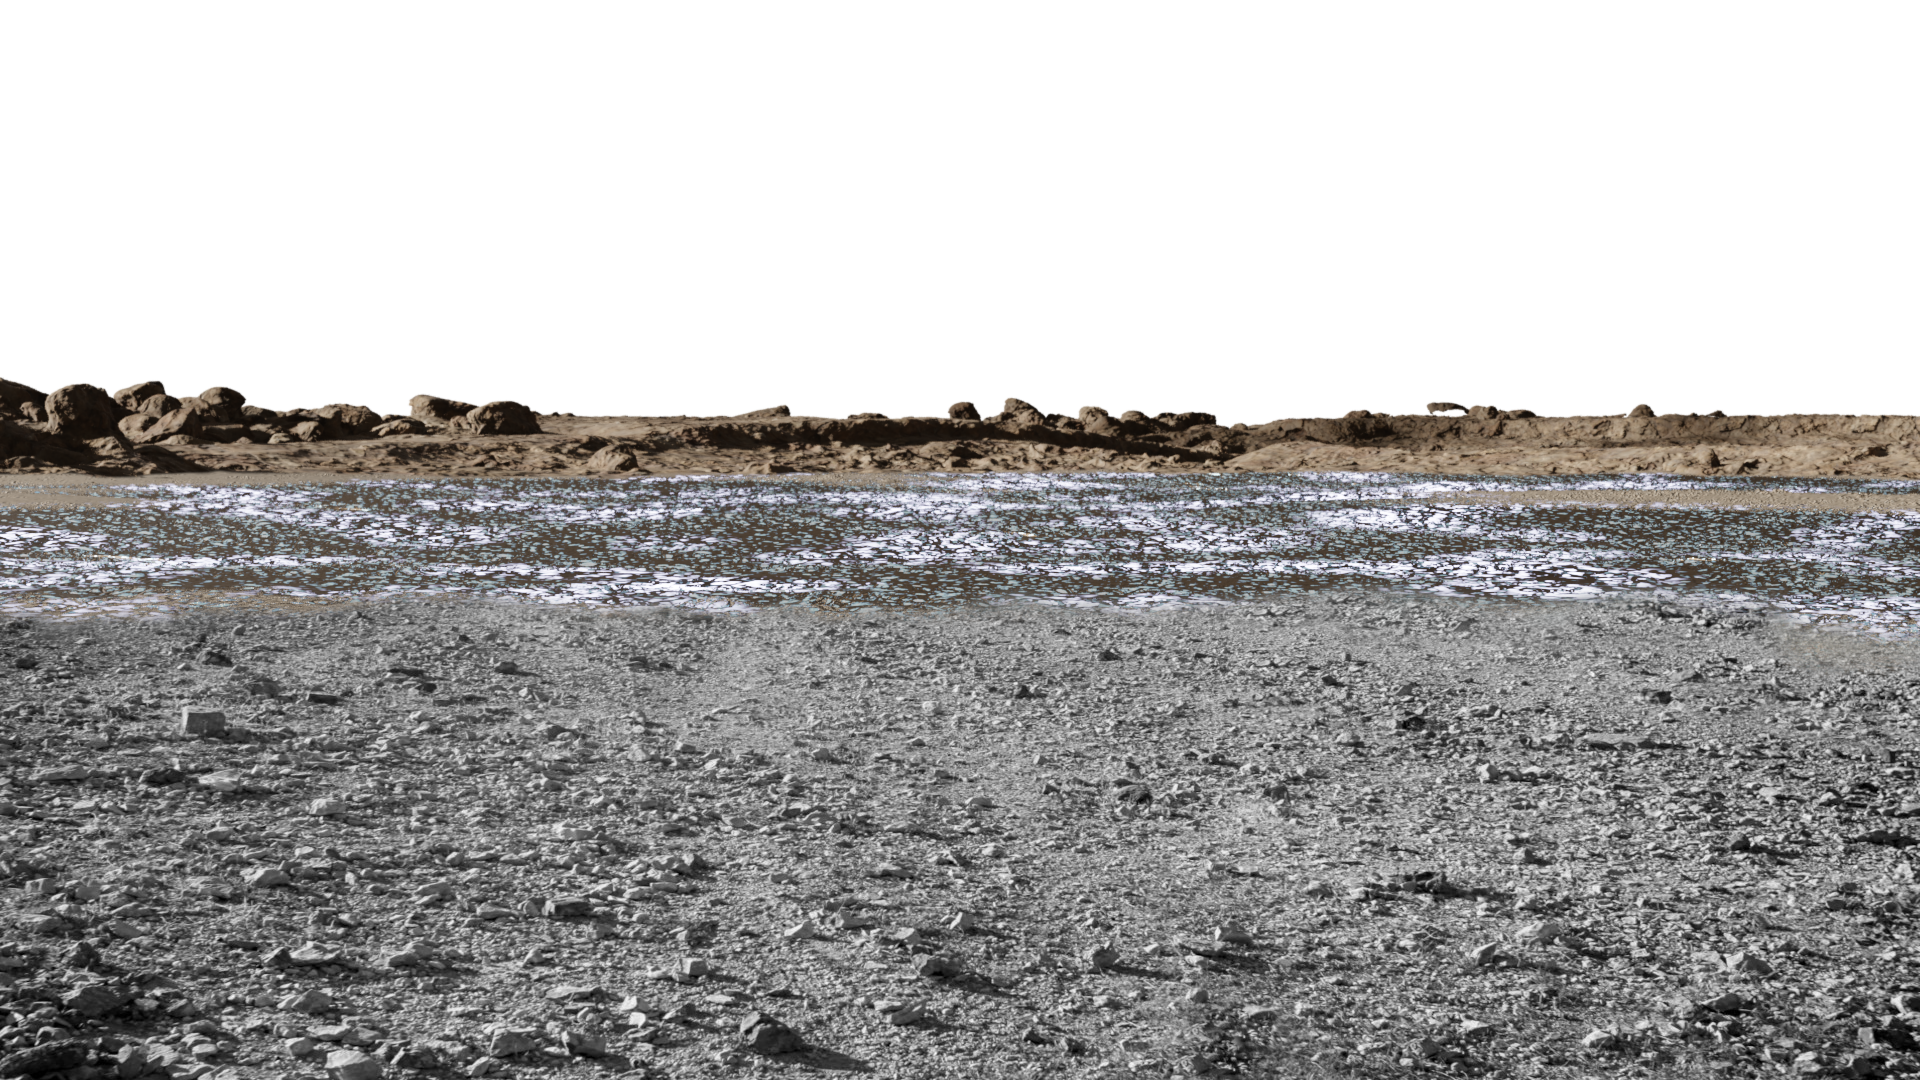
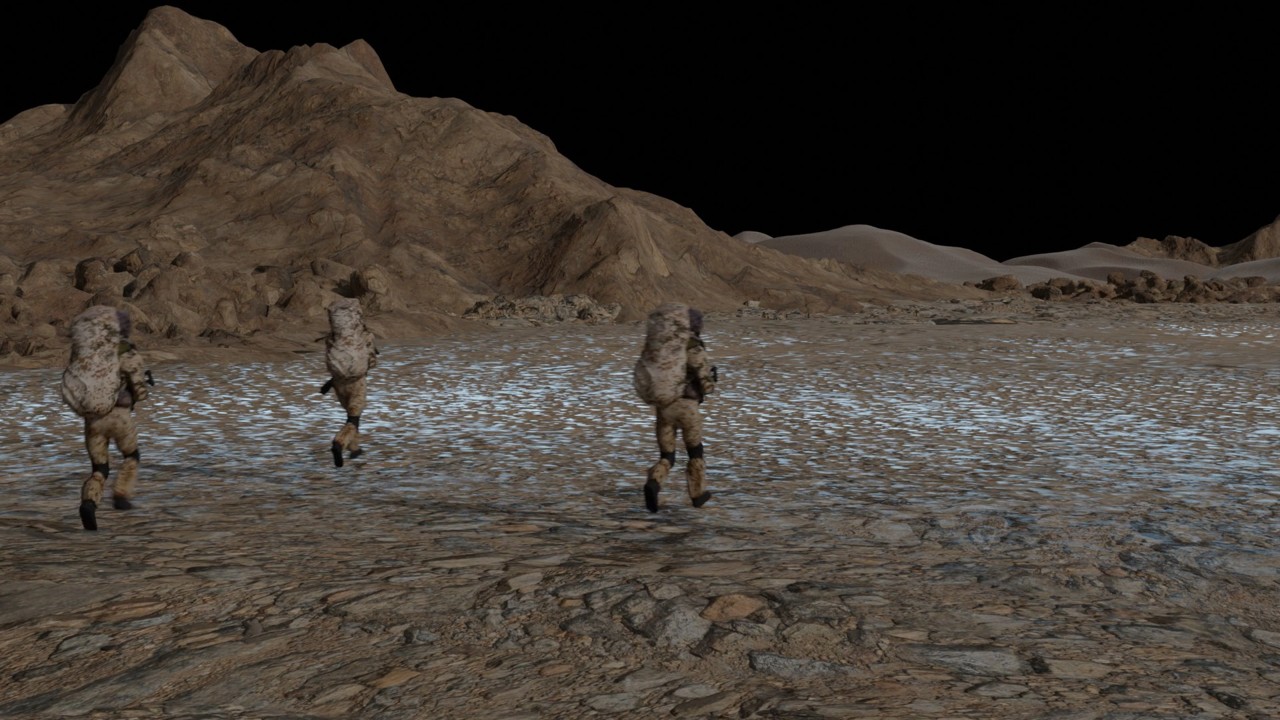
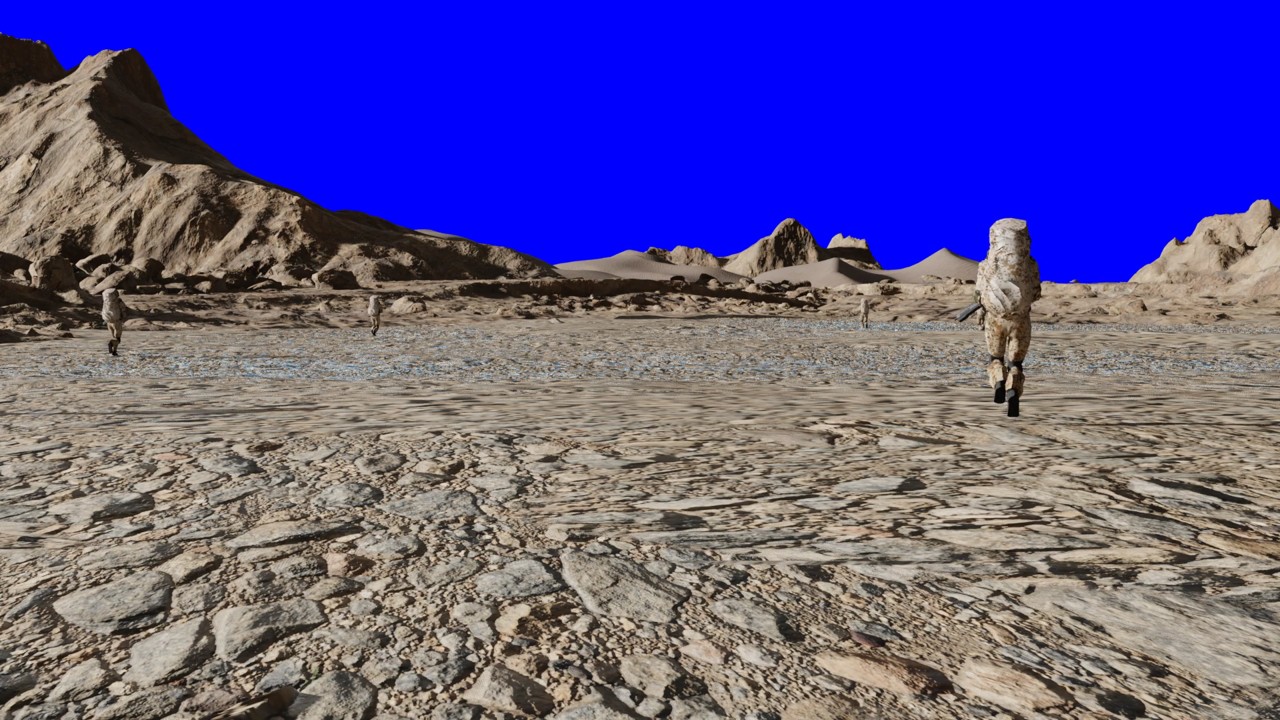
All the outdoor scenes in the film happen on a barren overheaded desert. I decided to make it mostly a rocky desert and not so much a sand desert. Partly because I did not want it to look too much like Dune. But mostly because then I would not have to worry about footprints and other ground contact interactions. Also I realized that making realistic sand dunes is quite hard.
Eventually, I decided to go for a bit stylized realism. Pretty much like Mad Max: Fury Road did things. So that it would look realistic, but not necessarily photorealistic.
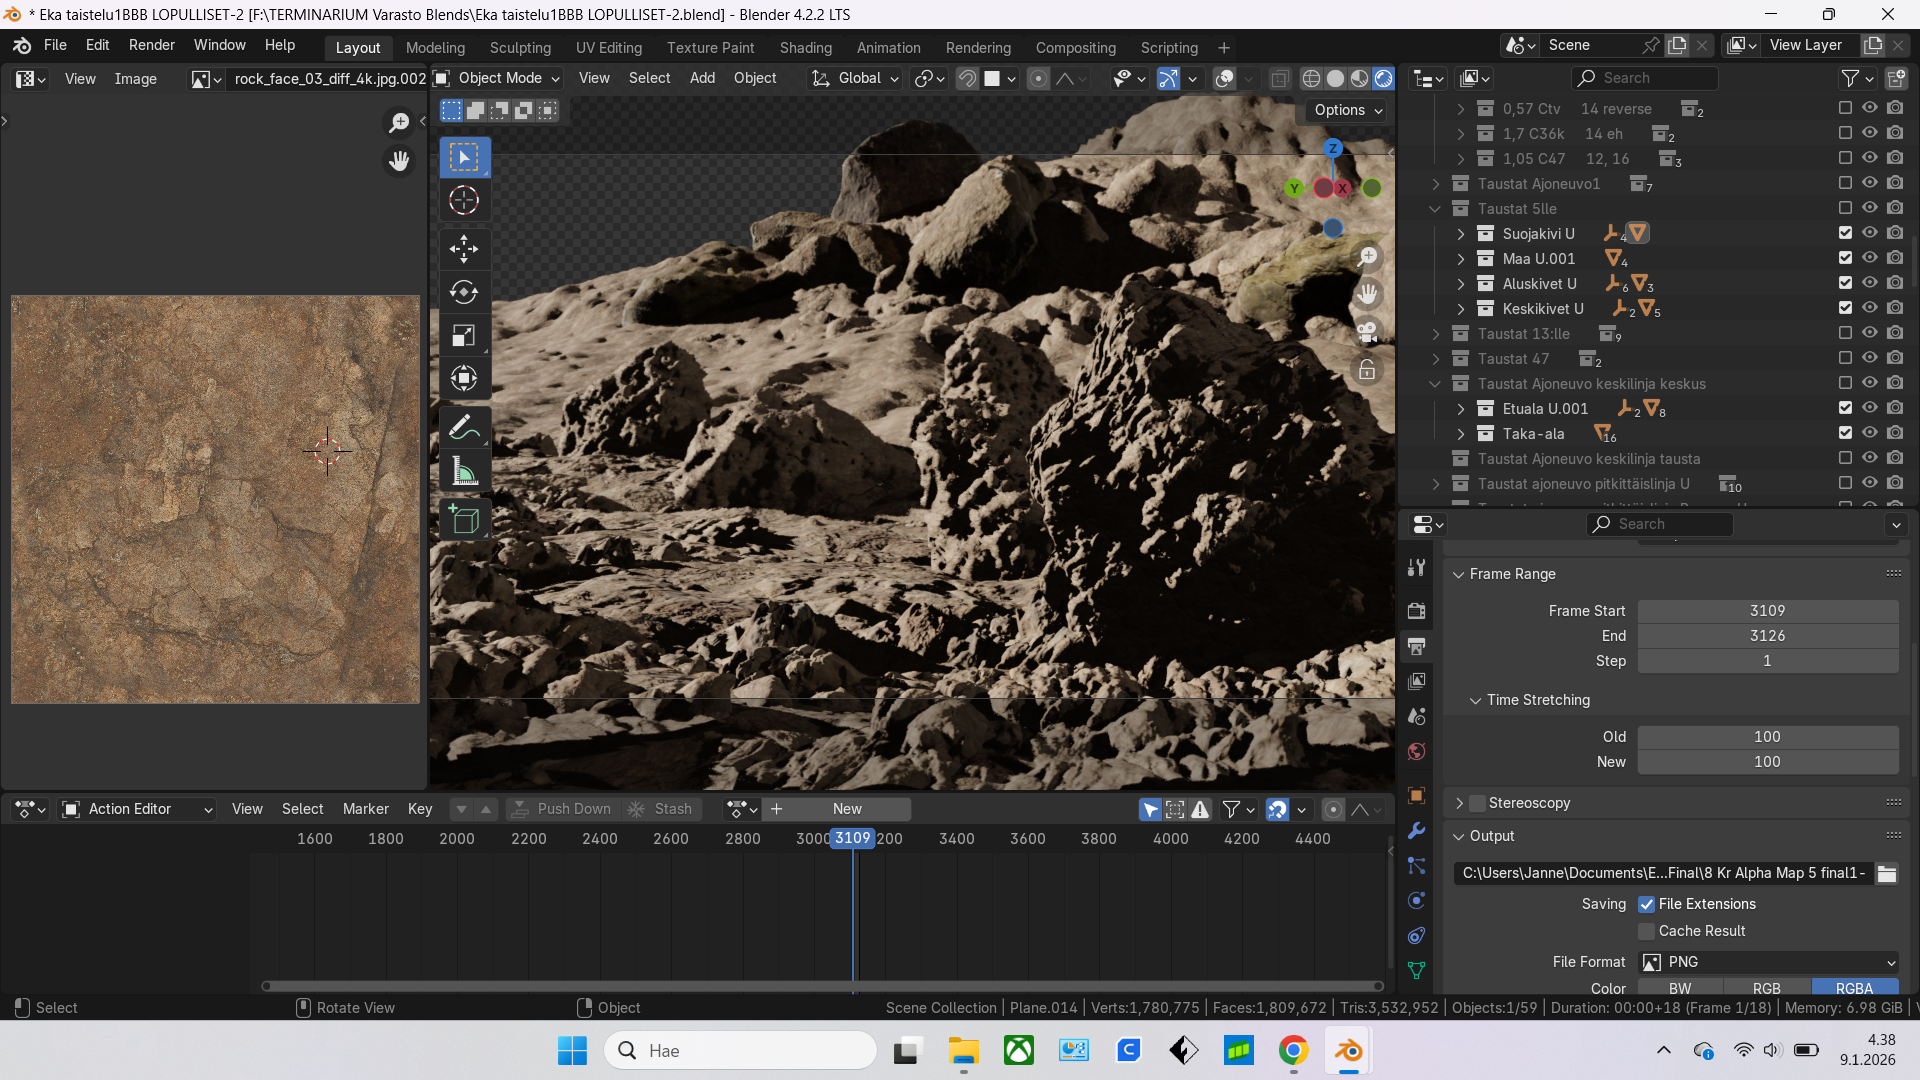
I decided to render the whole film mostly with Eevee, because I did some math and realized that even if I managed to optimize all the scenes so well that I could render one frame in 15 seconds with Cycles (which is totally unrealistic with my hardware anyway) it would still take almost six months to render everything. Not to even mention realising mistakes in renders and correcting and re-rendering them. I also decided to use PolyHaven rock, coastline and cliff assets to build my scenes due to the lack of my own modeling skills and not having to do any photoscanning etc on my own. Also they had realistic textures already.
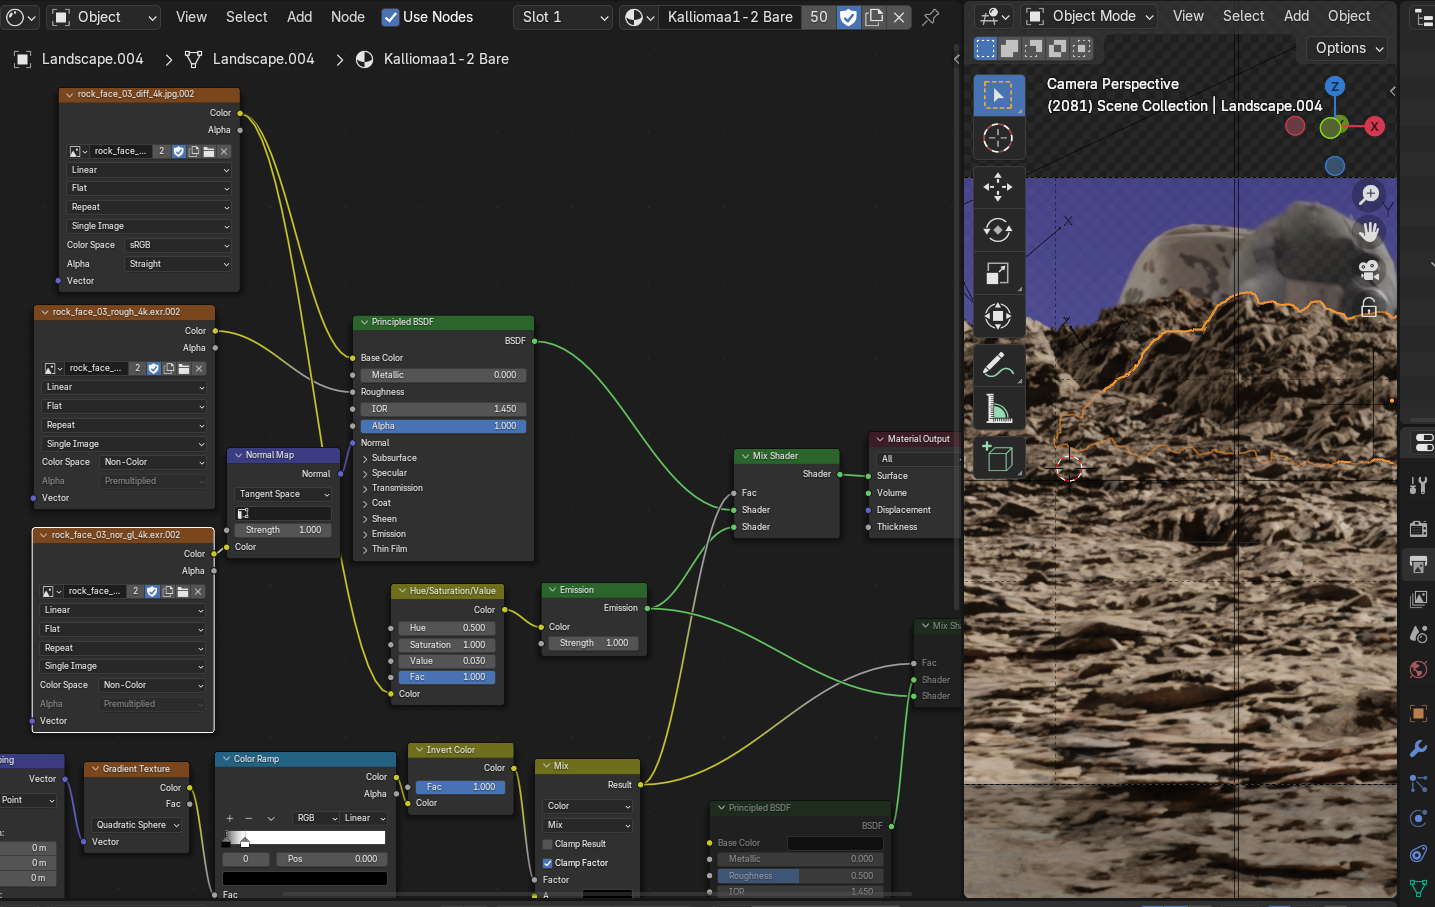
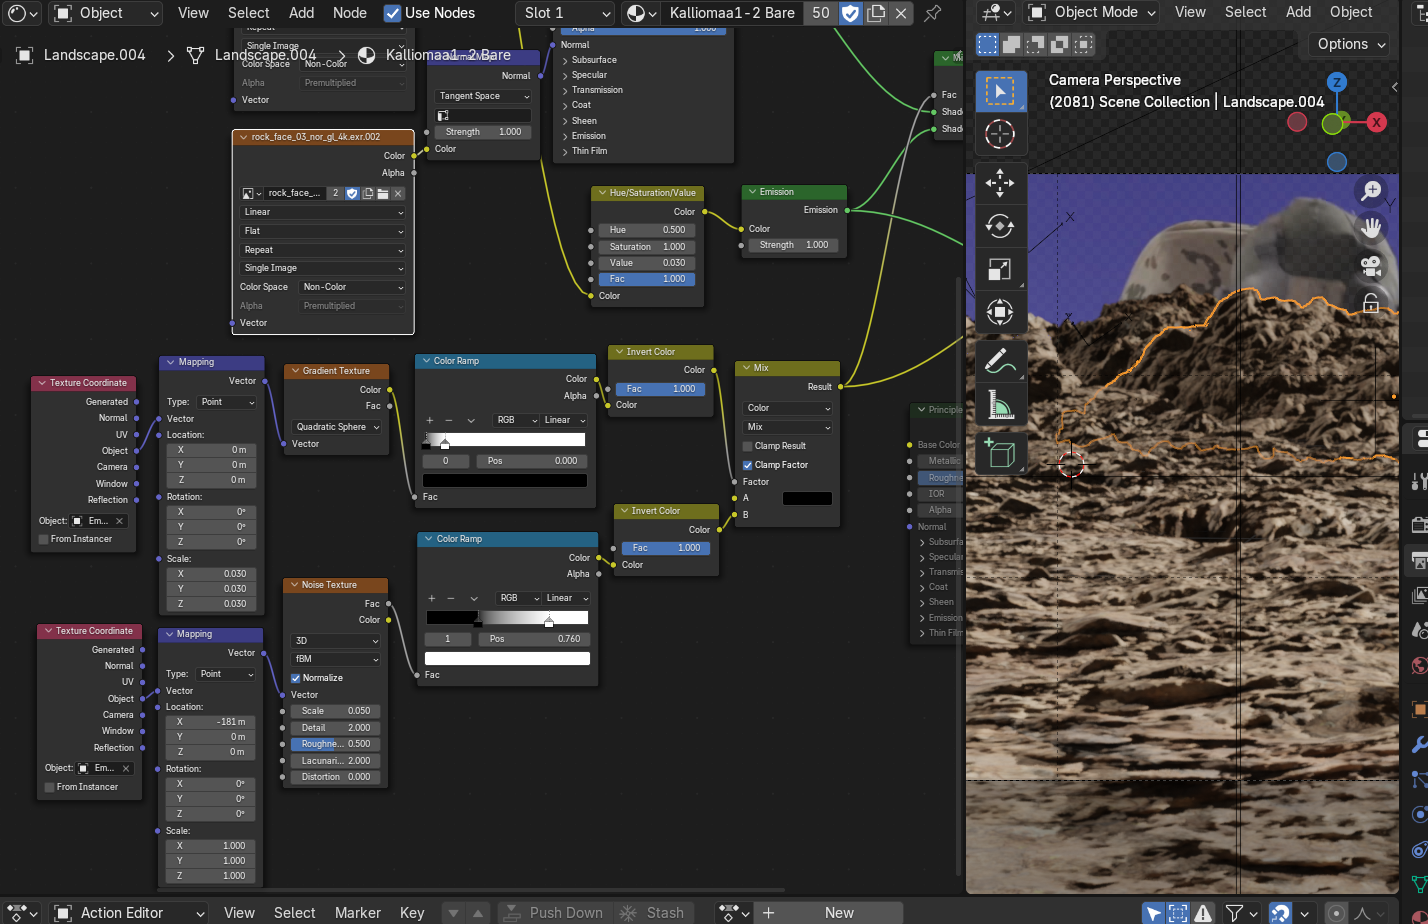
Unfortunately, my plan backfired right at the start, because after filling the scenes with 4K textured terrain assets, Blender started crashing with Eevee. I did not know much about these things back then, but I figured out it was not because of the poly count, but because of the amount of textures. So I discarded all the ready made textures and replaced them with one single generic tiled PBR rock texture for the whole scene. After that: no more crashes.
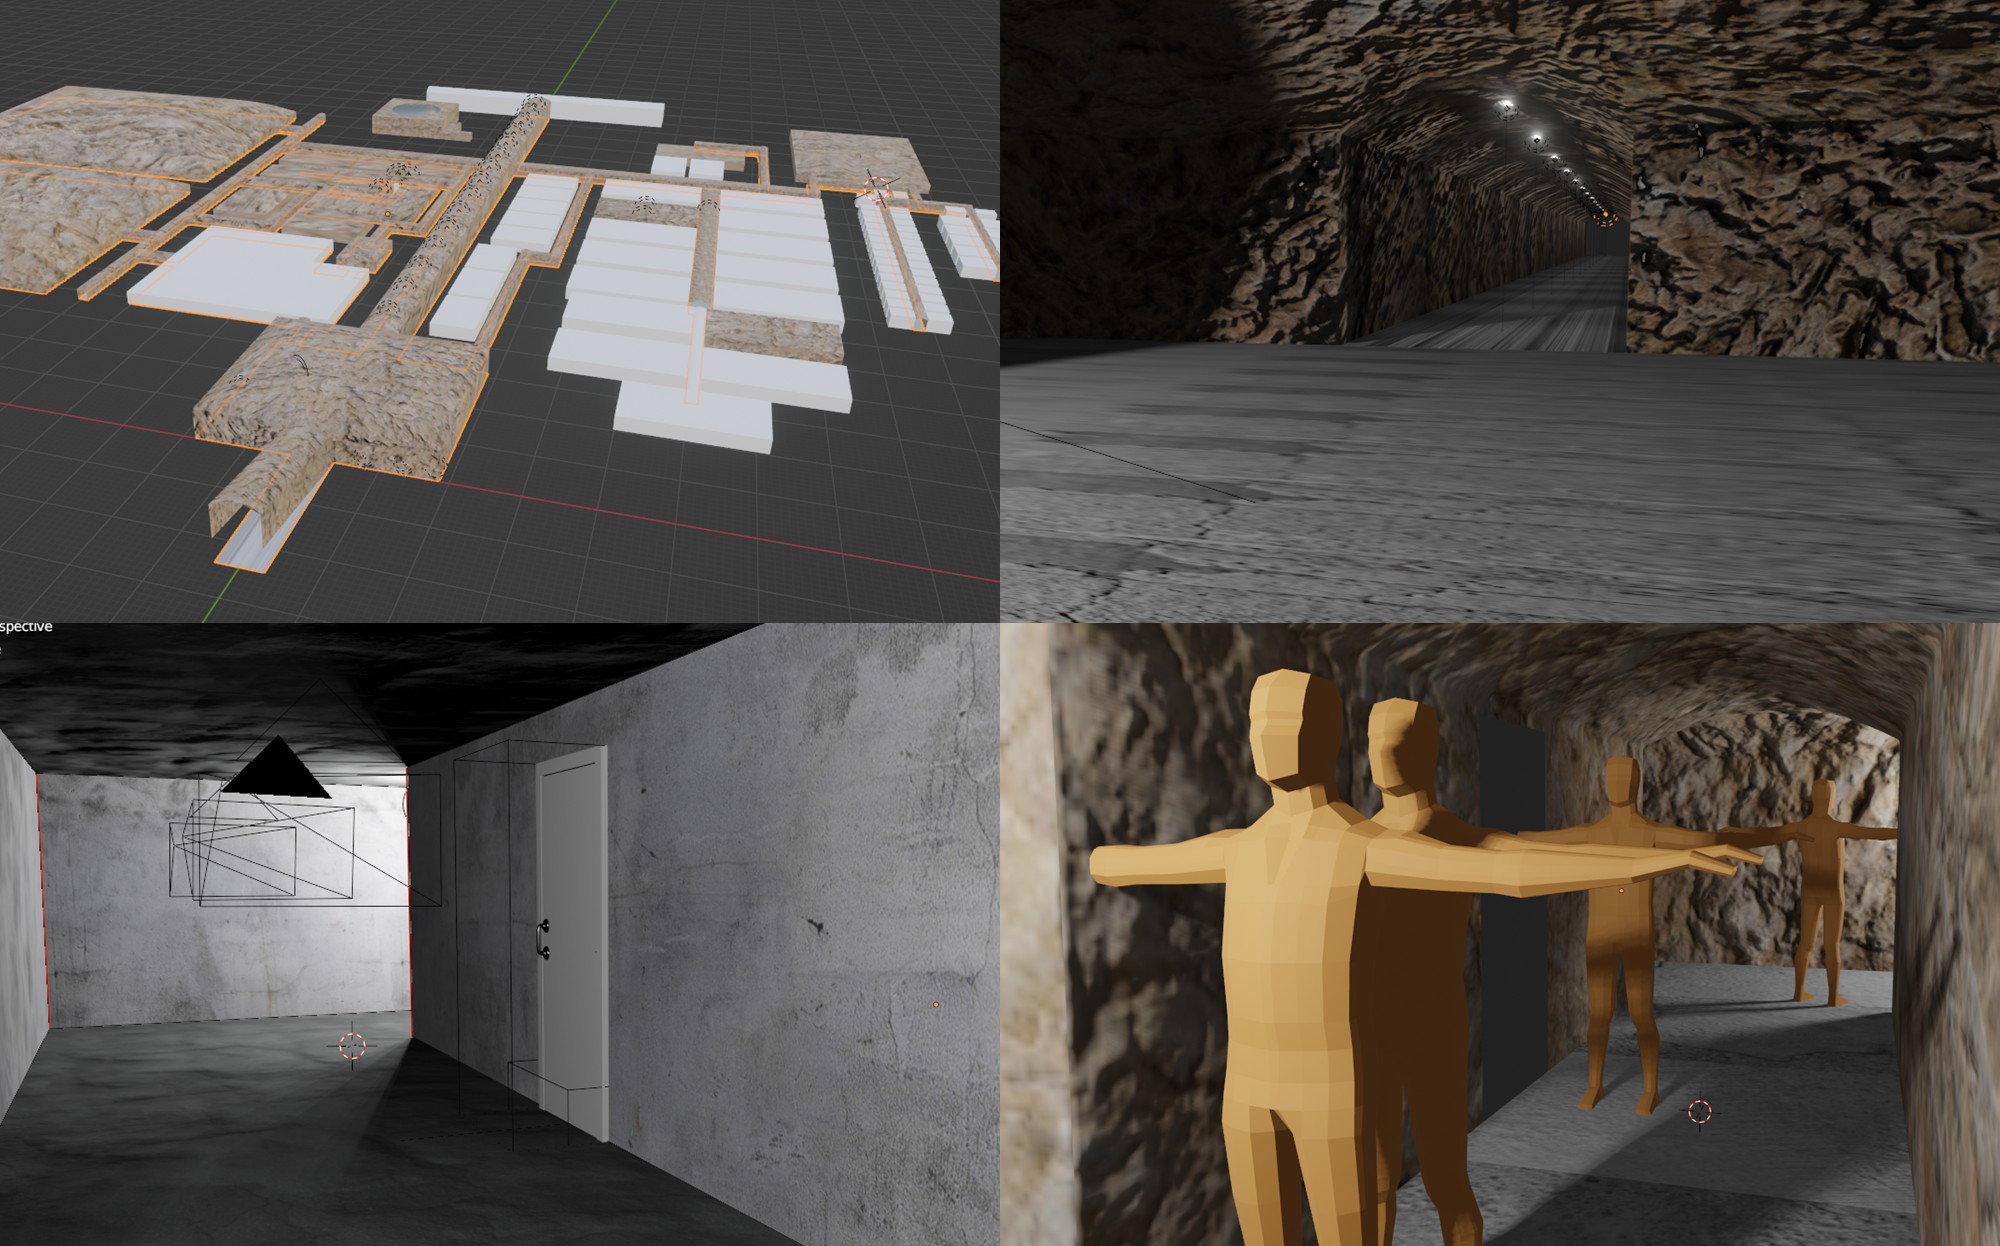
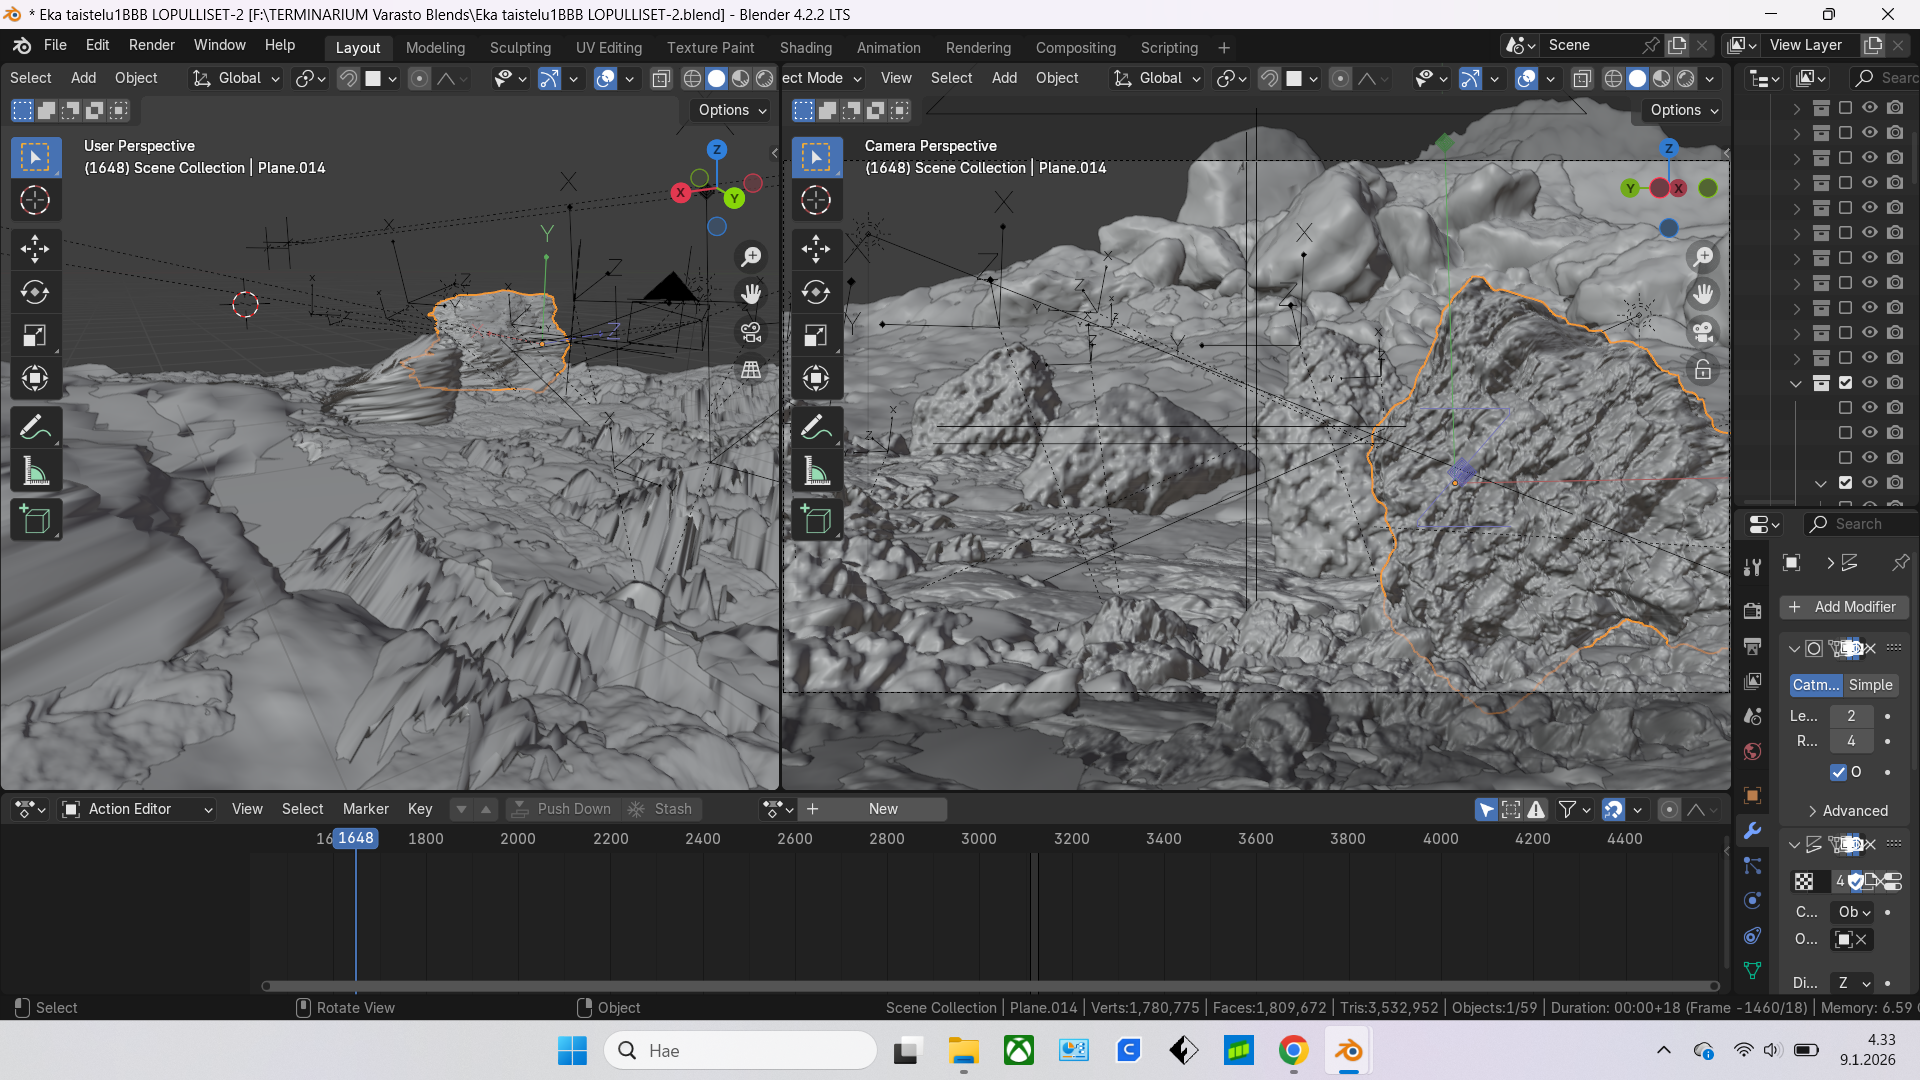
But making the scene look realistic with just one material for everything meant that I needed to add variations and details to it. I did not know any other way to make rock look more realistic than adding lots of details to them. And with just one material available, I knew I needed to do that with displacement modifiers. Which meant that the poly count skyrocketed and started causing new crashes. So I needed to divide the shots into different collections: foreground, middle ground, background, etc as needed.
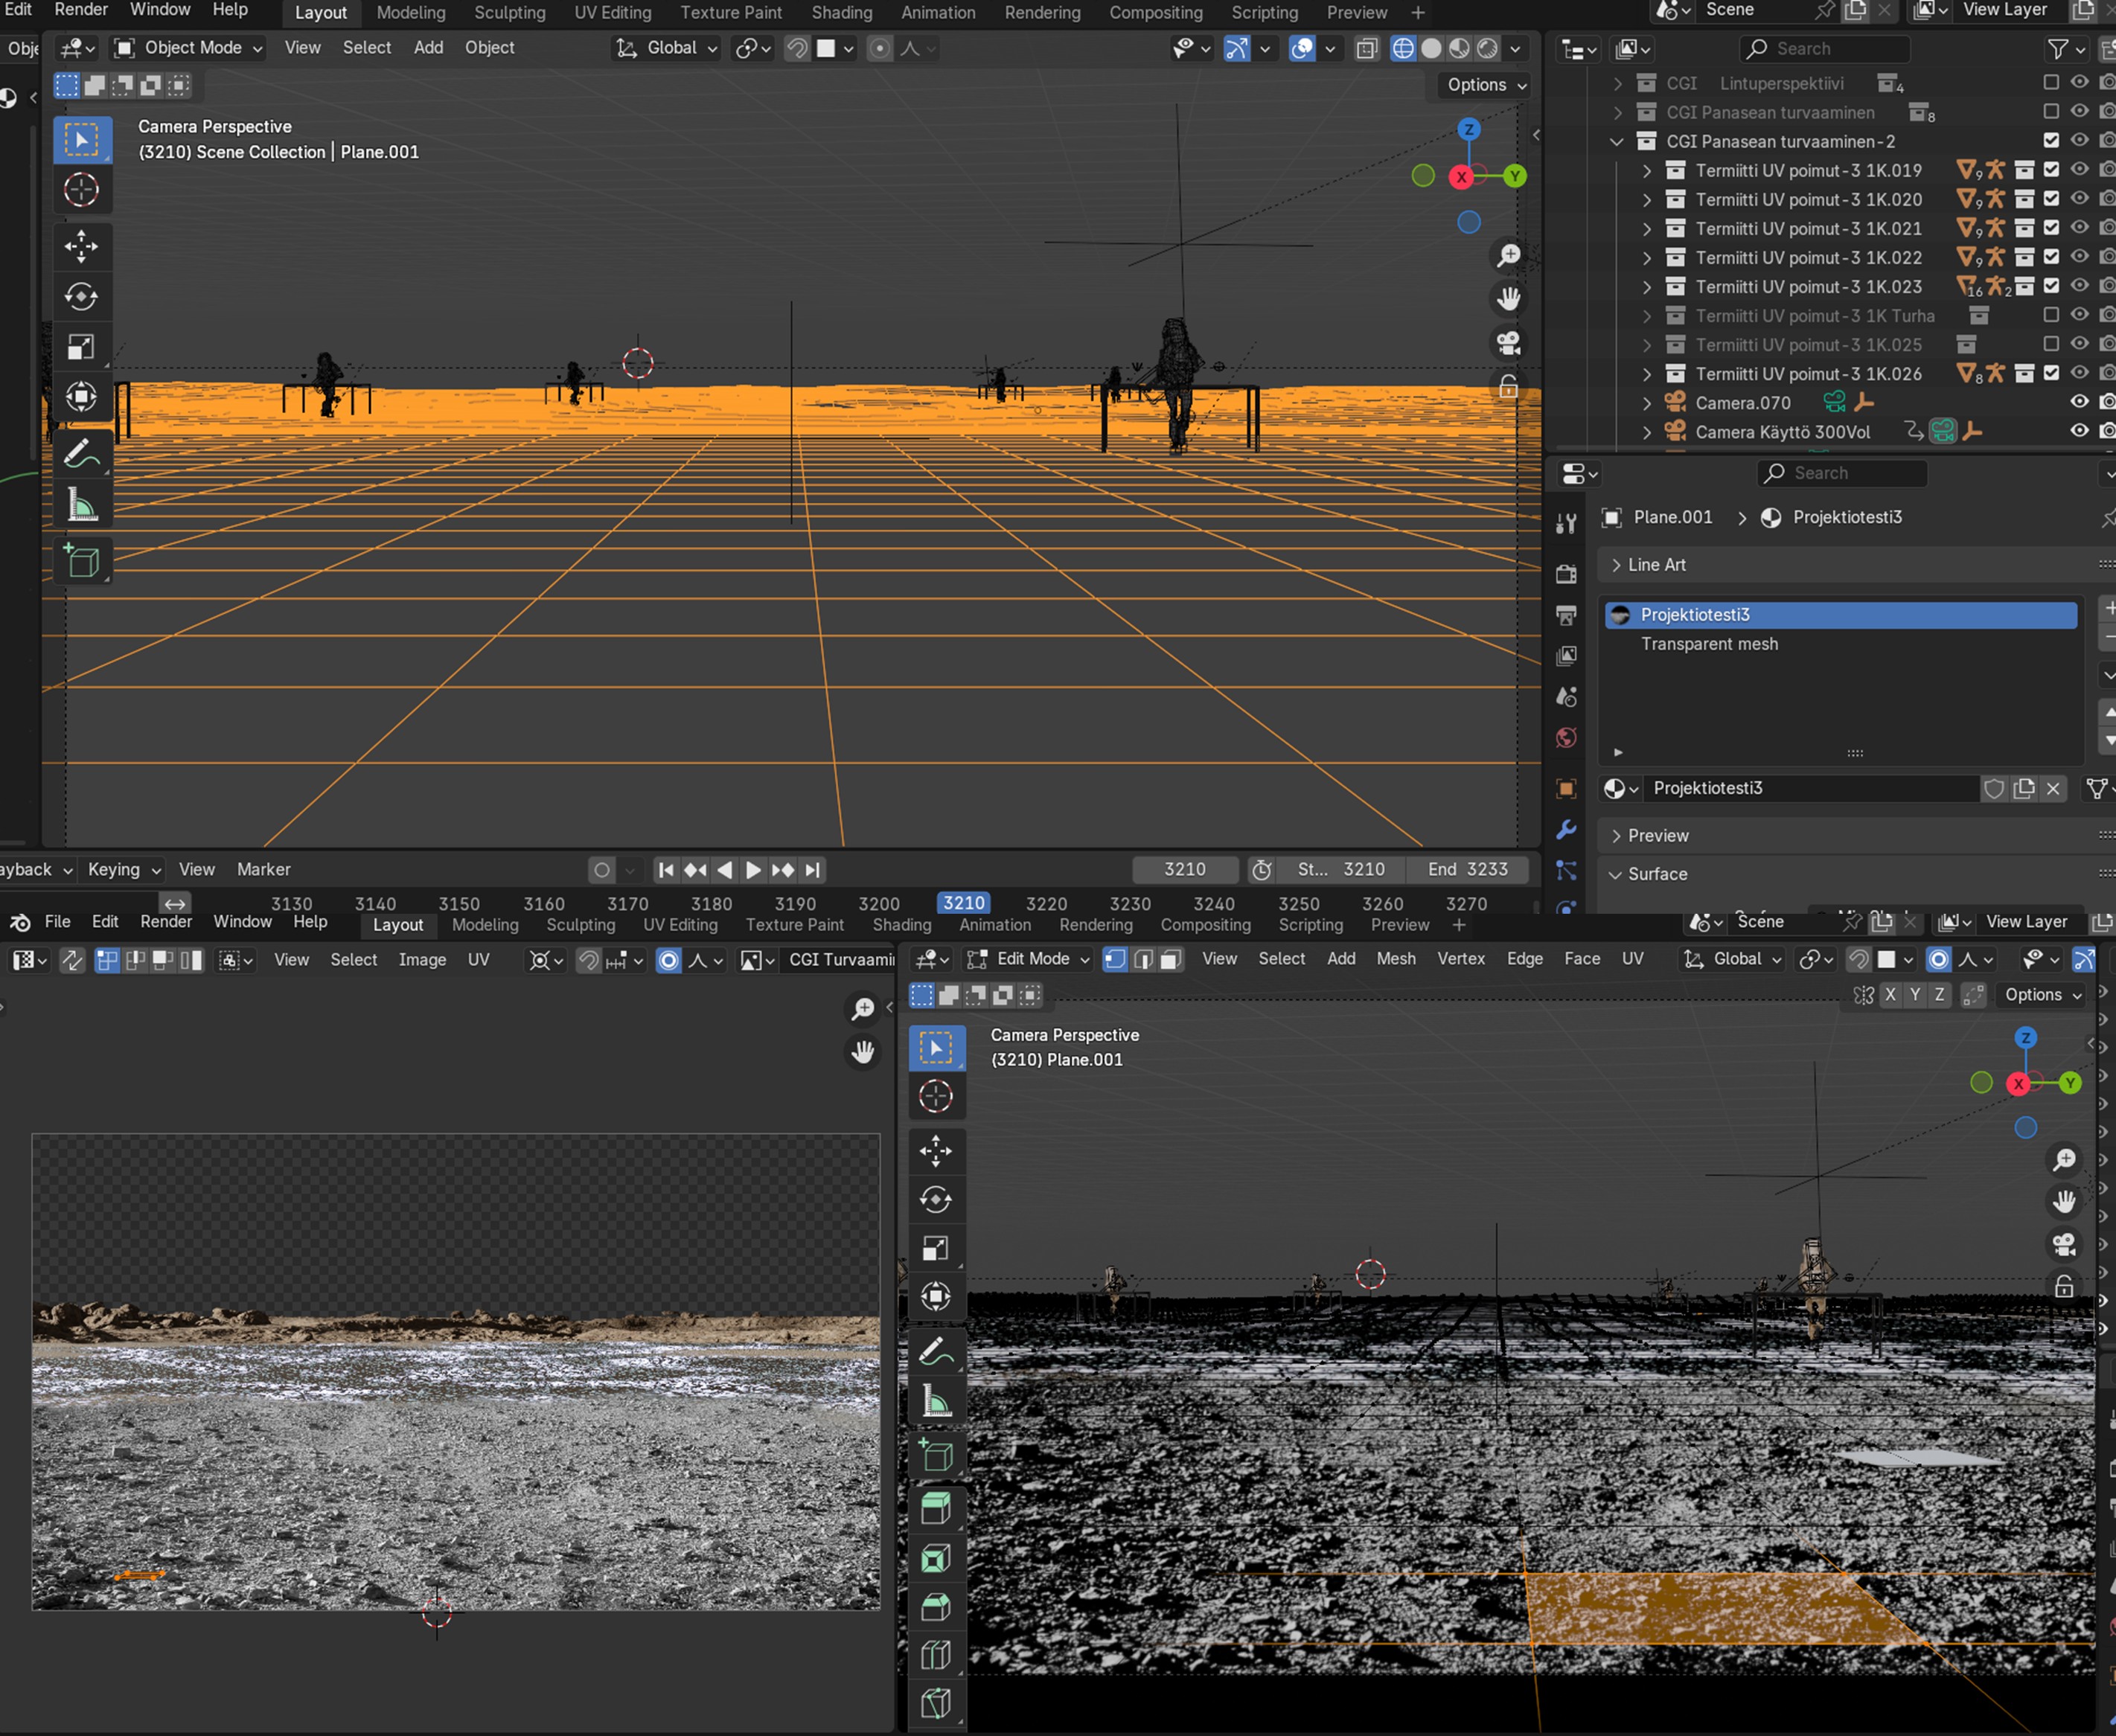
I also realised that the terrain assets did not like subsurf modifier. It got extremely laggy and even crashed with just one subdivision. But with landscapes generated with ANT Landscape and some mountain assets, it was very smooth and could handle a lot more subdivisions without a problem. So I figured maybe it has something to do with the terrain assets being mostly triangulated, but the ANT Landscapes and mountains all quads. So I blocked the scene first with the original assets, then added planes, subdivided them and used face projections to make an all quad copies of all the rocks and terrains. With terrains I did it from up view, but with single rocks I did it by projecting a subdivided plane from the camera view and doing some tweaks on the edge areas. Sometimes when the camera was moving I placed a camera inside the original rock, set the focal length to 5, oriented it to cover most of the rock surface from inside, then used that camera view to make an explosive like projection from inside, so it would look good from more than one angle. All of this was slow, but it made everything so much smoother and efficient that in the end it made my work faster, because I did not need to wait 10 minutes after turning a subsurf modifier visibility on for the viewport to upload it, and fear that it would crash the software at any time.
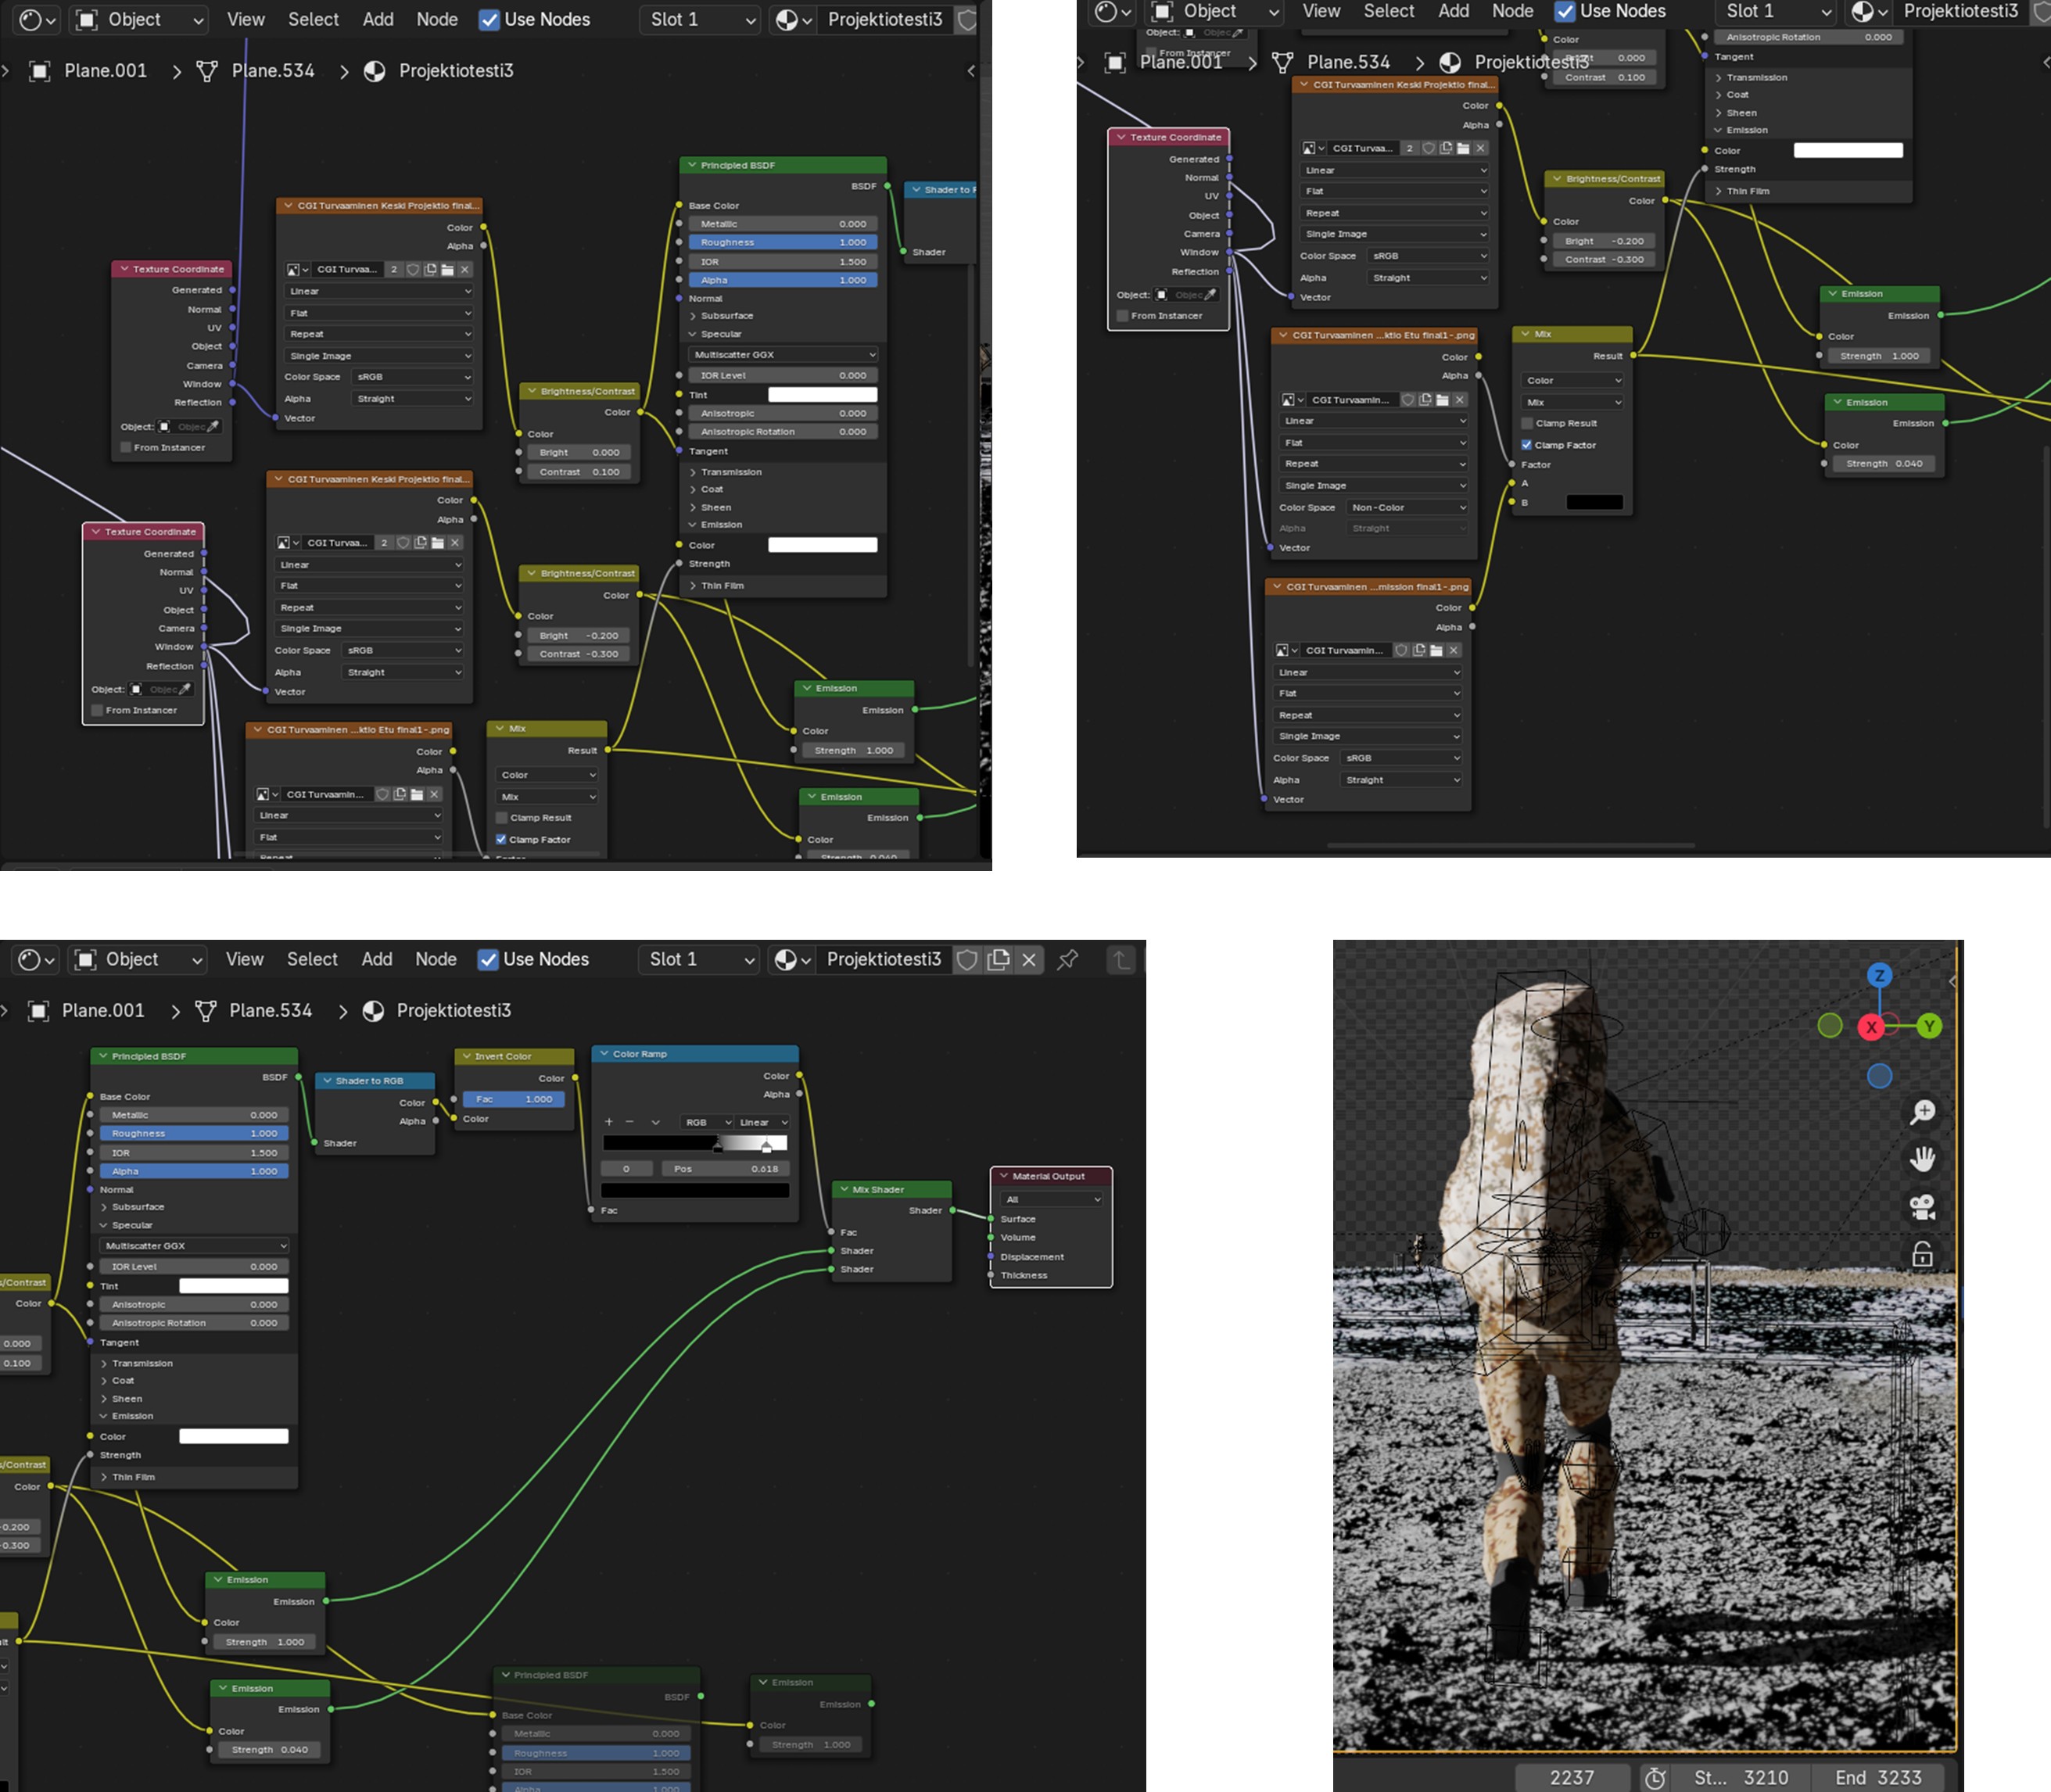
First I used uv maps for displacement modifiers, but at some point I realised it was more efficient to use empties and object mapping with them, because then I could move, rotate and scale them in real time without needing to go into edit mode to adjust the uv maps. Also it seemed to be a bit faster to render. If the displacents got too much tiling and repetition going on I used vertex groups and weight painting to mix different displacement maps together.
One problem was also the stretching of textures on areas that had very sharp displacements. But I realised that instead of using normal directions for displacement I could use object coordinates, so I set it to local Z and then rotated the object origin to face the camera (or almost camera). So it killed the stretching, because it was happening towards the camera. I could also get more details this way, because I could add pretty extreme displacement strengths without it looking too weird. If I really needen some other direction for the displacement, to prevent texture stretching I sometimes used window projection for the textures for those shots and scaled and adjusted them with mapping nodes.
Designing the Desert - Part 2
To make the desert feel more real I wanted to add some shadows from clouds to the backgrounds. At first this seemed a difficult task because I modeled the environments mostly in realistic relationship to each other. And the characters never could have any shadows from clouds on them. So the direction of the light, having the shadows always only in the background and also having them some realistic look compared to the sky seemed pretty problematic. First I tried making volumetric clouds directly to the scenes, but I couldn’t get them to look realistic enough and also after deciding to use Eevee it seemed impossible to increase the quality with my hardware so much that volumetric shadows would look good. Even using a plane with a noise texture for alpha map to act as a shadow caster did not work with my settings. So I decided to fake them:
I added an emission shader to the rock material, plugged the color texture in it and adjusted it to be equally dark with shadows in the scene. Using emission prevented the effect of “doulbe shadows”. Then I used a noise texture mapped with an empy as a factor for mix shader node and animated the empty to get the shadows moving. Then I made a quadratic sphere gradient to cut off the shadows and mapped that with another empty. I parented the noise mapping empty to it and voilá: now I had an empty I could use to make a bright area for the foreground, I could animate it to always be in the spot that the active camera is. Also by rotating it I could adjust the direction of the shadow movement and by scaling the size of the shadowless area. I also used object constraints to control the scale of the noise texture with another empty so that scaling the bright spot wouldn’t affect the noise pattern. Actually I used also an in-between empty that was the one animated to make the noise move, and the original noise mapping empty would then be used to move the noise pattern position if I was not happy with it by default.
Also I gave up on making clouds with Blender and took the camera with me whenever I went driving somewhere and looked for interesting looking clouds with suitable lighting conditions. And then I stopped by some field and filmed time lapses of clouds to be sped up and used as sky backgrounds.
Designing the Desert - Part 3
Making realistic ground seen from up close proved to be very hard at first. I had all kinds of problems from distorted uv maps to stretched textures when using displacement etc. I was so desperate that for one of the first shots I finished, I used a real picture as an image projection edited and composited together with a render from the 3d scene. Then I used a shader to rgb trick to fake shadows on it. The shadows in the picrure are in a slightly wrong angle if you look closely, but I am confinent that no one will notice it. ![]()
The original CC0 image from pixabay:
Camels and tracks removed and blended with a render:
Some early tests for comparison:
Later I learned to do grounds fully in CGI by using the object displacement on local z axis and rotating origin trick I earlier described, and putting a few ground planes with different displacements intersecting with each other organically, plus adding rock piles:
Don’t give me ideas! ![]()
Like so ??

Oh please!!
![]()
I thought… when doing all this by your own… then you should have some fun.
But… this would be some weird plot twist… and sometimes this is nice… ![]()
“All animals are equal, but some animals are more equal than others.” ![]()
George Orwell: Animal Farm ![]()
Well, i know this.
wink: Because when i was in school we used to read (and watch) such things and i remember untill today. Which seems too cumbersome for learners nowadays. They properly ask some AI… and according to some questions here on BA do not know the answer some weeks later and so re-ask the same or similar thing again ![]()
Looks great, good luck with the project!


