Hi all!
As a weekend project, made an add-on to stream VR tracking data into blender for among other things, quick and dirty mocap!

INSTALLATION:
Step1:
Have SteamVR installed and working
Step2:
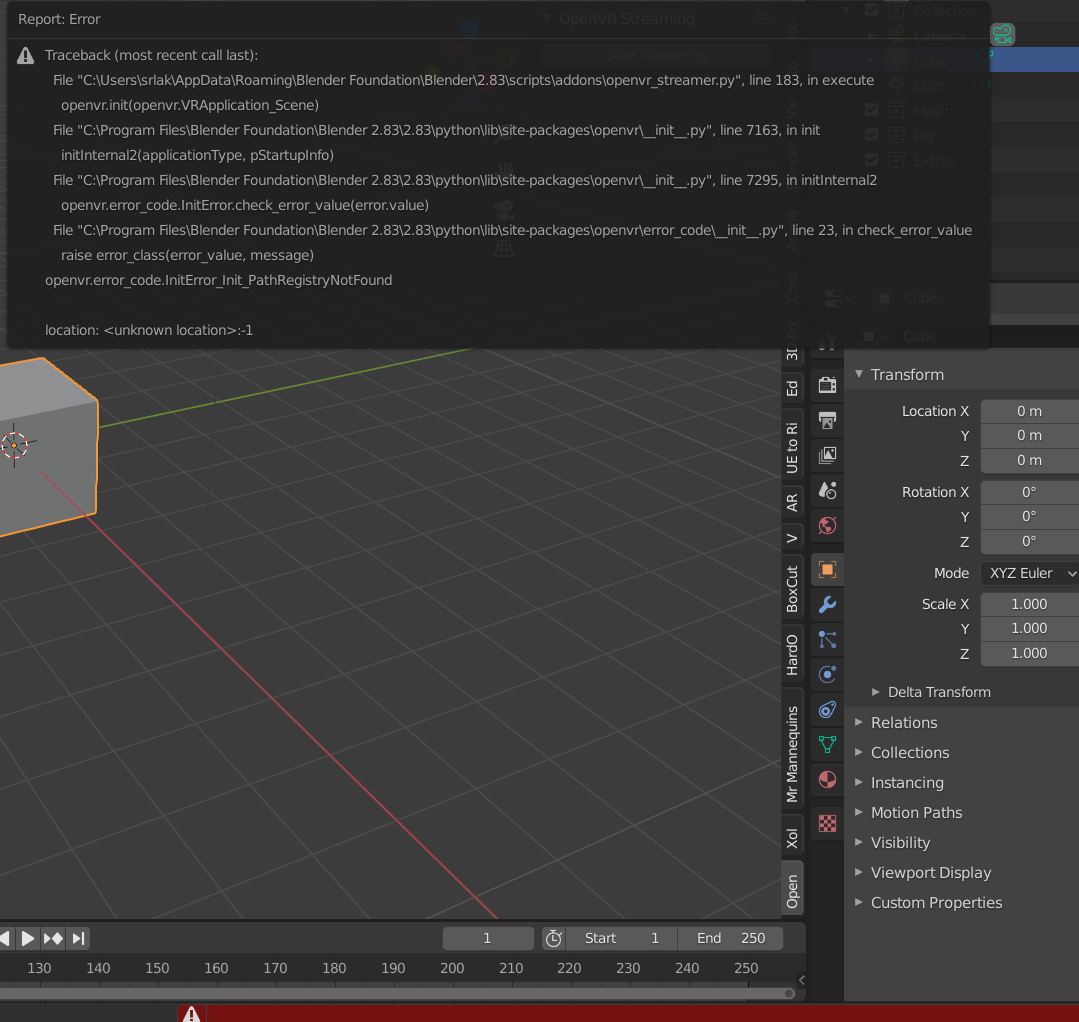
Install the OpenVR python module from https://github.com/cmbruns/pyopenvr/releases
***Note Blender contains its own version of python, so to have this module accessible you should install it there. For example, for me running Blender 2.82 this location was 'C:\Program Files\Blender Foundation\Blender 2.82\2.82\python'
Step3:
Install the addon:
Version 1.0:
openvr_streamer.py (8.0 KB)
Version 1.1:
openvr_streamer.py (13.1 KB)
New:
-Initial controller support for trigger/trackpad! Example:
-a hacky attempt to maintain rotational continuity (no sudden axis flipping) which makes for easier editing of captured data
Version 1.2:
openvr_streamer.py (13.8 KB)
New:
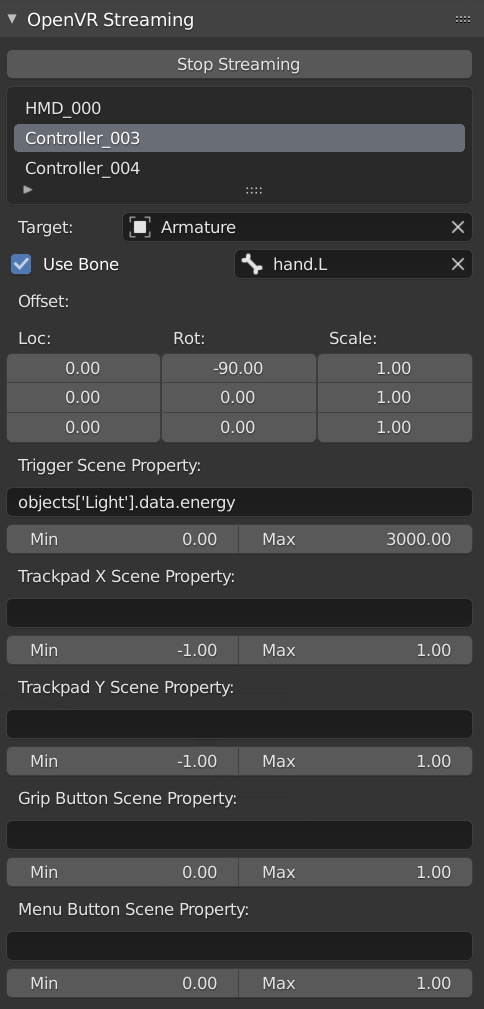
-Additional controller support for Vive menu buttons (Oculus A/X buttons), and side grip button
-Controller inputs now map to anything in the scene’s namespace (so you can target scene or world settings, for example). Requires the user to know the python path that property, but its the most flexible way i can think of for now
-Bone tracking was wonky in 1.1, that should be fixed
USAGE:
Step 1:
Navigate to the OpenVR tab that should now be in your 3D View’s UI panel.
Step 2:
Click Start Streaming to launch a session. Steam VR will start, and you should see a list of connected tracking devices.
Step 3:
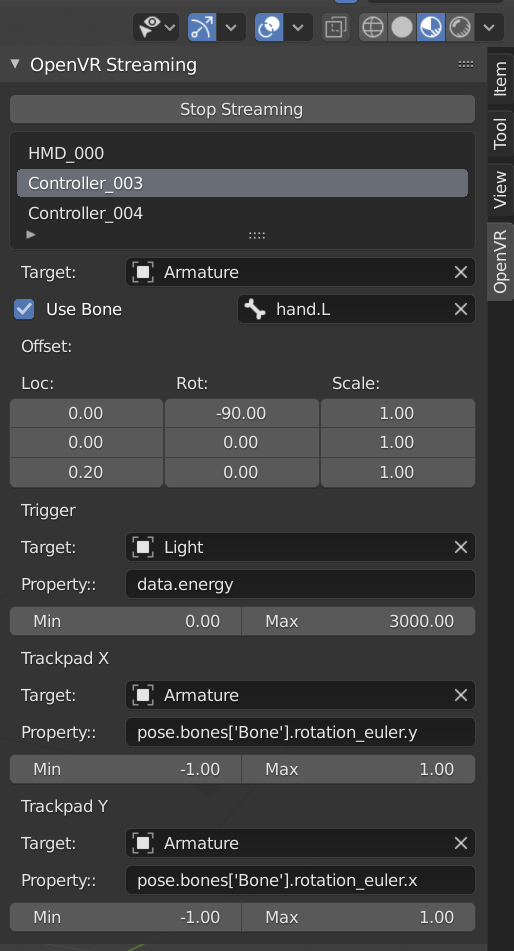
Clicking on any tracker gives you an option below it to specify the target that it will stream to. Pick whatever object in your scene you want! For the special case of armatures, you are presented the additional option to target a specific bone.
Step 4:
You can then adjust the offset transforms of your target from the tracker (ie if the tracker orientation isn’t the way you want it, etc)
Step 4b:
For controllers, there are additional fields that allow its inputs (trackpad/buttons/etc) to drive other properties in the scene. You define them by their python path relative to the scene. Turning on python tooltips in preferences>interface and right clicking on a property and selecting ‘Copy Data Path’ can help rapidly figure out whatever path you need. Although it’s worth noting the copied data path is relative to the specific data block its in, so you still need to modify it to be relative to the scene. Some Examples:
A light’s brightness:
objects[‘Light’].data.energy
An bone’s x location:
objects[‘Armature’].pose.bones[‘Bone’].location.x
The world background strength (a good example of when its helpful to use ‘Copy Data Path’!):
world.node_tree.nodes[“Background”].inputs[1].default_value
Step 5:
Press play on the timeline, the tracked objects should now update in realtime, and respond to controller inputs
Step 6:
If you want to record these actions, press the record button on Blender’s timeline while playing.
***Note: This doesn’t make use of keying sets, for now it just tells the add-on to set loc/rot/scale keyframes on all tracked objects/properties
Let me know how it works, and suggestions are always welcome!