Thanks sourvinos. When I use that “Keep Transform,” option, the objects change position, but not back to where they were before parenting them. I’m using Blender 2.7a. I’m getting a lot of unpredictable results when working with Armatures related to these changing locations, rotations and sometimes scales as well. I’m wondering if I’m doing something wrong in setup methods?
One thing I’ve noticed is that if I duplicate a bone to re-purpose it, unexpected results occur if I have any constraints, like a “Damped Track,” constraint for example, on the original bone. Removing that constraint after duplication still seems to leave behind a strange alteration in the way the bone accepts new constraints.
I’ve pasted in a few example screen shots in case anyone out there has suggestions. I’d like to have a better understanding of what’s actually going on here:
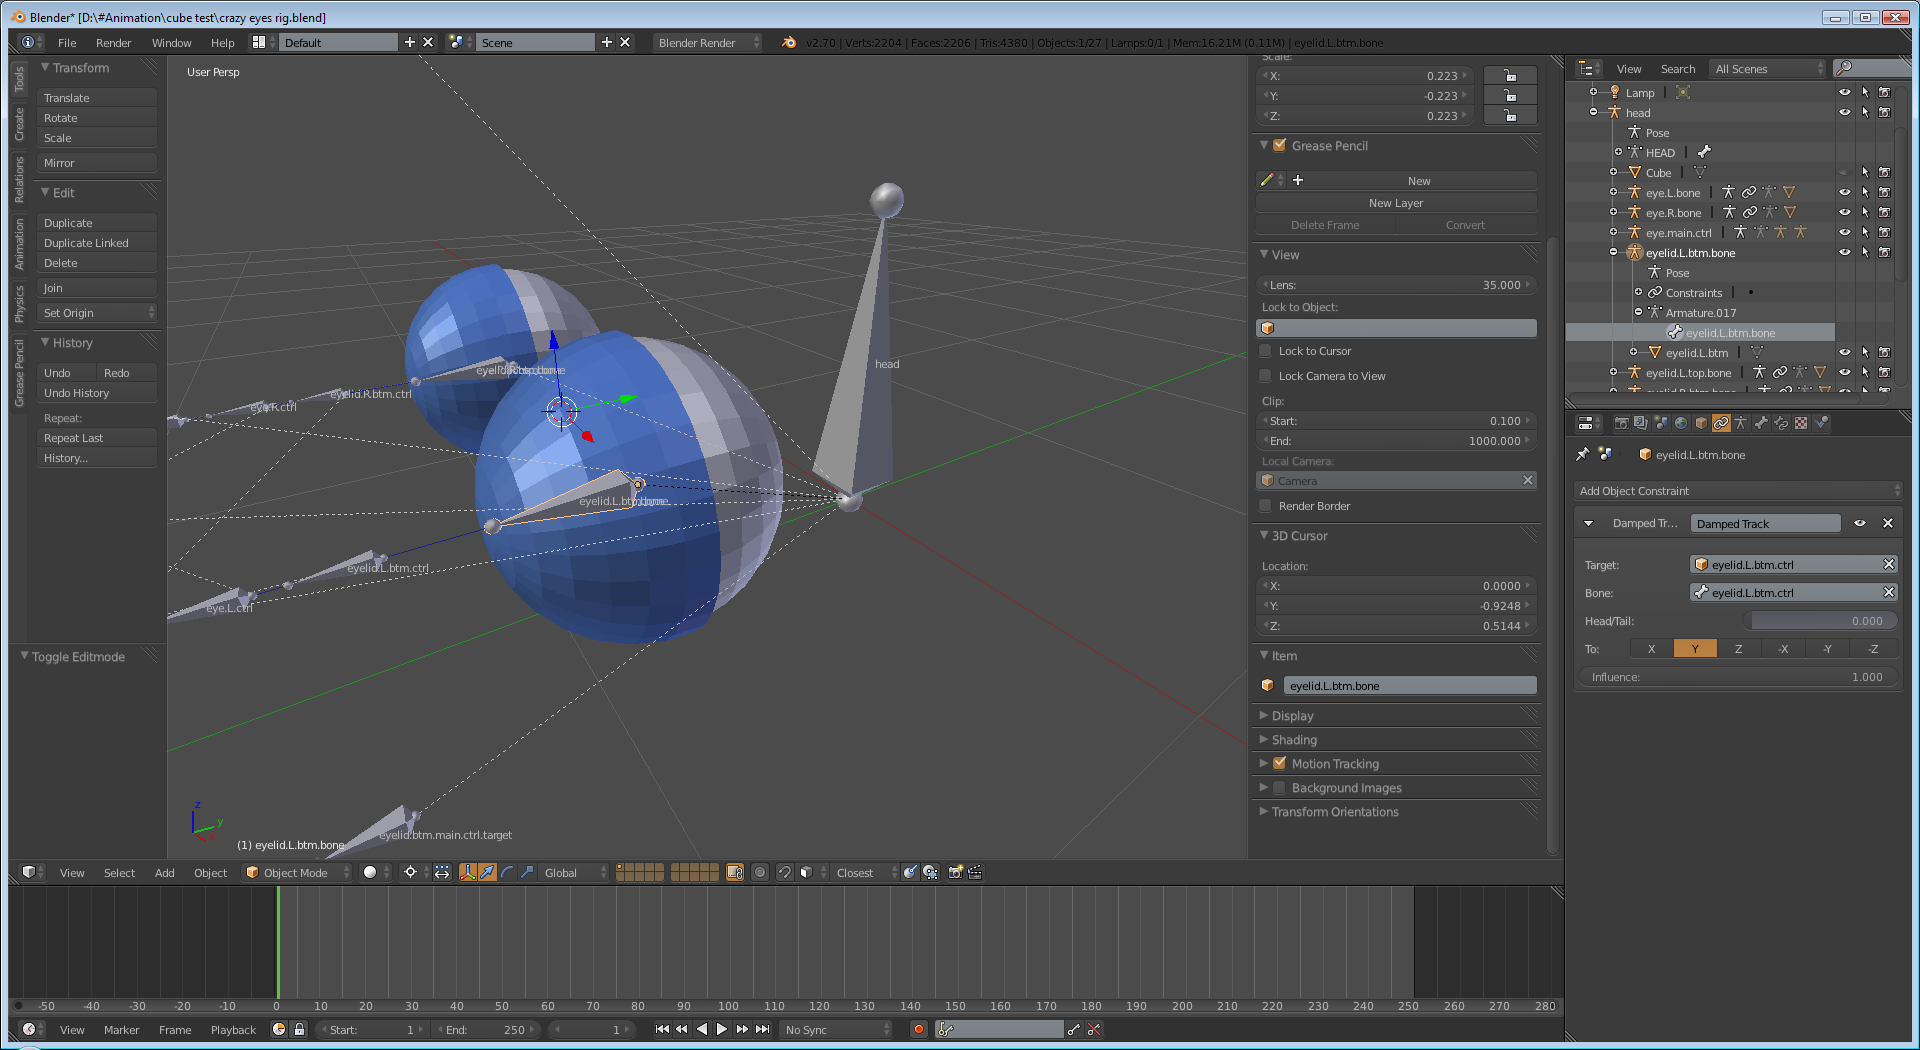
I’m trying to limit the rotation of the selected bone on the x-axis relative to the “head,” bone.
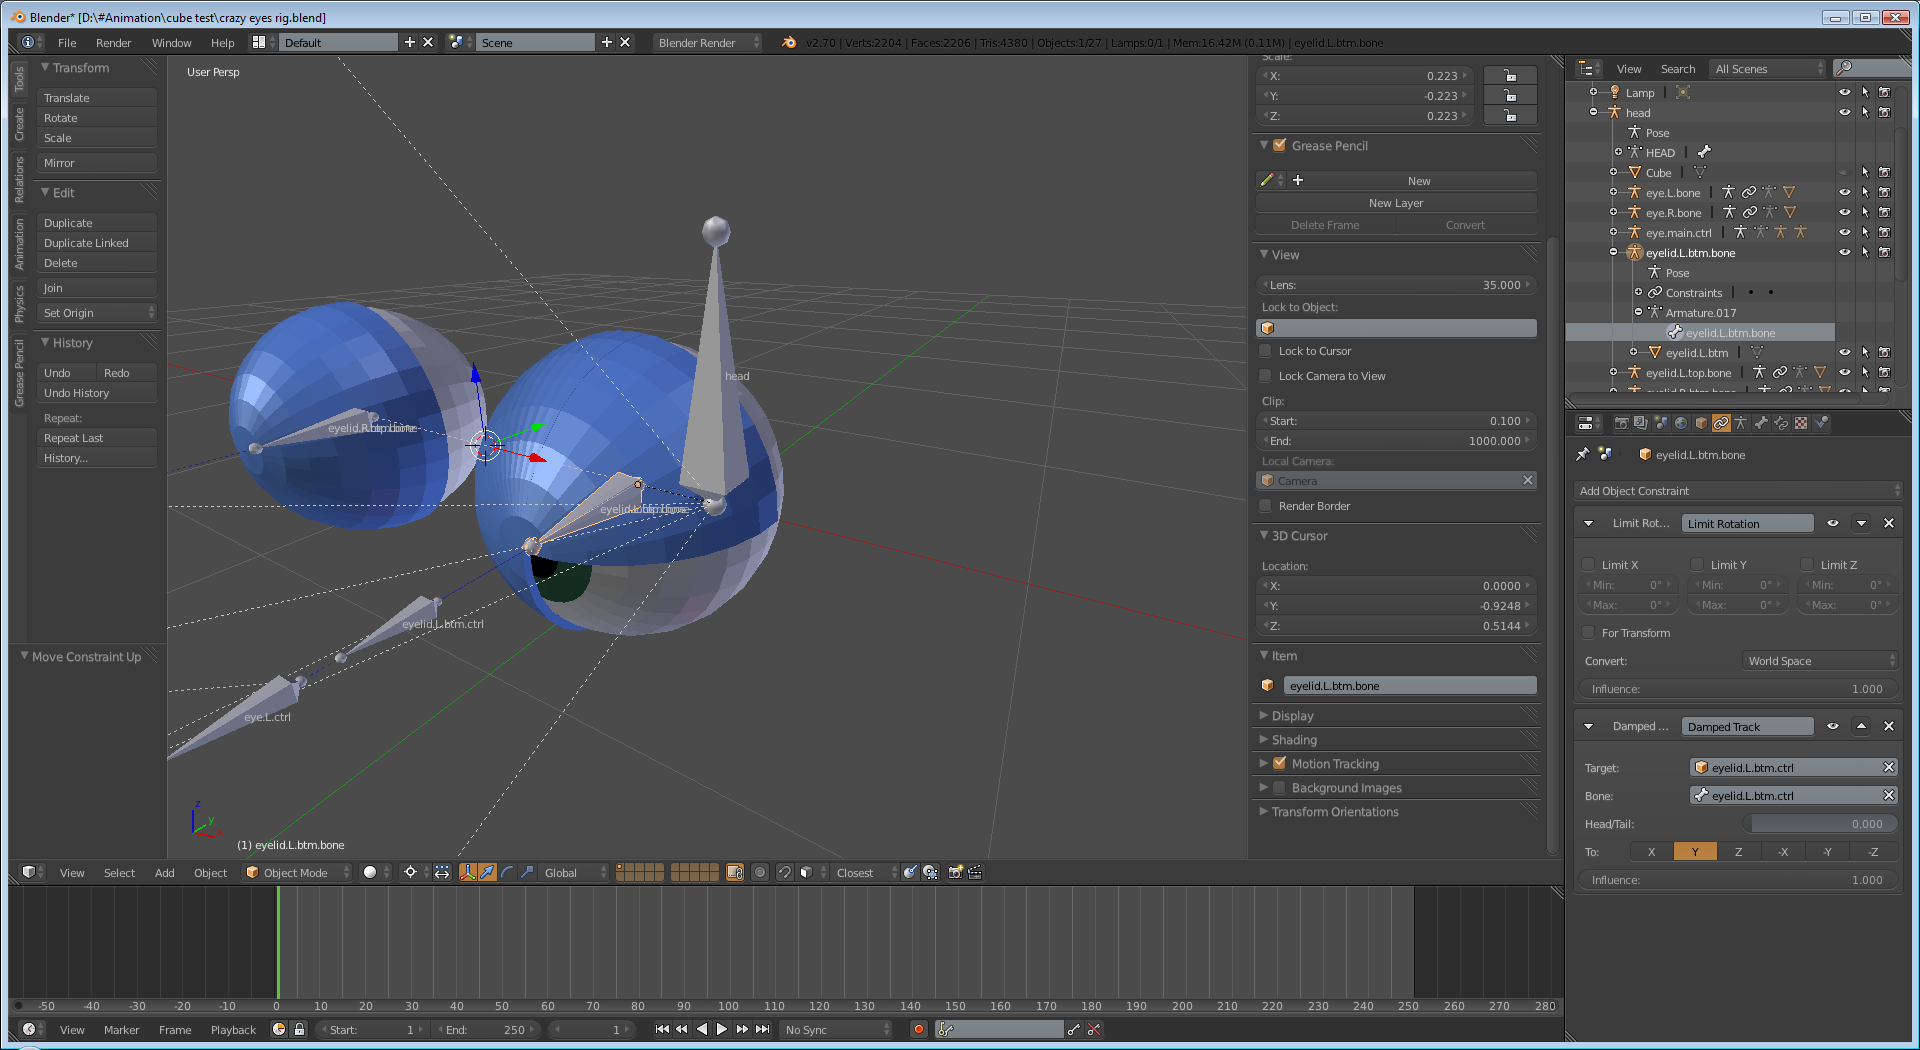
I tried the constraint “Limit Rotation,” on the bone that is the parent to the eyelid. For some reason it went to this position.
When I moved the constraint up in the constraints stack, it went here.
I guess what I’m looking to be able to do is set some default positions, like those in the 1st image, set each bone to use those current positions as a new “default,” orientation, and then be able to start applying constraints, etc.
Is there any way to do this? Or is there a work flow for creating bones that avoids these oddities? Am I missing something?
Thanks a lot for any assistance. I’m excited (and a bit awed) to see how much potential Blender has for animation based on rigs. Hope I can find some method to avoid this problem going forward!