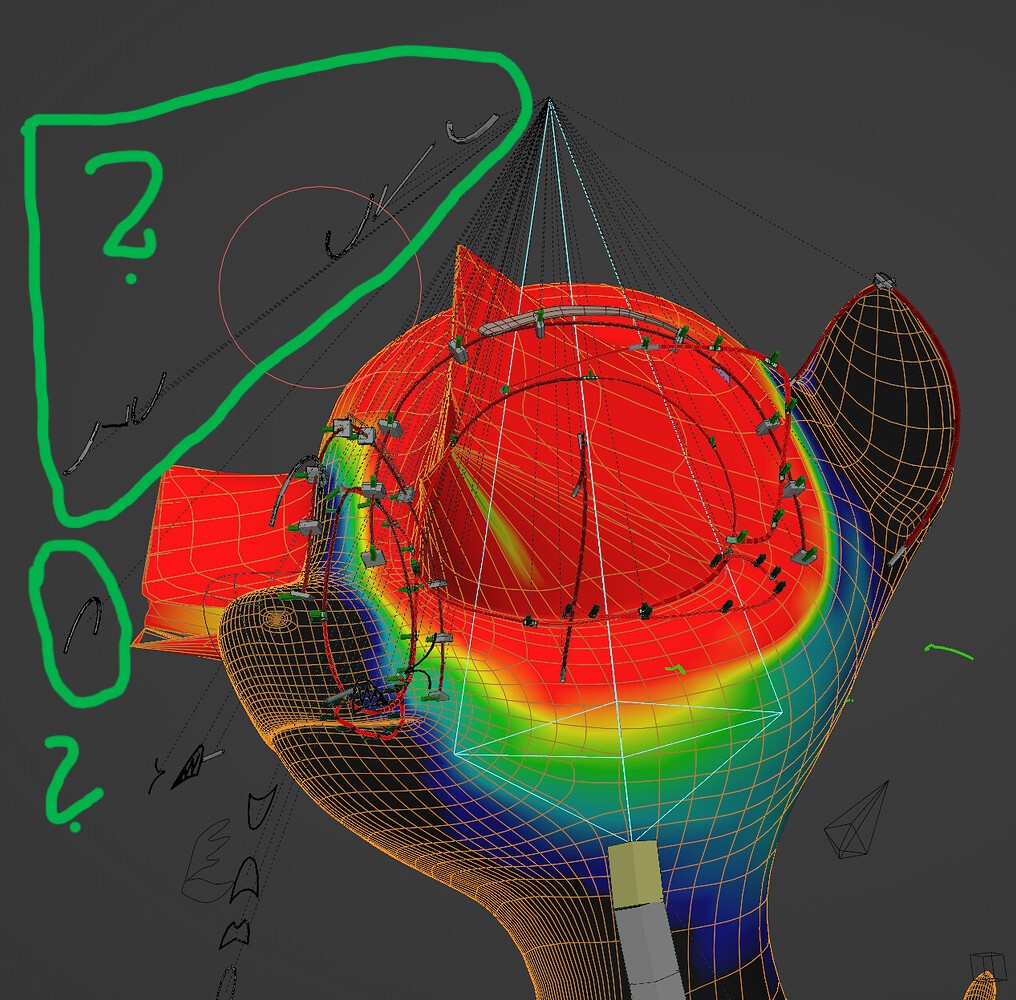
Hello!
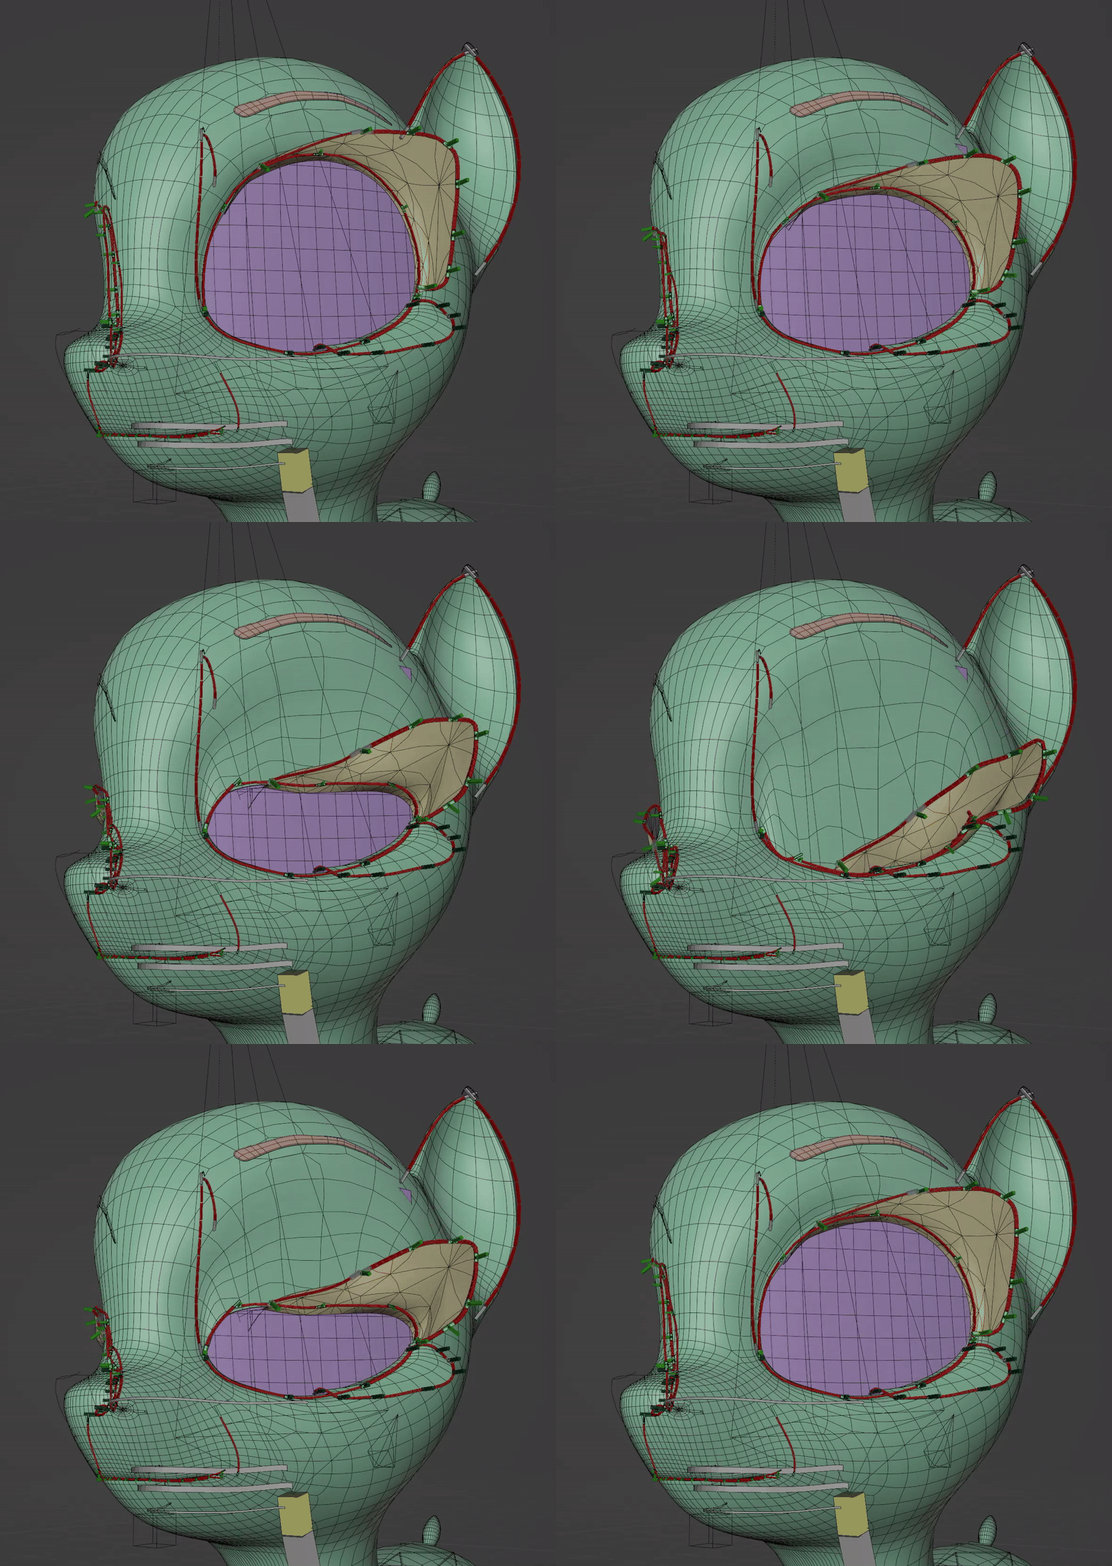
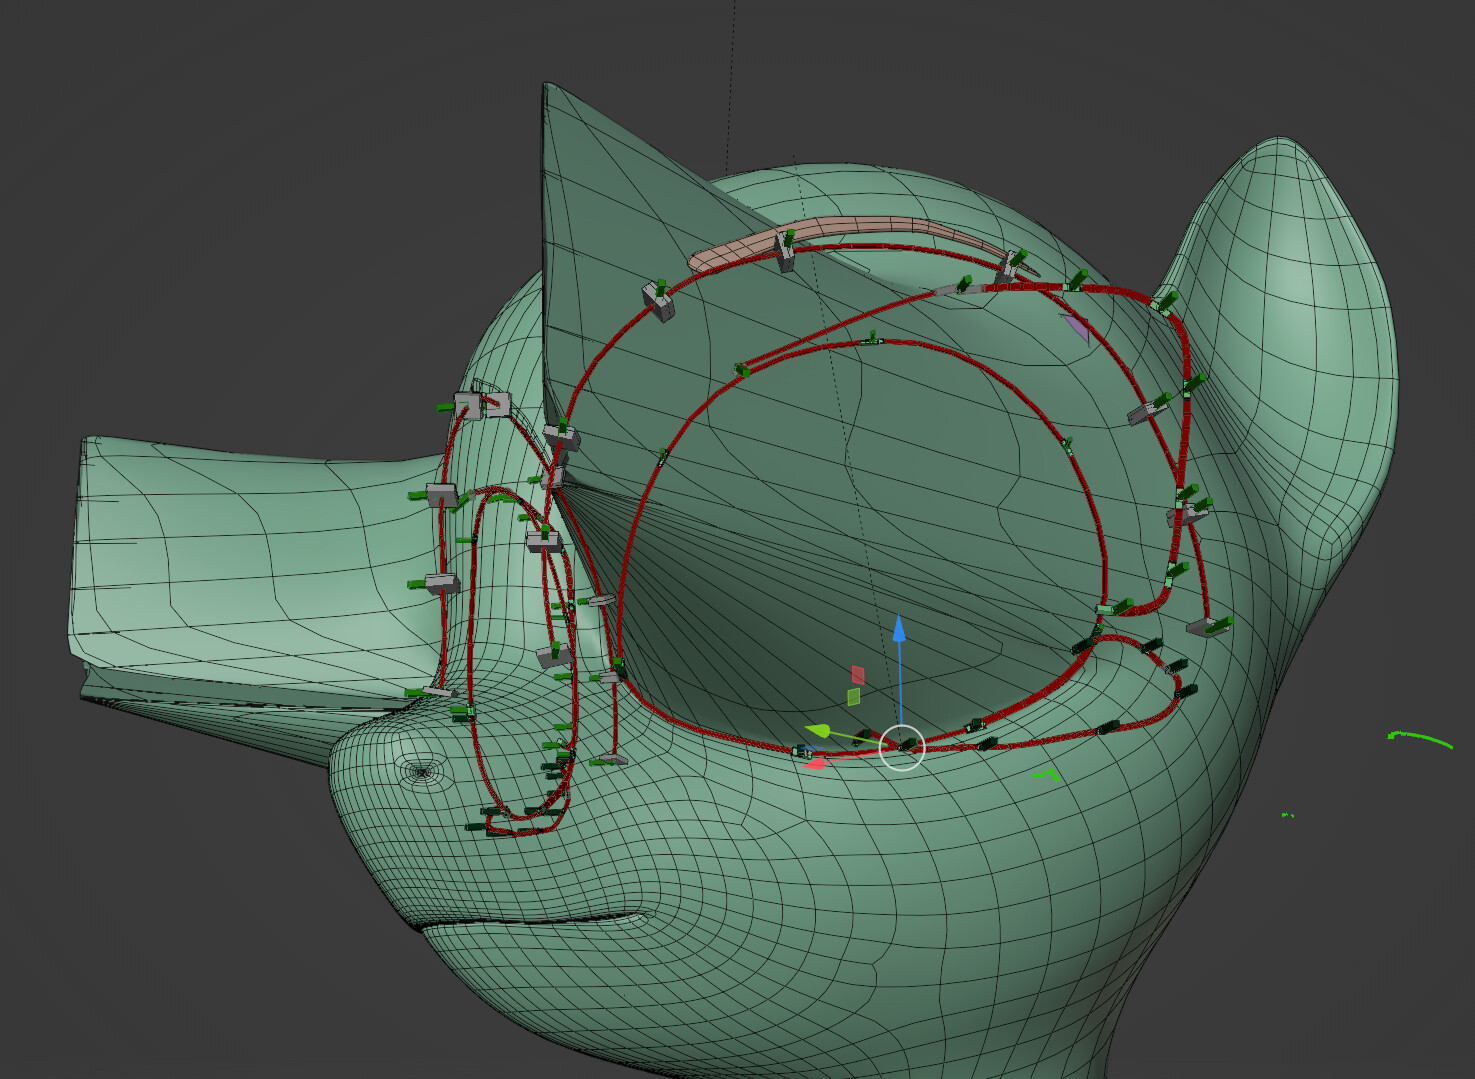
I have made my character’s eyelids using shrinkwrap modifier: a region of body mesh (vertex group) is shrinkwrapped onto an eye surface (also mesh, but a different one)
Here are the modifiers
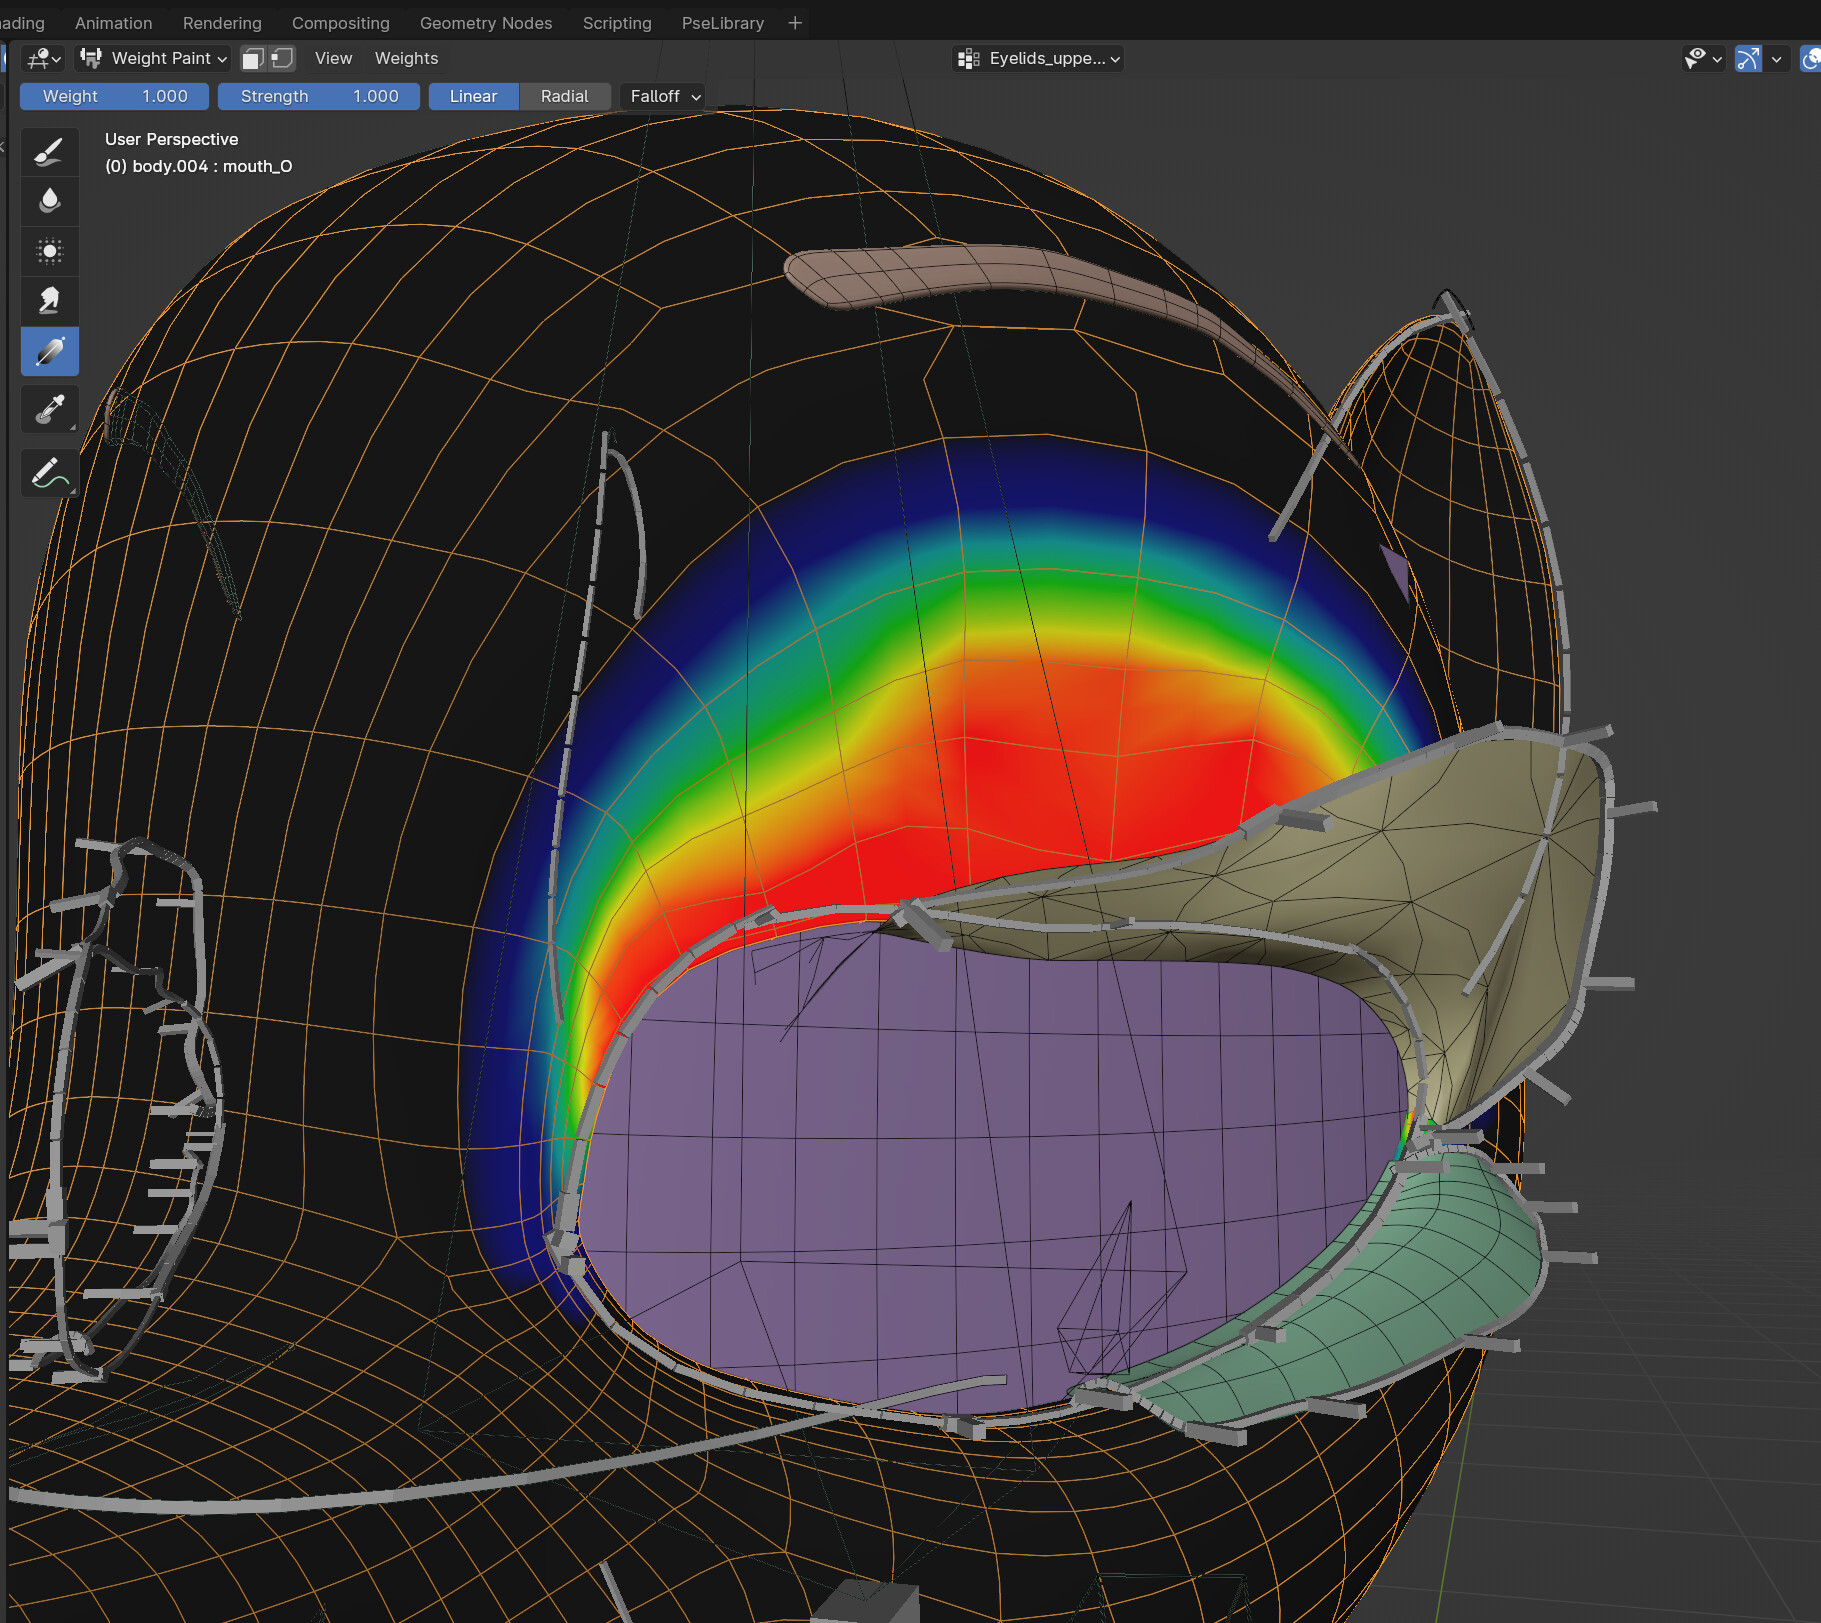
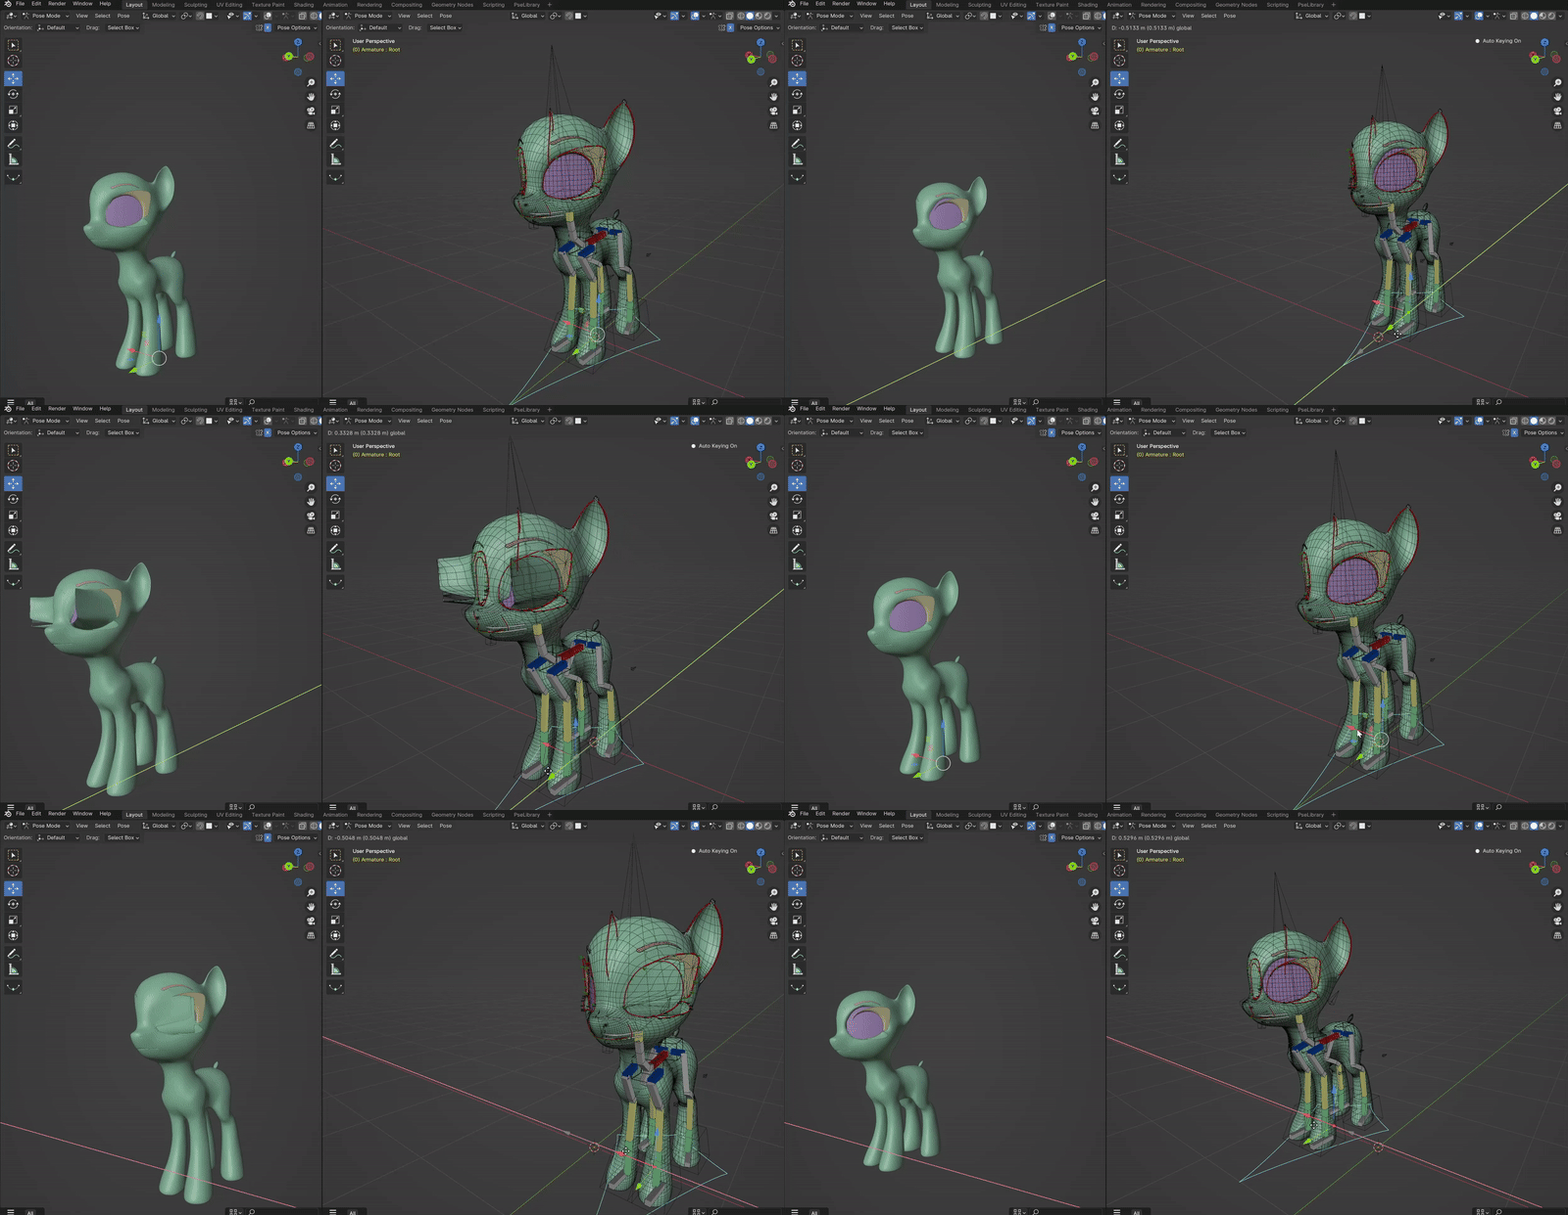
Hi, move your character to the point that the mesh is distorted, add a keyframe, then go to weight paint mode and add weights to those vertices that are distorted.
The other possibility is that some of the eye rig bones are not parented correctly?
It’s normal to face such issues, notably on Facial Rigging and Automation Setups, and it is good that you’ve found in time something was broken; usually it’s good practice to make some Posing, using the CTL Head, Torso, Hips Bones, the Center of Gravity (CoG) Bone, the Root Bone, etc. So you did the right thing: as if something is broken, it should show from those tests. So, just part of a normal day of Rigging…
In addition to @digitvisions comment,
one (even additional) possible issue might be related to the Influence of the Vertex Group Target(s) used by each individual Shrinkwrap Modifier. Their Weight Paint might be outdated, incomplete or incorrect; hence, the Shrinkwrapping won’t work as expected.
Also, for assessing if it’s a Skeleton issue alone, you may make the Key-Frame 3D Animation proposed, and Playback and analyze that Animation while Showing all (Unhiden) Facial Bones from their respective Bone Collection. If some Bones are moving weirdly, then it’s just an ‘Automation’ issue caused by inadequate Bone Parenting and/or Bone Constraint (there should exist more than one Setup solution, but wrong solutions will cause trouble, like Double/Stacking Transforms, Bones not reacting, and so on). If the Artifacts are happening in spite of correct Bone following, then, clearly, it should be a Vertex Groups thing (Deform ones, and/or Modifier ones).
The area around the eyes with which I have thouble. Should it be paranted only to head bone? Could you please tell me if there any kind of rule for bone weigts regatind vertex groups that participate in modifiers?
They are controllers for main facial expressions. If you pull one down/up (depends on each one) other bones will move because they have action constraints
Oh, I think it might be the Offset value of Shrinkwrap Modifier then.
The Distance (based on World Space on Global Coordinates) might be like 10x larger than it should; sometimes we mistake 0.01 with 0.10. Then the Snap Mode (e.g, Outside Surface) pushes the Modified Mesh that far.
It’s a possibility.
But it’s more likely an Object Modifier issue. Also, make sure the Target Object for each of the Shrinkwrap Modifiers are correct. Wrong Targets can also lead to issues like that; for example, when once in a while I’ve Duplicated an entire Rigged Model (Armature & Mesh Objects) to make some comparation tests, sometimes the Object Targets don’t update on the Duplicated Mesh Objects, they keep Targeting the Original Rigged Model… so I have to manually Re-Target them to the Duplicated versions, and meanwhile, the results look like what you have in the screenshots.
Oh, never mind, it was the Object Modifiers sequence. Good one, @digitvisions
But it is an interesting point! I set my value by picking numbers abd making them slammer or bigger based on how it looked on the eye. I really feel that I miss theoretical part here. Such knowledge (that some values are too small, some are two big) comes just from practtice or youtube videos? Or some kind of a book or something?