Hey no problem kakachiex2.
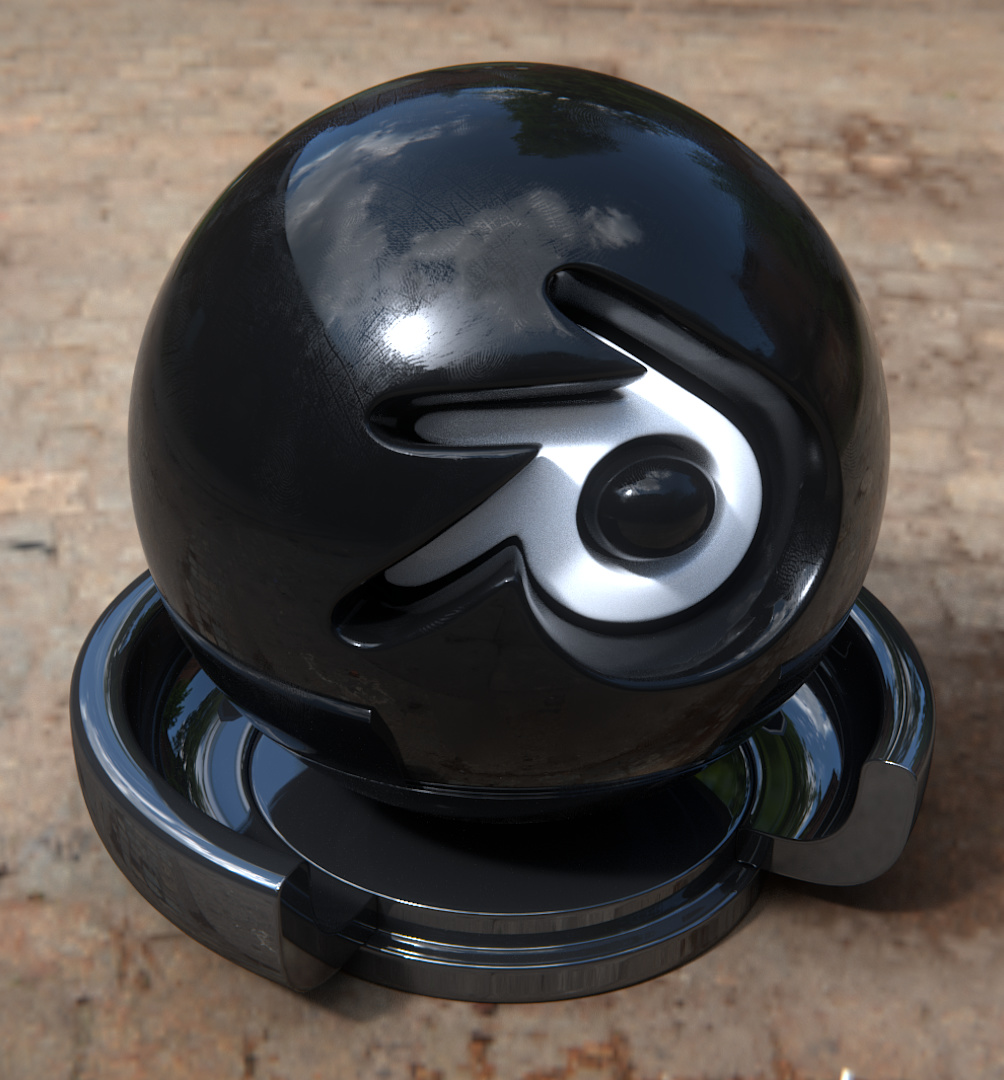
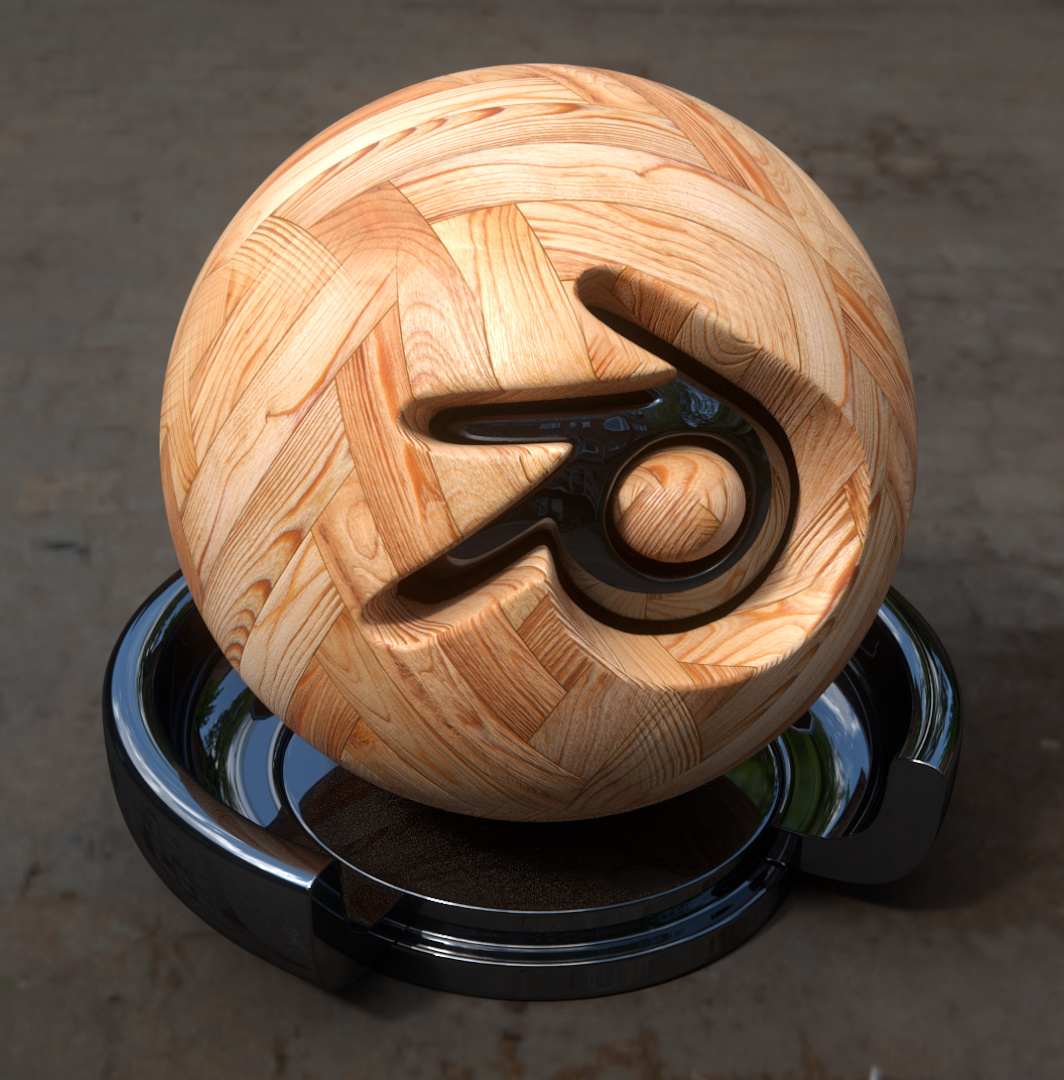
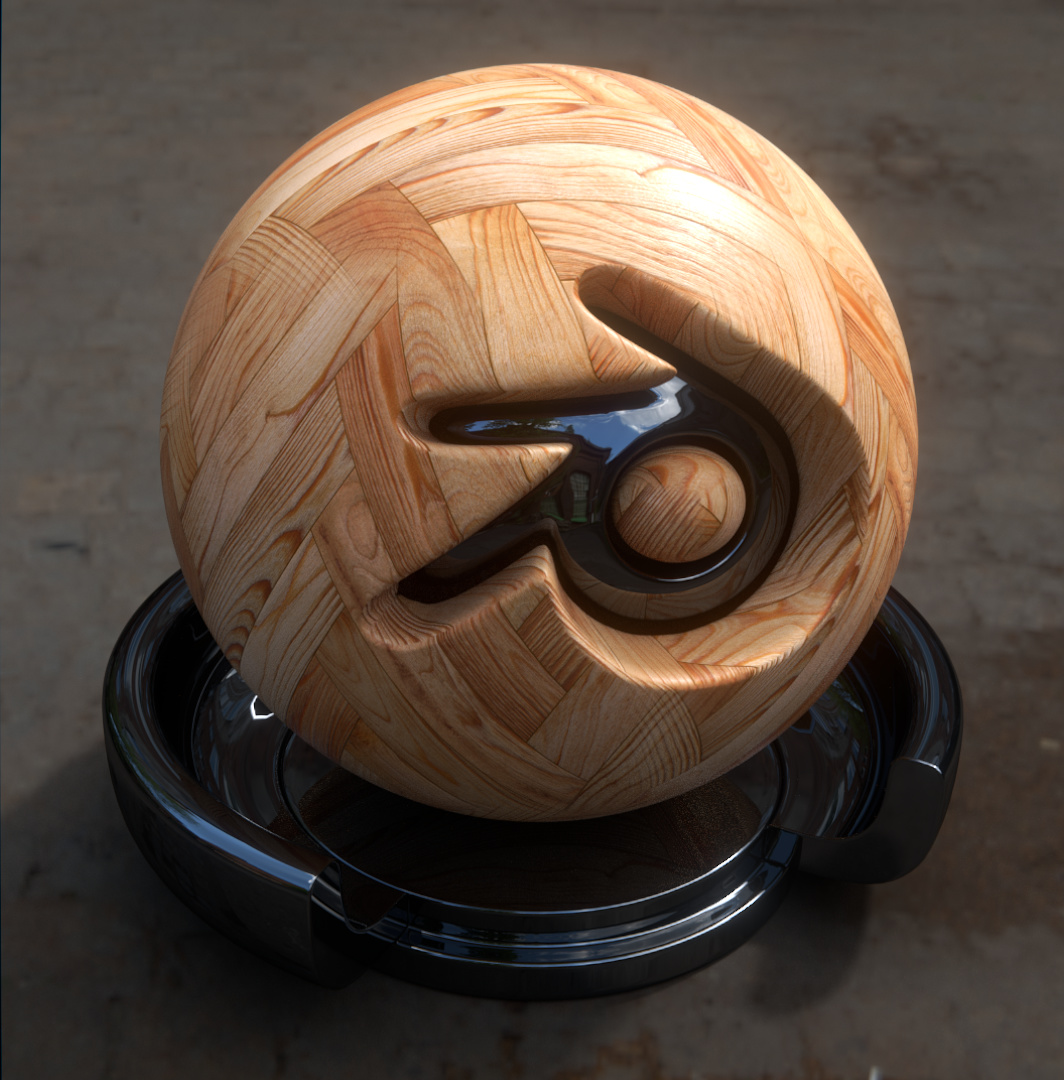
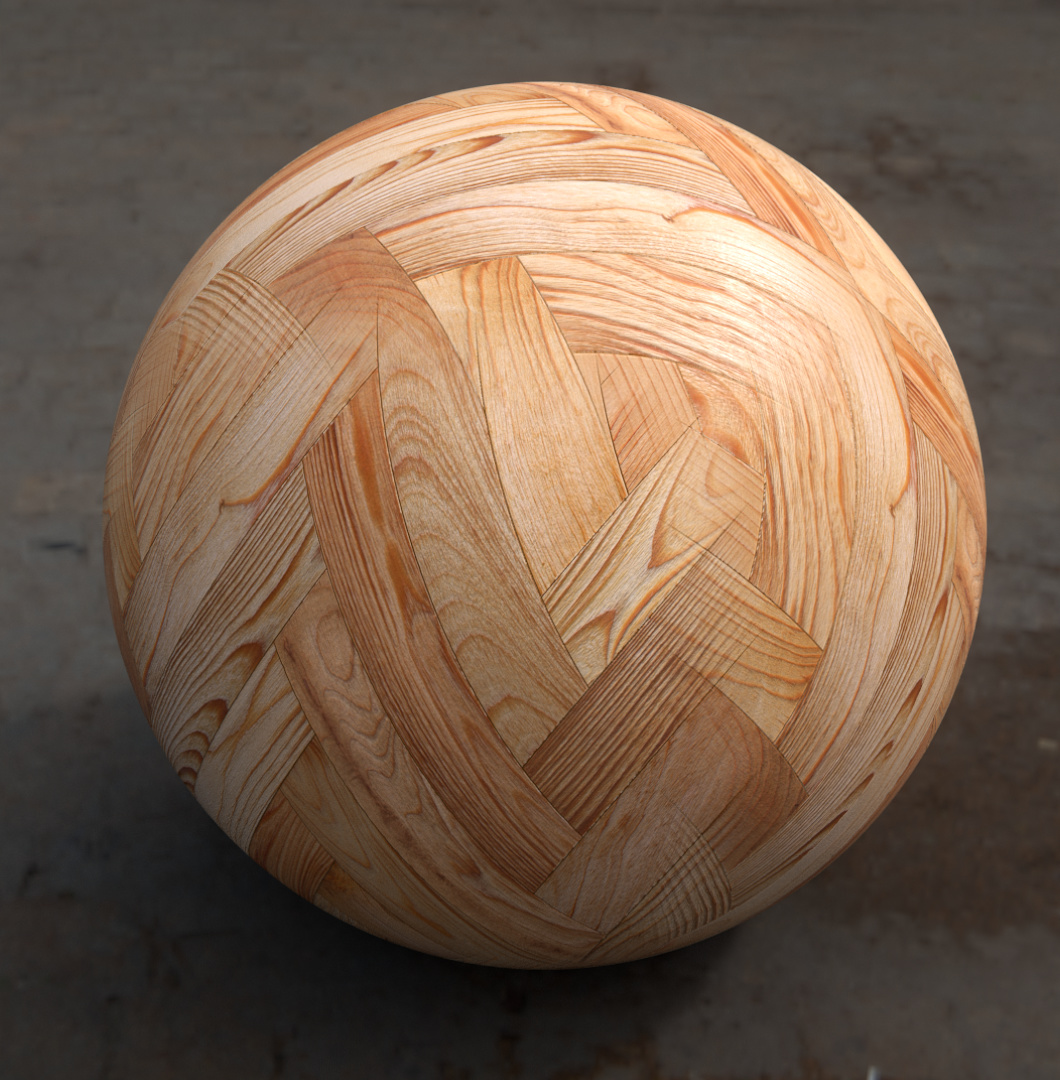
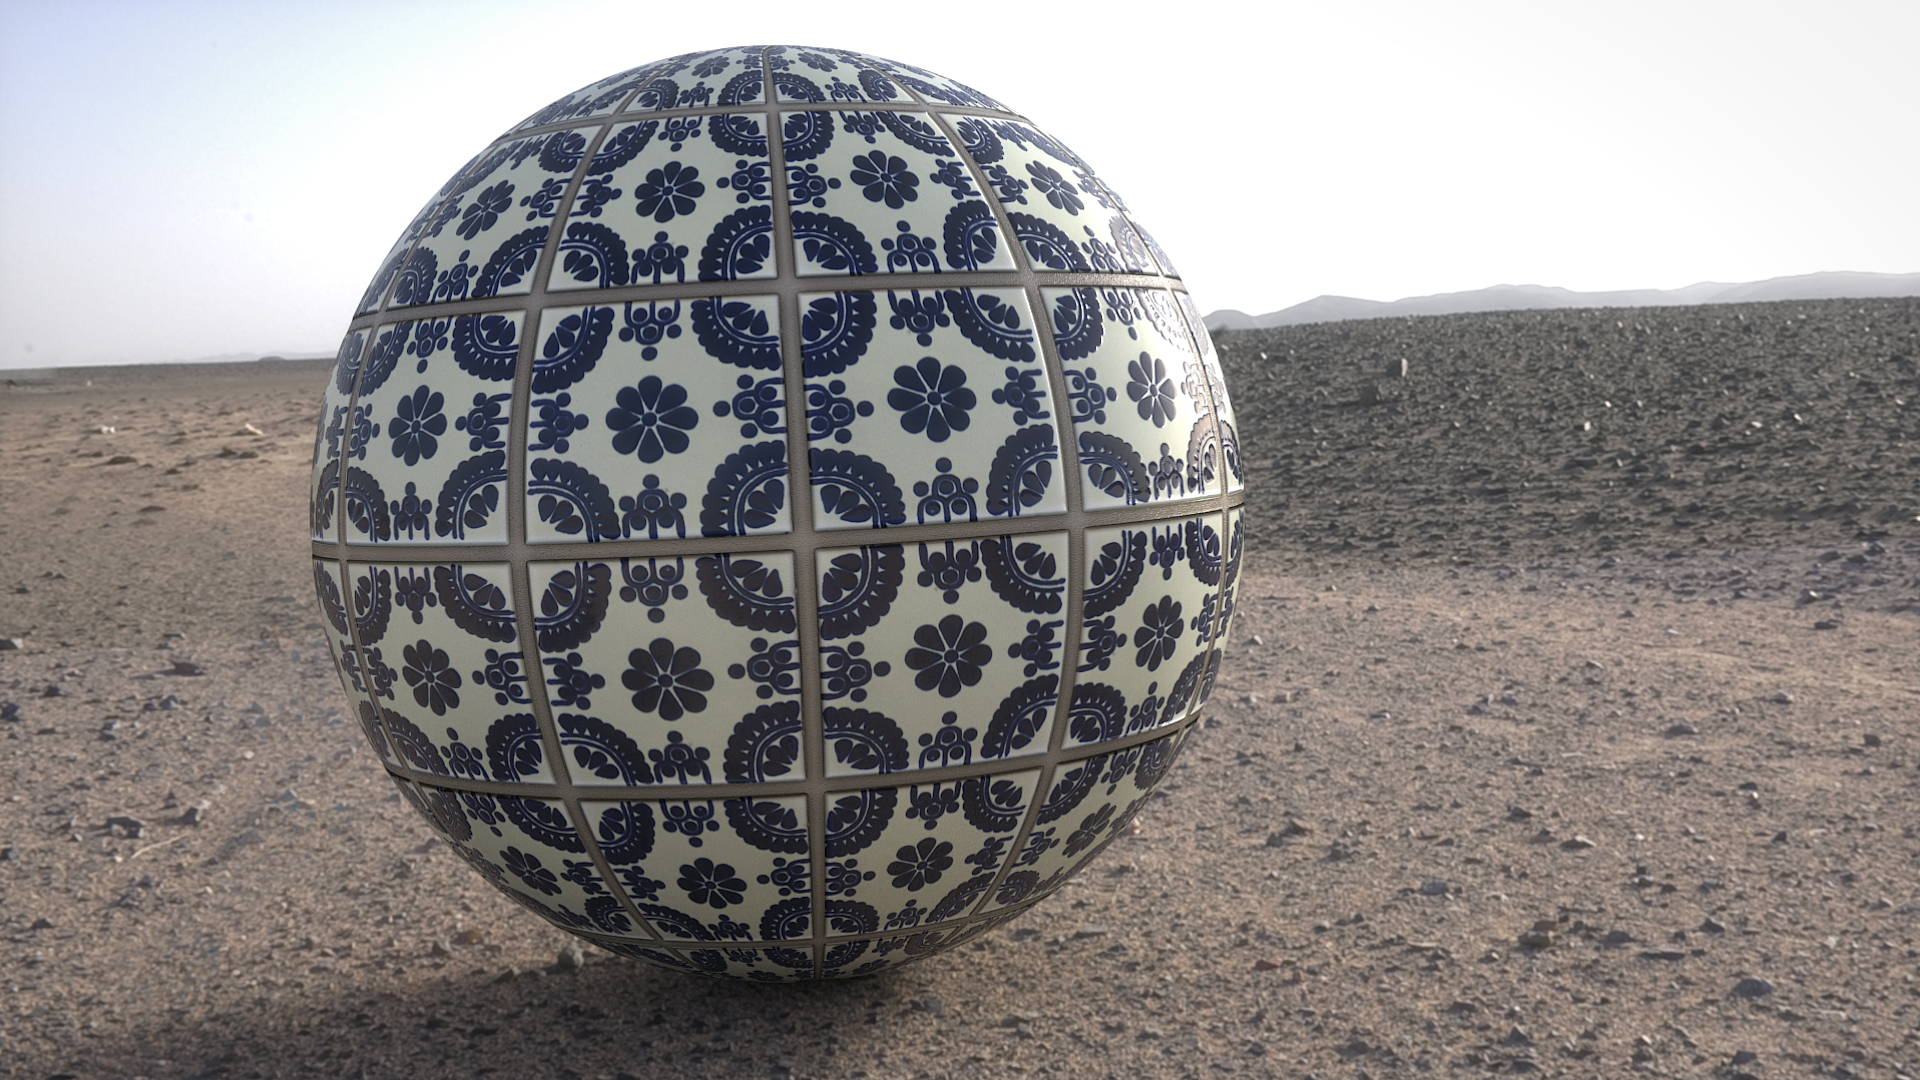
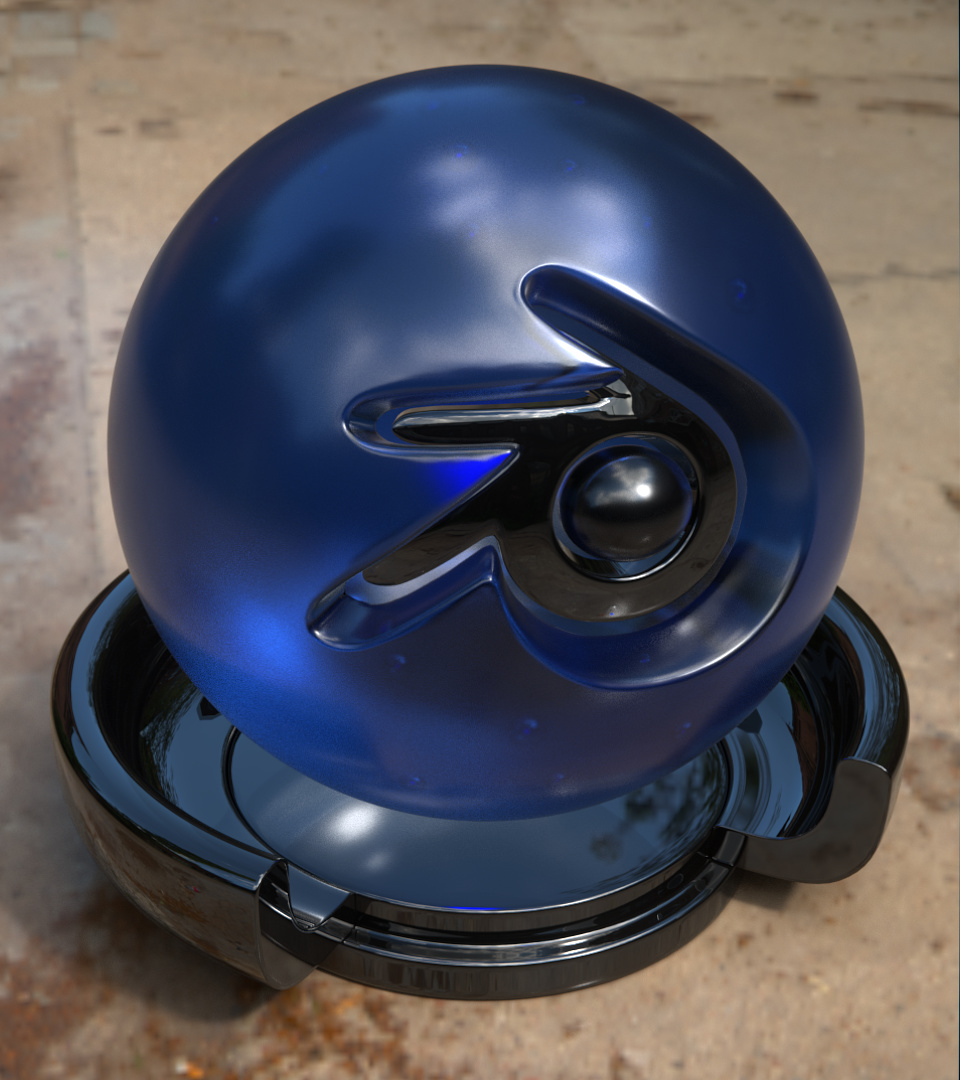
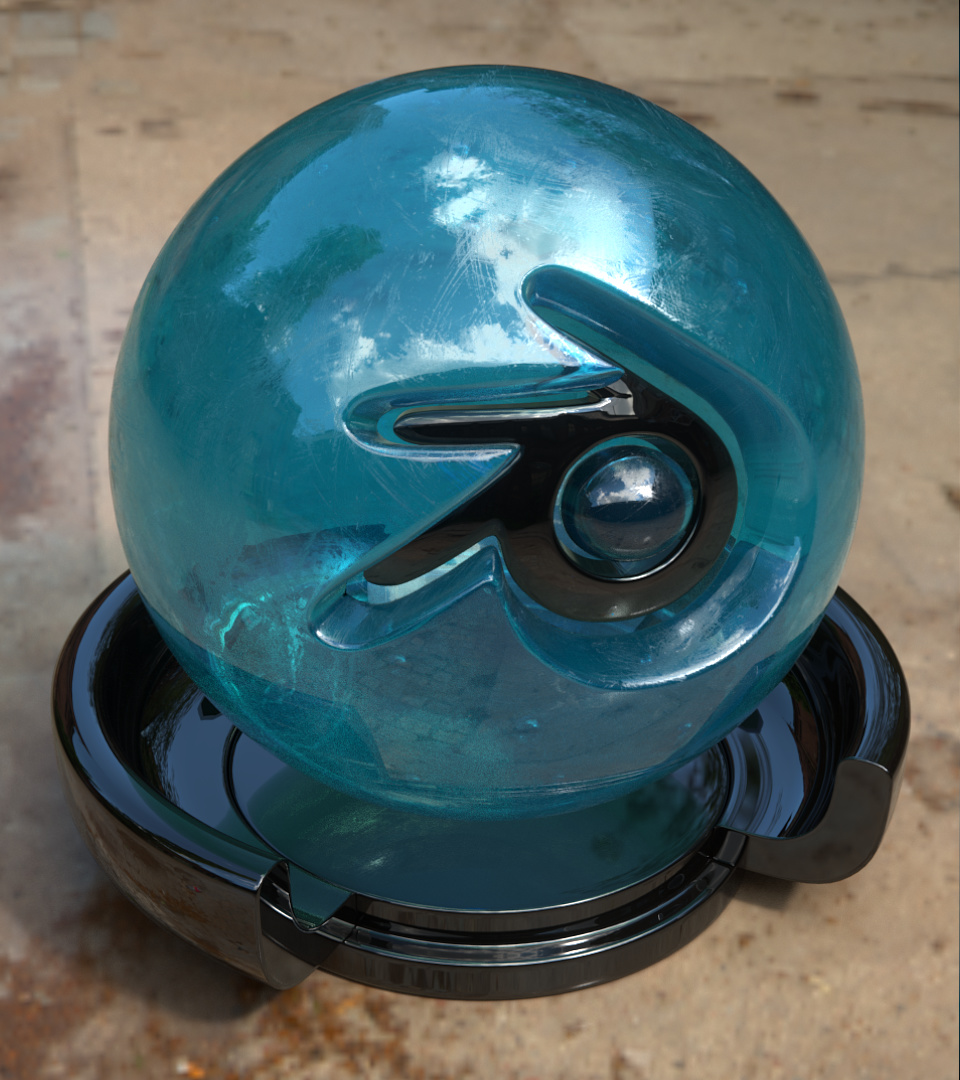
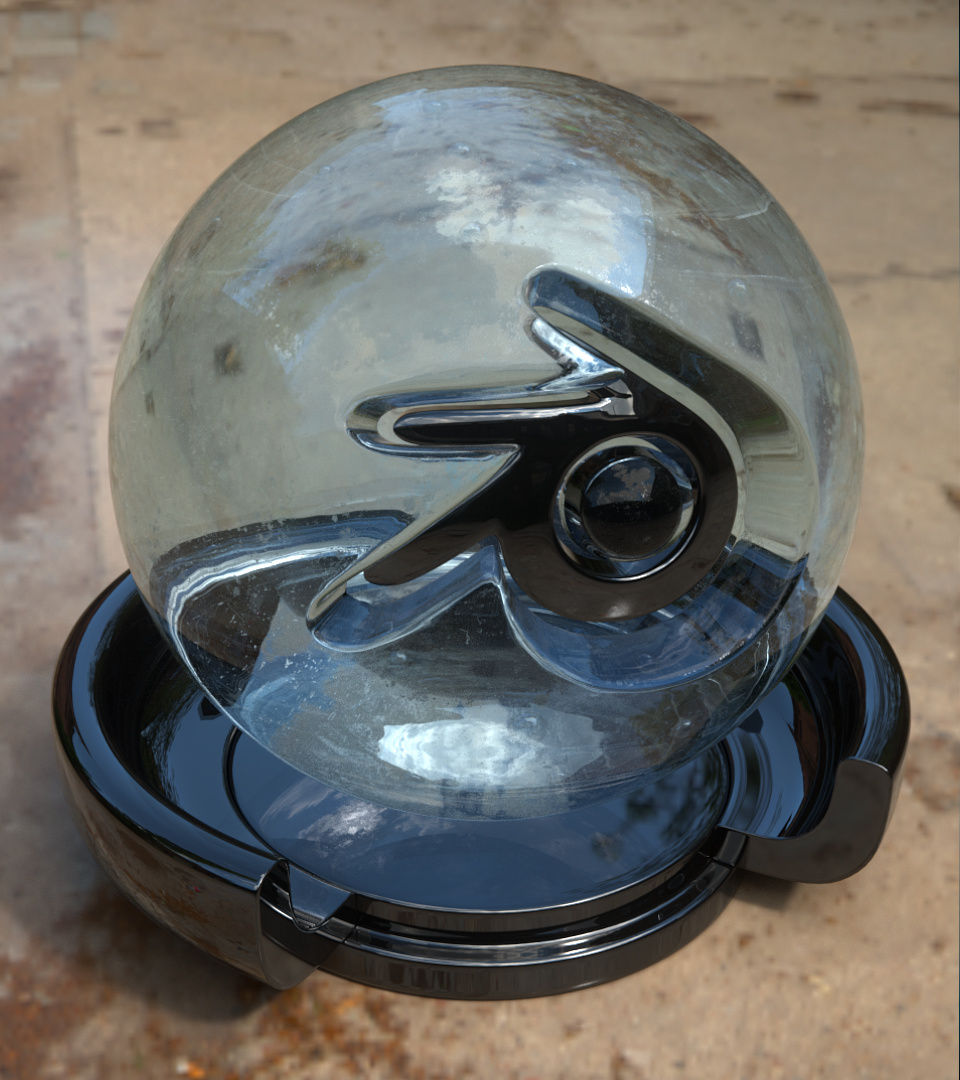
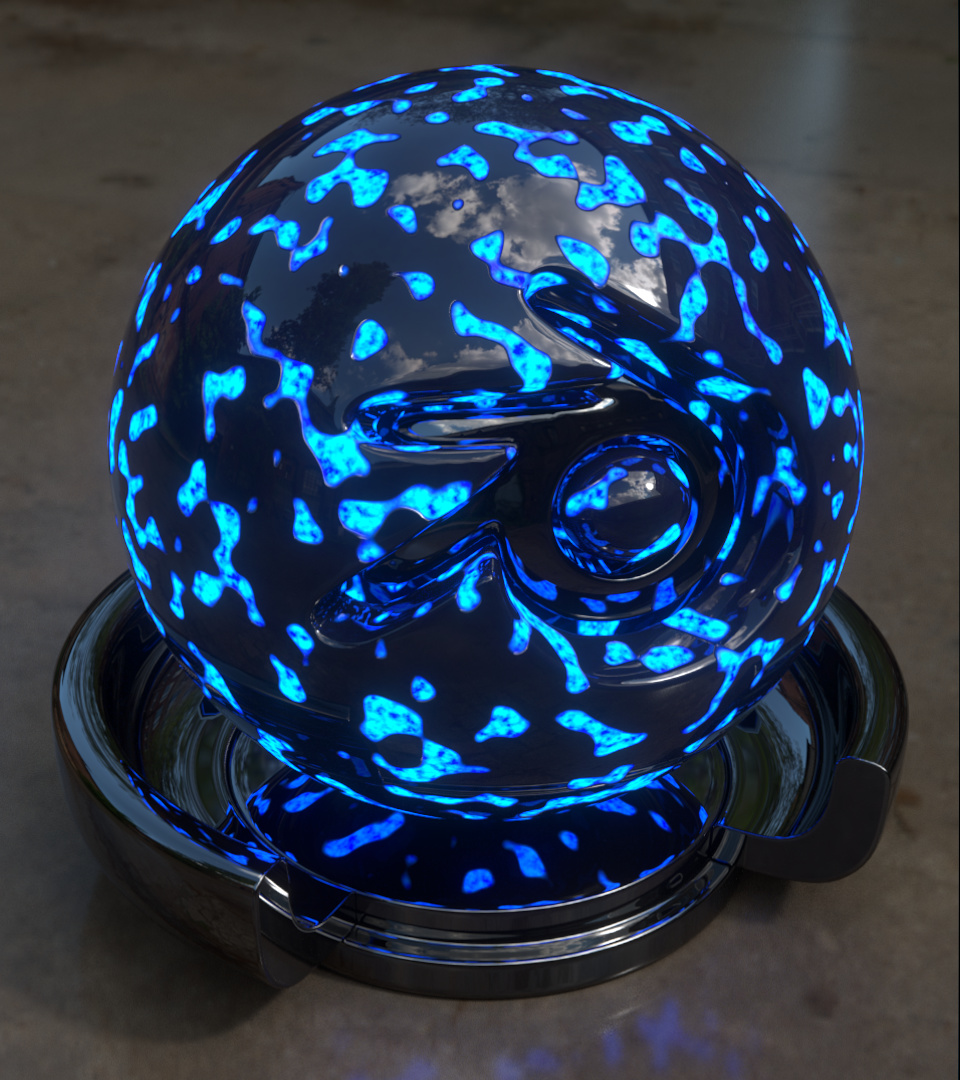
Here some more tests, right now im working trying to find the best material workflow for me, experimenting, testing and learning. Please i need some advices on how to improve.
Hey no problem kakachiex2.
Here some more tests, right now im working trying to find the best material workflow for me, experimenting, testing and learning. Please i need some advices on how to improve.
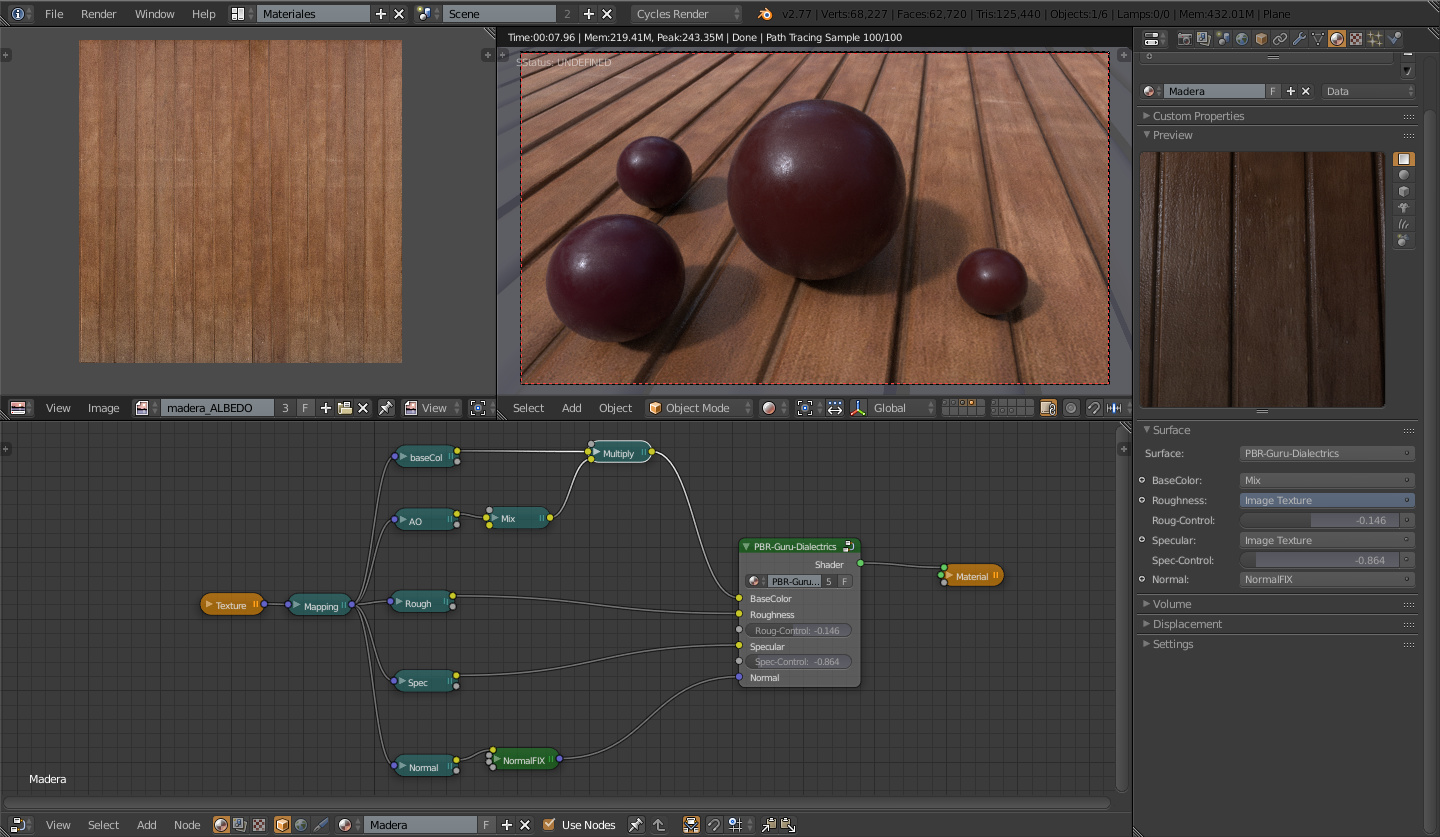
Esimacio, i think it depends if you are using metal/rough or spec/gloss shader nodes. The textures maps for both workflows are different. Blender Guru uploaded a tutorial on how to make a simple spec/gloss node for blender and how to use it with texture maps. I also recommended you to read PBR-guides from allgorithmic, very good info to understand in deep the difference from both workflows.
An example on how to set textures maps using Gurus node:
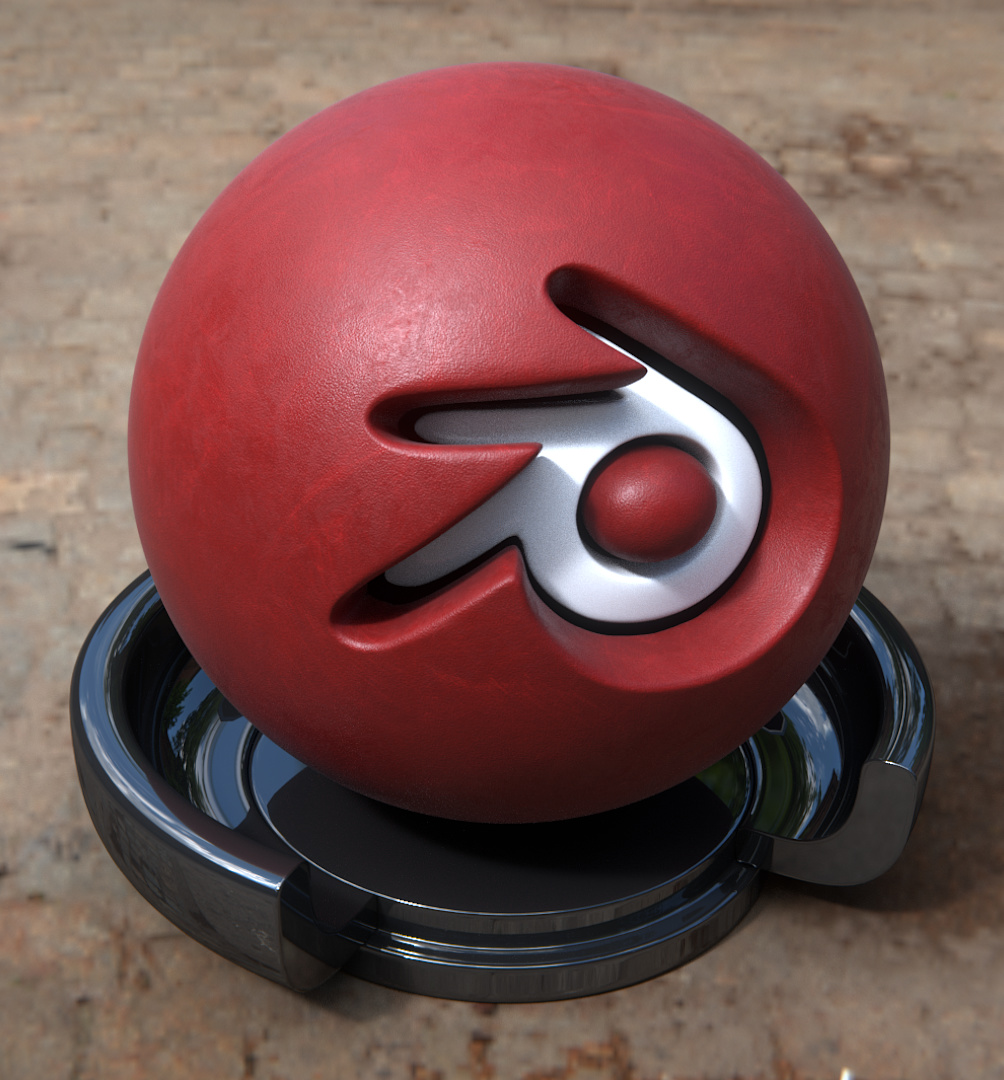
I think what really stands out for me is the incorporation of wear/scratches/scuffs into these materials. What’s your method for putting those textures onto an object? Careful UV-mapping or something else?
Thanks for the tip, ya man i will work on new materials with scratches and stuff, its very difficult for me to work with bumps and normal maps in cycles.
For the texturing my first tests i used Substance Painter, so to uv the objects and export them i just used “smart uv projection” and then S.Painter got a good option called “tri-planar projection” to get rid of the seams.
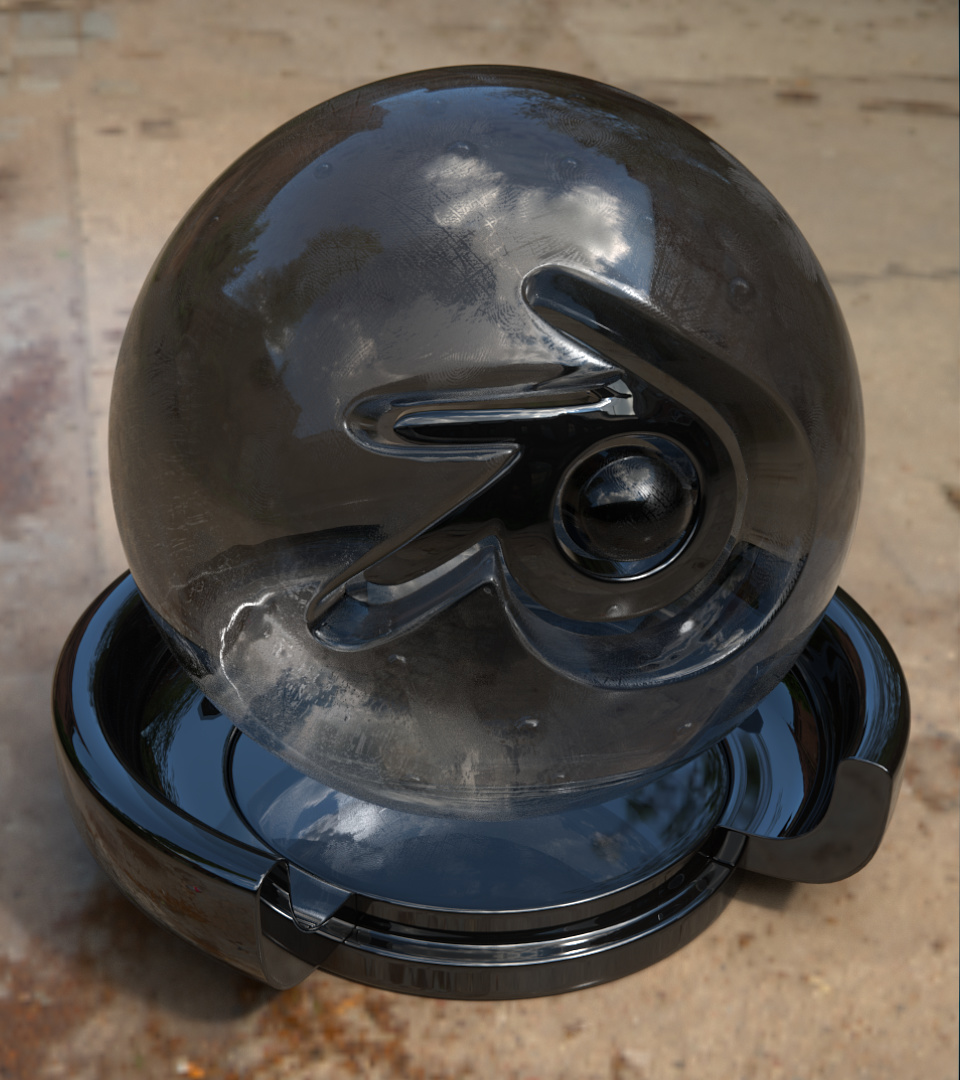
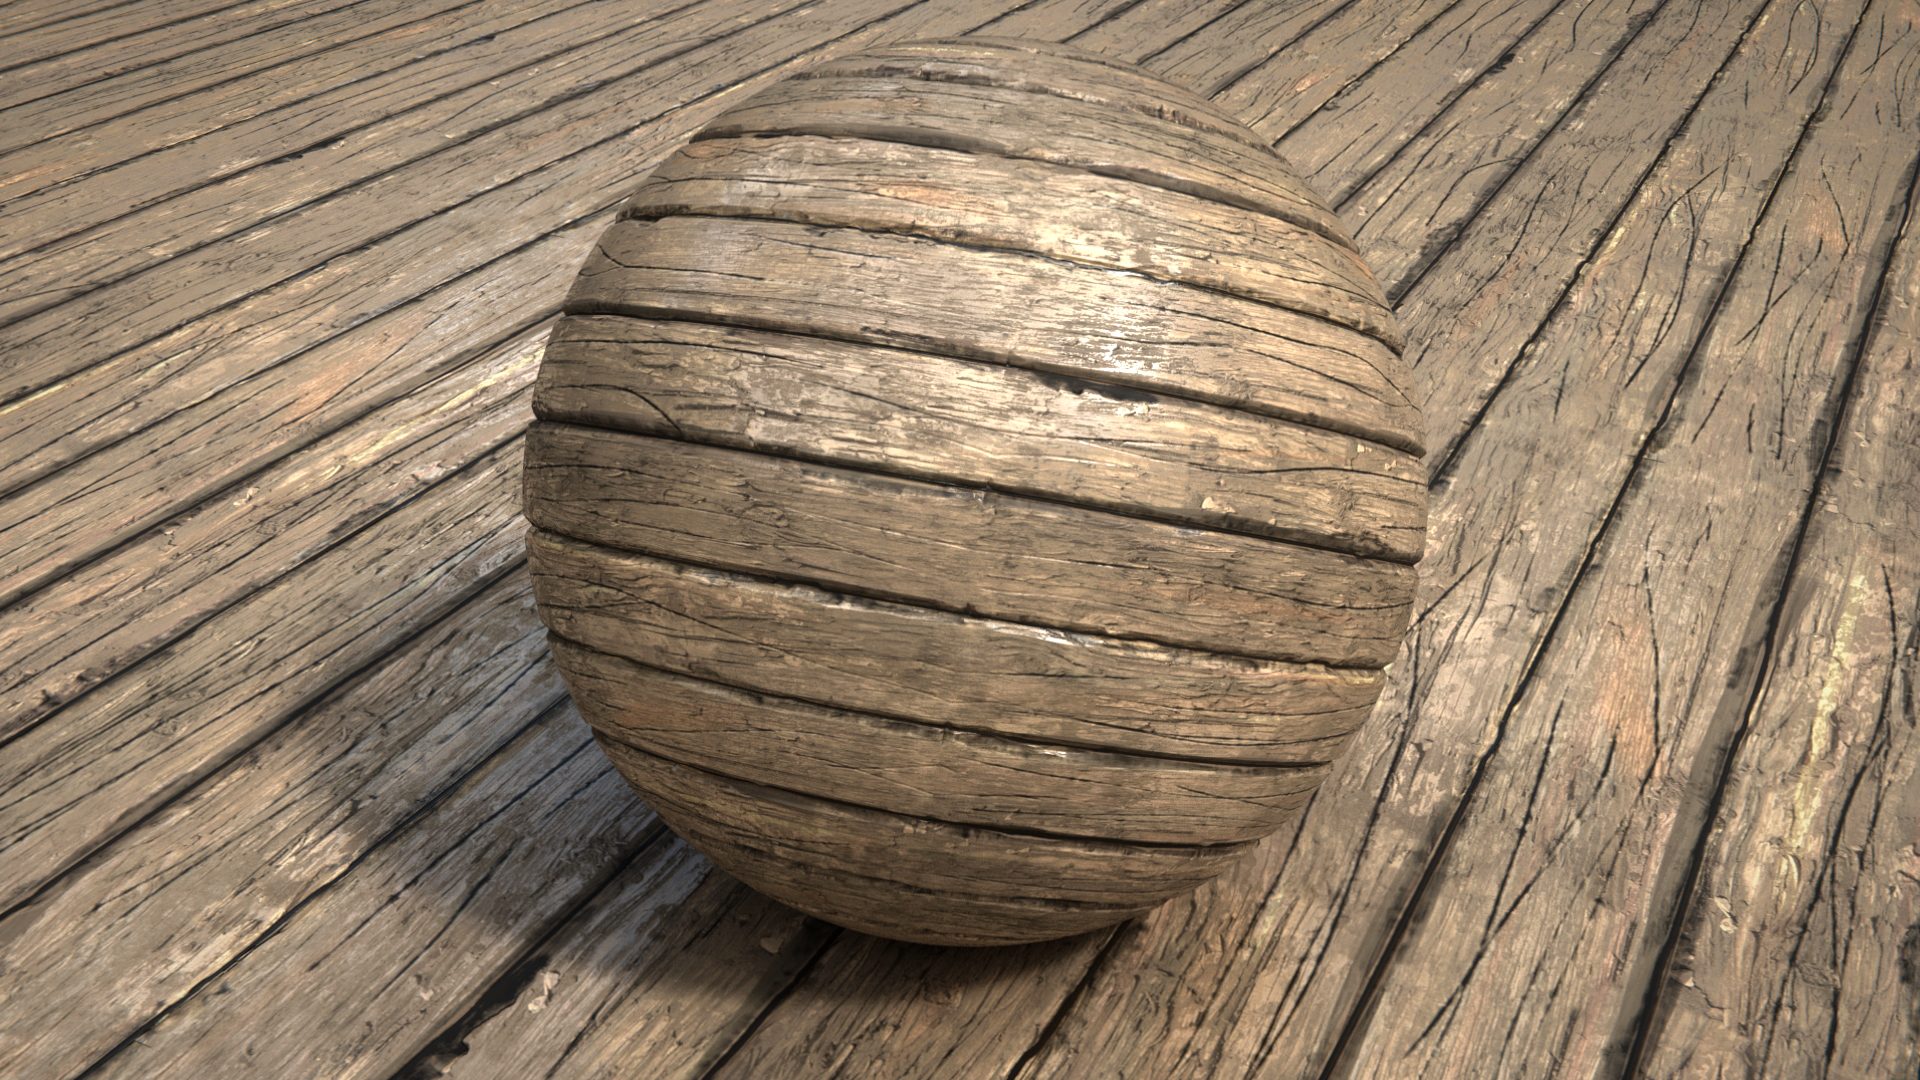
For my last tests using that ball blender tester i texture it in cycles using generated texture coordinate and “box projection”.
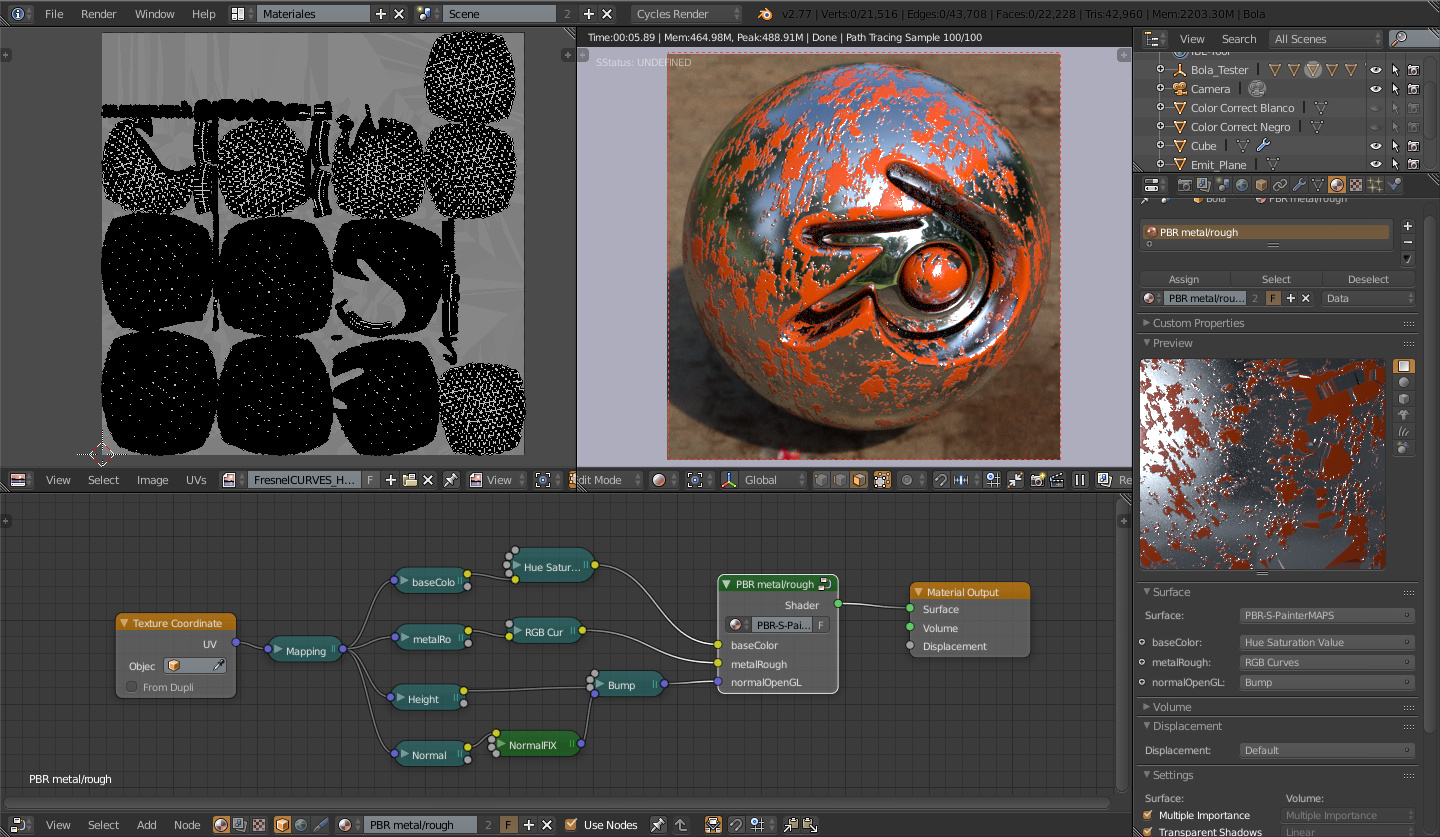
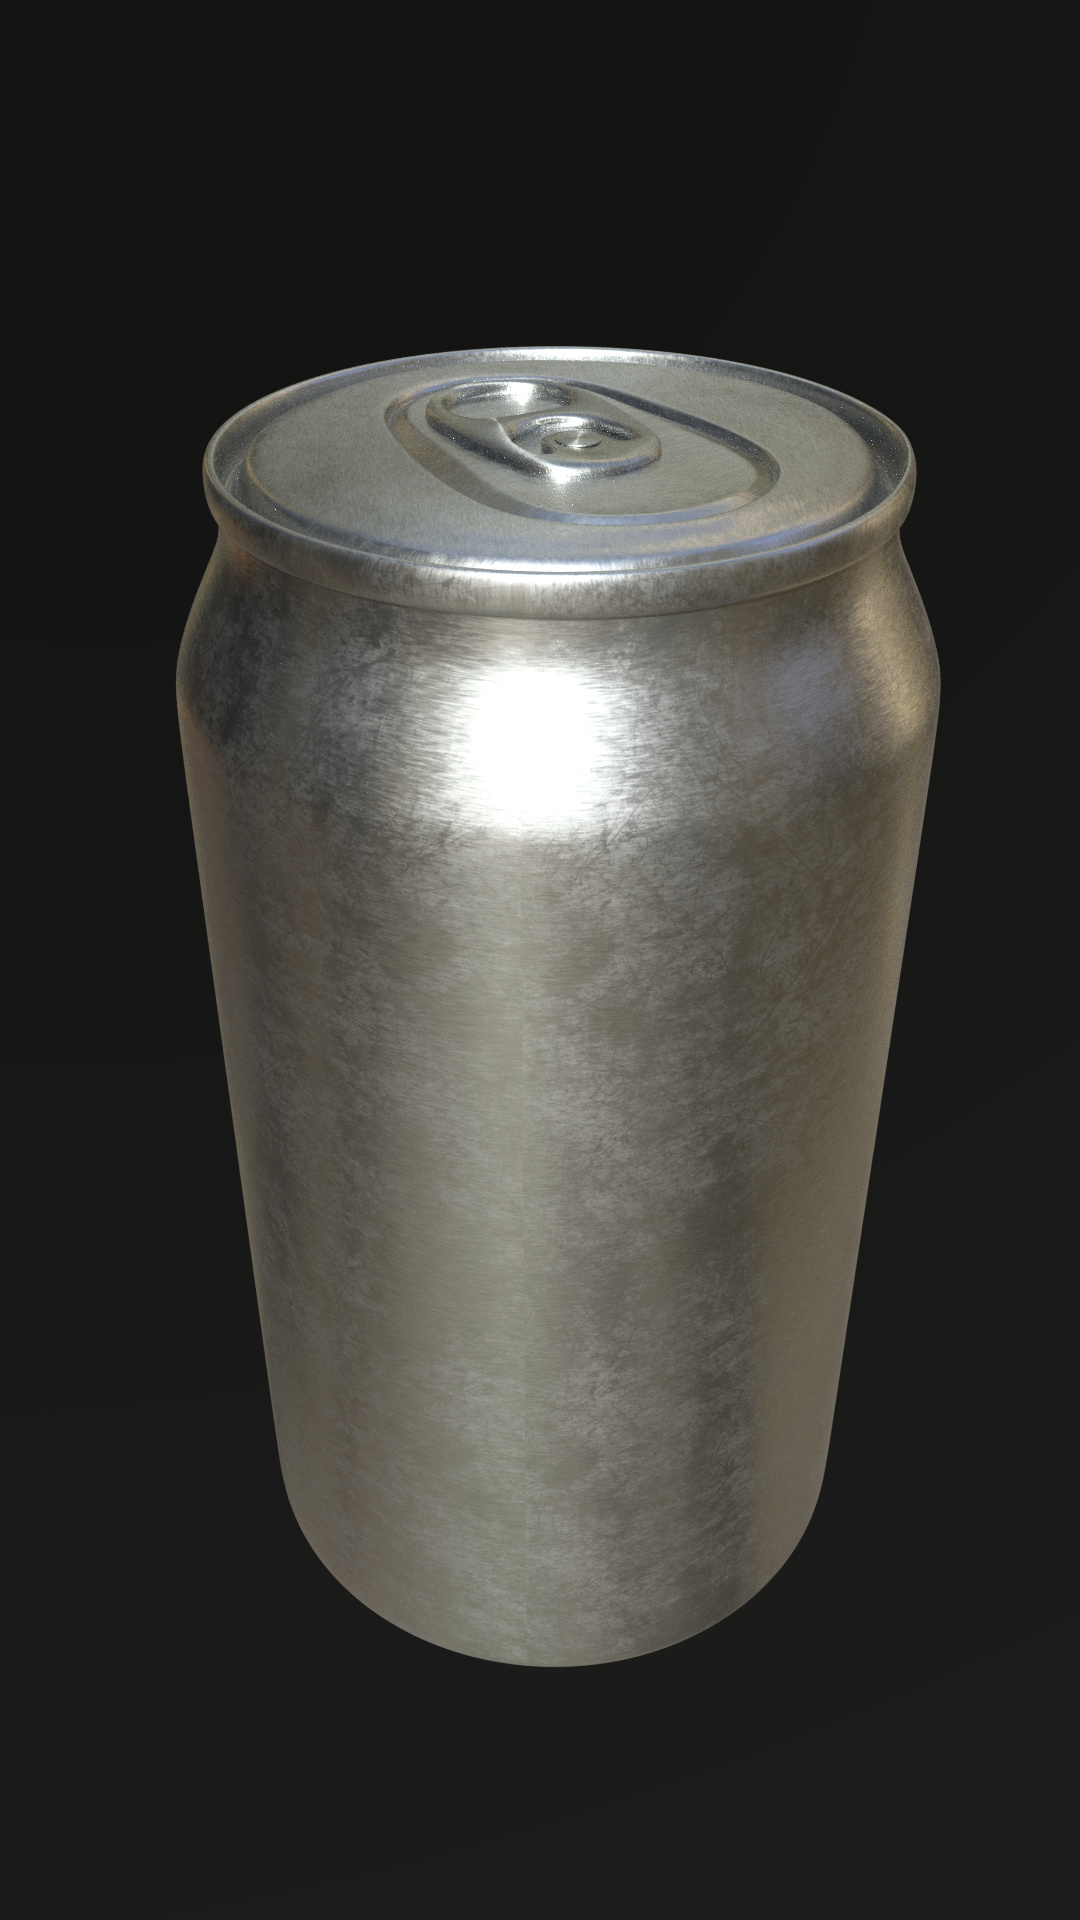
Some bricks, they are a bit flat because for me its very difficult to work with normals, bumps and displacements. Some advice or good bump/normal node fix would be very nice please.
Where there is shadow you don’t want reflections. That makes it look a bit fake. What I do is use color ramps, and make the shadows black, and the rest white. The output of the color ramp goes into the color input of the PBR reflection node. Or somewhere else.
I use color ramps for all the maps, : roughness , reflection, bump, to have control.
Np man. Yeah, i know i suck at uv-mapping im still learning, meanwhile i try to avoid it using cheap techniques.
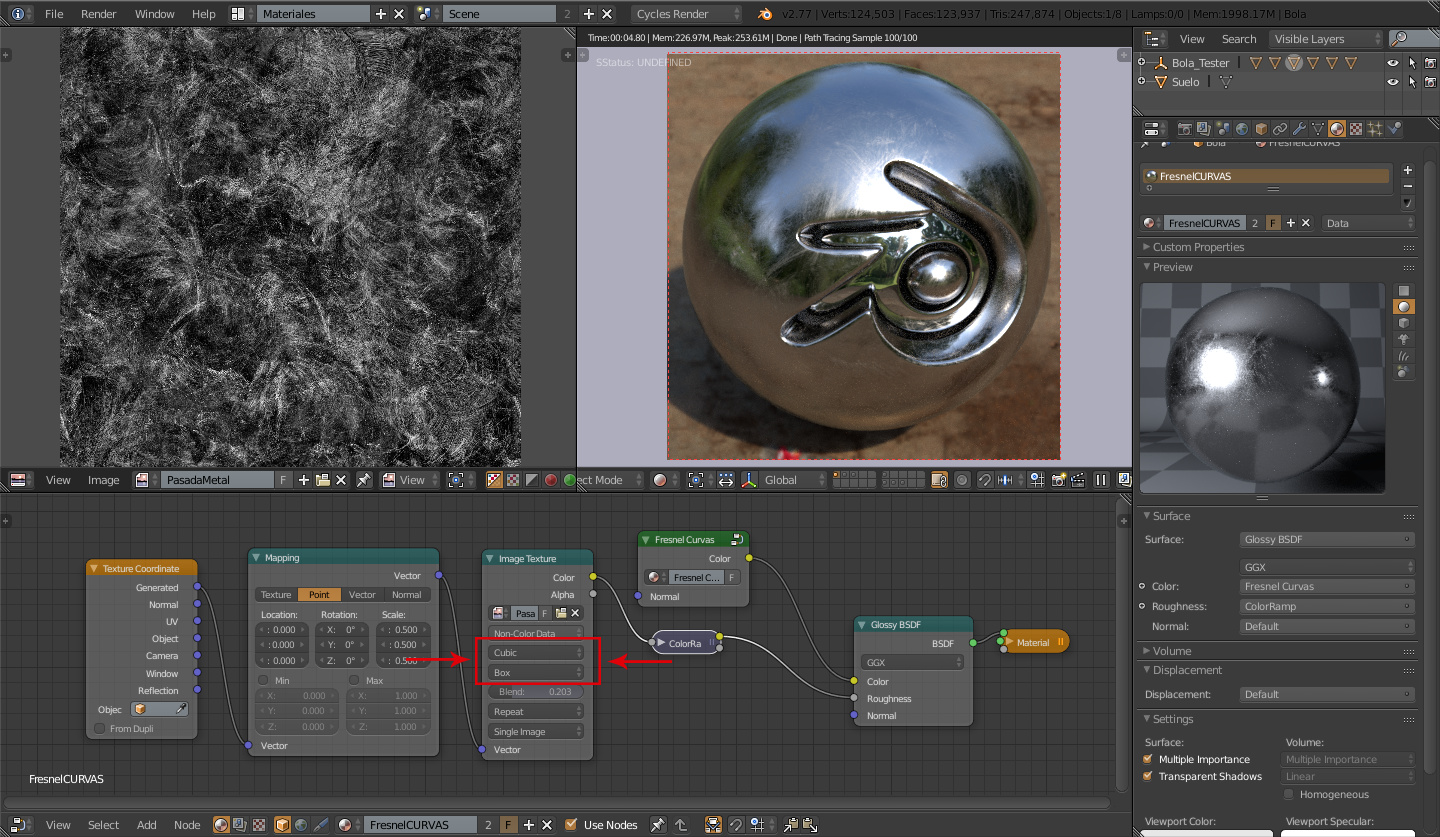
Wow man thanks a lot, i will check that post for sure, seems good stuff, thank you. First i will try to improve the height and normal maps to see what can i get. But anywyas the bump and normal map system in cycles its very weird, at least for me. I tried to use the displace mod but i dont know how to set box-projection for the coordinates.
Yes robwesseling i used difuse map for the basecolor not albedo. Nice man thanks for that, i was trying to get rid of the shadows,ao and light info in photoshop without luck. I will try your technique, thanks a lot. Using color textures for those maps seems kinda new to me i will try that also. Thanks again for share your knowledge.
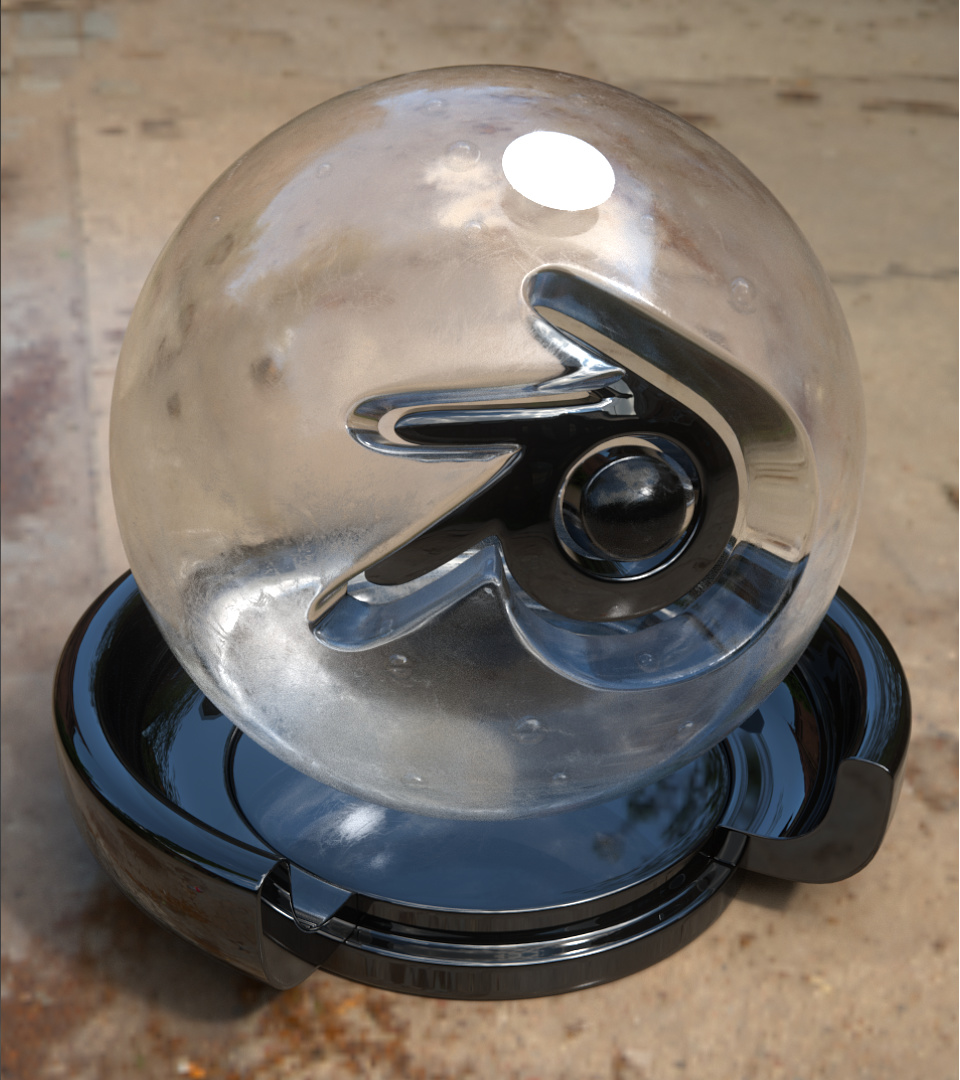
Here a nodesetup I call Express Shader. This because I just use 1 texture for all kind of maps instead of loading more textures which takes more memory.
In the color ramp “Reflection map” you see that I make this way the black really black, but the rest white. This is good for bricks, or fabrics where you see some deep holes ( the shadows). For the rest, everything has reflections, so where there is no shadow, you want reflections … everywhere. The point is how rough al those reflections are ( rather than how much).
So with the color ramp named “roughness map” you define here what has sharper reflections, and what rough.
You can also do this with the bumpmap but has barely use maybe.
For bricks and fabrics, it helps a bit to put a tiny bit more contrast in the albedo or diffuse, or less gamma.
Oh yes, what really helps me a lot is to have an emission shader ready, as you see. When I play with a color ramp, I see it eassier when plugging it temporaly into an emission shader when rendering realtime in the viewport.
No image? Check here:
http://www.pasteall.org/pic/show.php?id=104524
Oh yes, what really helps me a lot is to have an emission shader ready, as you see. When I play with a color ramp, I see it eassier when plugging it temporaly into an emission shader when rendering realtime in the viewport.
Actually there is an addon for that already packed in blender. Node wrangler, extremely usefull.
Ah yes!, Thanks for reminding me. So far I didn’t take time to take a look at it afraid that it would mess up my current habbits. I do it right now ! ( node wrangler… I look it up … its Ctrl+Shift+Click for the viewer).
Thank you very much sir, so if im not wrong, you use those ramps like “masks” for everything, so if i want to remove some shadow and light info from my base color, i should use those masks? i think i get the your point but im not sure. I will test later what i undersand and post the resulots here. Ya i usually use curves or ramps too, to get some roughness on the surface and reflections, but i dont know why but when i use them to increase the bump effect i cant get good results. I will try to make an albedo map from the difuse map and try to work on the bumps controlling by ramps, lets see what i can get! thanks man.
And yeah im agree with Adam that node tool is one of the most usefull addon in blender, really time saver.
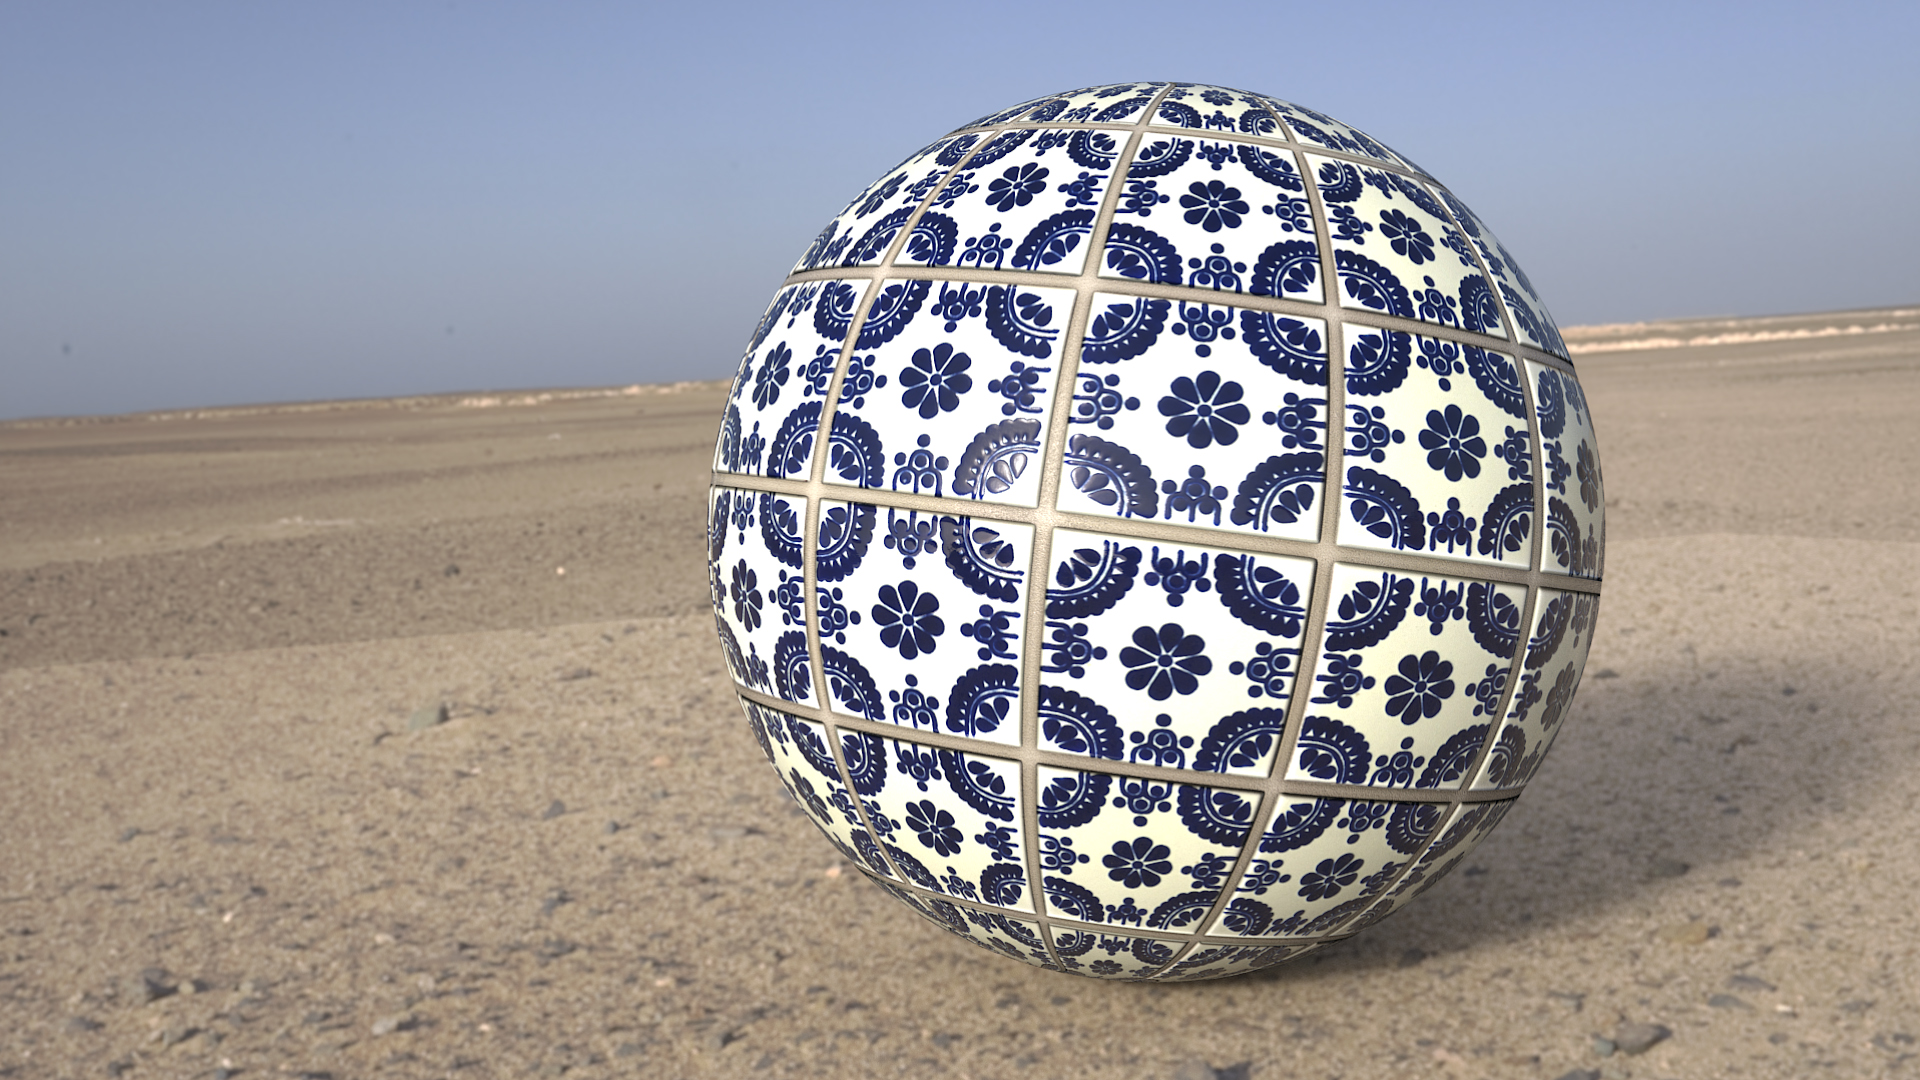
More tests playing and learning about light, materials and some camera position.
Robwesseling I used your ramps mask technique to have a bit more control of surface bumpiness, lot of thanks, but still no luck on how can i make an albedo map from a difuse texture. I will keep trying.
Does anyone knows how can i make objects interact more with surfaces like floor or ground please, i always got the problem that my objects looks like they are not touching the floor. Some help tip or advice please.