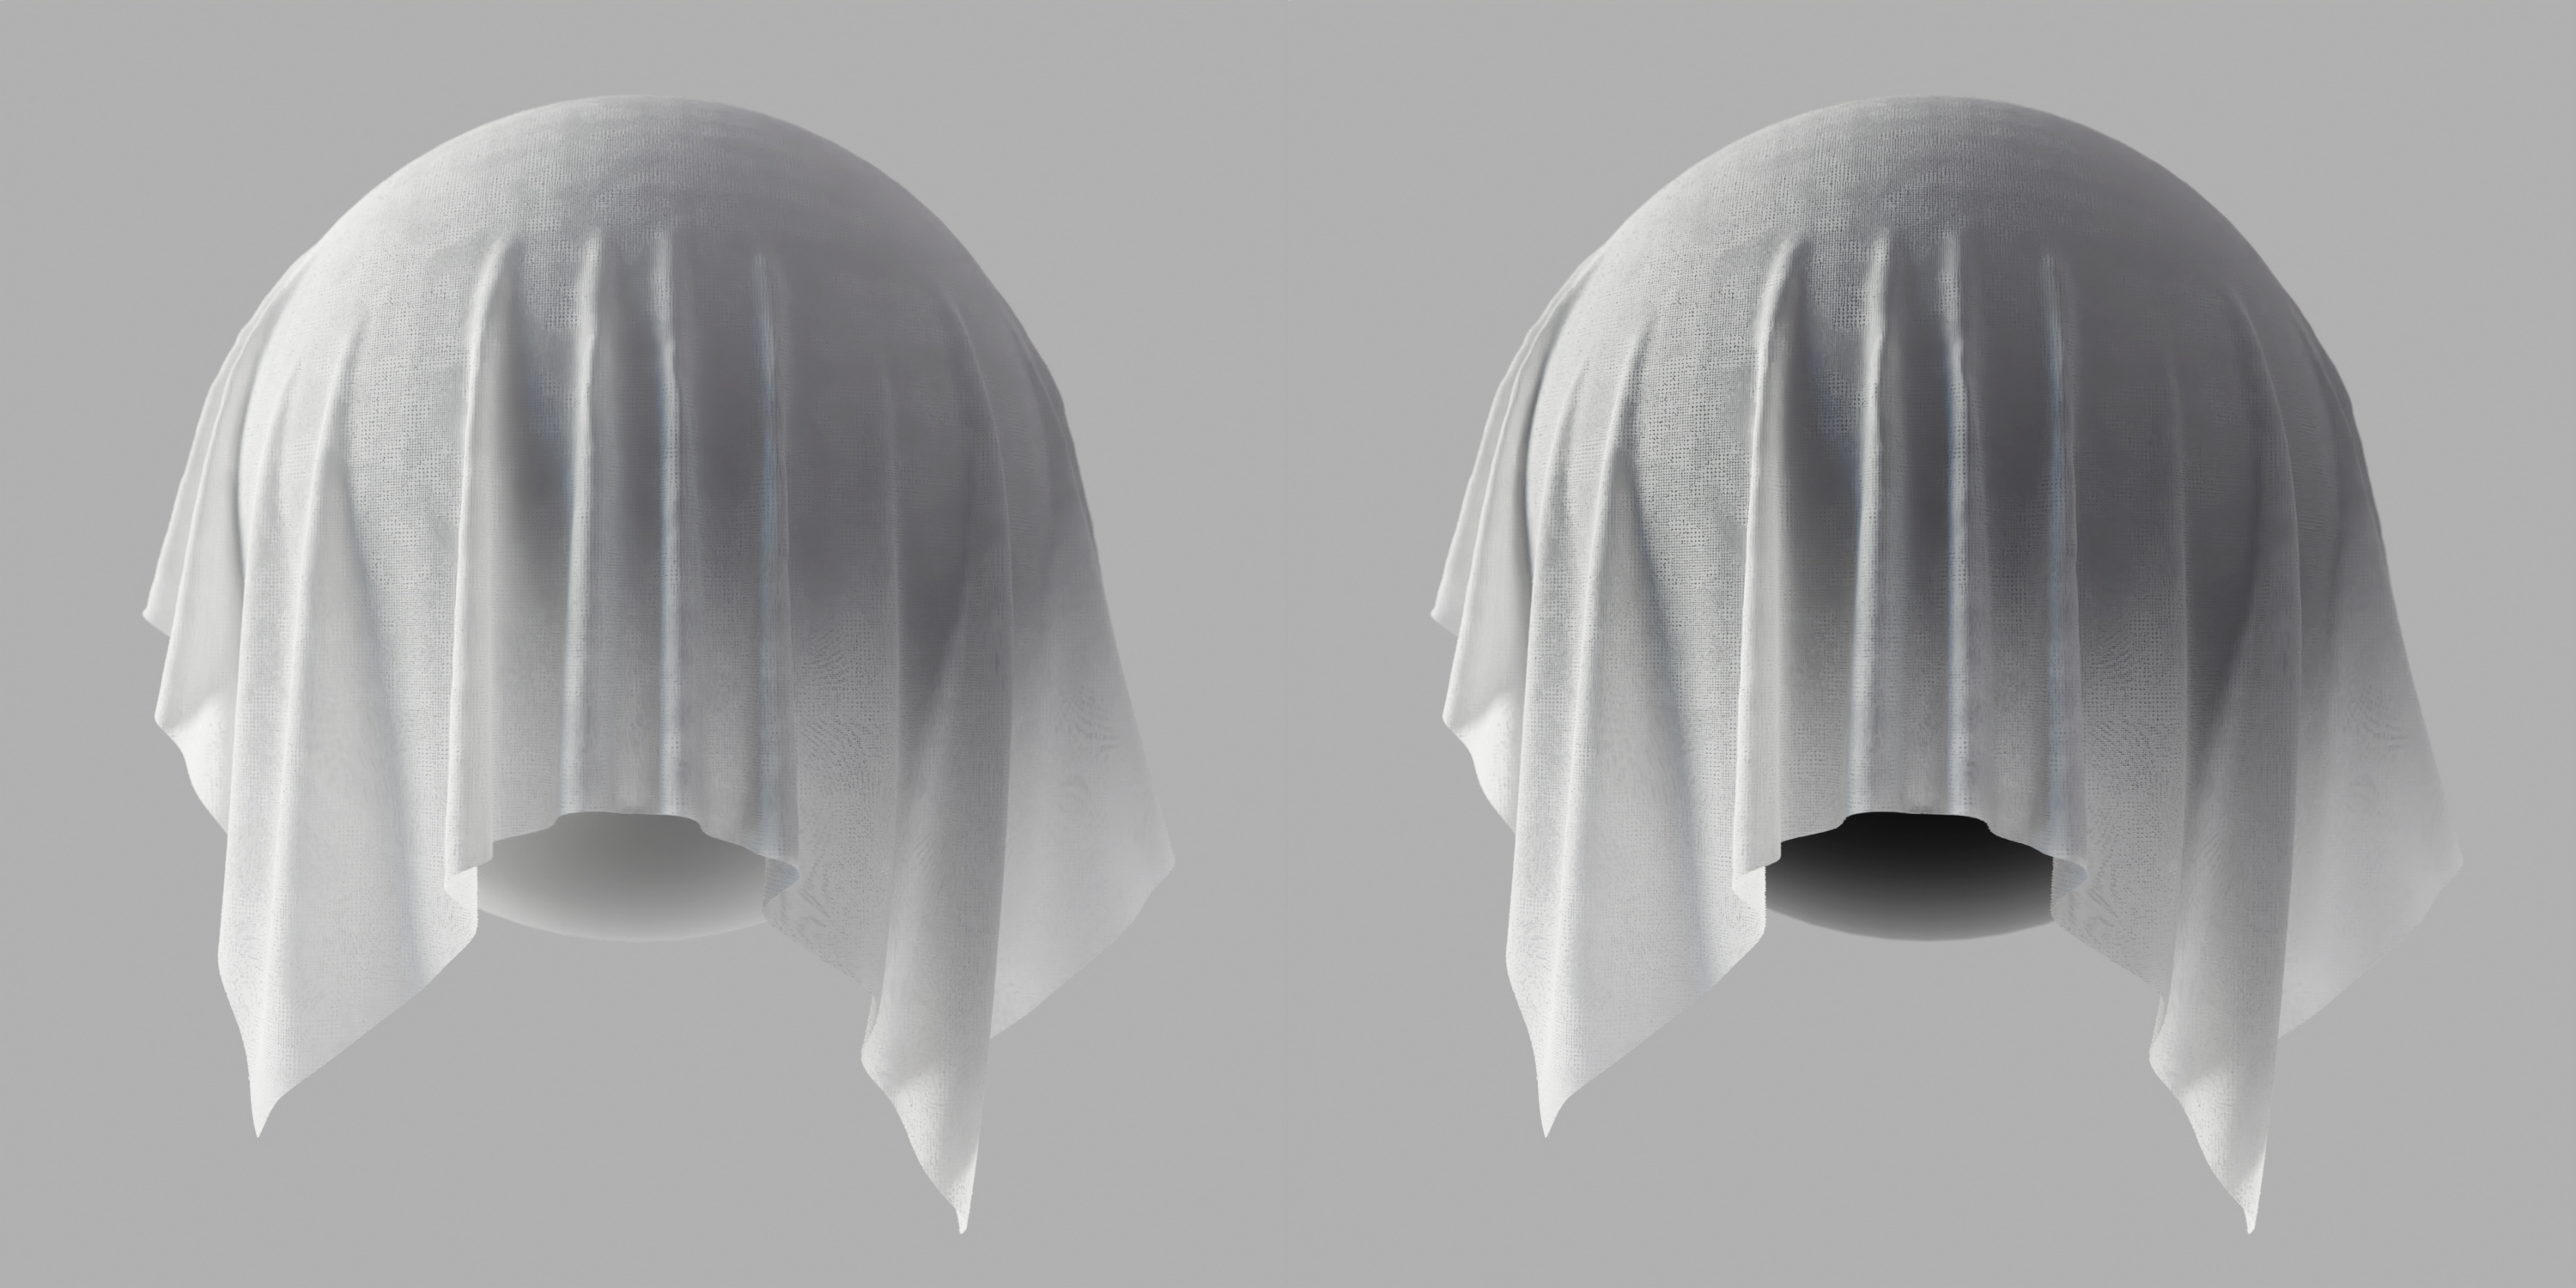
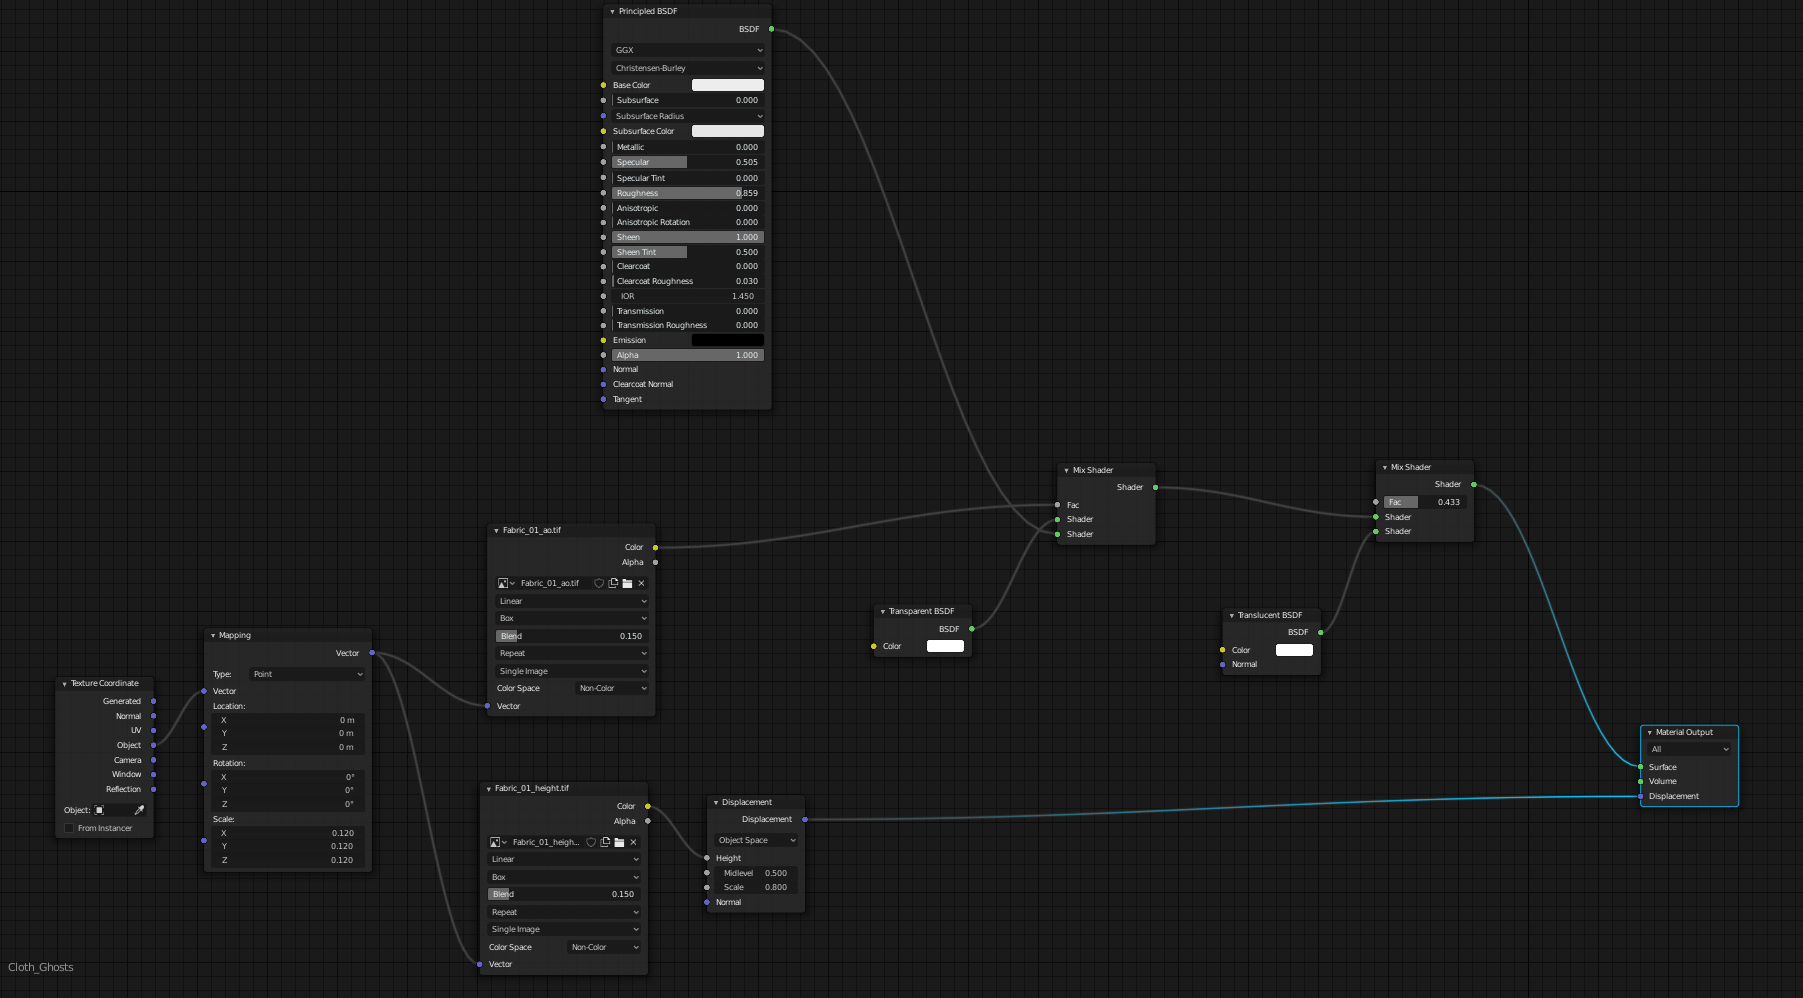
I just stumbled across this thread. These are some amazing shaders. Your skin shaders are outstanding. Amazing work.
I also love the scratches metals that you created way back at the top.
Again, quality work dude. Respect!
I just stumbled across this thread. These are some amazing shaders. Your skin shaders are outstanding. Amazing work.
I also love the scratches metals that you created way back at the top.
Again, quality work dude. Respect!
Holy cow these are incredible!
Hi, thank you for the kind words, very glad you liked them. The metal one i think you are referring is from @dparish2
Thanks man! glad you like them.
Did you ever release these as a pack? I’d buy them for sure.
Hey man i uploaded them for free in my Gumroad, i will be uploading more stuff for sure, like textures! gumroad.com/zenshaders
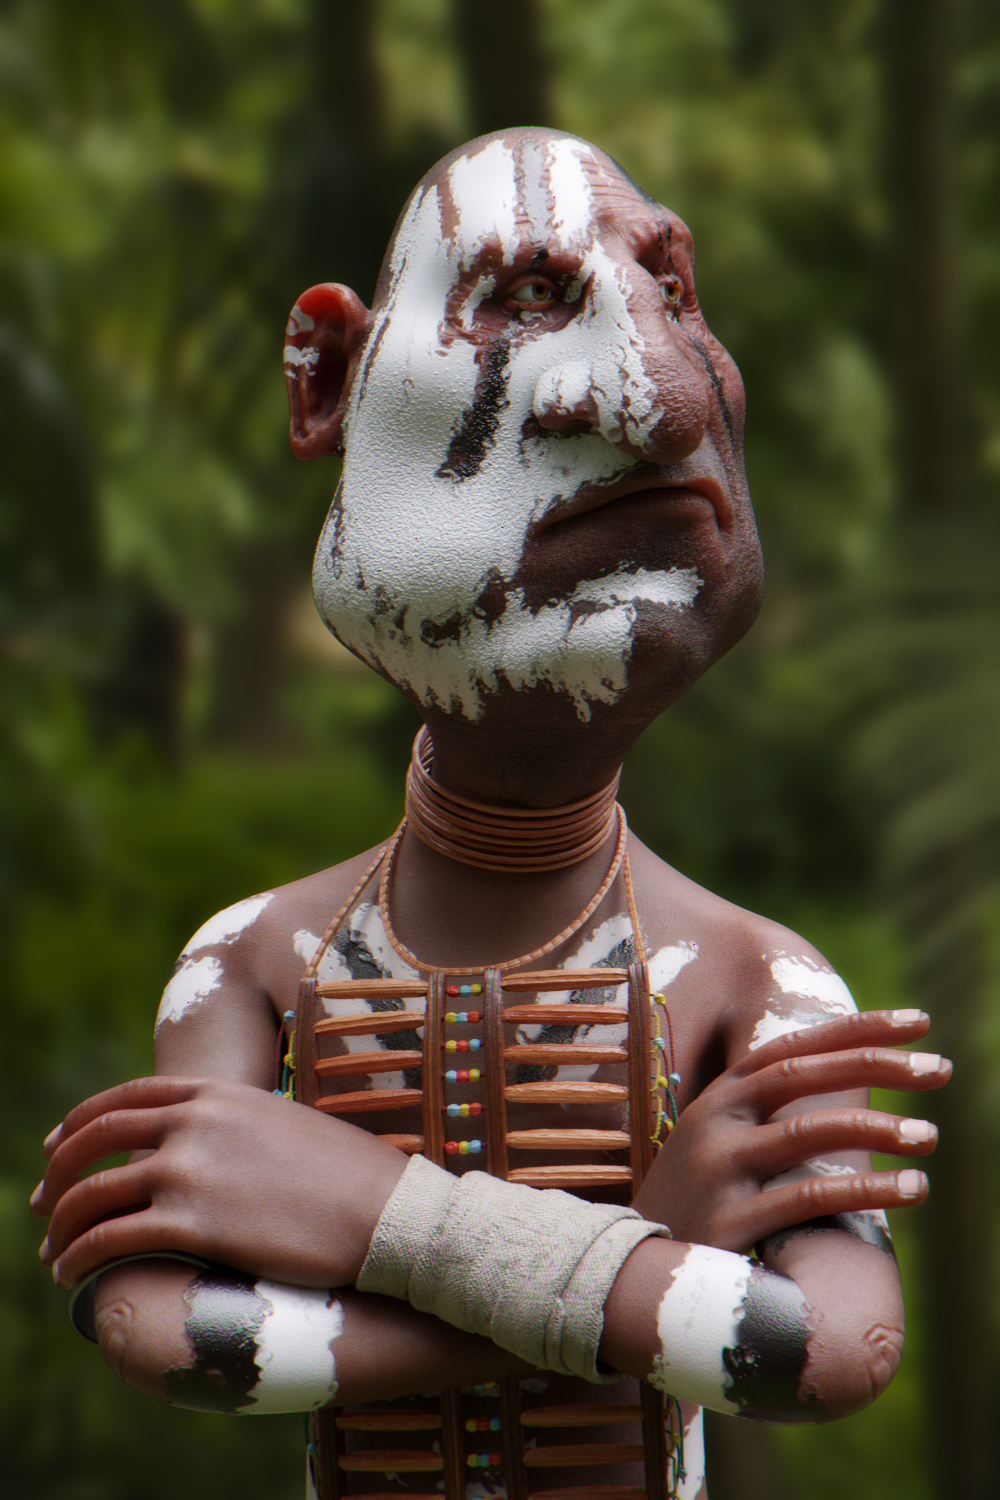
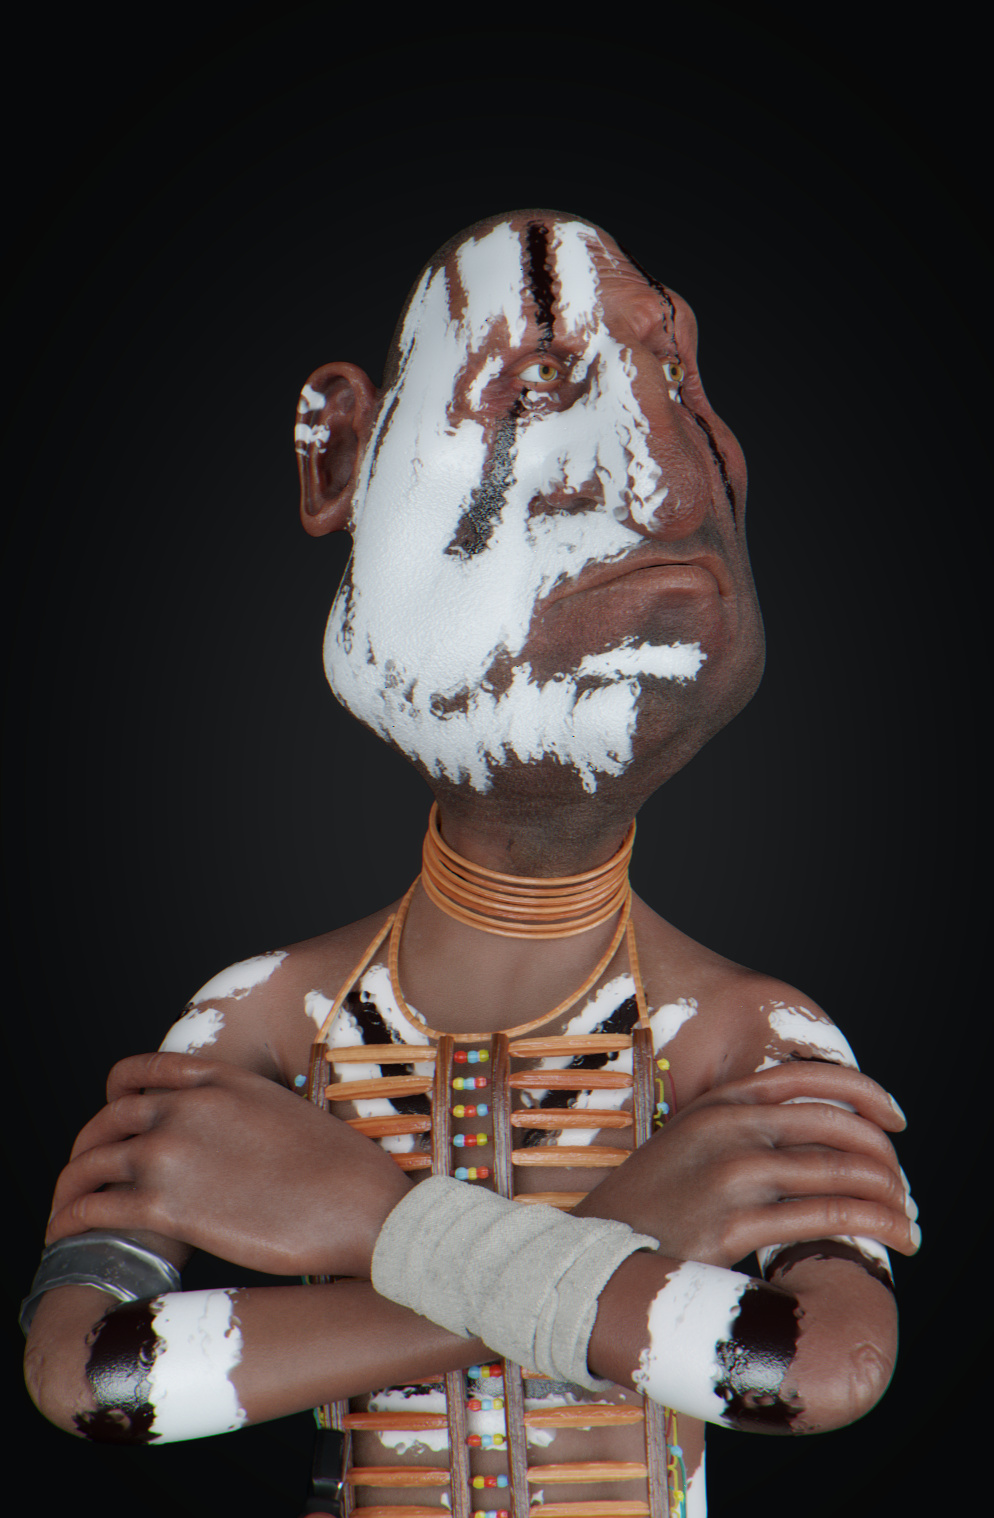
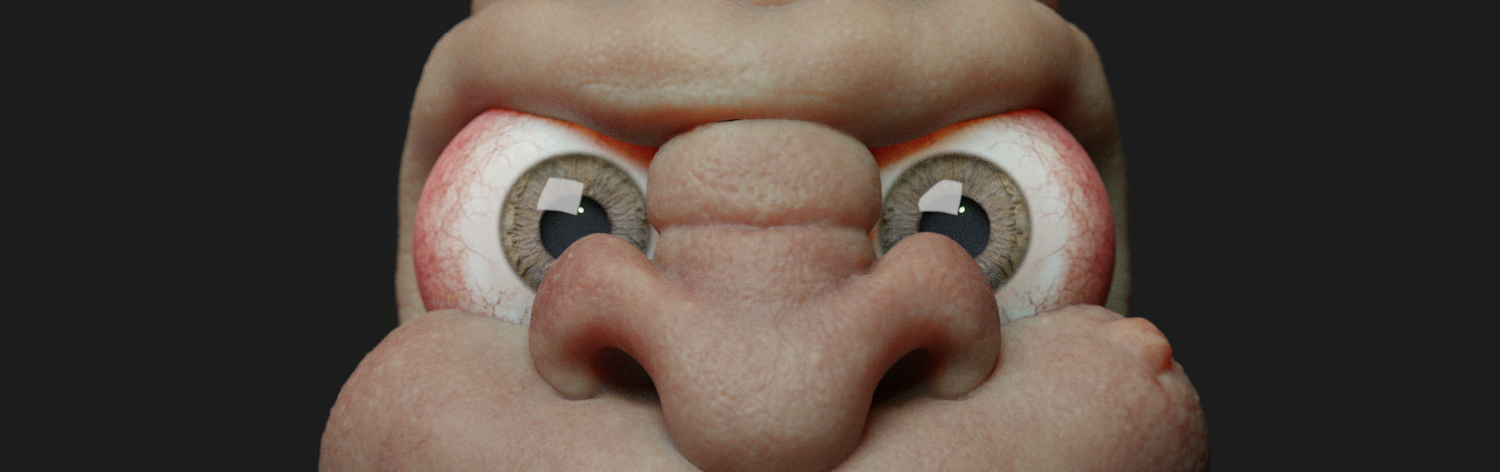
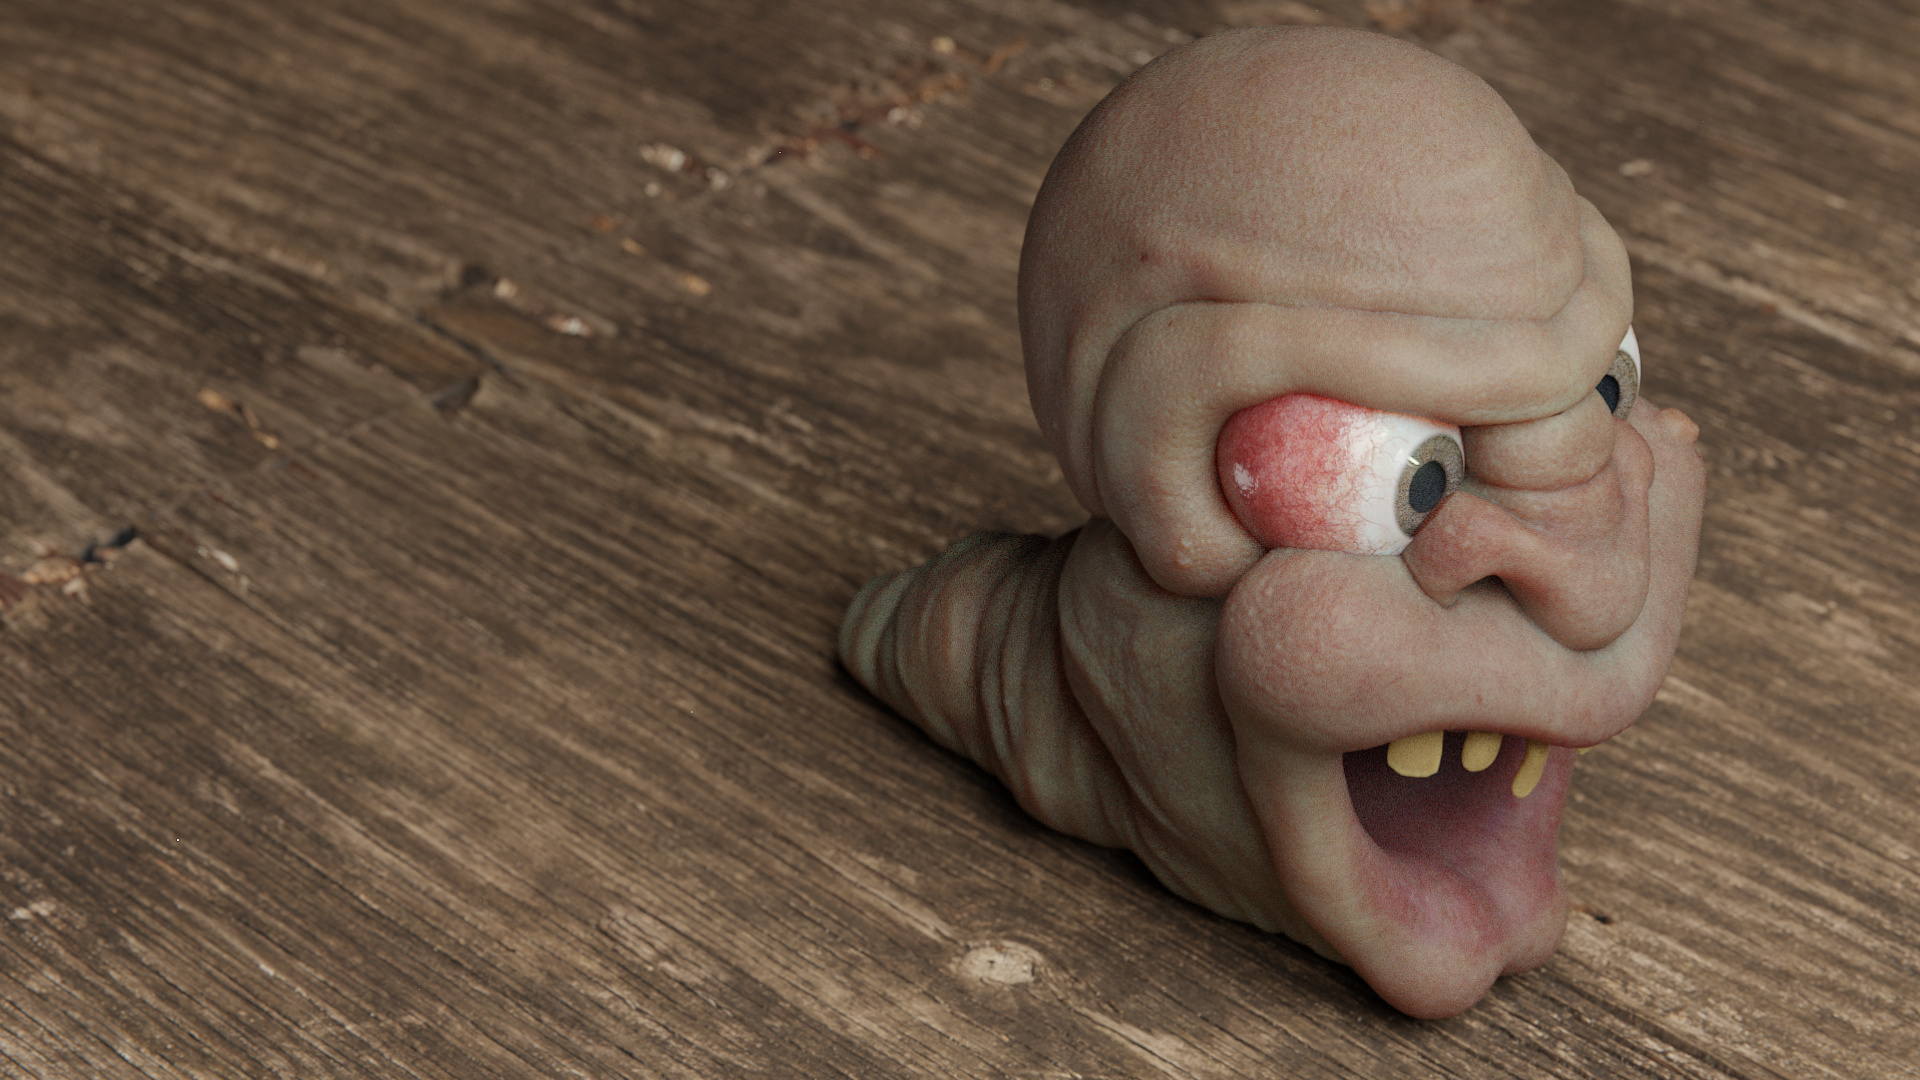
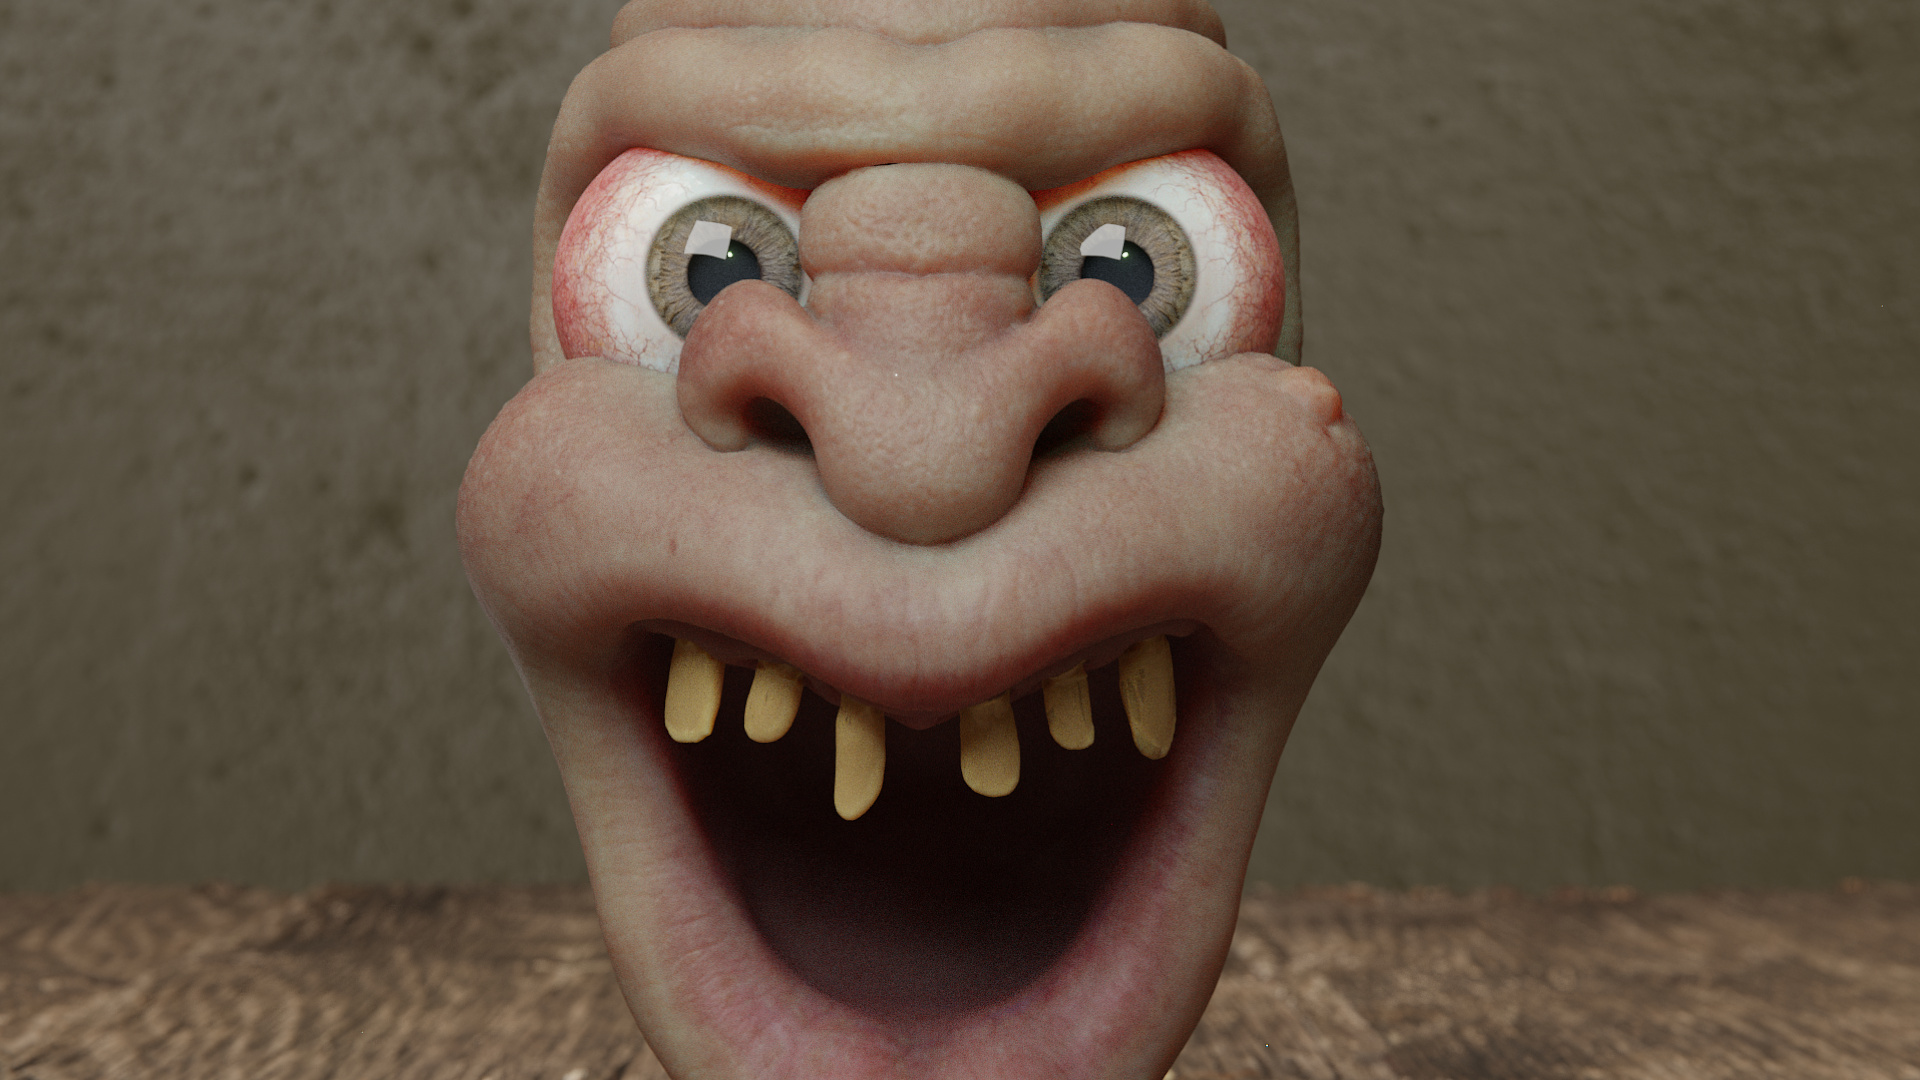
Hi, i wanted to test my Skin Shader with more cartoonish characters. My friend @Aitor_Perez_Alonso gave some models to play with. He is a very good character artist who also uses Blender for almost everything i put a link of his artstation
https://www.artstation.com/aitorperezalonso
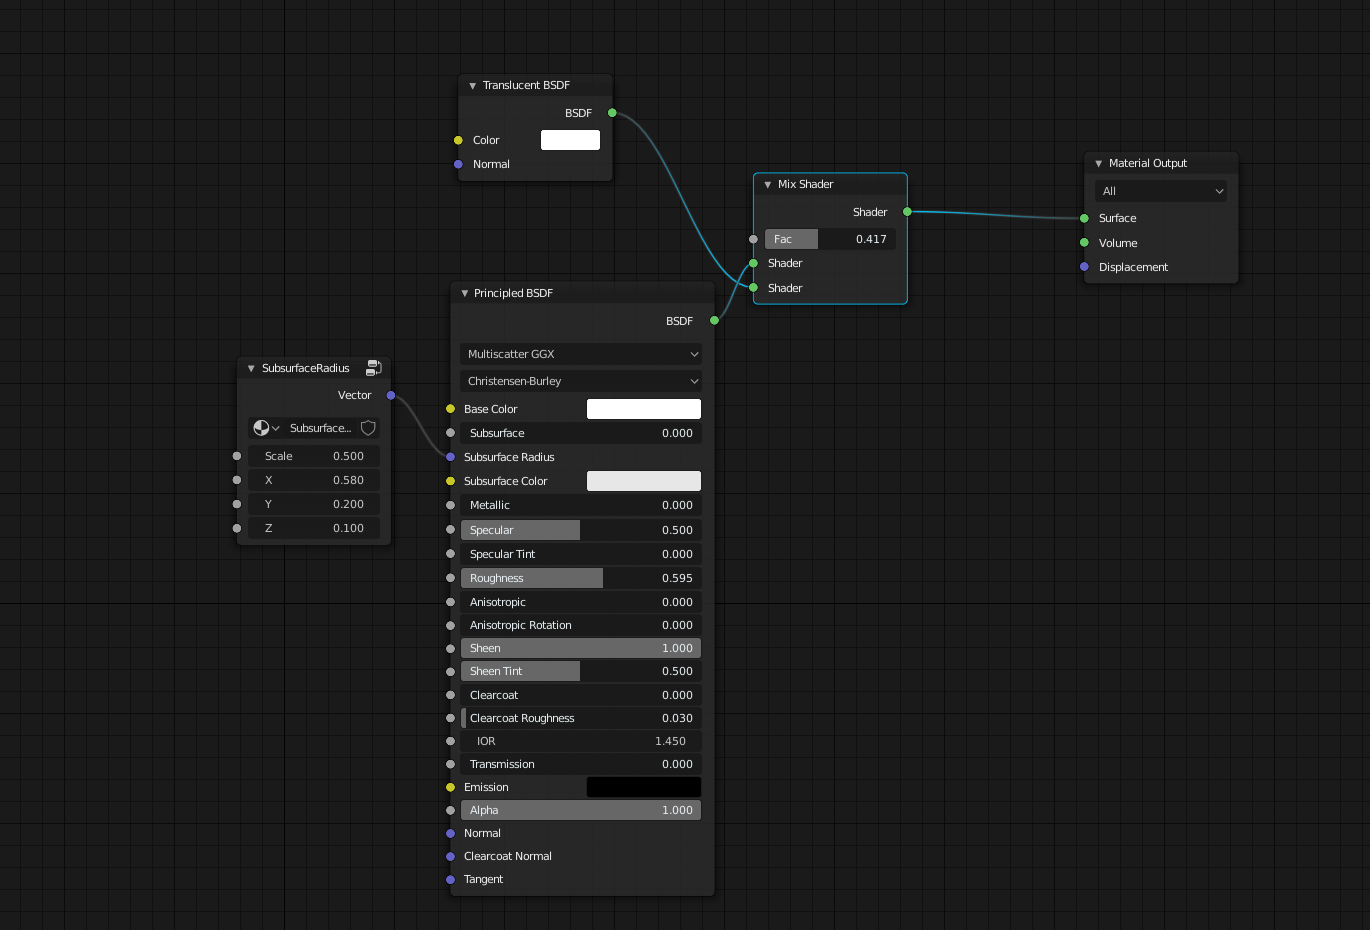
Skin Shader:
Today i was thinking about the Eyetutorial and i think i have found a missing part.It is the outer eye mesh which is missing the thickness a real lens or Eye-lens has.
In the tutorial the outer mesh is just a glossy reflection on the outer mesh.
if you make it a volume (even solidyfy should work) then you can apply a glass shader to the Eye,that give you the volumetric distorted IOR effect,like water has for example.its a subtle thing, but if its done right ,maybe with caustics additional,it should give a even more volumetric live like effect,a real lens has.
think about how volumetric a lens look like,vs flat glossy reflection.
edit, maybe i was to fast writing.have looked again at the tut,he is useing a glass shader for the outer mesh,but i am not sure it should have a thickness to the iris to enhence the lens effect.
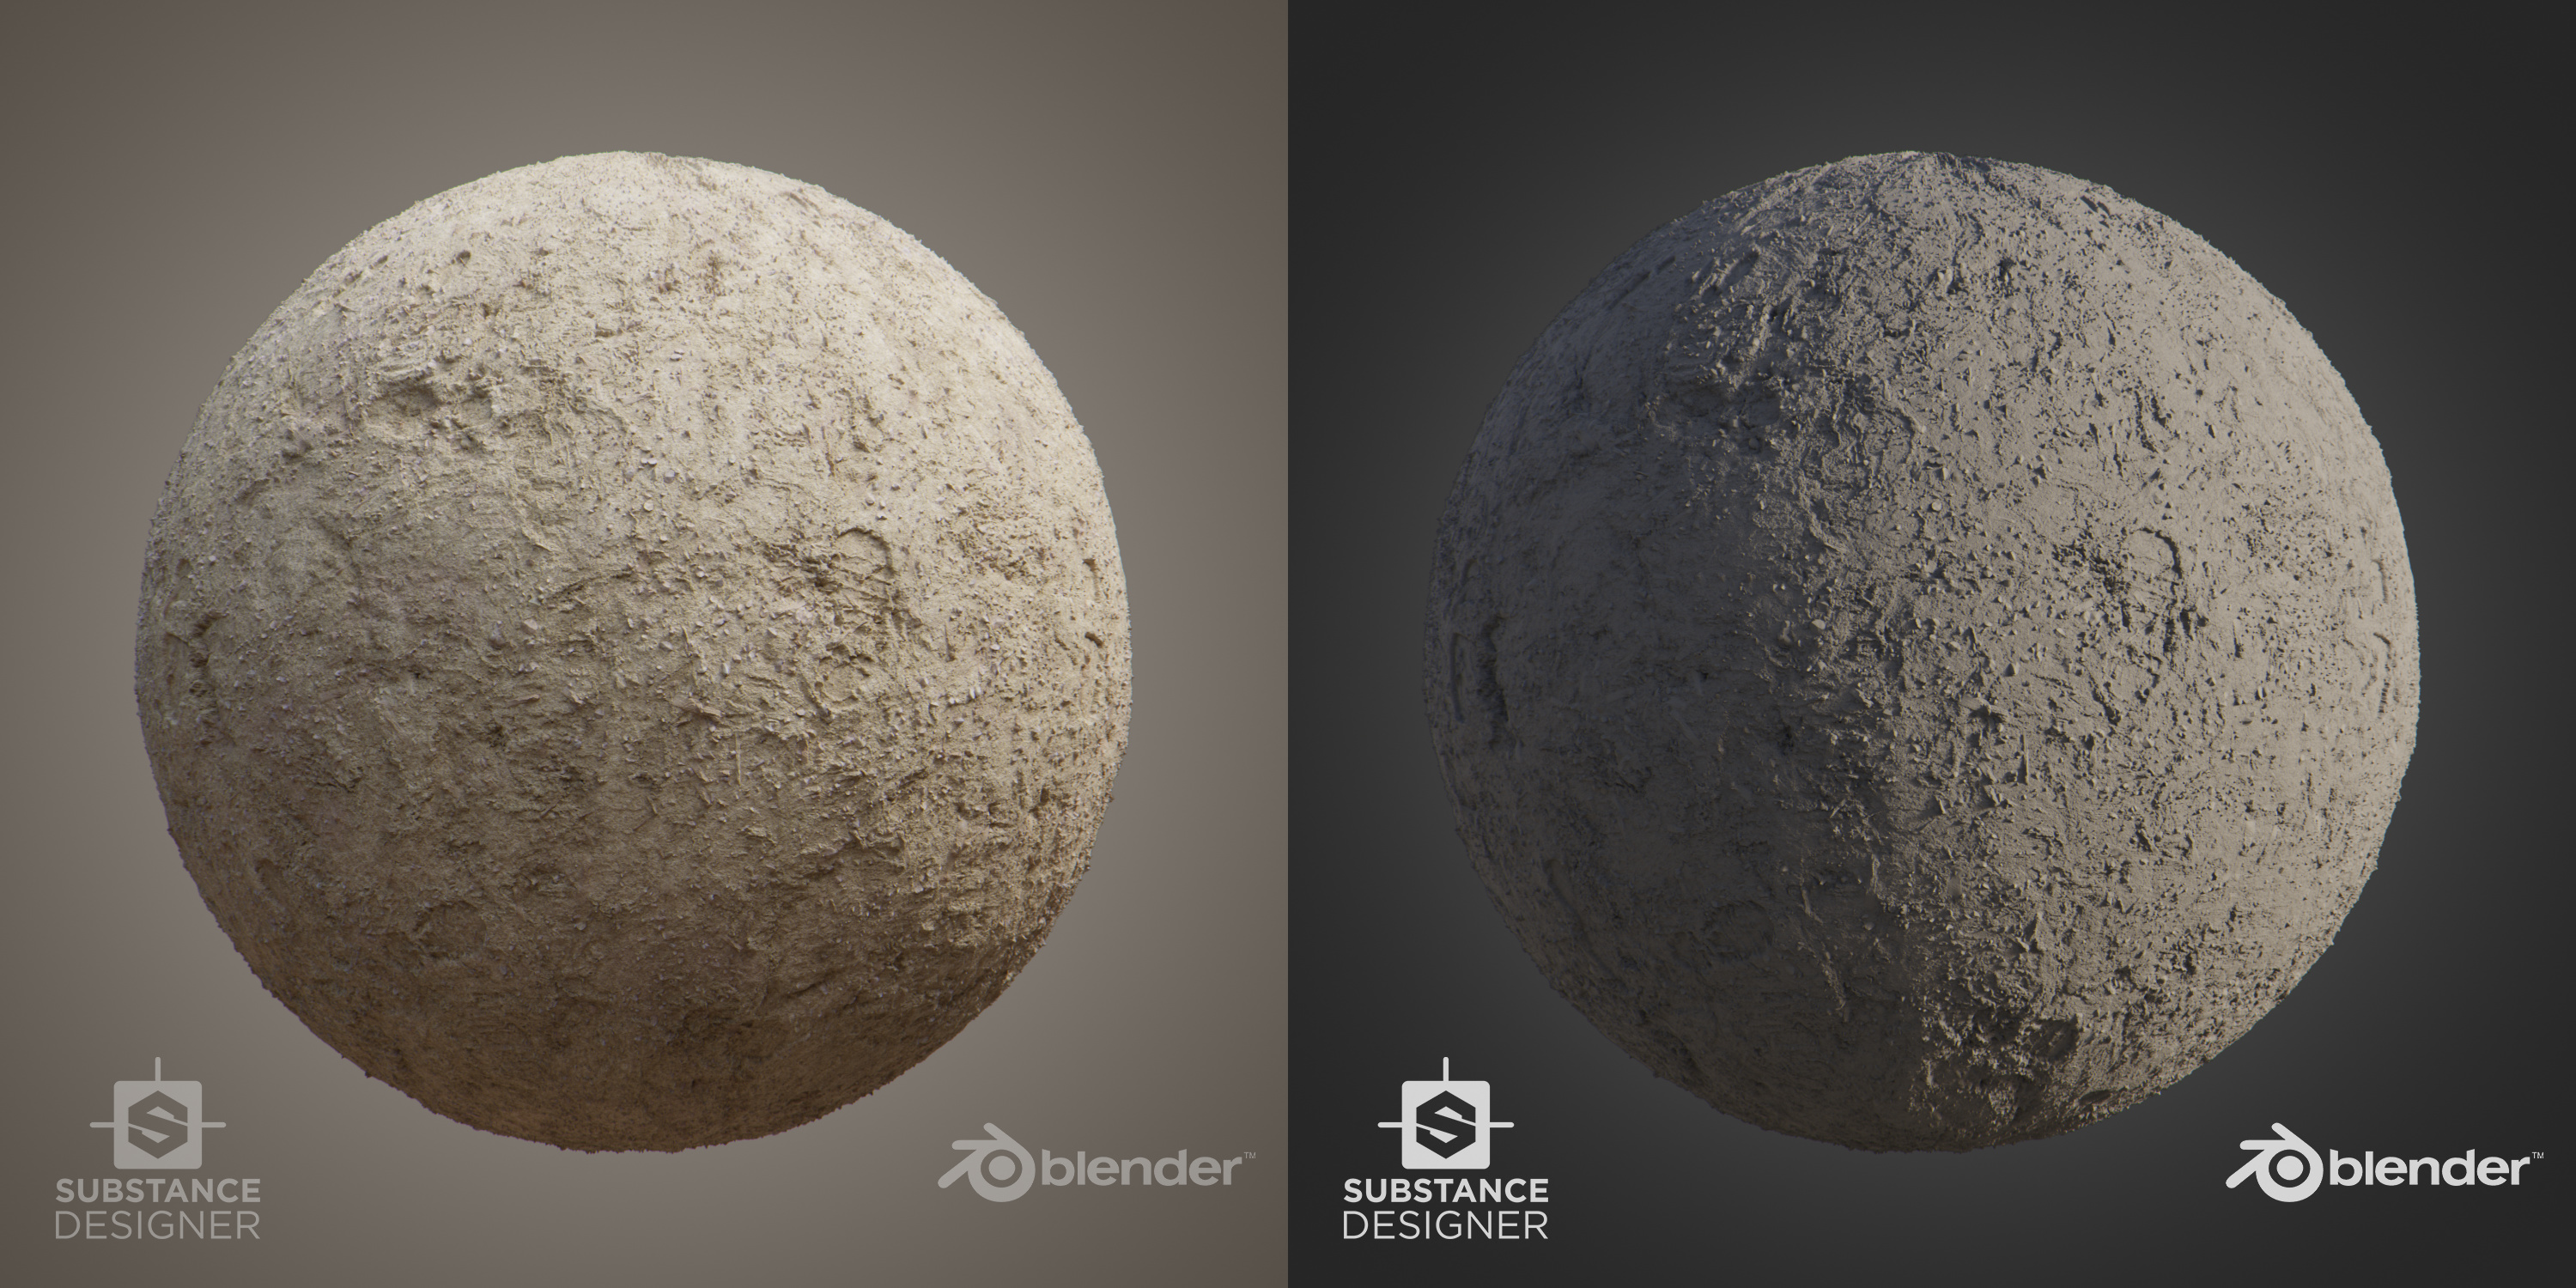
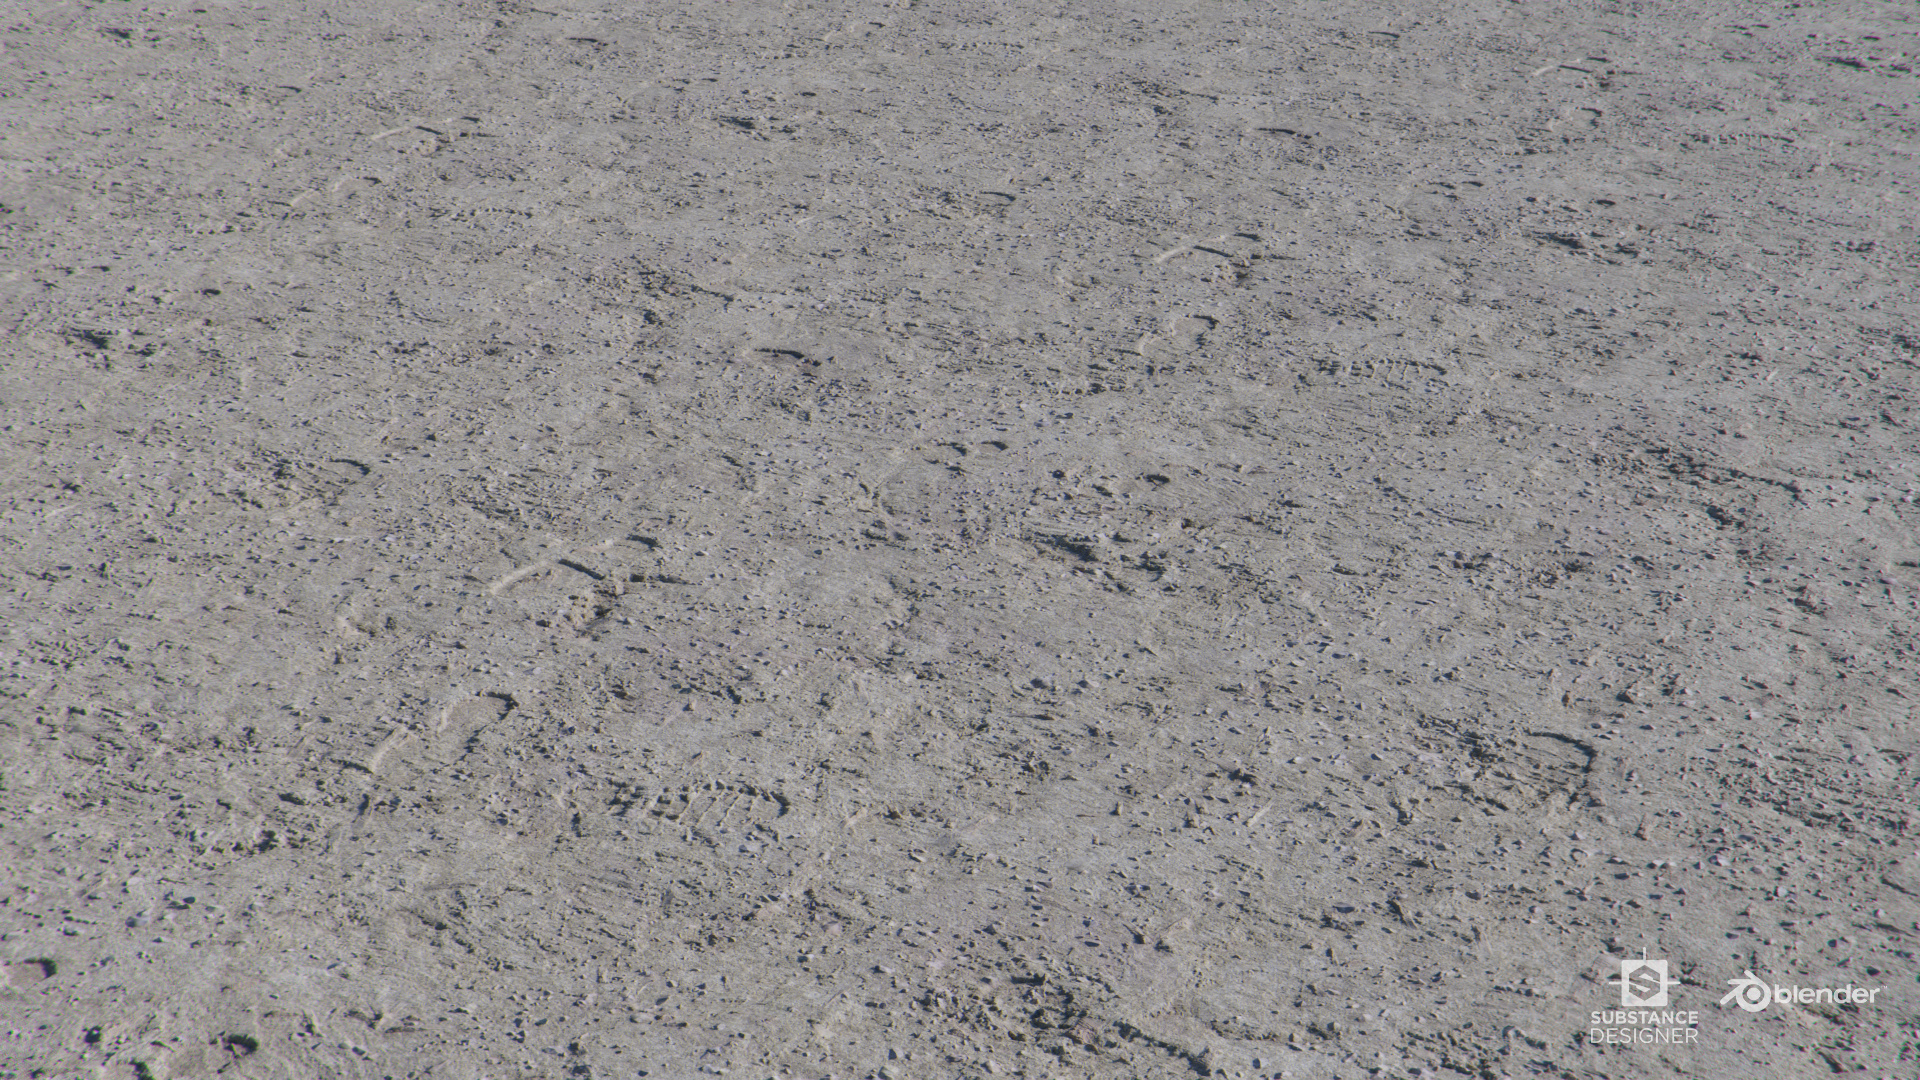
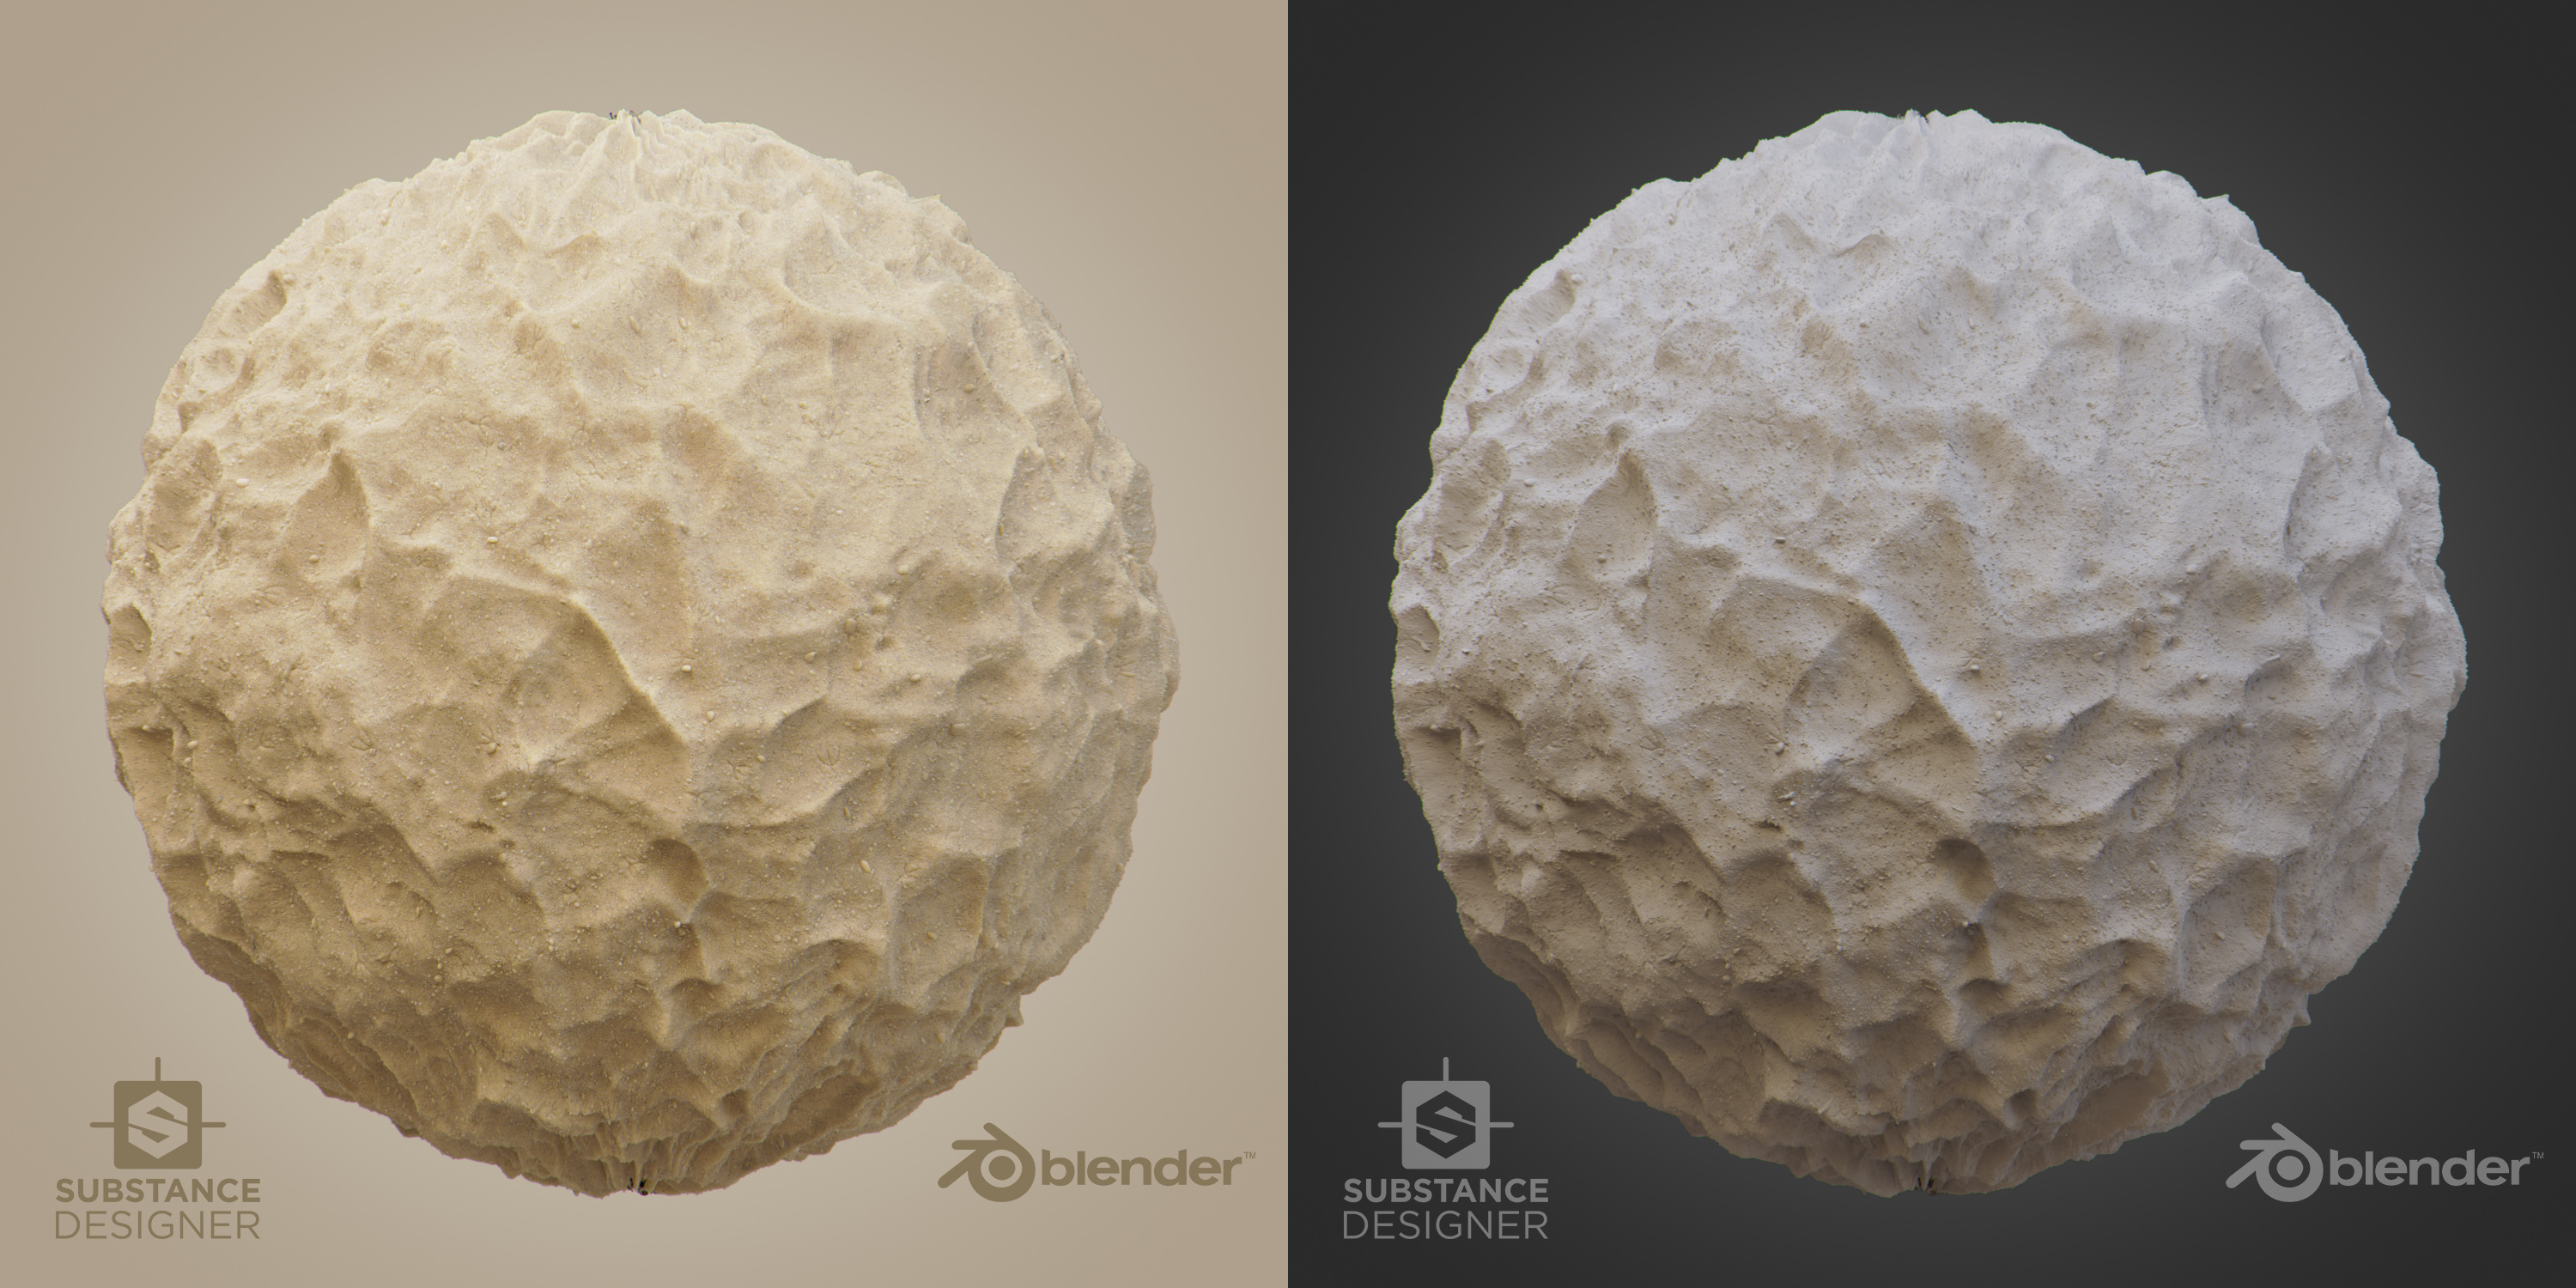
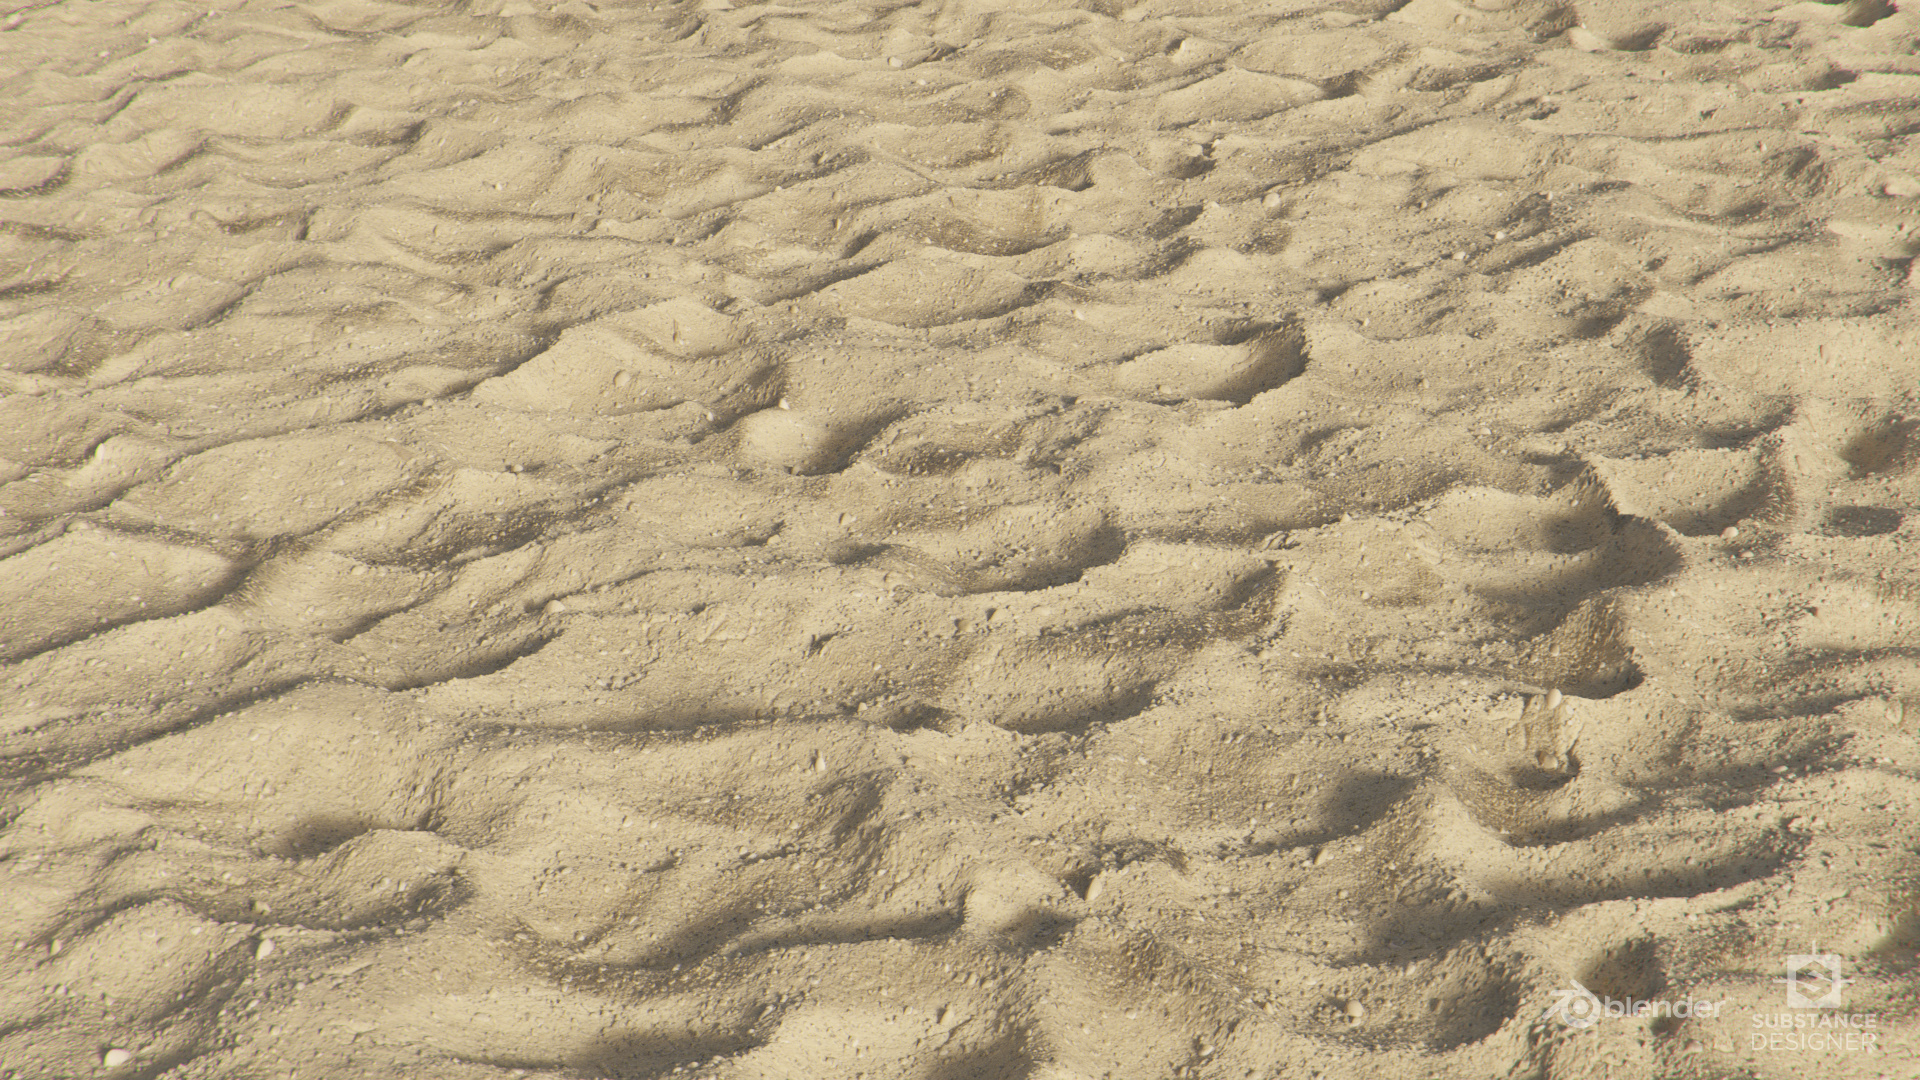
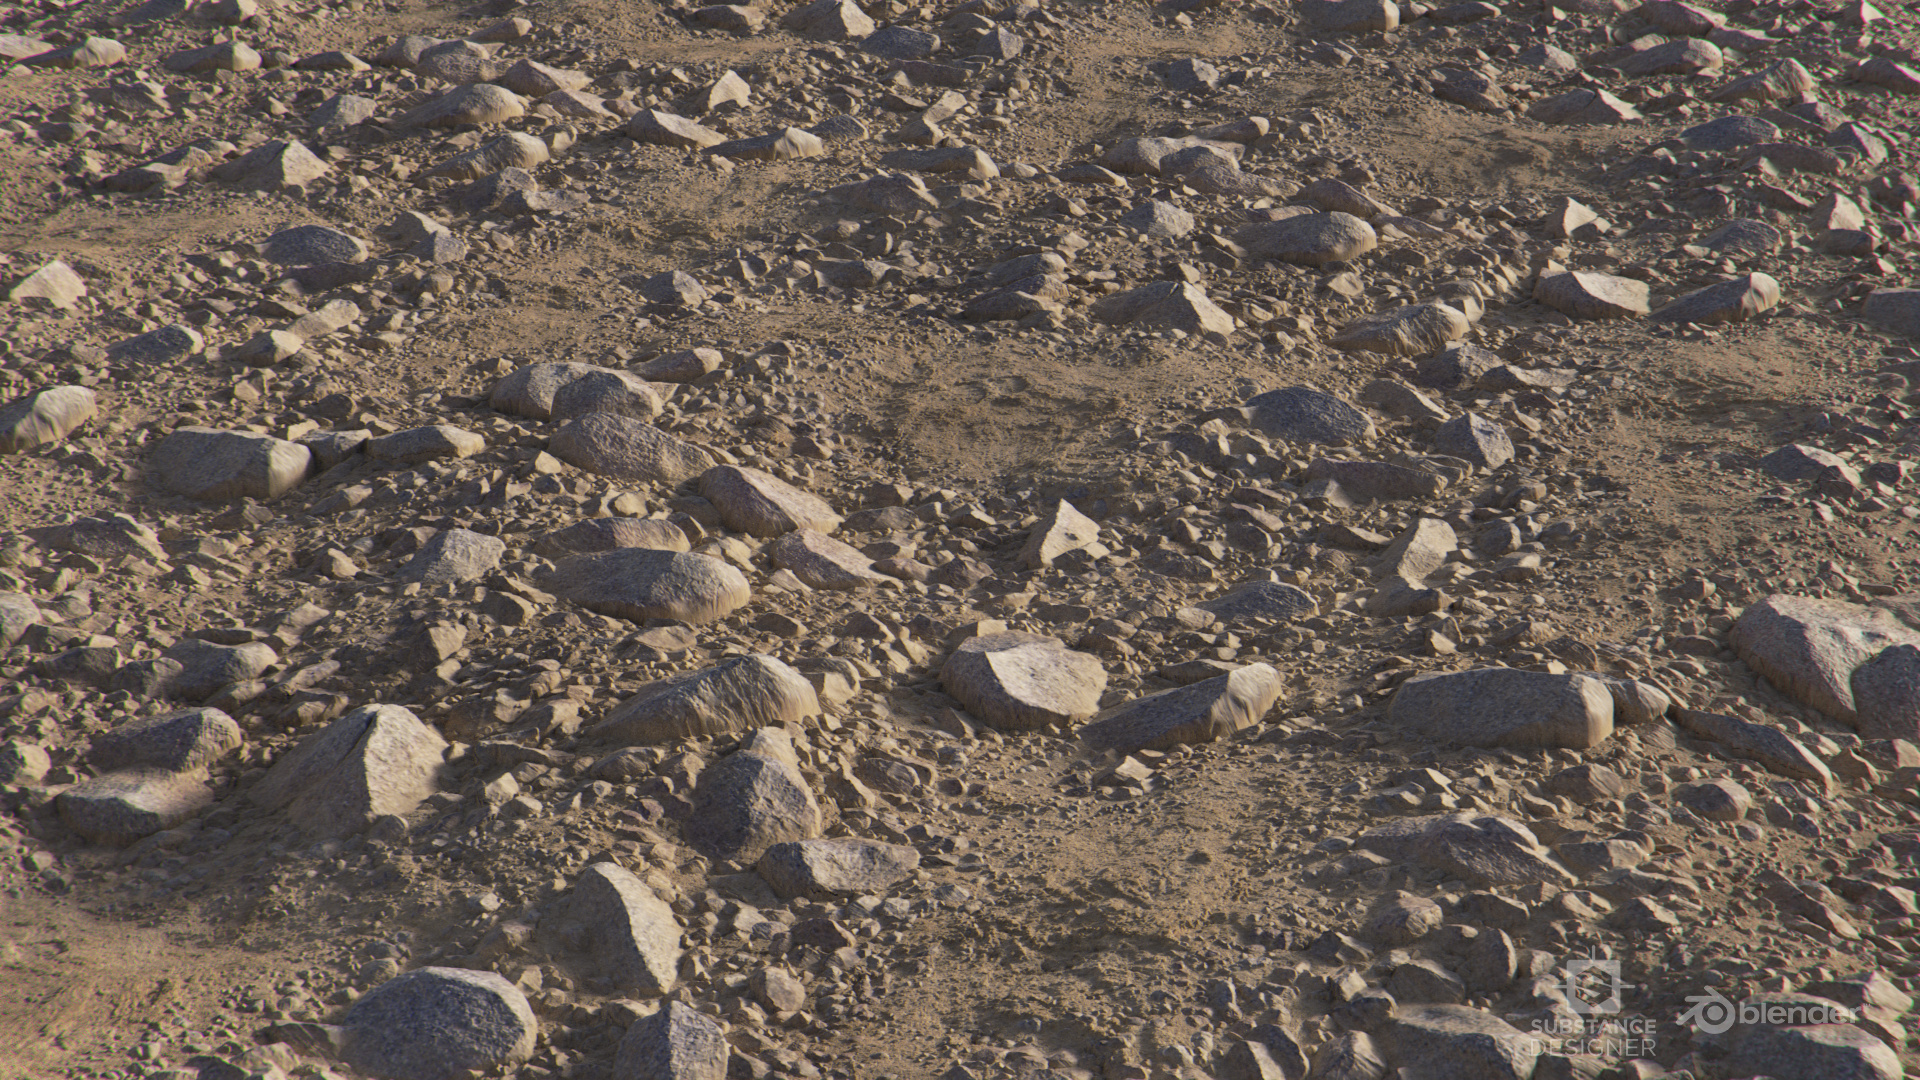
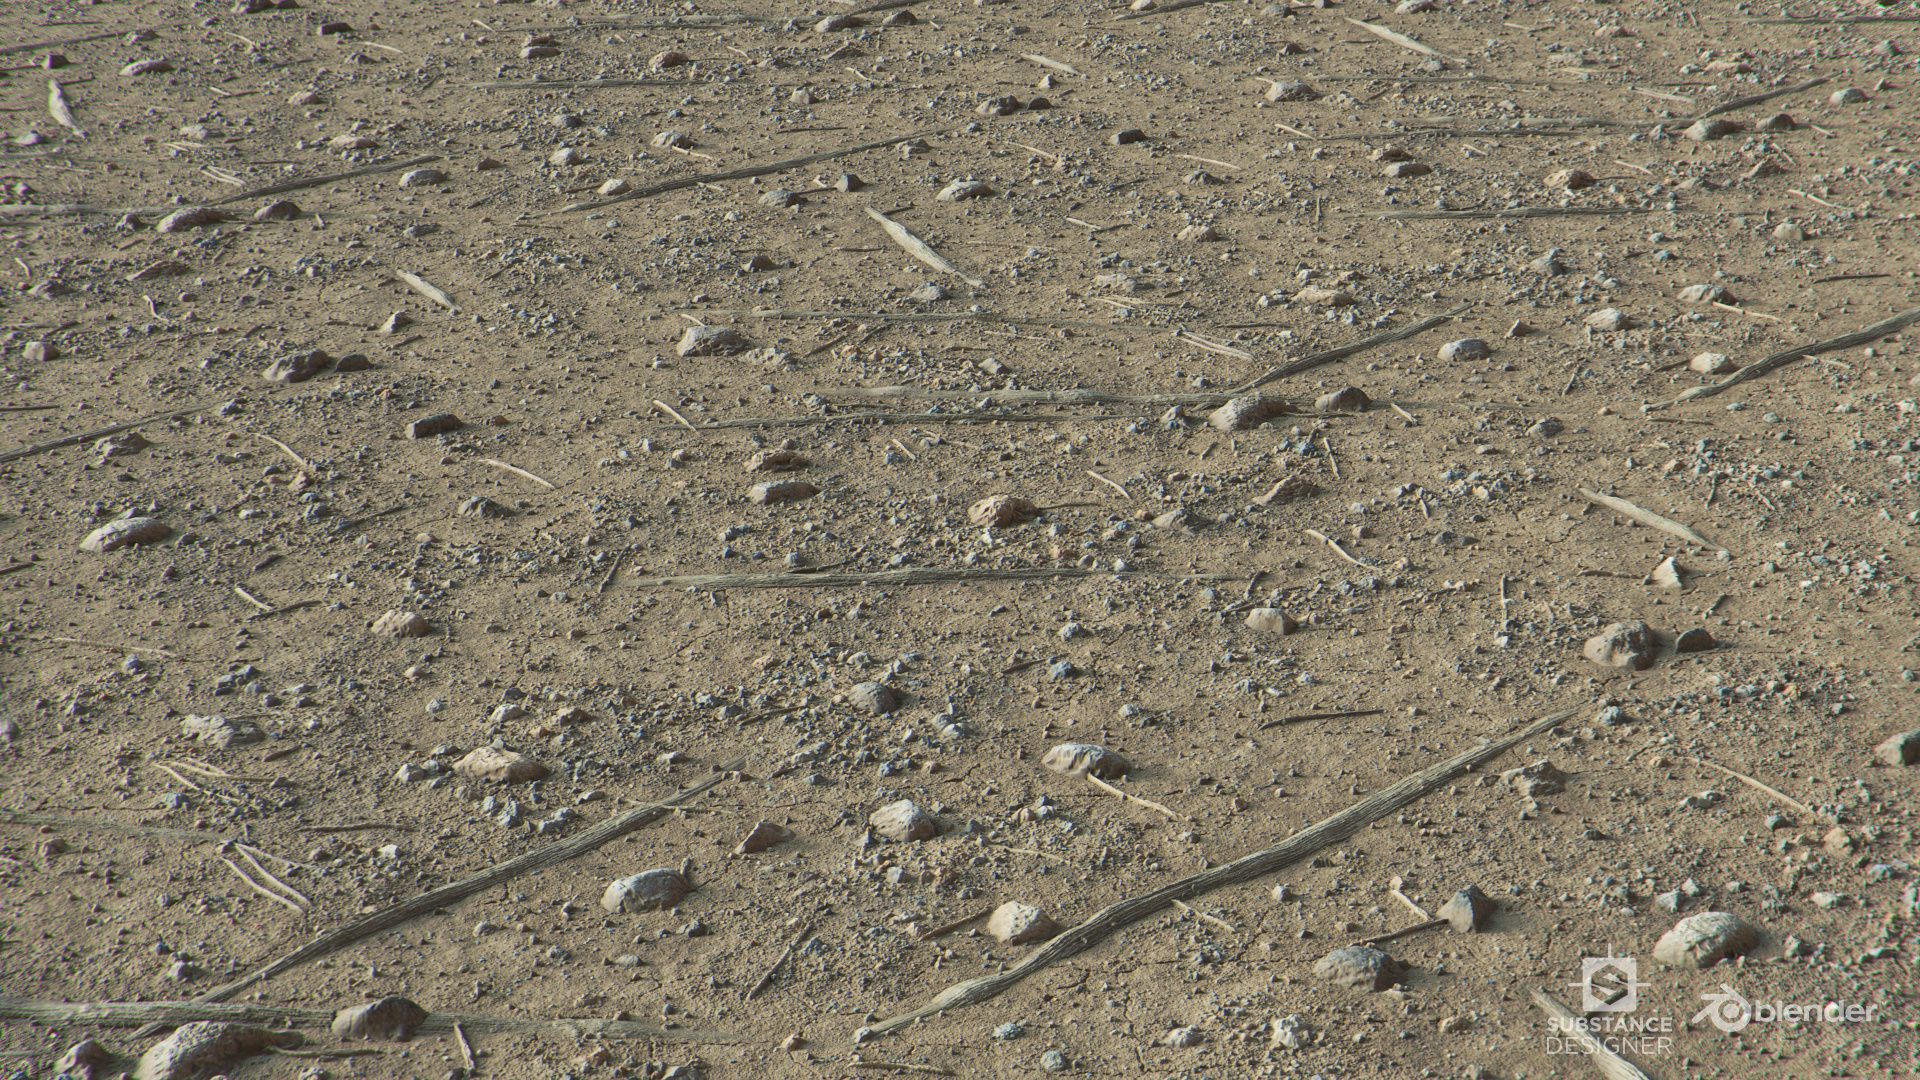
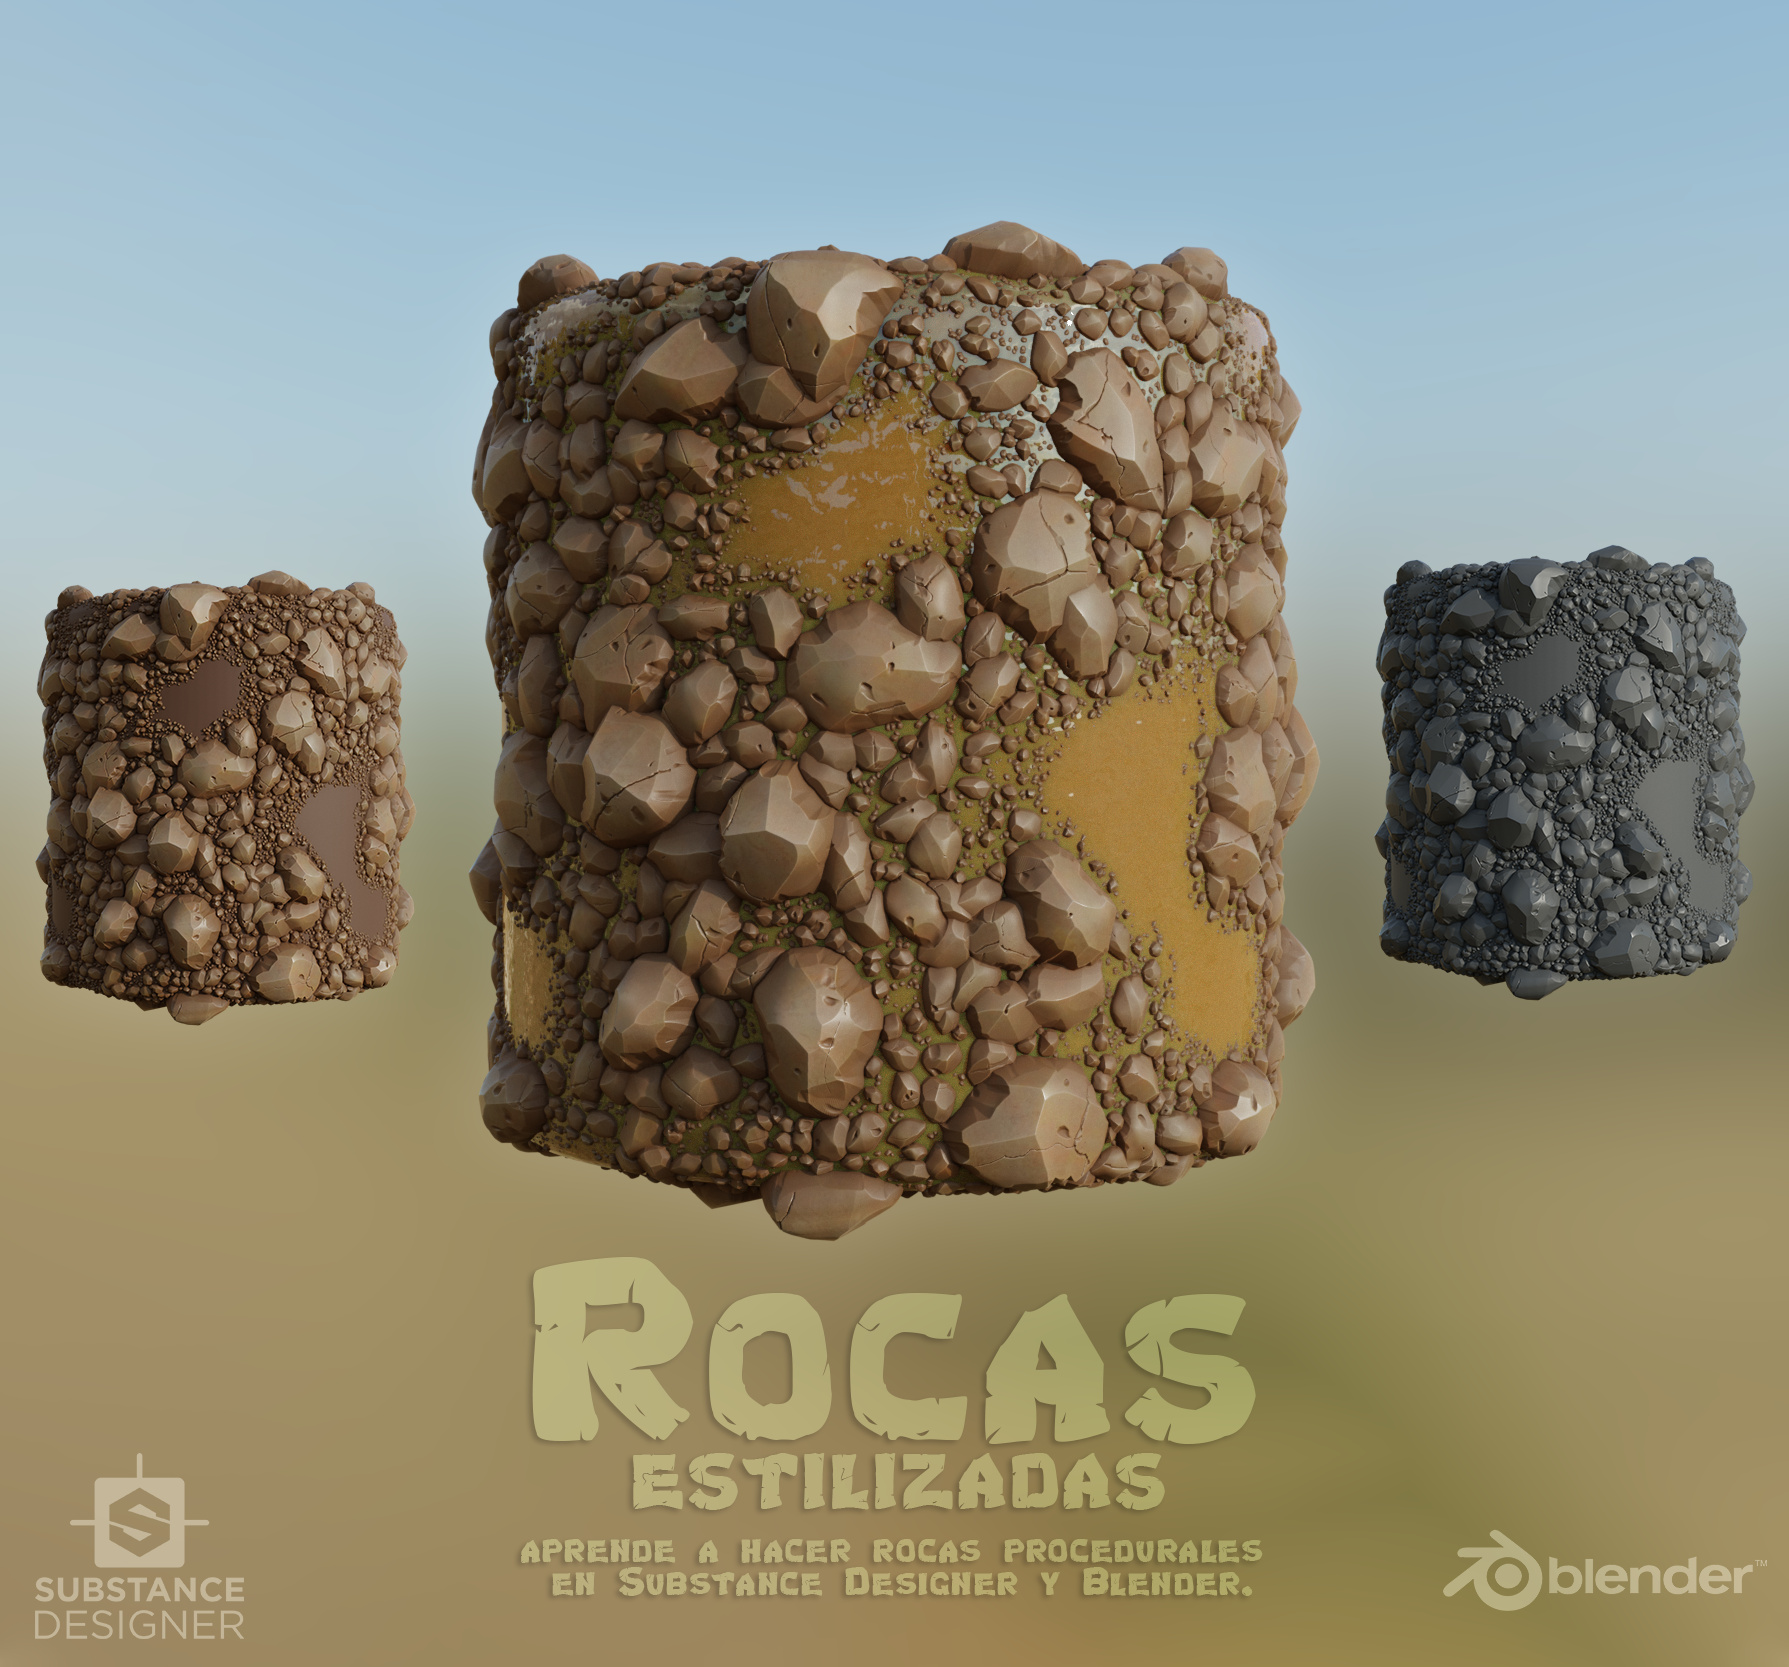
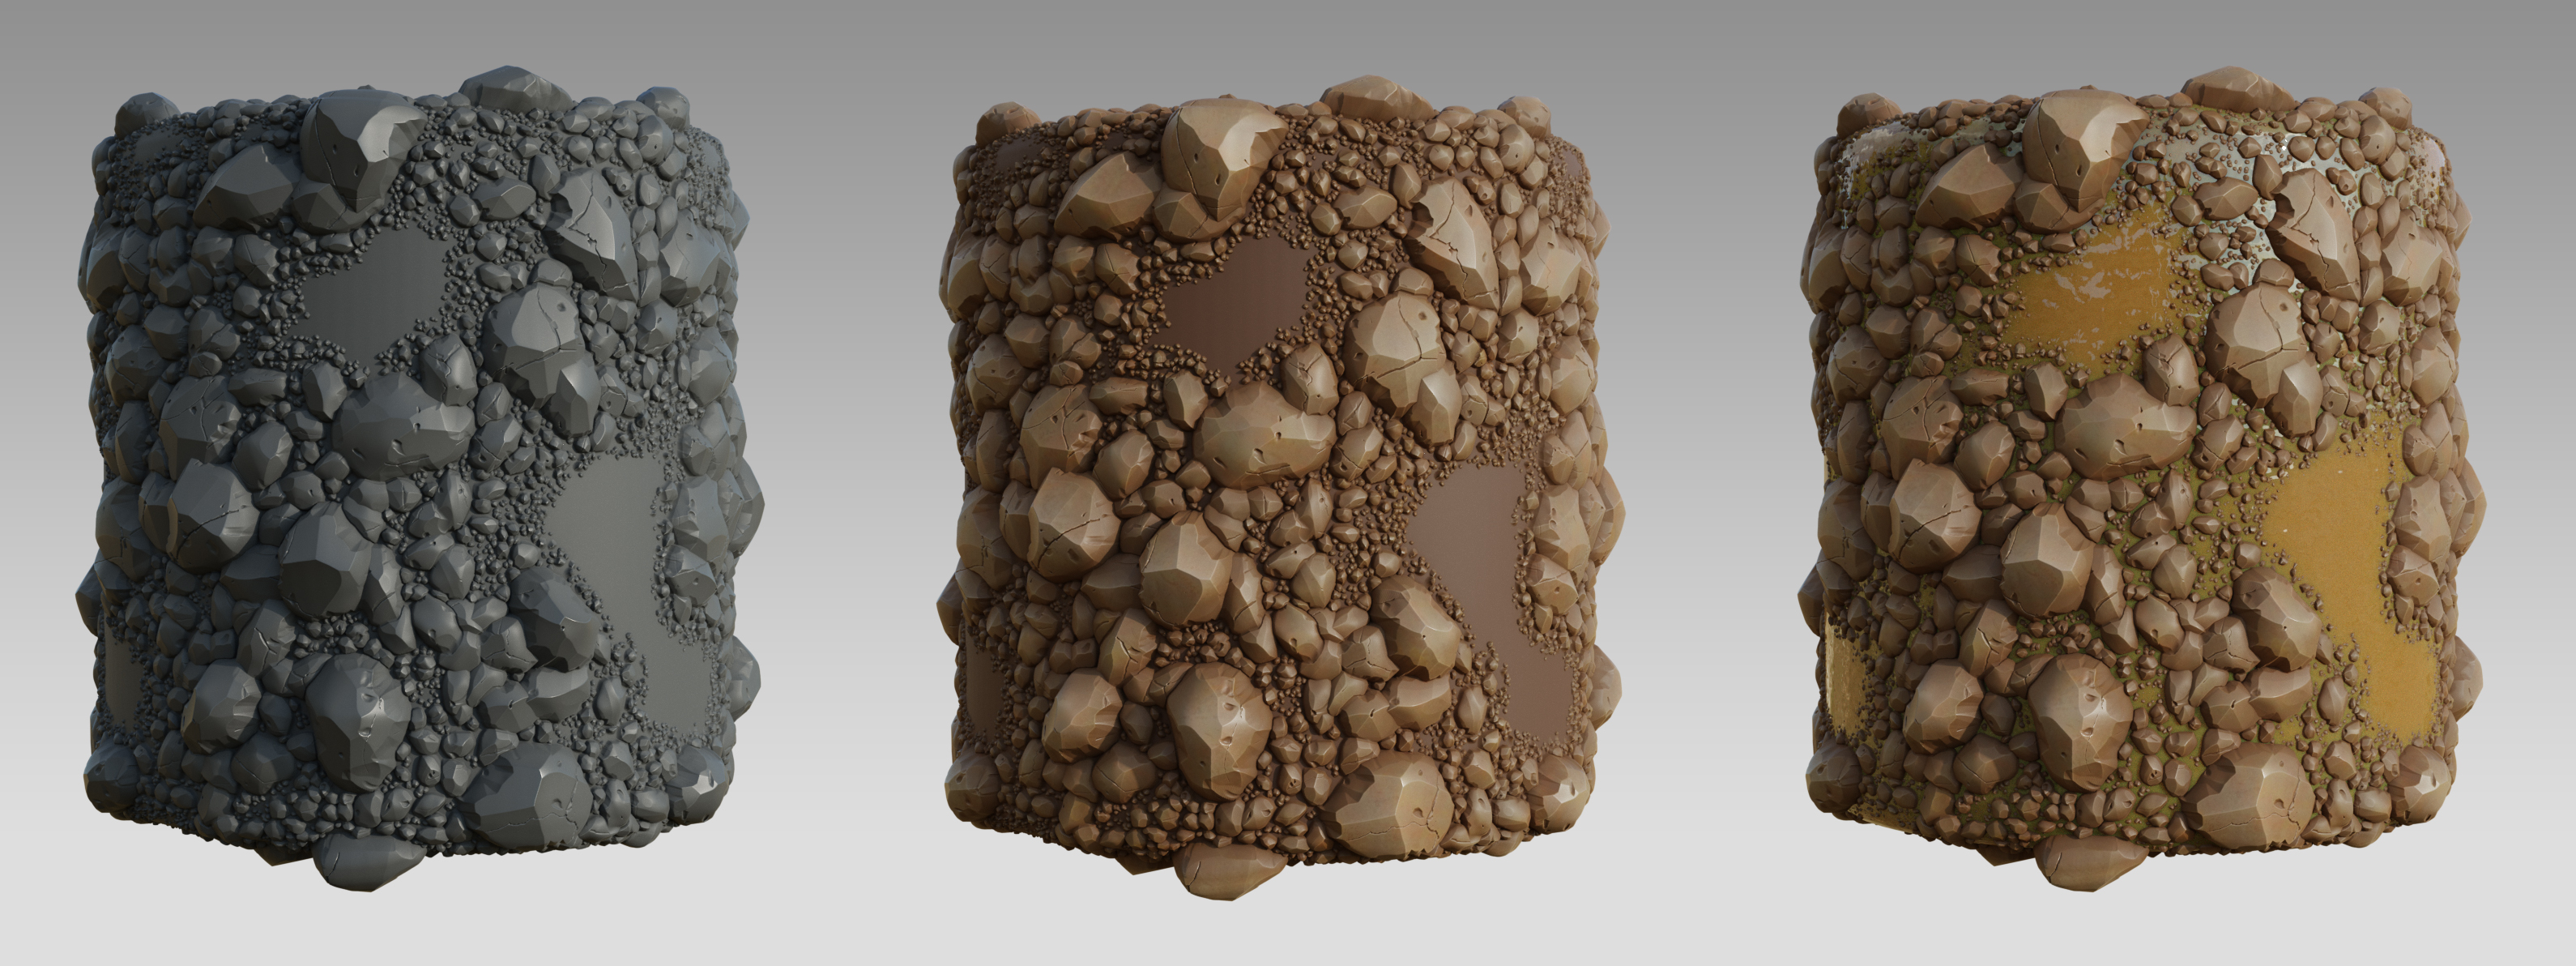
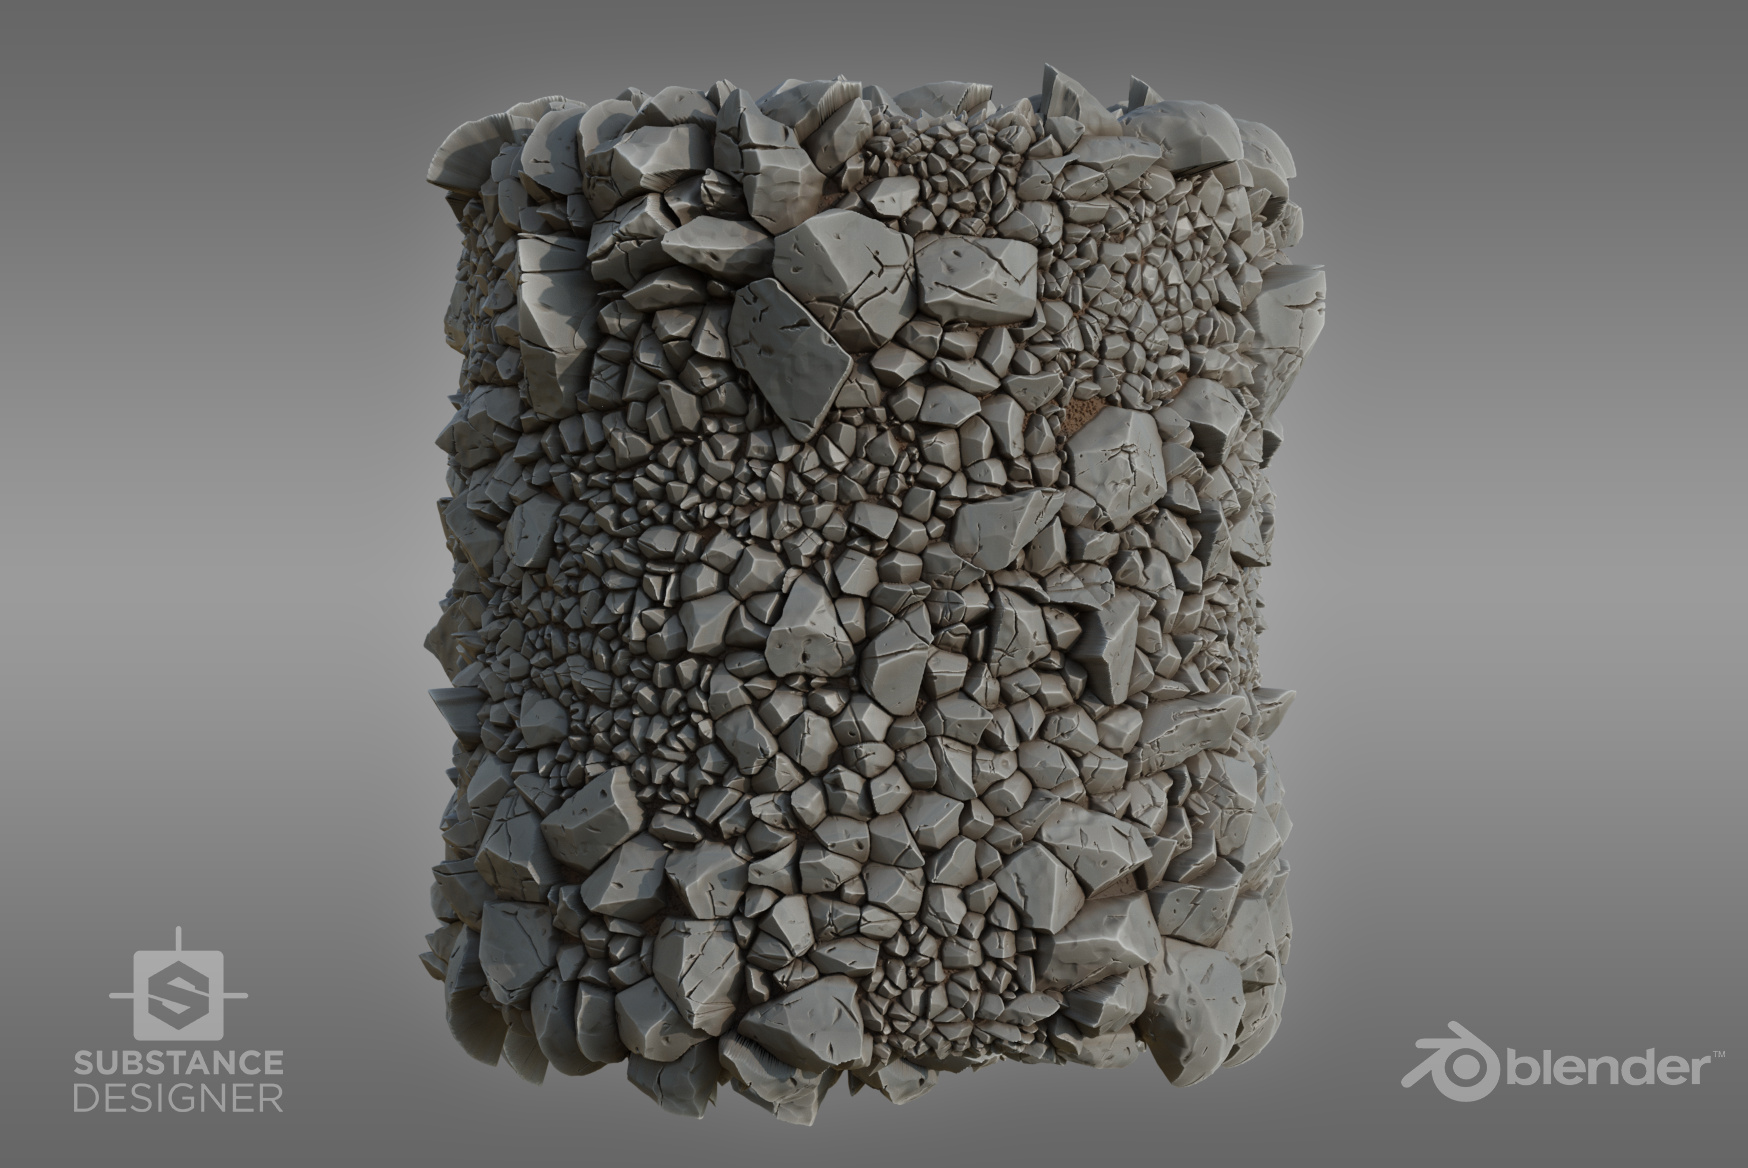
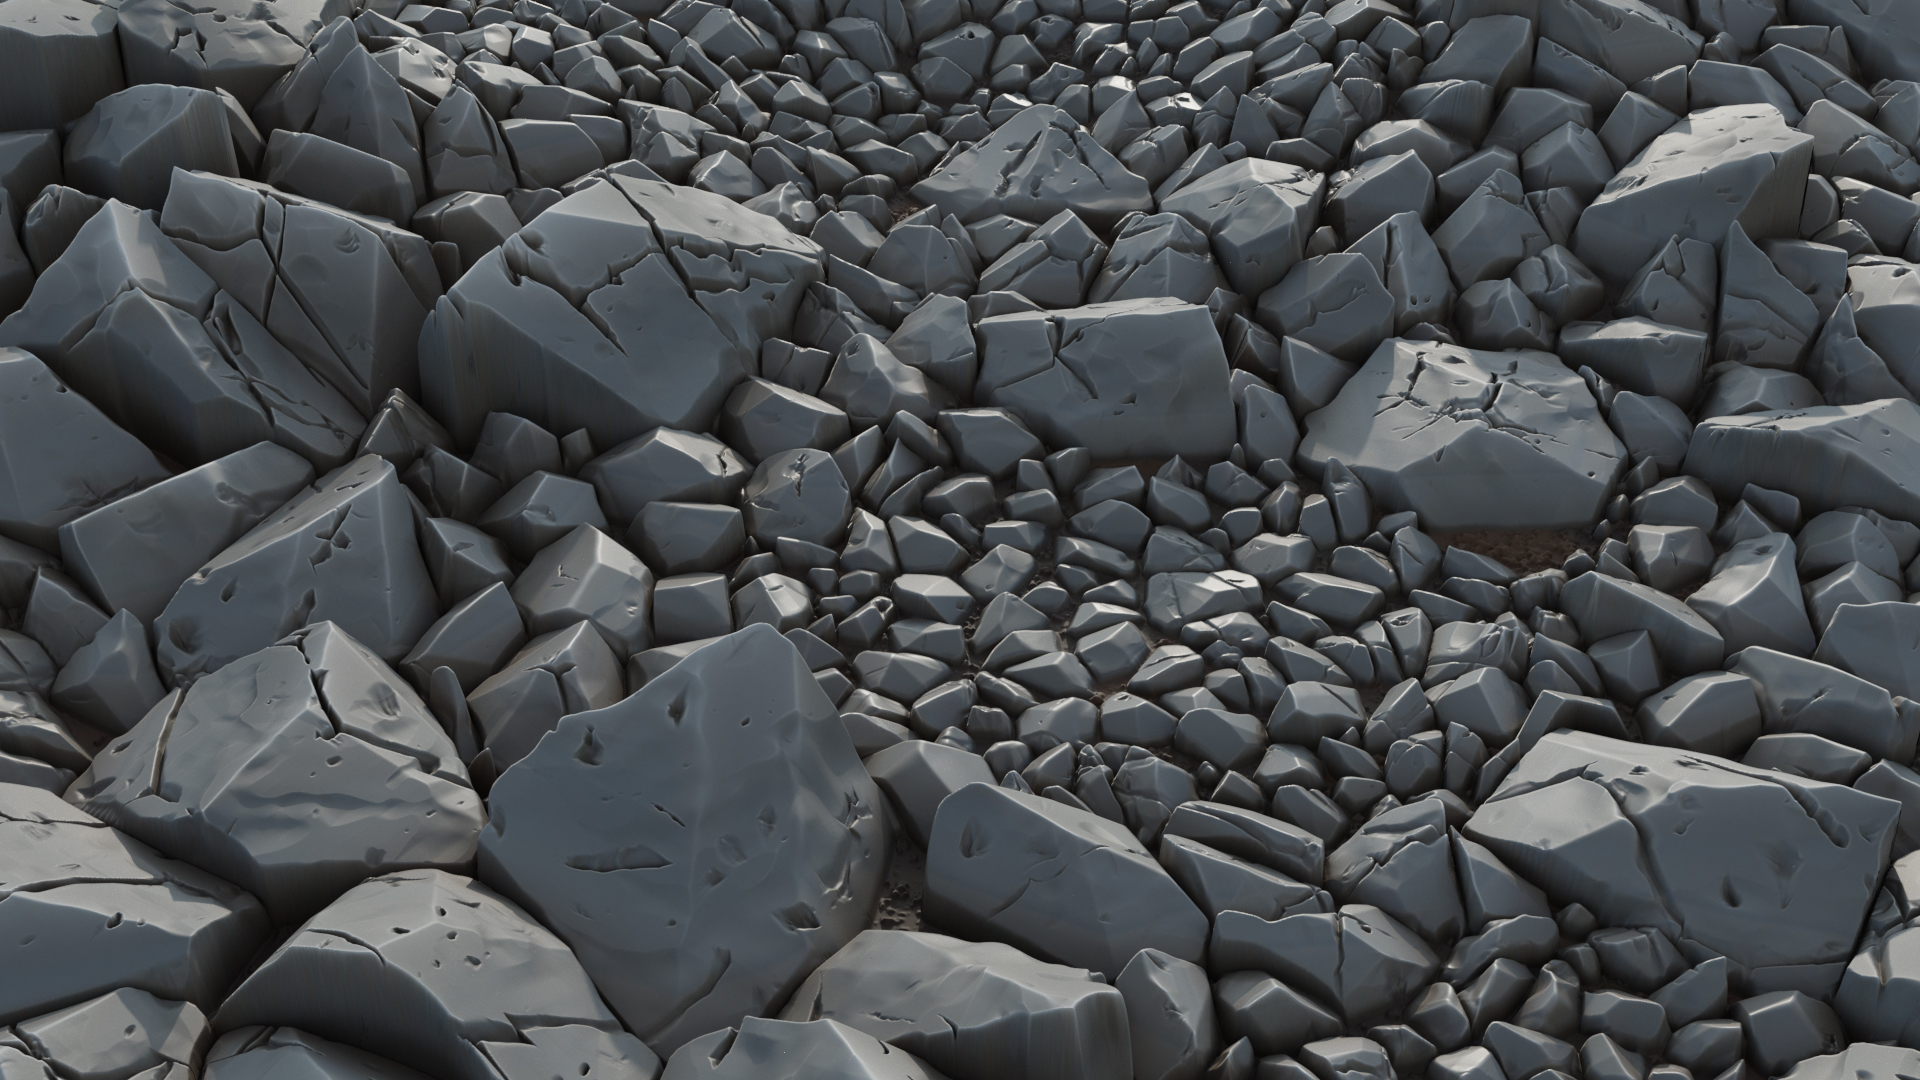
Hi here are some tests of some cartoonish ground textures i have been working on. I will make a spanish tutorial breaking down some of these rocky ground textures, at the blender spanish community called PuntoBlend.They were made procedural in Substance Designer and rendered with Cycles using adaptive displacement feature.
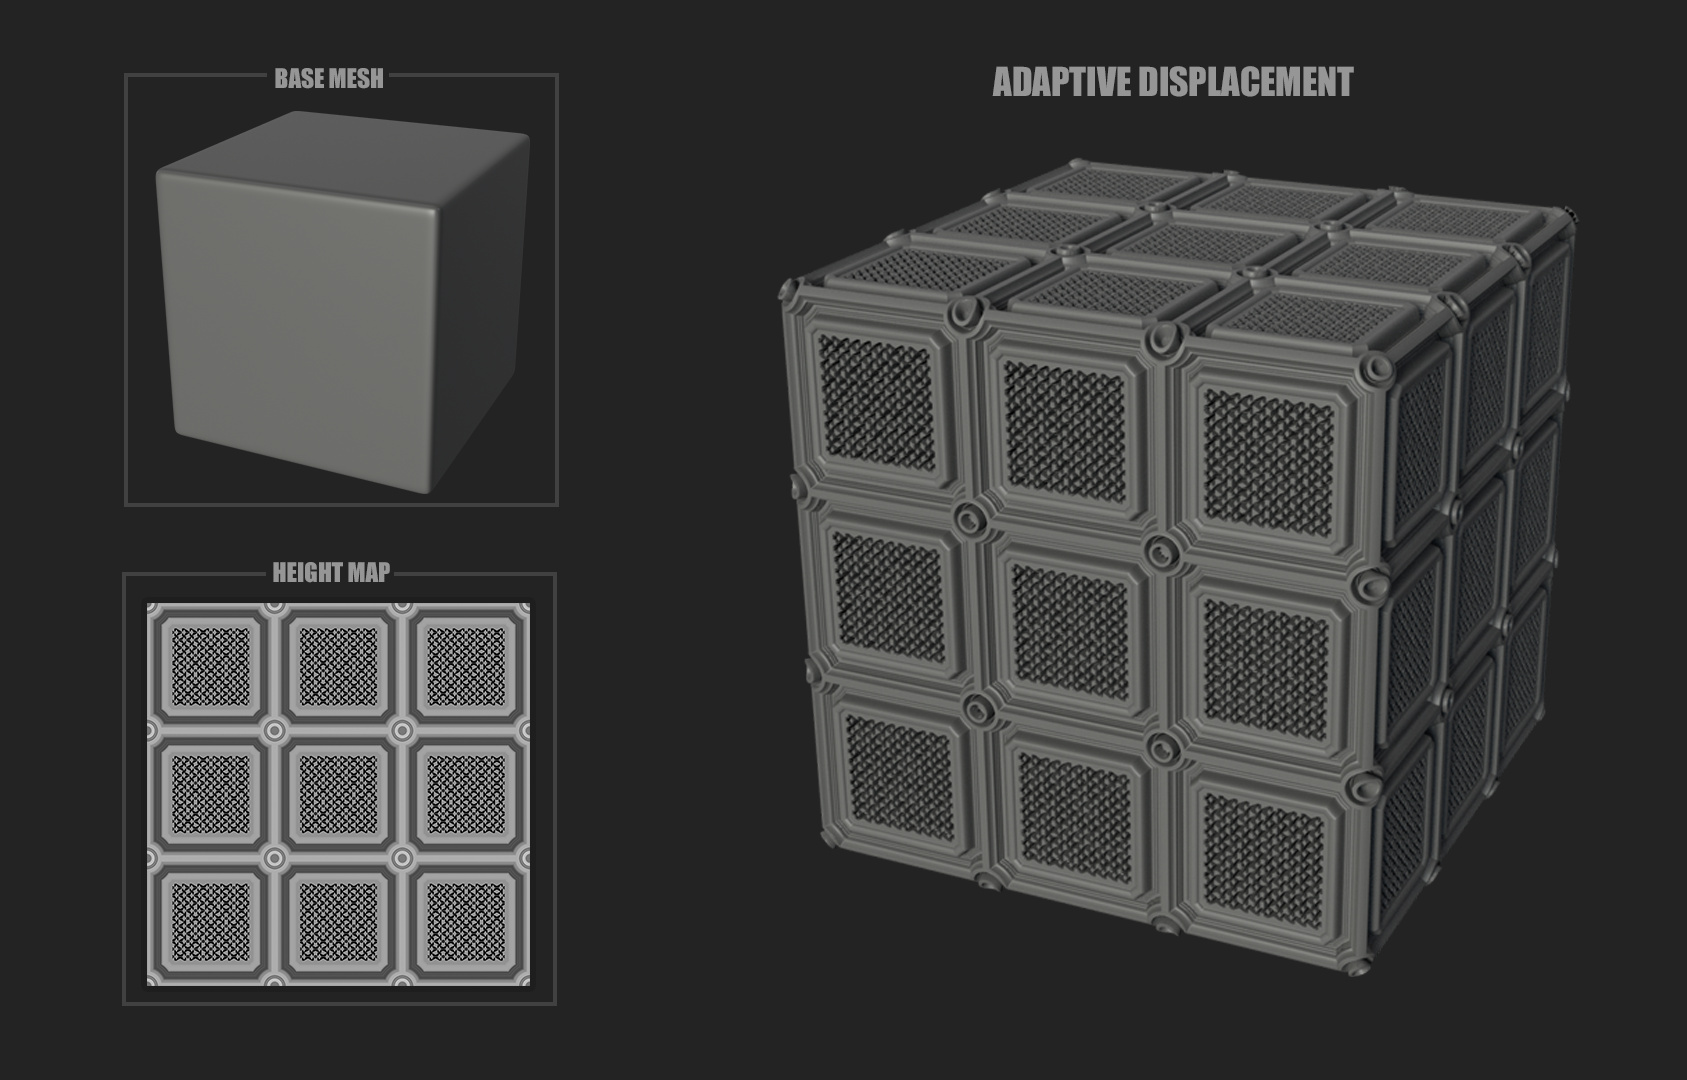
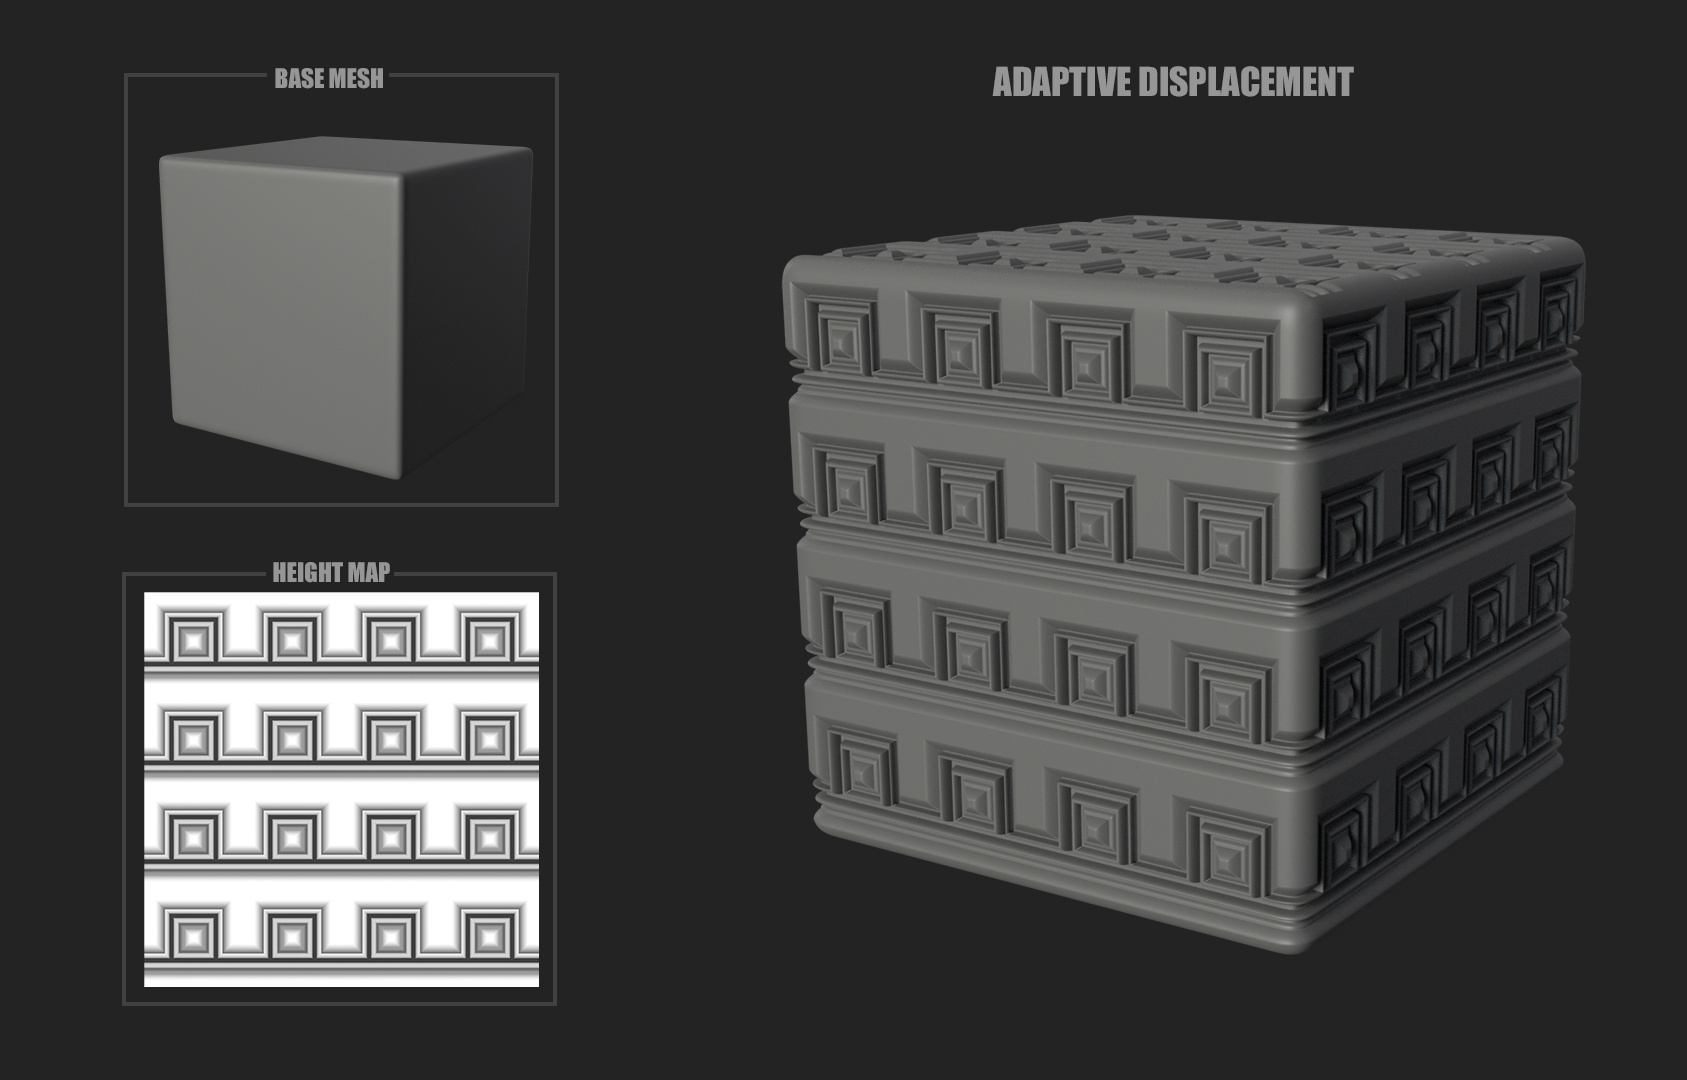
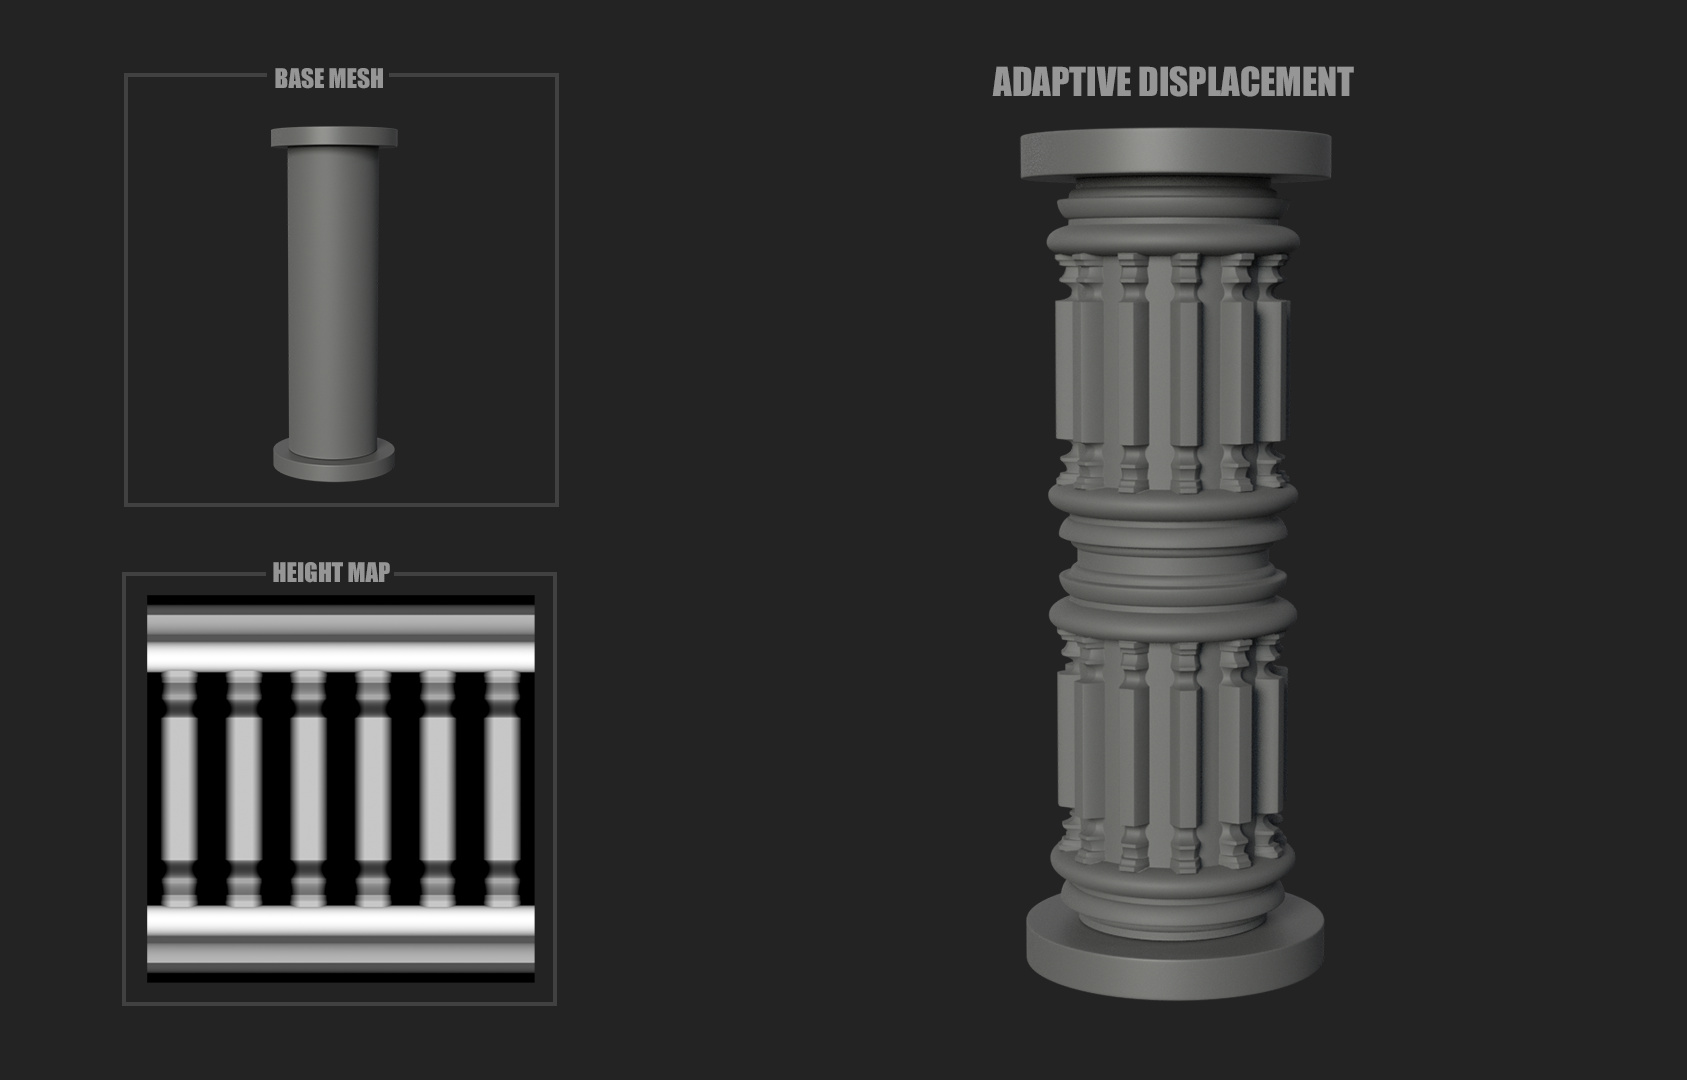
And here are some tests of hard-surface using procedural height maps and curves made in Substance Designer and rendered with adaptive displacement in Blender.
very nice results,what a shame that this micro displacement needs so much RAM.
or dit you use another technique ?
This is my new favorite thread! Awesome array of work here!
waw !
i never can get bored watching all those eye candies
congratz !!!
and happy blending !
Thanks @pixelgrip yeah thats the very sad part of using adaptive displacement, i guess is only good in some cases. Im using the displacement node in Cycles, i guess is the commun technique.
Thanks for the support guys @pitibonom and @TomTalented, very glad you liked them! Soon i will share for free some of these textures so you can try and play.