Hey guys,
I am relatively new to blender and getting headaches on a project I am working on: I want to create and rig a robot but I am absolutely not sure on how to manage this.
What I did:
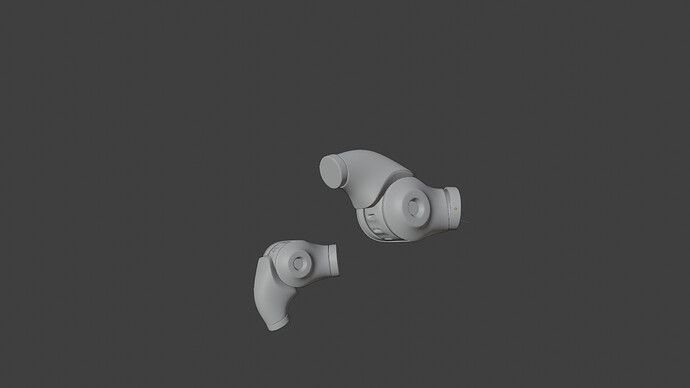
- I created a joint mesh. (file is attached)
- I tried to create constraints to manage a rig without bones because i thought this is the right way to go for mechanical and hard objects…i roughly get the the first pivot point correct by eyeballing it but at least on the rest of the segments i fail completly…
My Problems:
- I am not sure about if it is the right way to do so just with constraints and without bones.
- The pivot points are not in the right direction to rotate the several parts correctly (see pictures attached)
My Questions:
- Would you guys do this with constraints and without bones too?
- How to corresctly set the pivot points and origins to get a working result?
screenshots:
file:
https://www.dropbox.com/s/xch8phhztd8pop8/joint-mr-201118-001.blend?dl=0
I hope one of you guys might help me - thank you!
Michael
