Place the tool
This tool is mainly used for mesh, curves, fonts, lattice object modes, other objects have no collision properties
Quick start
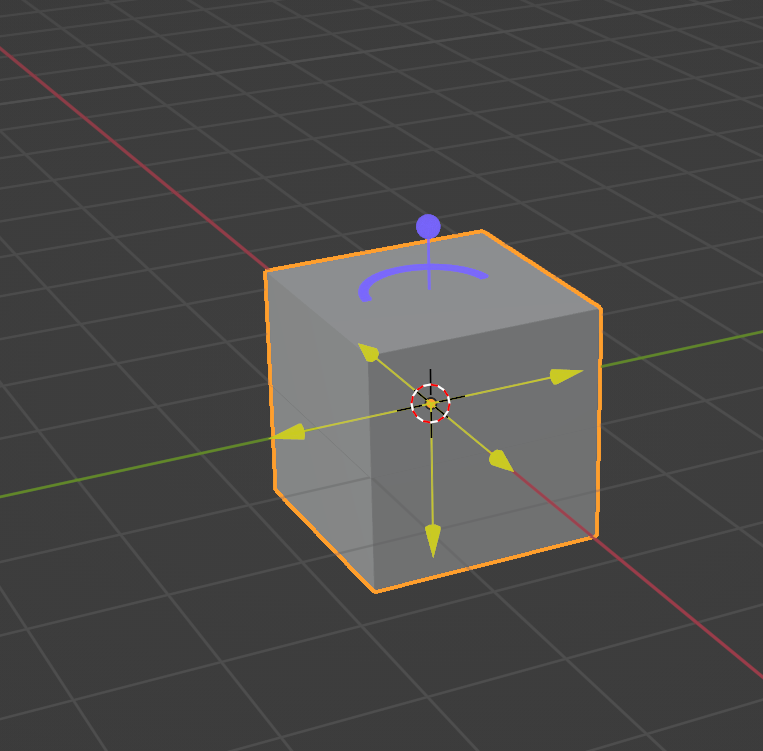
- Select the placement tool from the left tool shelf and click Select a mesh object in the view. Two purple controls will appear on the object.
- Move the mouse to the mesh object, left-click and drag, the object will move with the mouse
- Create a new sphere, and select only the mesh object. Left-click and drag it to the sphere. The bottom of the mesh object will be adsorbed on the sphere.
- Left-click and drag the purple ring control left and right, the mesh object will rotate around the local z-axis of the object
- Left-click and drag the purple sphere up and down, the mesh object will zoom in/out at its local lowest point on the z-axis (the snap point in step 3)
- Hold down alt and click on the object. Five yellow arrow controls should appear. Click on one of them to switch the adsorption axis. If you don’t want to switch, you can hold down alt again and click on the object to cancel
- After holding down shift, perform any operation in steps 2, 3, 4, and 5. The operation will be applied to the copied new object.
Tool parameters
-
Coordinate System
- Surface: The rotation of the object changes, and the object will be adsorbed to the surface of other objects along the selected axis.
*Default: the rotation of the object will not change
- Surface: The rotation of the object changes, and the object will be adsorbed to the surface of other objects along the selected axis.
-
Axial
- When adsorbed on the surface of an object, face the axis above the adsorption surface
*Reverse axis - If the axis is z, after inversion, the top of the object will be adsorbed instead of the bottom TIPS: To quickly switch the axis, press alt+left button, and then select and click the corresponding axis
- When adsorbed on the surface of an object, face the axis above the adsorption surface
-
copy
- Example: During shift operation, the object copied will be an instance of the original object (grid data association)
- Object: During shift operation, the object copied will be a complete copy of the object (new mesh data)
-
Settings (pinion icon) Performance
- Final: Evaluating the mesh’s hitbox will calculate the mesh’s shape keys, modifiers
- Basic: Only the basic mesh (the mesh in edit mode) is calculated
- Evaluate scene geometry node instances: Instances generated by geometry nodes in the scene will be evaluated. If there are too many geometry node instances (millions) in the scene, it will become laggy. Geometry node instance collisions are evaluated by default for selected activations
- Stop on collision (experimental): When the operating object collides with other objects, the operation will not be possible.
Transform Pro
Note: This tool works in object mode and mesh editing mode
Quick start
- Select the tool from the tool shelf on the left and click Select an object in the view. A mobile control will appear on the object.
- Hold down shift and drag the control to copy and move new objects
- Select the mesh object, select the tool in edit mode, hold down shift and drag the control to implement the extrusion operation
This tool is controlled by the Transform Coordinate System/Transform Pivot Point
Tool parameters
- Copy (object mode only)
- Example: During shift operation, the object copied will be an instance of the original object (grid data association)
- Object: During shift operation, the object copied will be a complete copy of the object (new mesh data)
Dynamic Placement
Note: This tool works on the object mode of the mesh
Quick Start
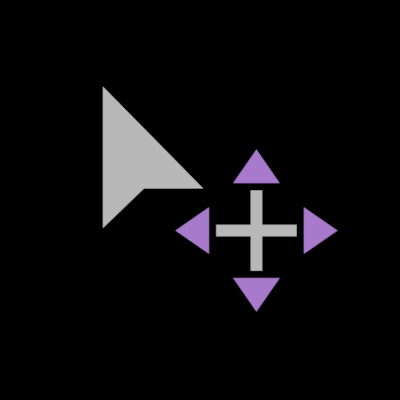
- Select the tool from the tool shelf on the left and select some mesh objects in the view. A six-axis movement control will appear in the center of the object.
- Drag any control and the object will simulate movement in this direction. When you stop dragging, the movement will no longer continue. If you continue dragging, the simulation will continue. Release the left button to end the simulation
- After dragging for a certain distance, hold down ctrl and drag, and the object will simulate motion in reverse.
- Hold down shift while dragging to slow down the simulation speed
- Switch the upper left corner to cursor and try
- Switch the tool mode to zoom in the upper left corner (position is center). At this time, you should see three zoom controls and a white circular control.
The tool axis currently only matches global coordinates (but the control axis matches the transformed coordinate system)
Tool parameters
- bake animation: bake to frame
- model
- Drag: multiple objects move toward the operating axis
- Zoom: multiple objects move toward the center of the object
Position(cursor mode still has bugs)* - Center: The force will appear at the center of the object
- Cursor: The force will appear at the cursor
- Gravity (drag mode): acceleration
- Strength (zoom mode): Strength of the force
- Set (pinion icon) collision
*Activity item: Calculation method- Passive item: calculation method
- Margin: collision margin
- Tracing parent collection depth Tracing back the meshes under the parent collection for collision, e.g.
- When the value is 1: only the sub-objects of the collection where the selected object is located will be collided as passive items.
- When the value is 2 (default): The child objects under all parent collections of the collection where the selected object is located will be collided as passive items

Preferences
Color change during runtime: Switch the color of objects during runtime for easy observation
Download [for blender 4.0+]
PlaceHelper v1.2.4.zip (4.8 MB)