Hello good people of BA!
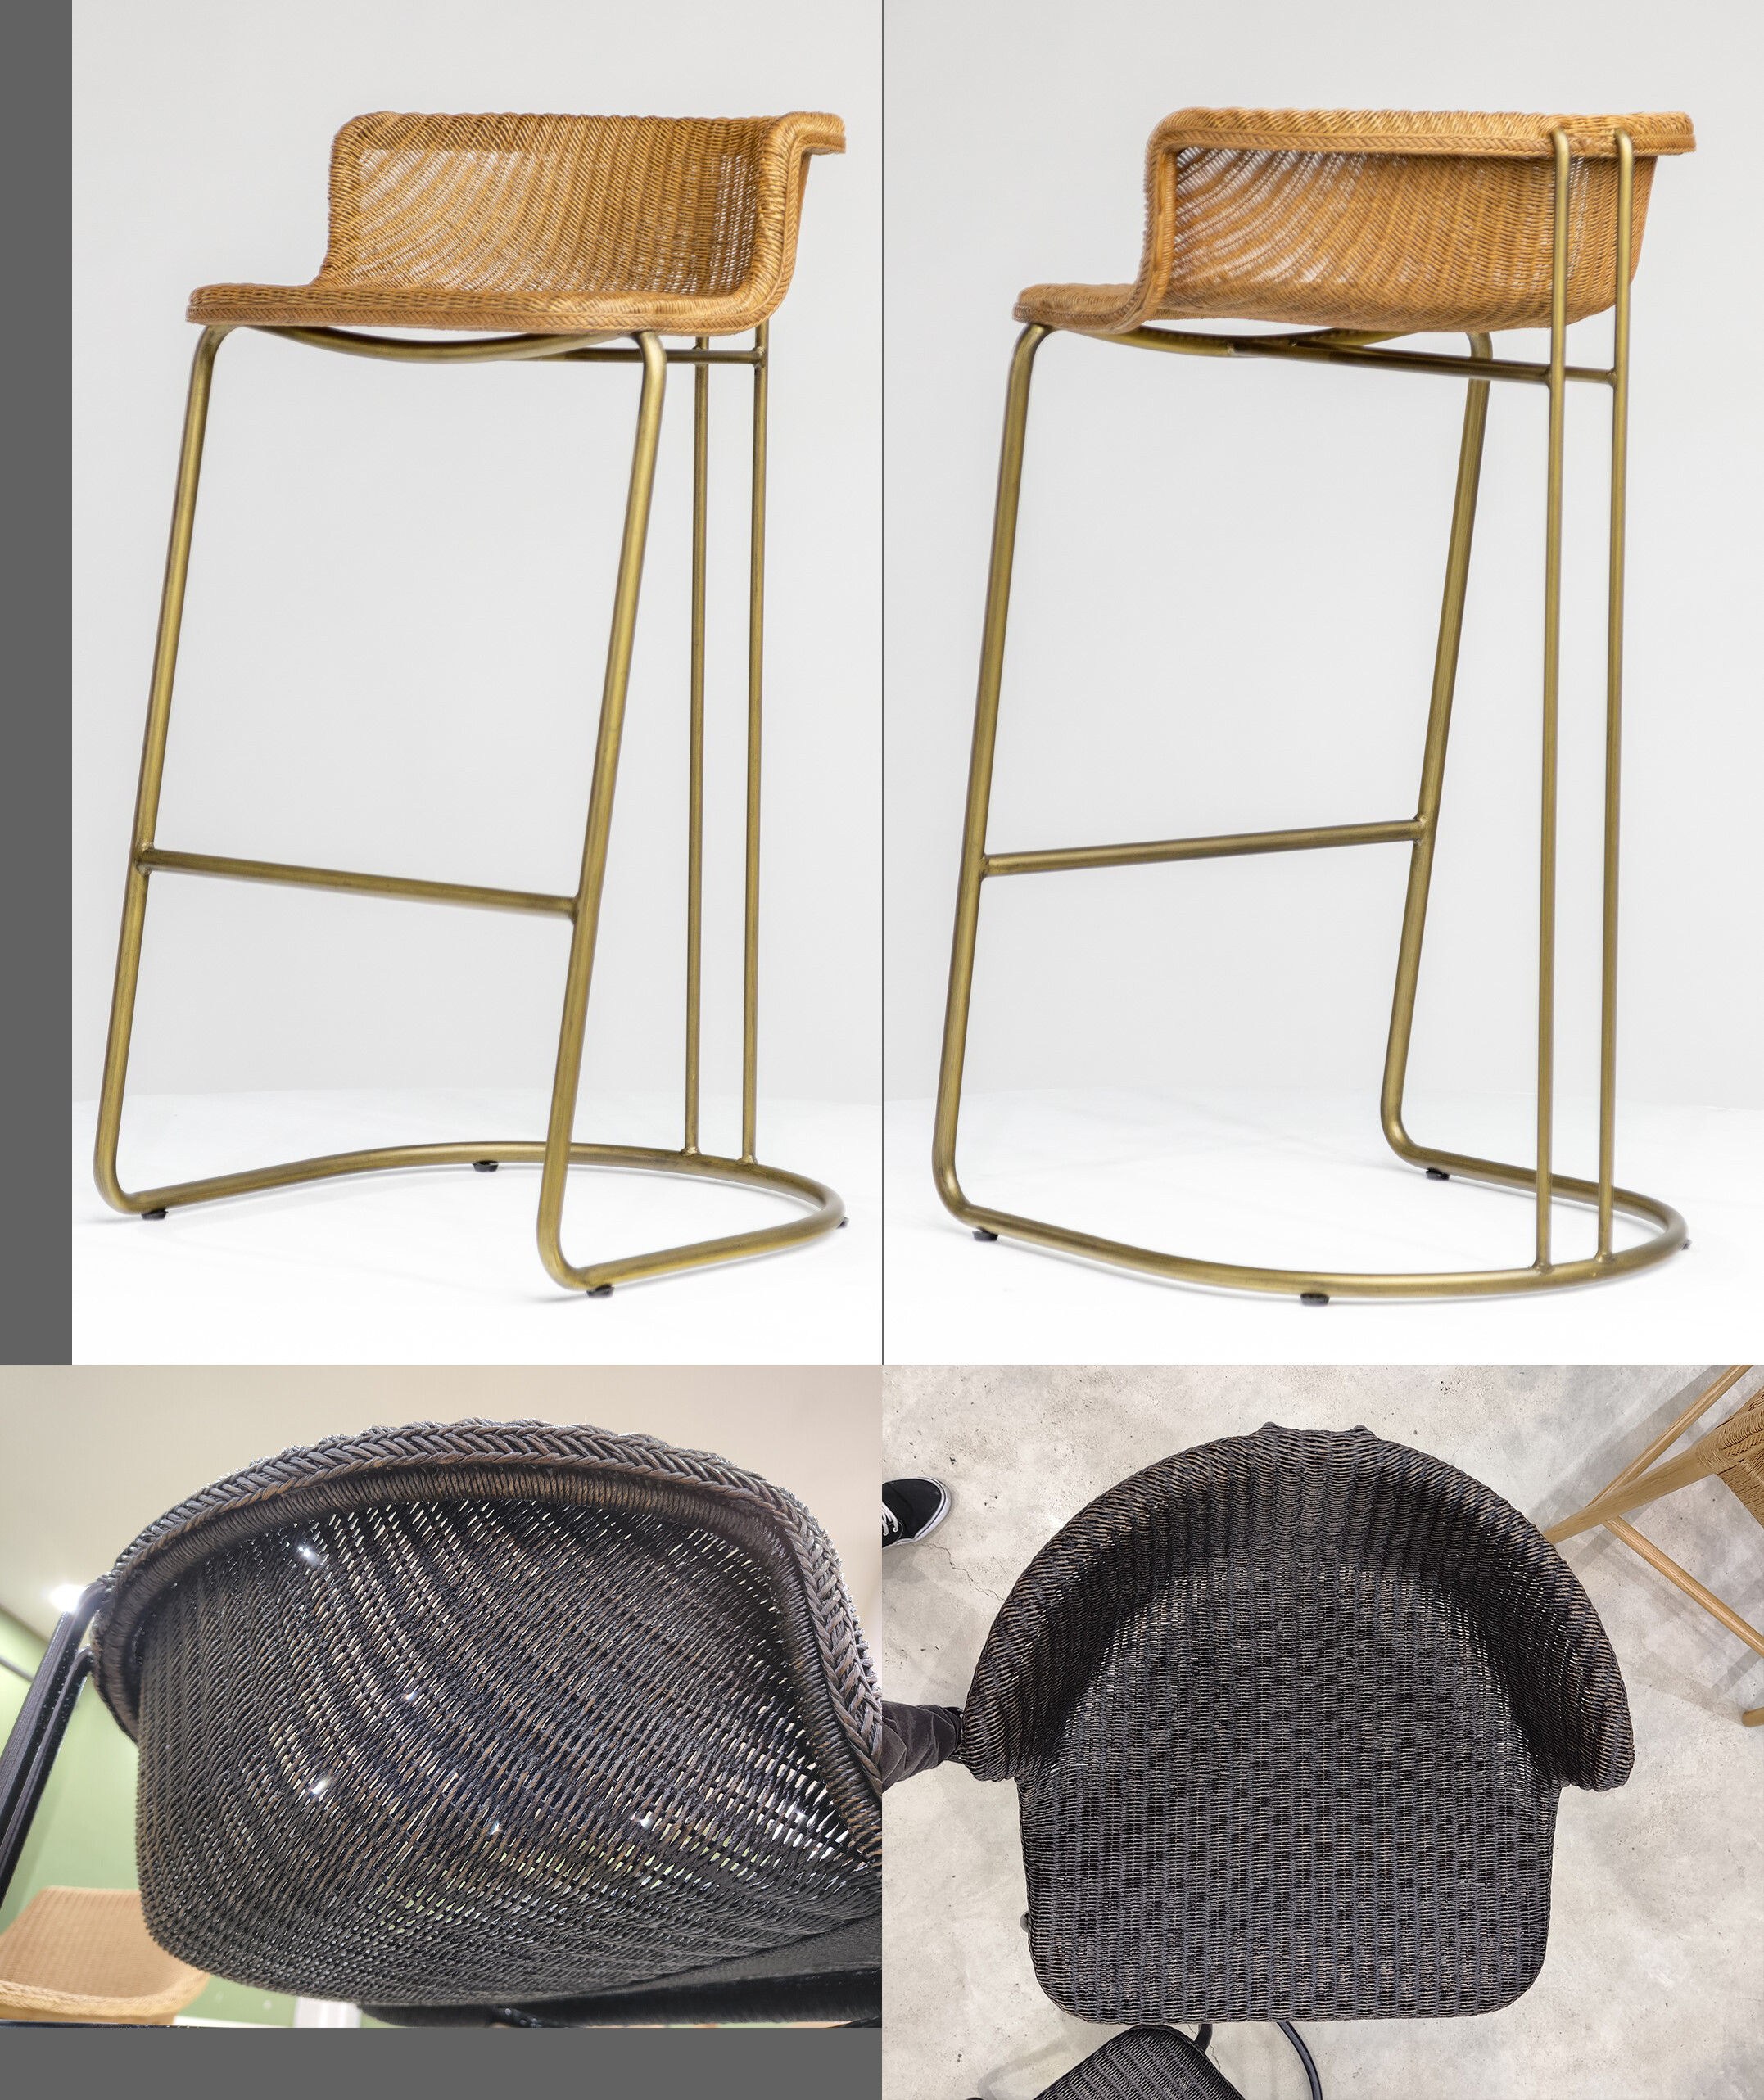
Please advise which tools should i use in order to model seating for this chair as 1 piece? Just push me in the right direction and i will figure it out. I tried to use plane with tools-curve + solidify + subdivision, but result that i’m getting isn’t précised. I’m really a noob, only modeling for 3 months. Any support is much appreciated! thank you!!!
Hi, Igor.
You already have a great start.
Approach #1: I would hide the seat you have (save it) and duplicate the top “tube” of the seat/backrest. That mesh already has the most complicated part, except for the rear of the seat, that bucket shape for the butt.
You can fill/extrude the flat part of the seat from your dupe tube. Then you can extrude down from the backrest part of the tube until it reaches the same level, or close, to the seat level.
Then you can extrude, fill, or poly build the geometry between the butt bucket and the flat seat part of the whole thing. I hope this makes sense.
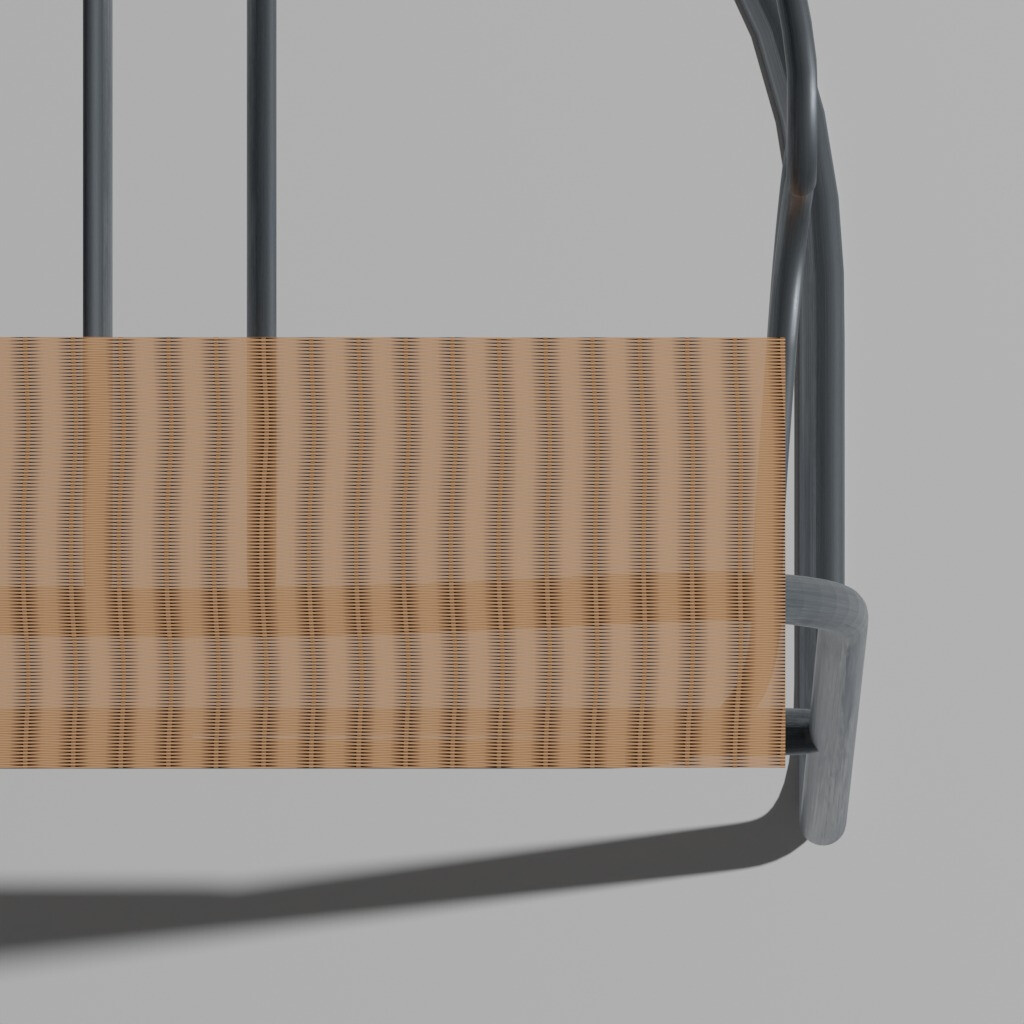
The texture is a different beast, possibly an image texture with an alpha channel and bump node or perhaps geometry nodes. Tutorials on braiding or rope or fabric texture are probably best.
When you duplicate the tube you may want to delete the parts that are “inside” but that might be unnecessary detail.
Approach #2: Join what you currently have to the current metal tube you have (or dupe and hide) and make sure that your subdivisions match between the “seat” and the tube so that you can merge vertices or bridge fill any gaps.
Lastly, if the bucket shape doesn’t quite work, tweaking it in Sculpt mode might be easiest.
Also, for all symmetrical objects (chairs, cars, humans) delete half of the mesh on the X axis and just model one side, with or without a Mirror modifier, then when you’re done you can Apply the modifier (or keep it). Make sure to turn on Clipping. That will make symmetry easier to achieve.
I hope this helps.
1 Like
Hi Melton!
Thank you very very much! I will try to follow the steps you described. My head explodes from all the new information to be hones, but i love it haha
You are right, mirror modifier will make it way easier!
And as for the texture i have already found a fantastic tool called Weave generator. Weave generator
Thanks again Melton! i will let you know about my result.
1 Like
Please, I’d love to see the result. Glad I could help.
1 Like
Hi Melton!
I took some time haha this isn’t the only project i’m working on.
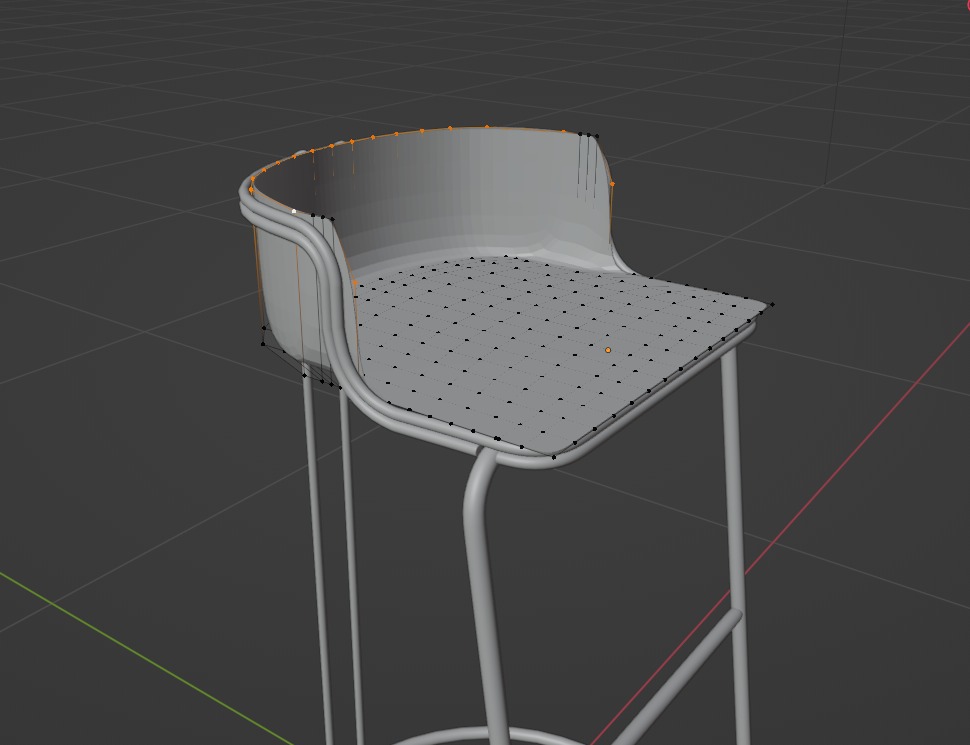
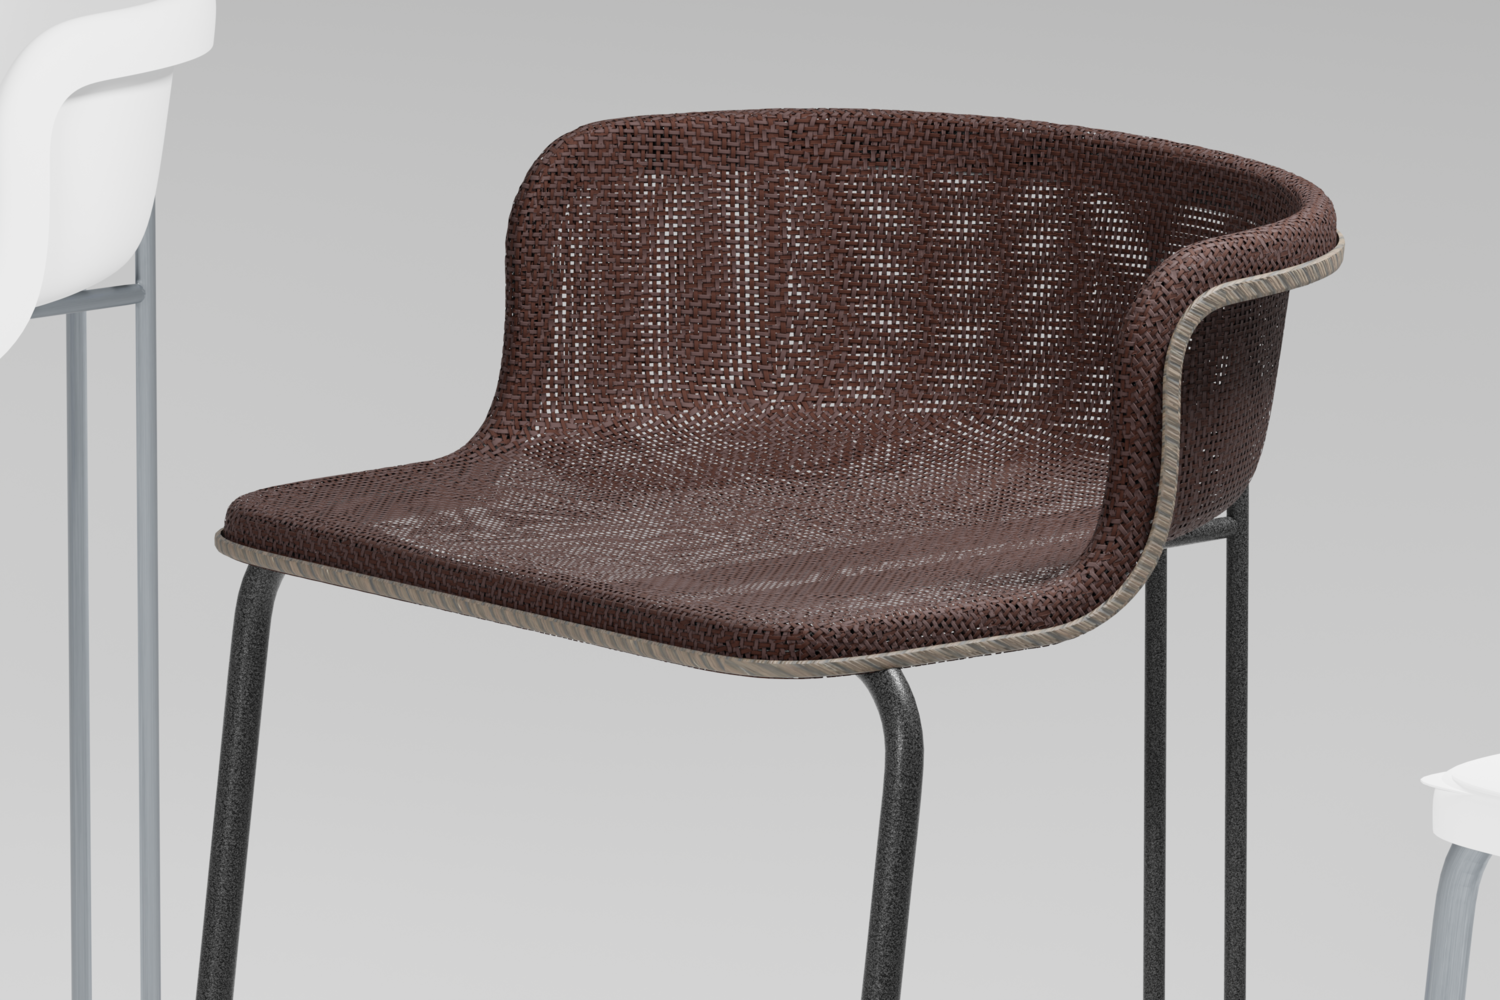
So I went all the way to Nurbs Curve, then deleted everything and started from scratch and by only using SubD been able to get this result so far
Now i’m into materials, once i’ll figure that out i’ll show you the final result. Your advise helped a lot! Many thanks!
2 Likes