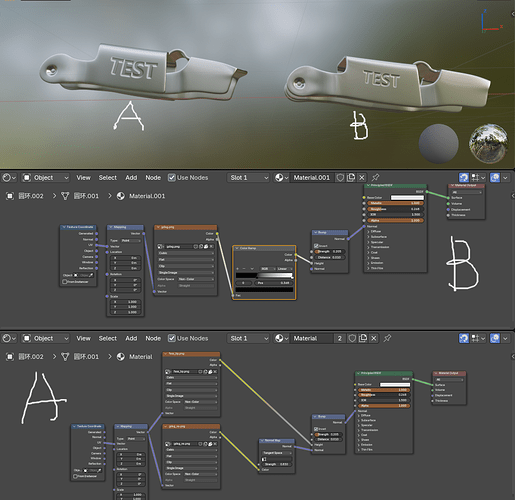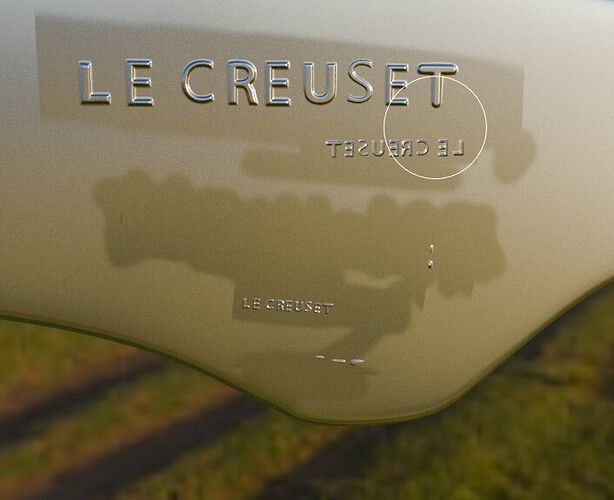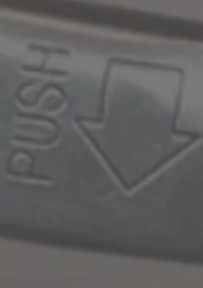
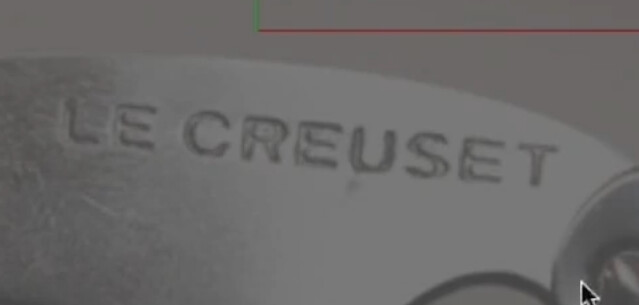
How can I print these things on the surface of the model without changing the topology of the model?
model.blend1 (3.2 MB)
The file is above
But where should I find the normal maps?
You make them.
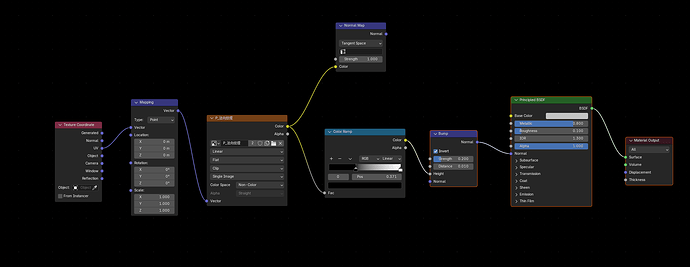
The easiest way is to make a black and white image of the text in Photopea or similar, and use the filter>3D>normal.
Do you have tutorial resources in these areas? Because I really don’t know how to make these things
fsdfs.blend (648.0 KB)
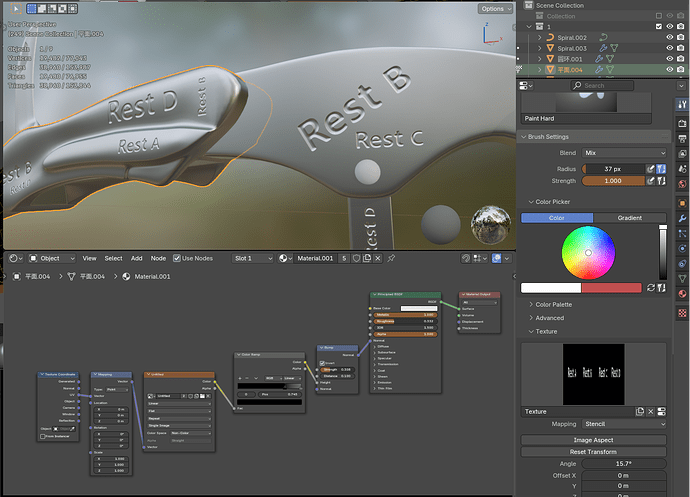
A. Unscrew the object with one UV map, place the logo, and create a normal and bumper image.
B. Create a bumper map using only the logo.
Adjust the UV to fit the logo, or use the Mapping node to move and place the logo in the UV space.
※ When using this method, using Normal causes problems.
The two methods have advantages and disadvantages.
※ It can be made using Gimp, a free software, and supports filters for production.
Logos can use blur to give smooth rounds. These settings should be adjusted appropriately.
It’s amazing, I have to learn it by tomorrow, even though it’s hard for me
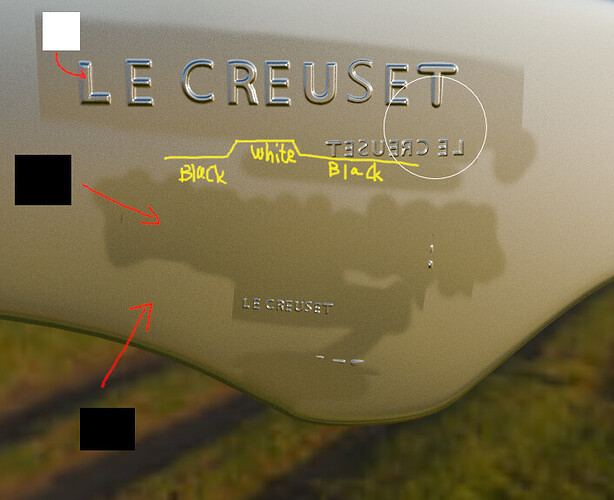
That’s really bad. I used your solution, but it still can’t solve the problem. I don’t know if there’s a problem with my parameter settings?
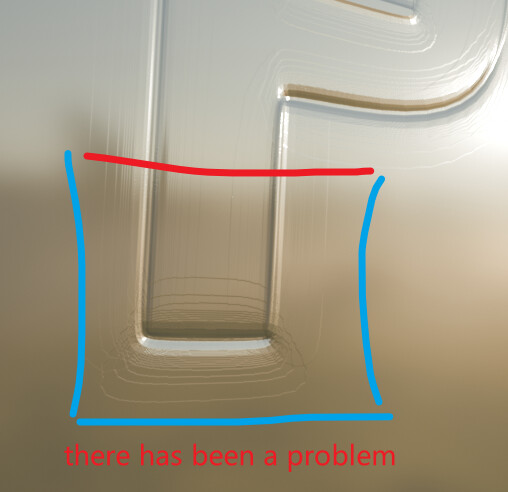
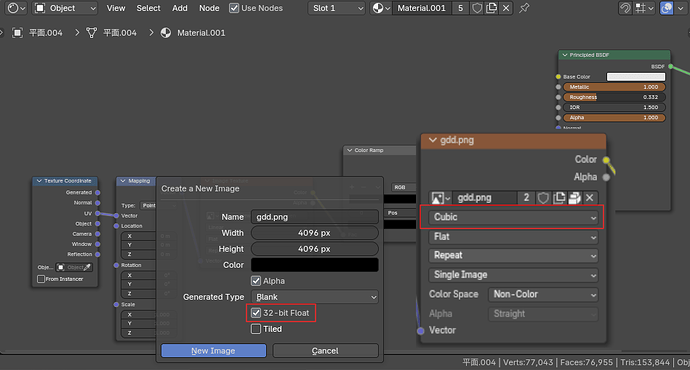
Bump maps should have a higher bits per pixel… ideally 32bits.
Without that extra information, the values get that strange aliasing.
Another option is to convert the Bump Map to a Normal Map (which doesn’t require that much data).
The image must be at least 16 bits.
However, it is not completely clean. The higher the resolution, the better.
The characteristic of bitmaps is that pixels are visible when the resolution is low.
I briefly summarize the production method.
- Create an image to be used for the bumper (32Bit, Cubic, Non-Color)
-
Unlock the UV of the object.
-
Create a logo image to be painted on the image created in 1. (Texture, Stancill)
- Connect the painted image to the bumper node.
Connect a Color Ramp node in the middle of this connection.
You can use the Color Ramp node to refine the edges of the text and adjust the interior.
fsdfsd.blend (2.2 MB)
In my opinion, this method seems the easiest and most convenient.
That corkscrew looks very nice!! ![]()
Does that mean I need to make a texture template with what I need?
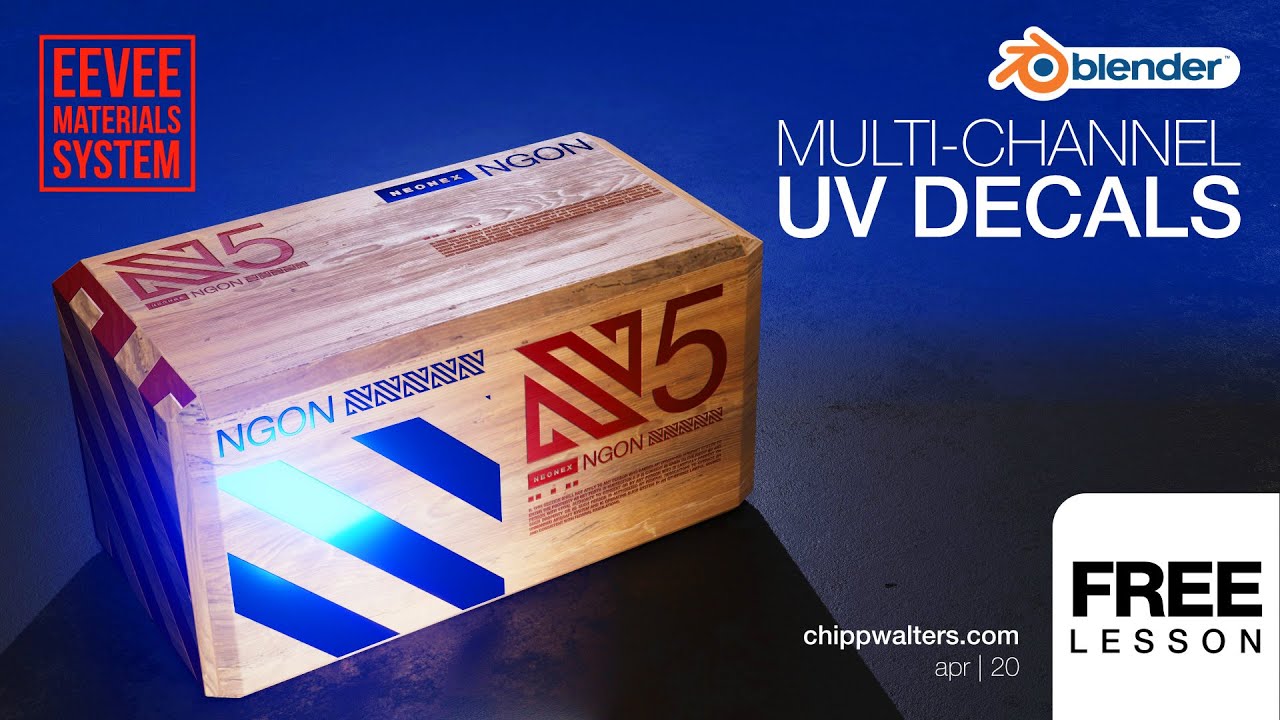
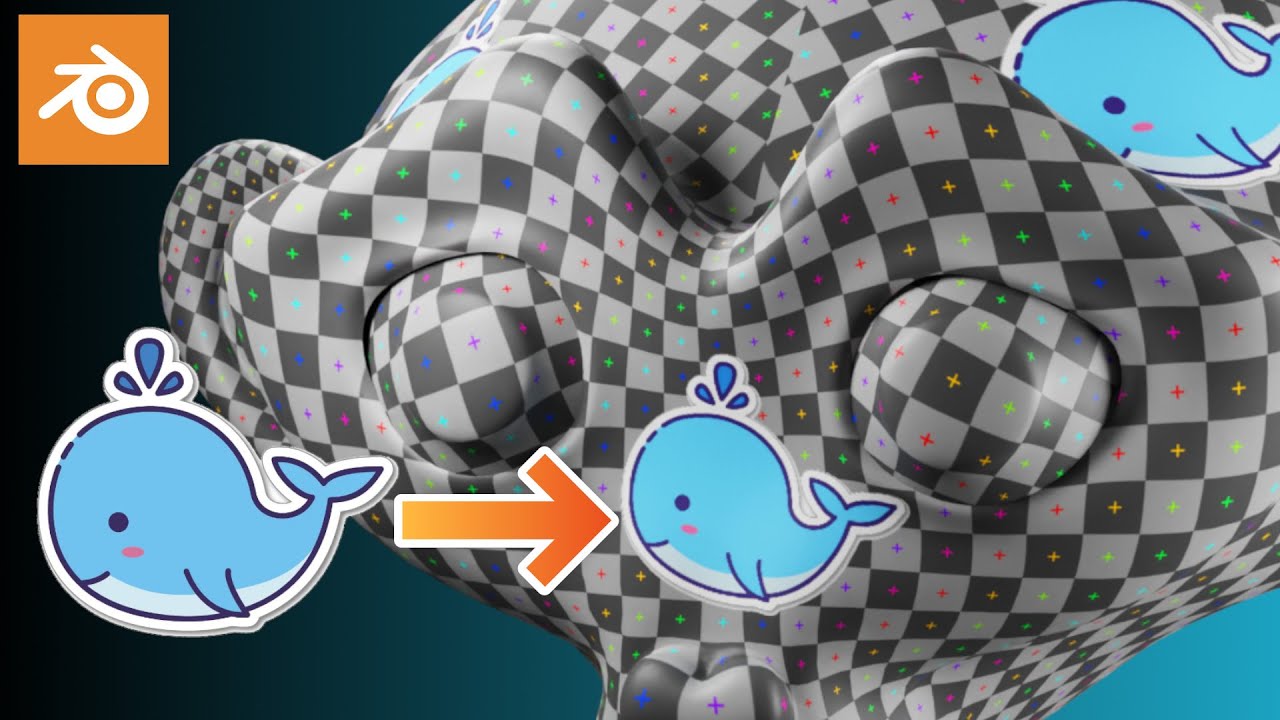
Please refer to the video for instructions on how to use it.
Make the logo a black-and-white image and stamp it as if you were stamping it.
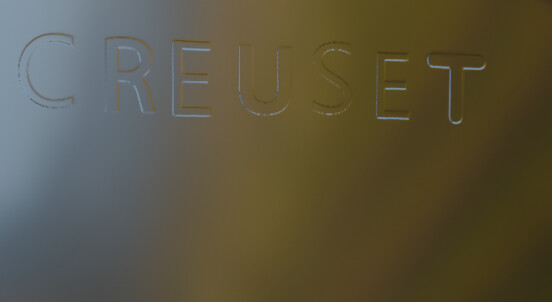
It’s really a difficult job, but I’ve come to understand a lot. Although there are still some minor flaws, oop,I’ll go repair it tomorrow
Low stencil image resolution results in rough edges.
The video shows you zooming in on the stencil image.
Do not zoom in on the image like in the video, but keep the stencil image size fixed and zoom in or out of the object. (Viewport zoom/reduce)
The image resolution used for UV of the current object is 4K.
If this is not good for quality, use a larger resolution.
Since the images used for the bumper area are black and white and mostly empty, using a larger resolution will not significantly affect the memory.
The color of the image does not appear 100% black and white.
It can be adjusted with a color lamp, but if not, it needs to be adjusted again.
Check out what the base color is
thank you very much


