This is a template script that creates a new image object and plots its pixels using Python.
Doing this with a script rather than the material or compositing nodes will give you absolute control over the result. You’re dealing with the raw pixels.
How to use
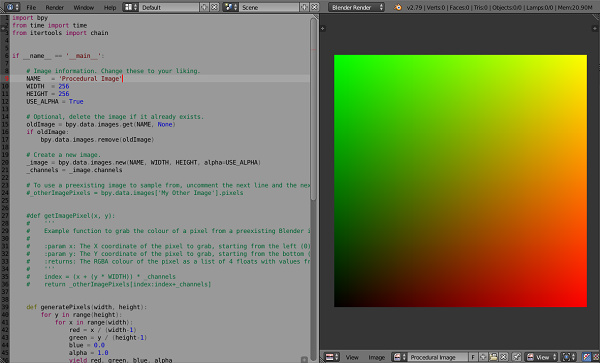
On a Text Editor view, press the New button to create a text object and then paste this code:
import bpy
from time import time
from itertools import chain
if __name__ == '__main__':
# Image information. Change these to your liking.
NAME = 'Procedural Image'
WIDTH = 256
HEIGHT = 256
USE_ALPHA = True
# Optional, delete the image if it already exists.
oldImage = bpy.data.images.get(NAME, None)
if oldImage:
bpy.data.images.remove(oldImage)
# Create a new image.
newImage = bpy.data.images.new(NAME, WIDTH, HEIGHT, alpha=USE_ALPHA)
# To use a preexisting image to sample from, uncomment the next line and the next function:
#_otherImagePixels = bpy.data.images['My Other Image'].pixels
#def getImagePixel(x, y):
# '''
# Example function to grab the color of a pixel from a preexisting Blender image.
#
# :param x: The X coordinate of the pixel to grab, starting from the left (0) to the right (last value is WIDTH - 1).
# :param y: The Y coordinate of the pixel to grab, starting from the bottom (0) to the top (last value is HEIGHT - 1).
# :returns: The RGBA colour of the pixel as a list of 4 floats with values from 0.0 to 1.0.
# '''
# index = (x + (y * WIDTH)) * 4
# return _otherImagePixels[index : index+4]
def generatePixels():
for y in range(HEIGHT):
for x in range(WIDTH):
# Generate a color for the pixel at (x, y).
# This is the OpenGL coordinate system, so (0, 0) is the bottom-left corner of the image
# and (WIDTH-1, HEIGHT-1) is the top-right corner of the image.
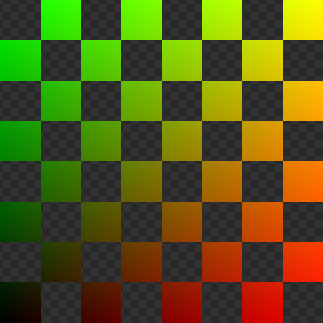
red = x / (WIDTH-1)
green = y / (HEIGHT-1)
blue = 0.0
alpha = 1.0
yield red, green, blue, alpha
start = time()
newImage.pixels = tuple(chain.from_iterable(generatePixels()))
newImage.update()
print('TIME TAKEN: %f seconds' % (time() - start)) # Outputs to the system console.
# Make all UV/Image Editor views show the new image.
for area in bpy.context.screen.areas:
if area.type == 'IMAGE_EDITOR':
for space in area.spaces:
if space.type == 'IMAGE_EDITOR':
space.image = newImage
# All done.
Then press the Run Script button in the Text Editor header. It should create a new image that’s coloured based on a simple formula.
You need to modify the code in the generatePixels() function to do what you want. Note that if you create images larger than 4096px the script might take a while to finish, like from 30 seconds up depending on your CPU.