Thanks @JRupar.
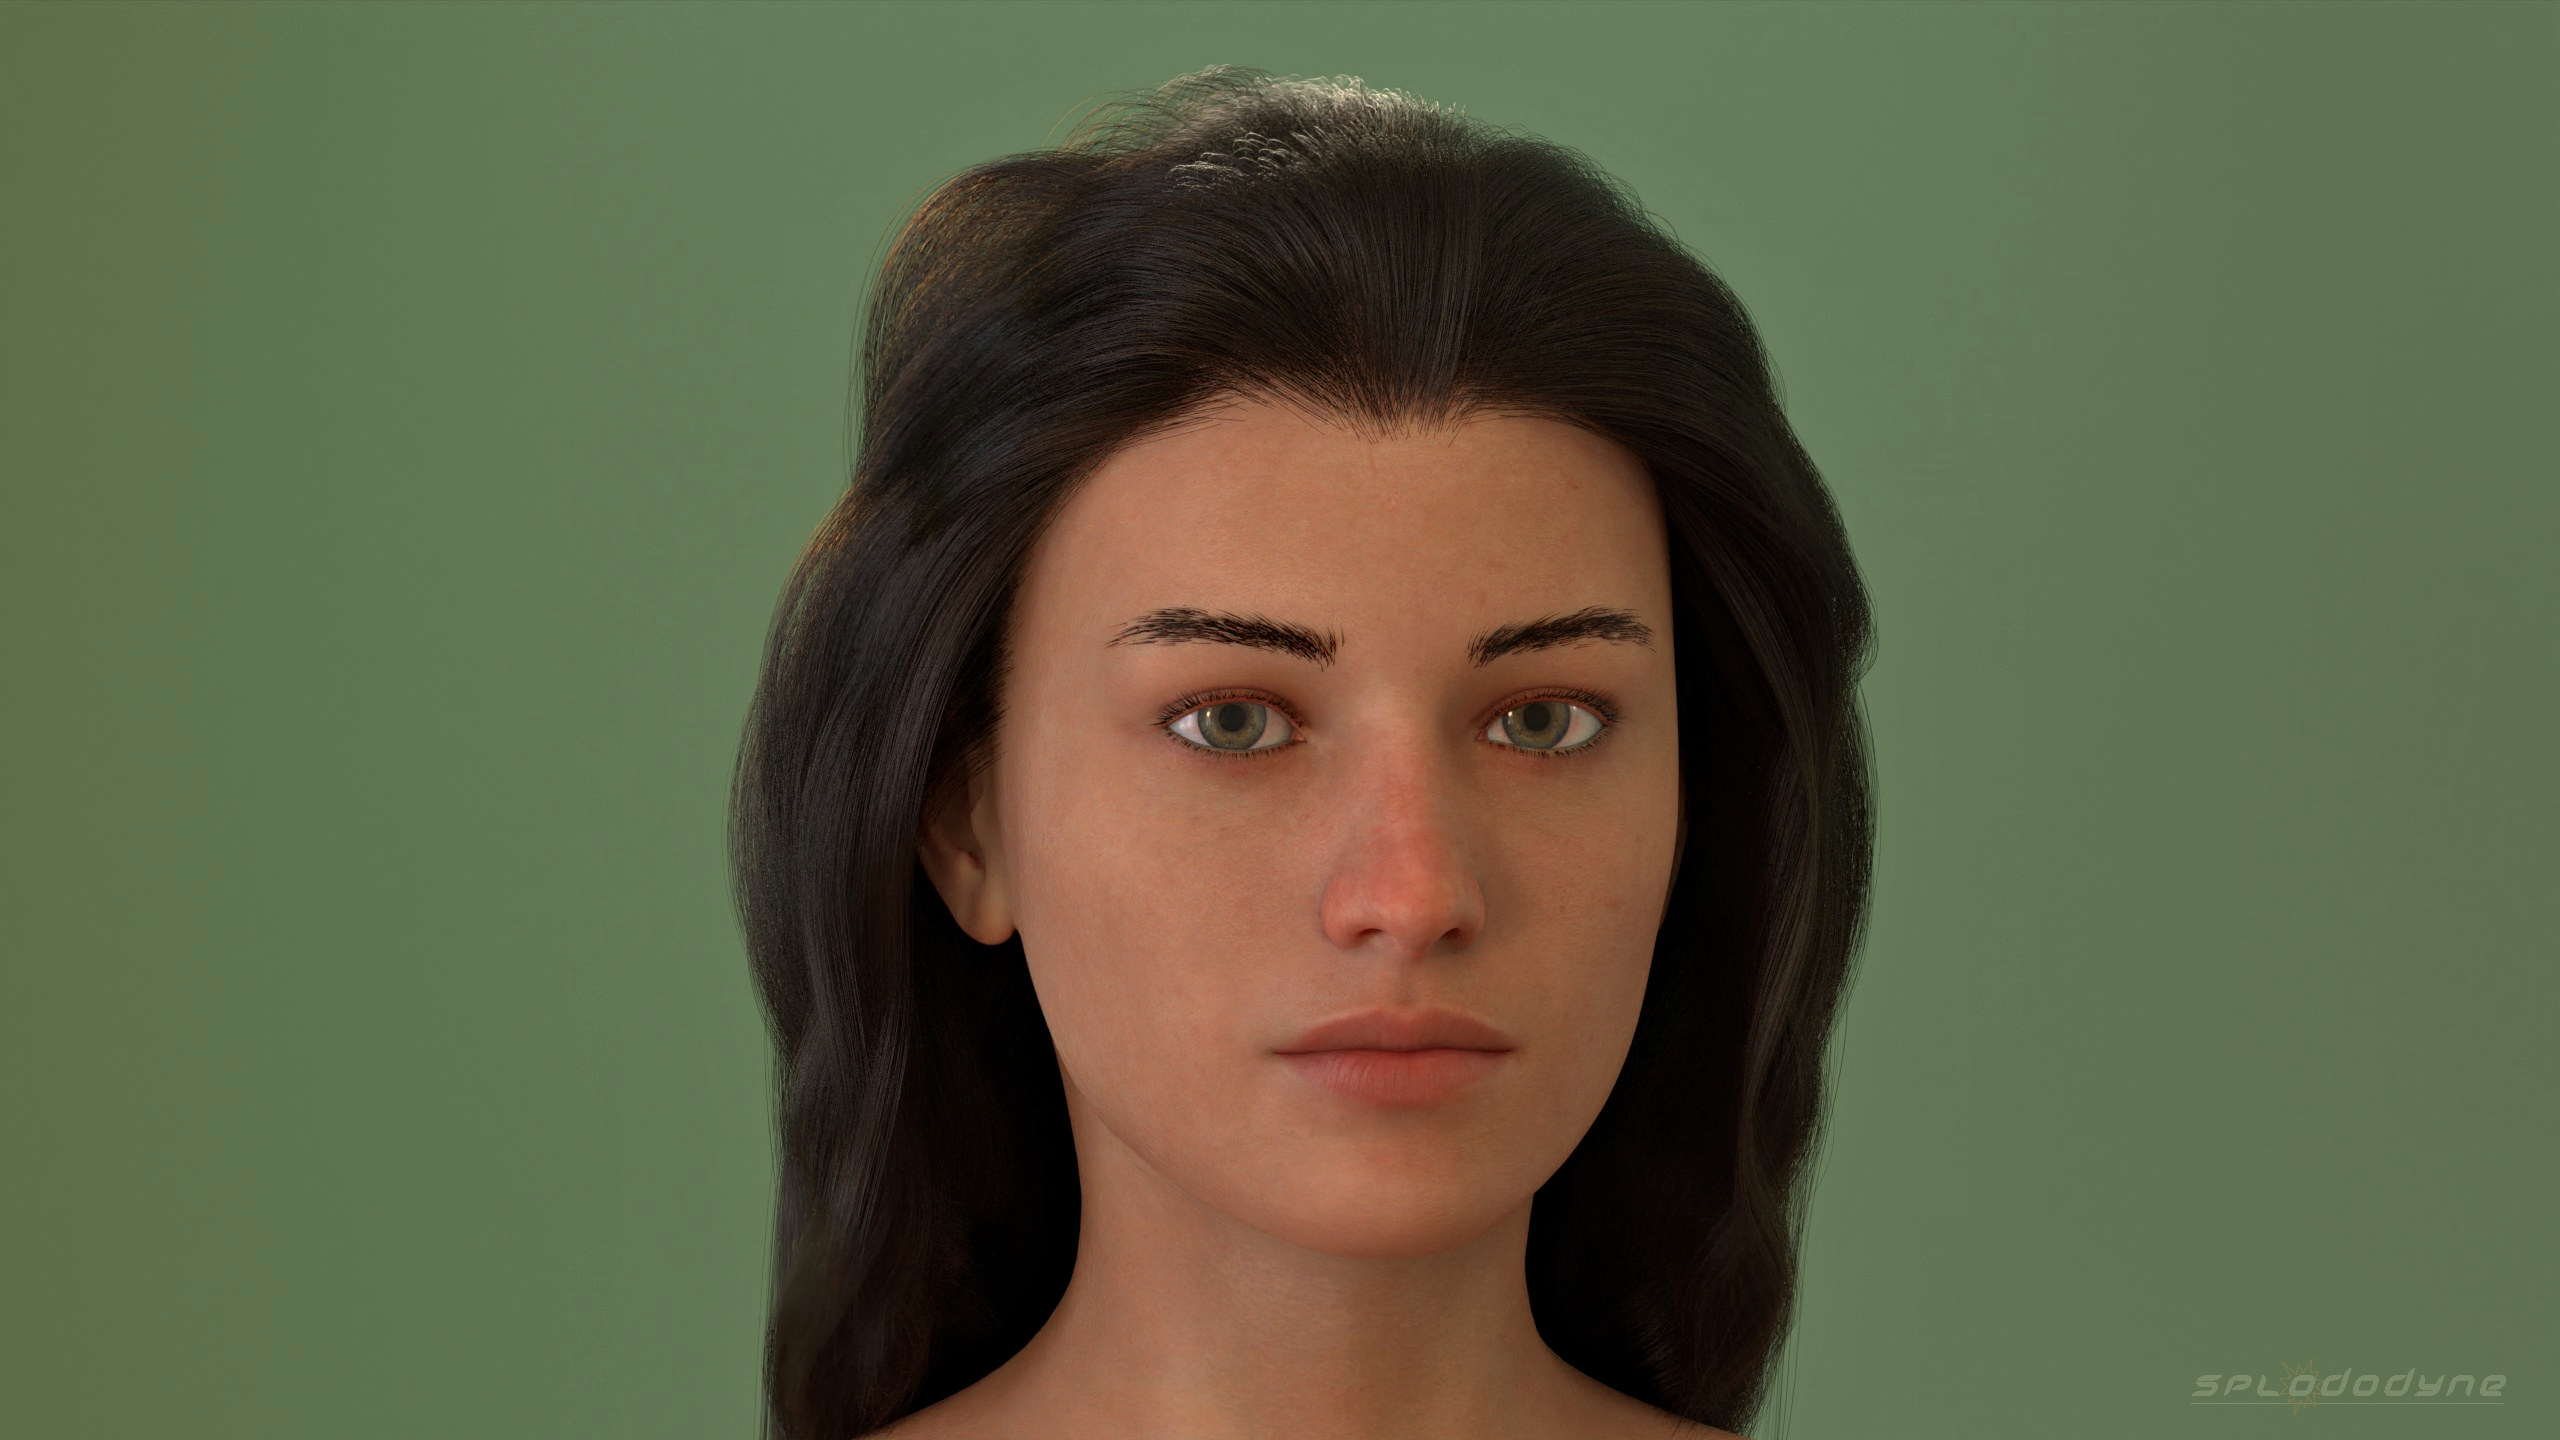
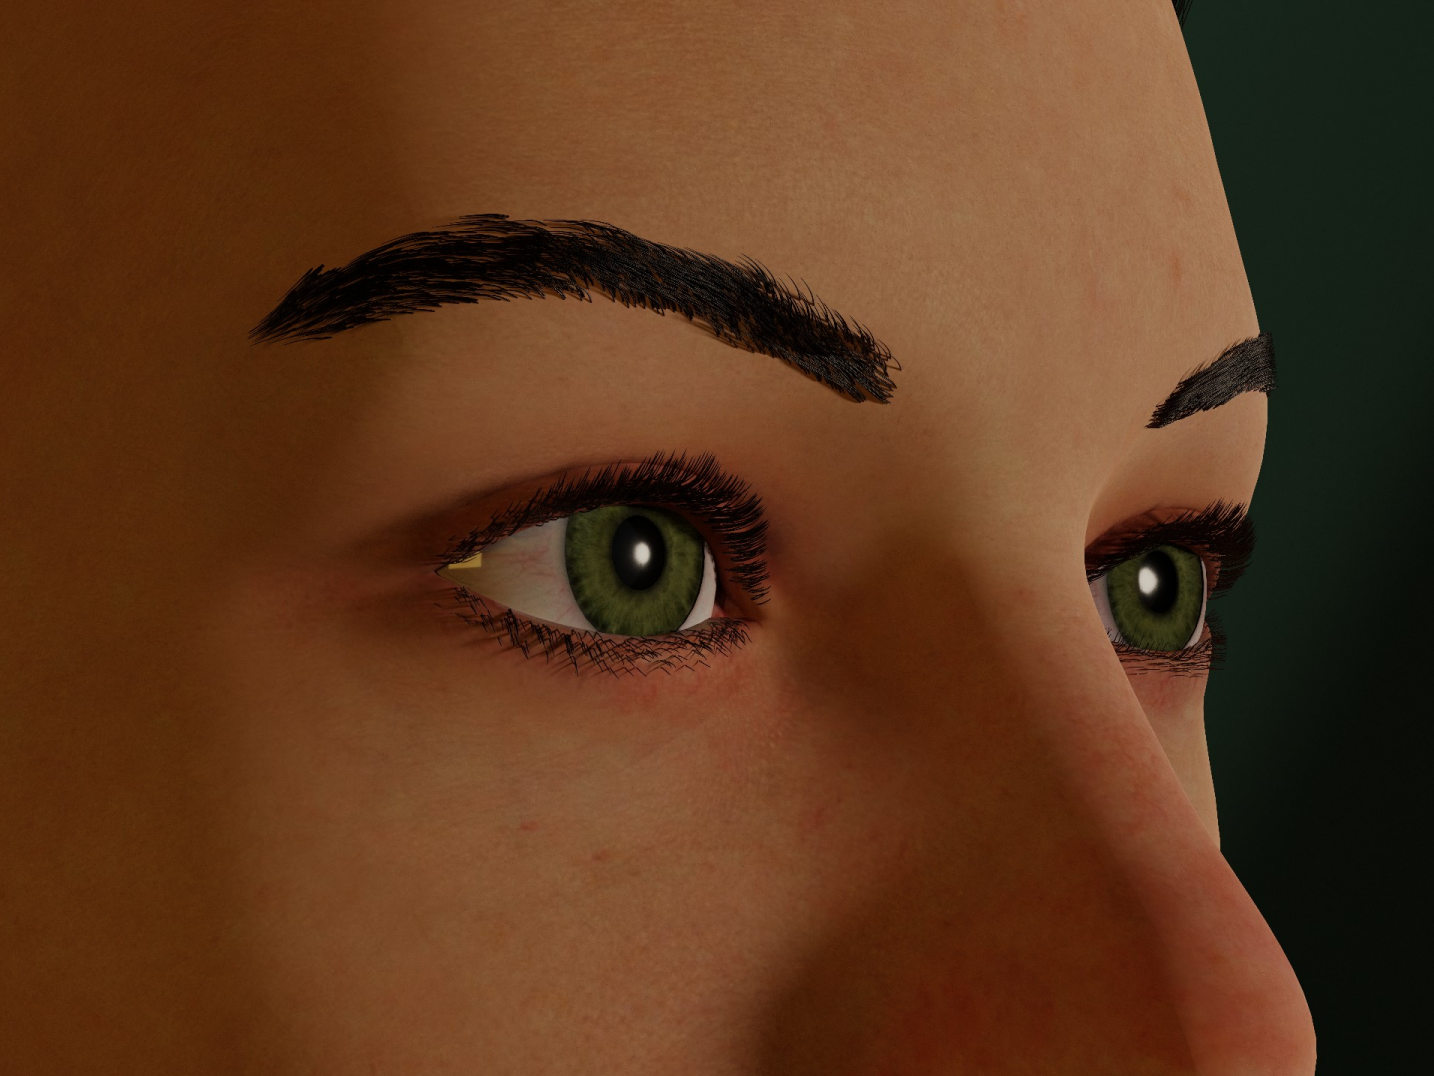
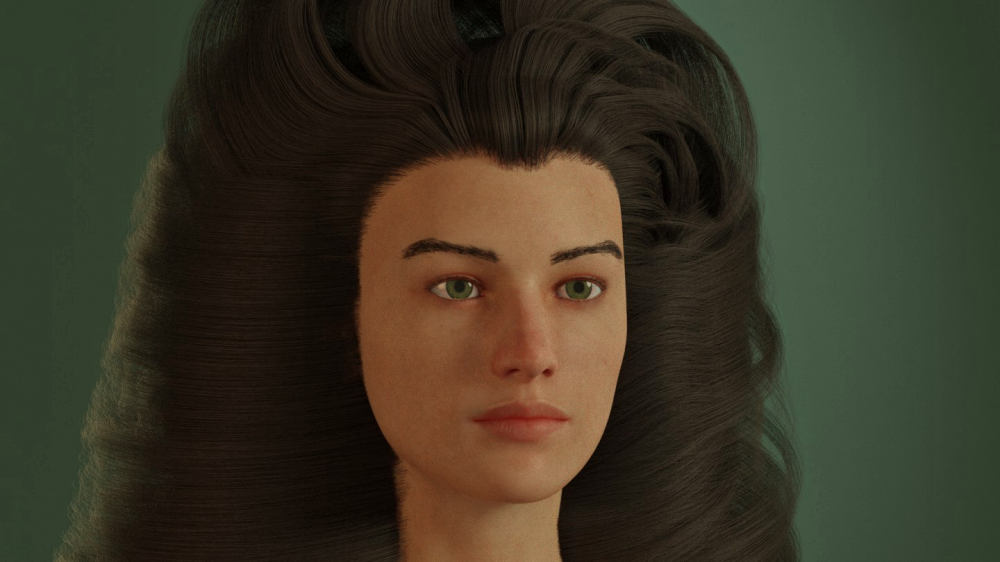
Updated Updated Image
- changed hair style
- posted hair settings
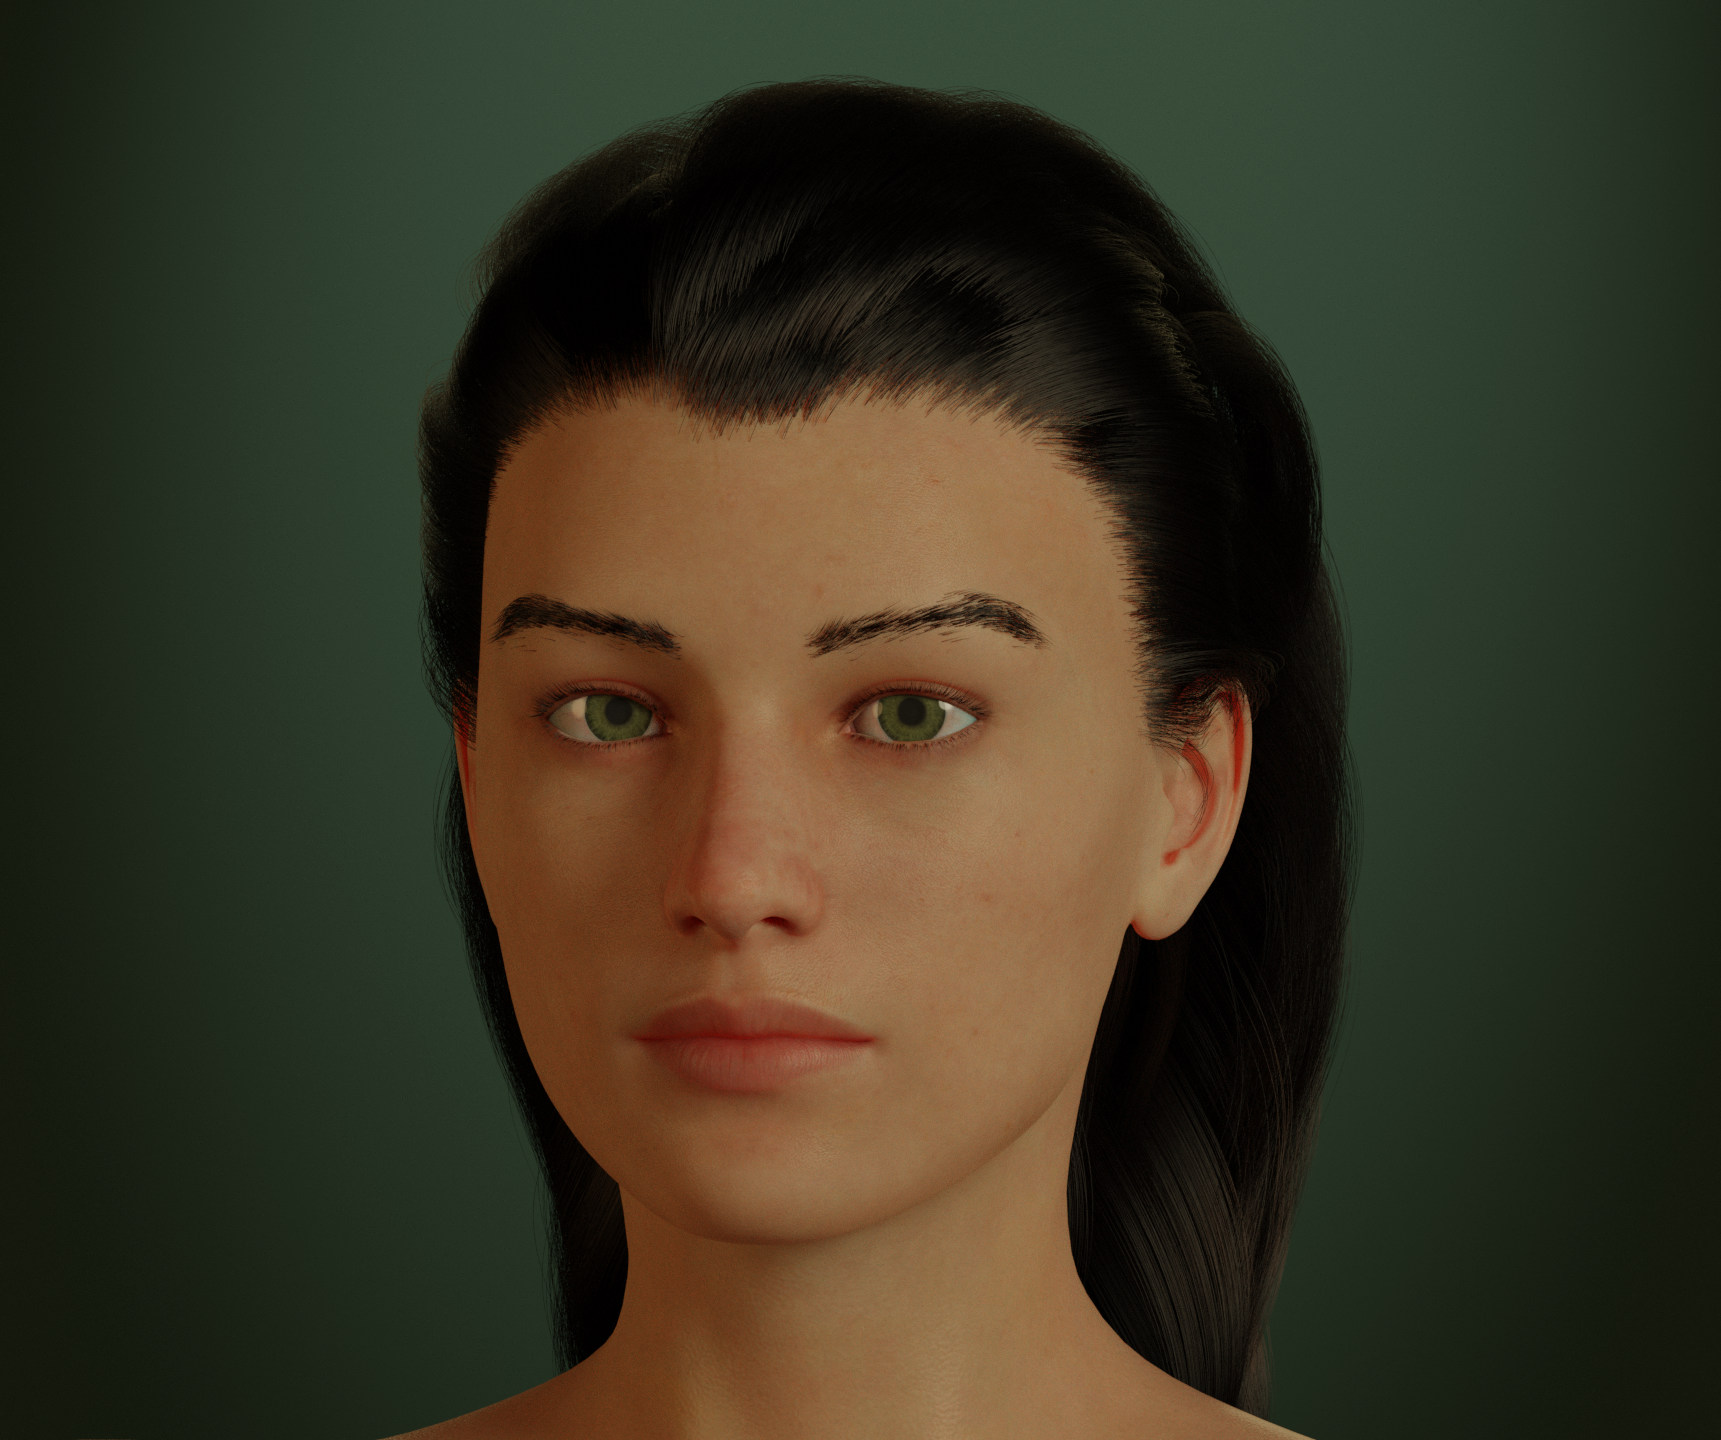
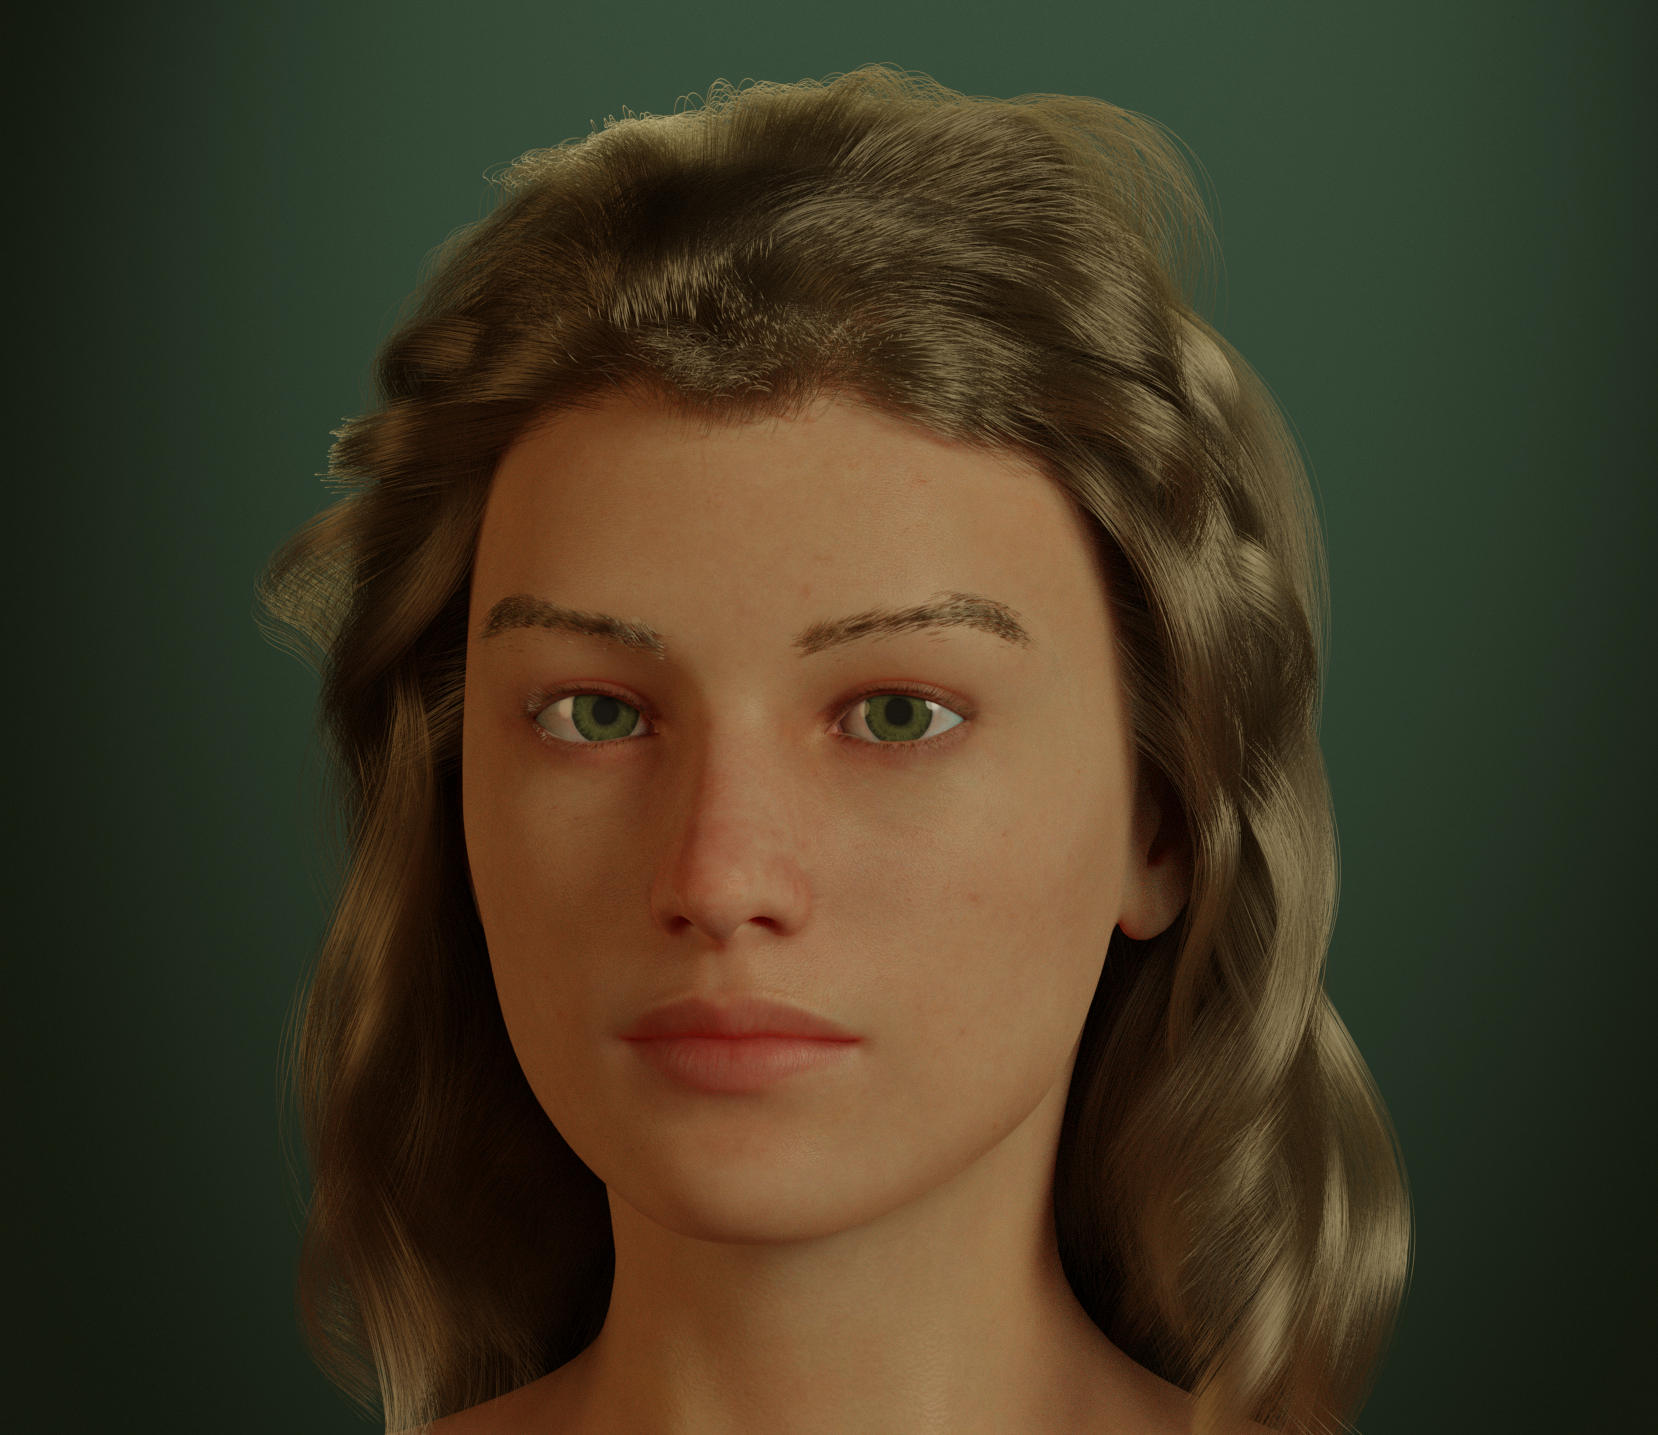
Updated Image
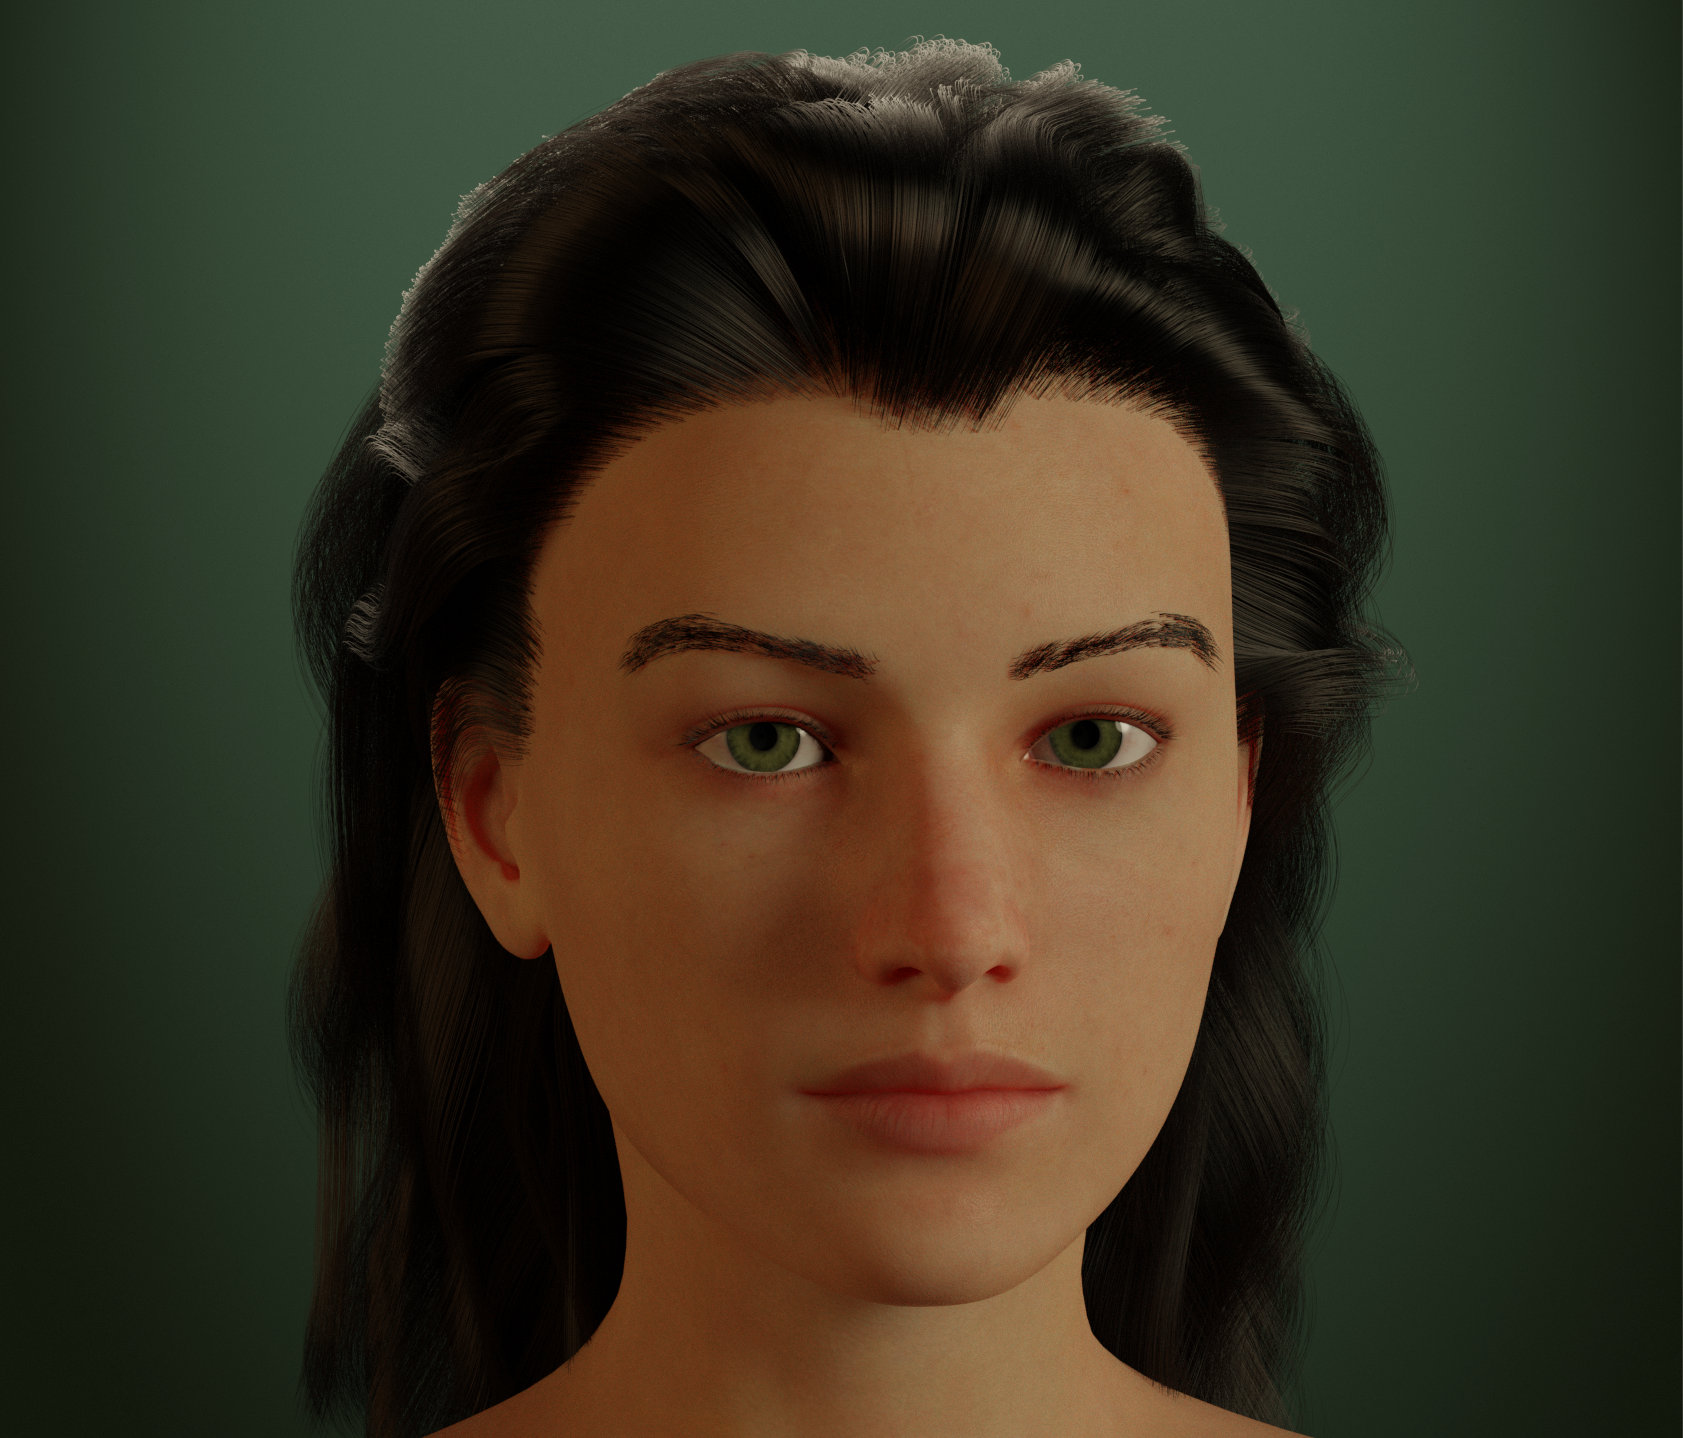
- changed lighting
- adjusted bump height
- used Daz SSS map
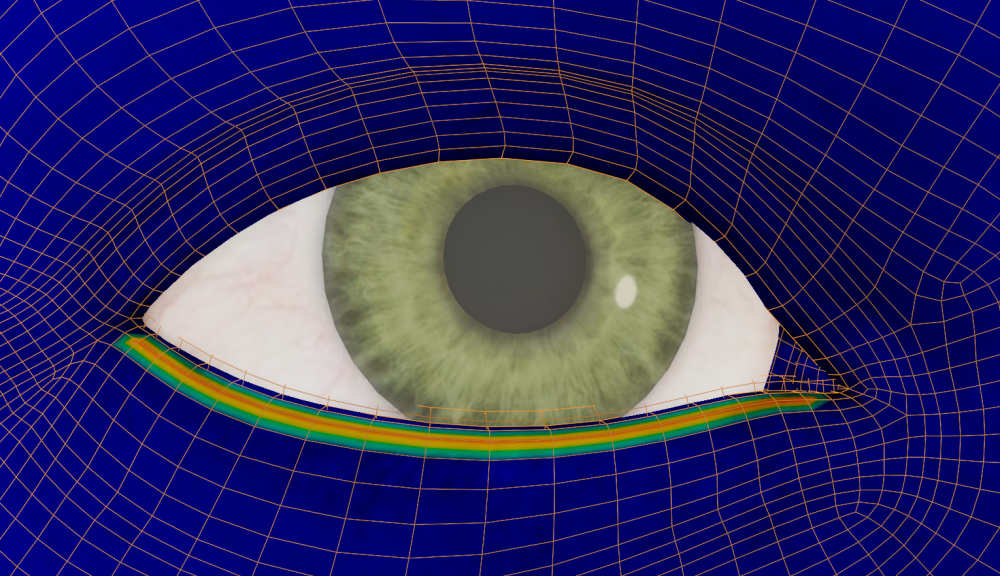
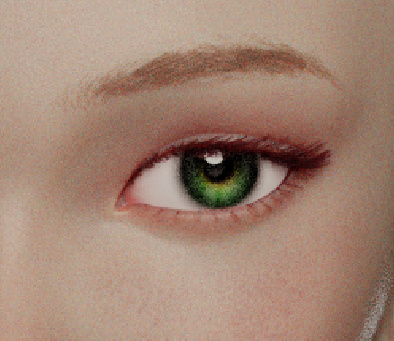
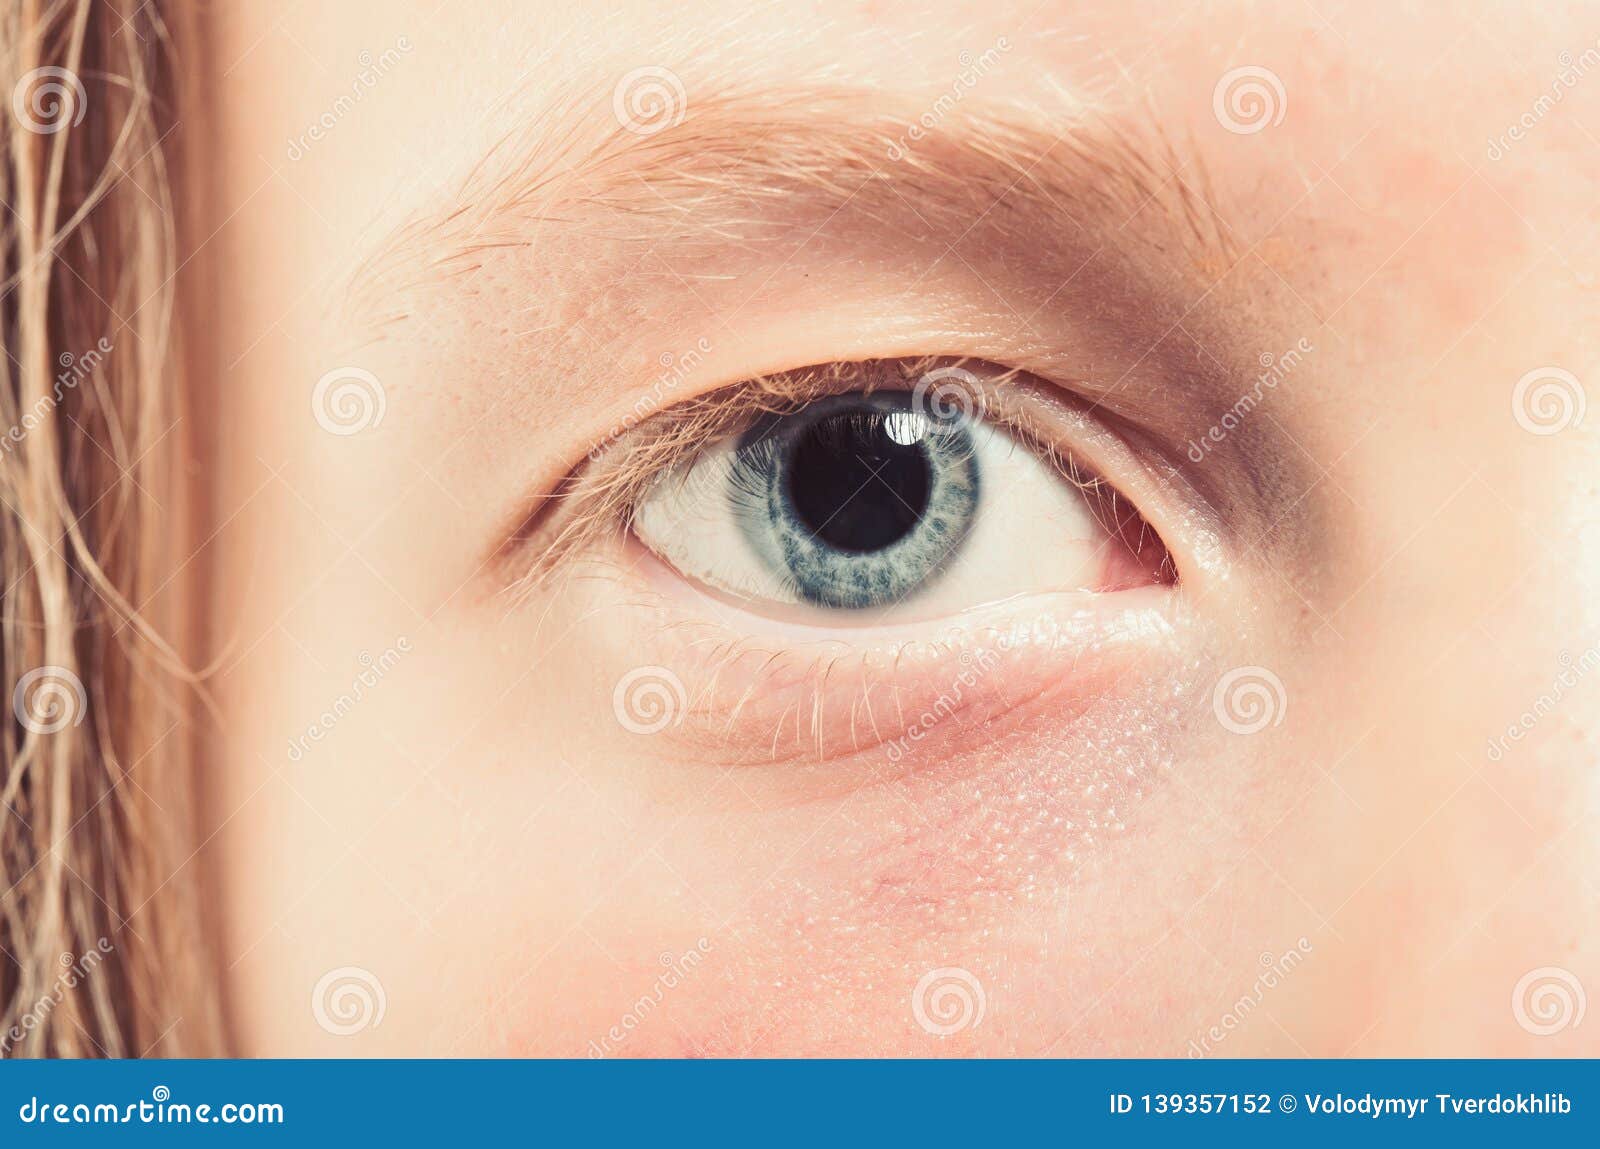
- eye sclera SSS
- adjusted iris material
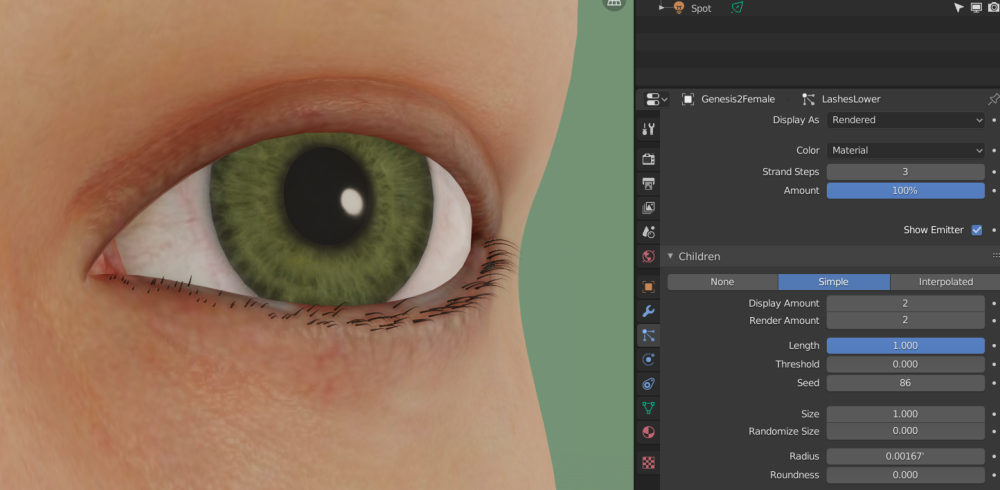
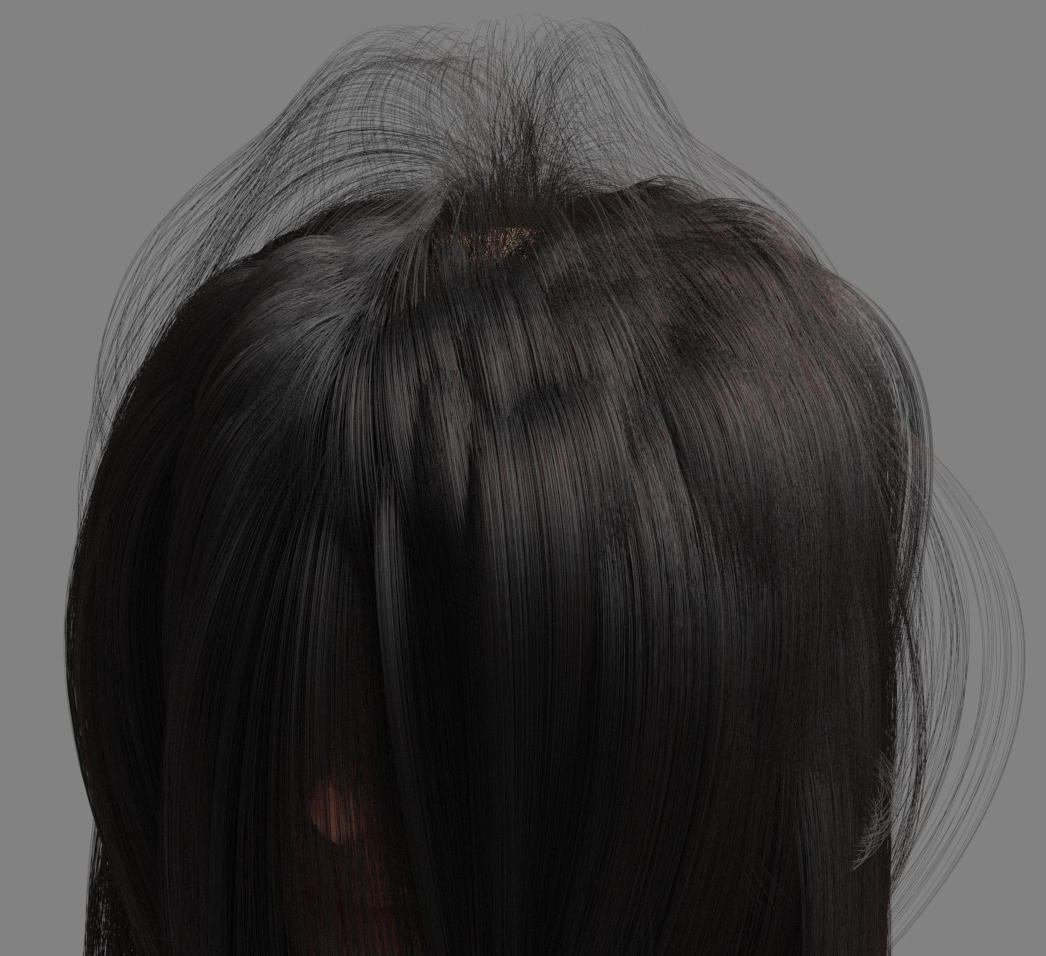
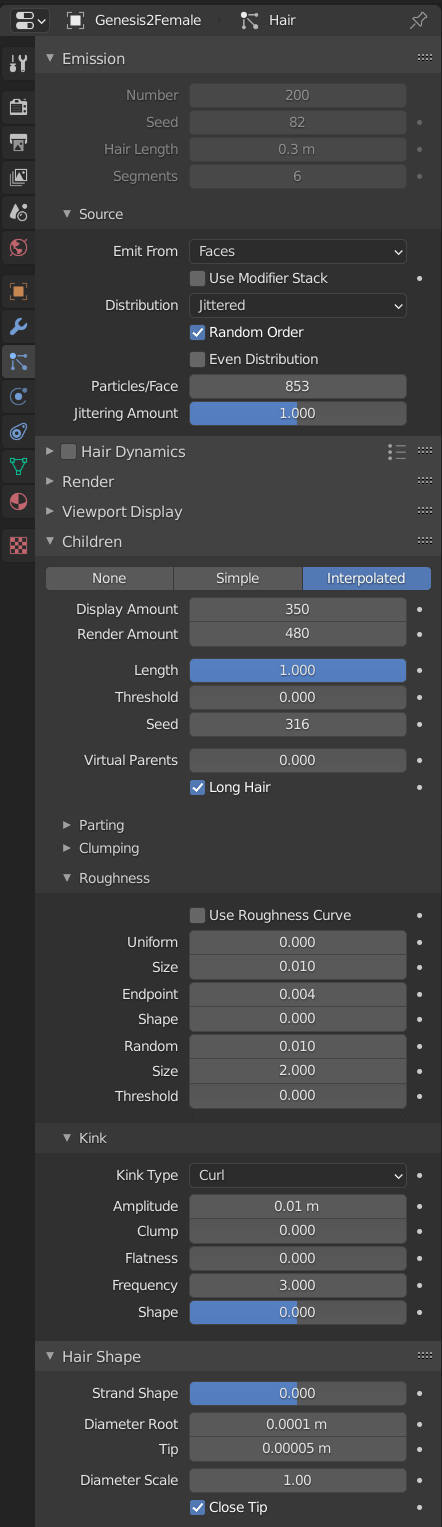
- 90K hairs
- shinier skin (no makeup) with more specular and less roughness
- brow hairs longer (JRupar), added stray brow hairs, groomed
- adjusted hair line and restyled hair (JRupar)
.
Hair Settings
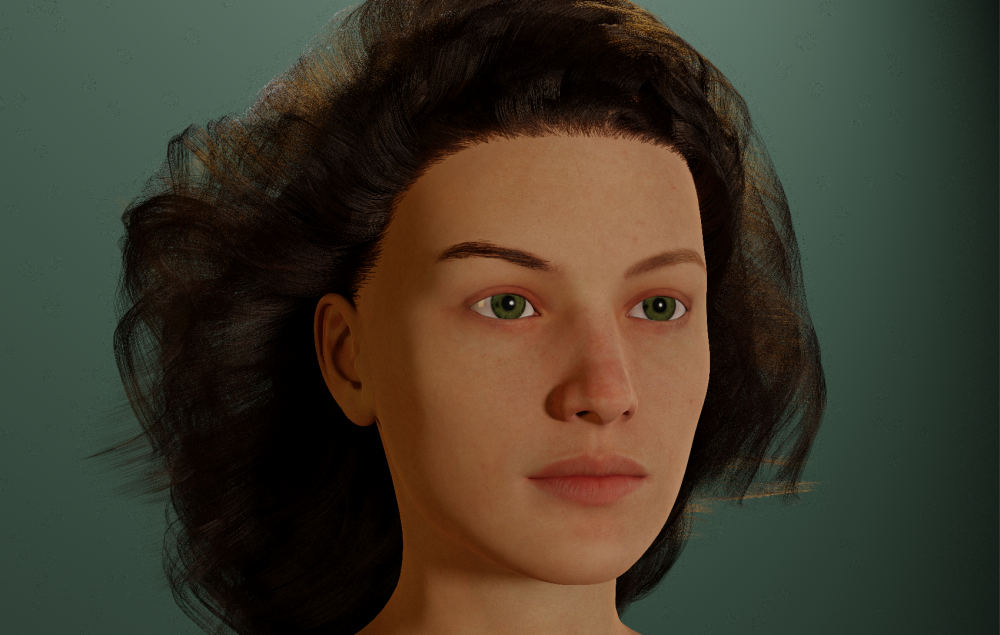
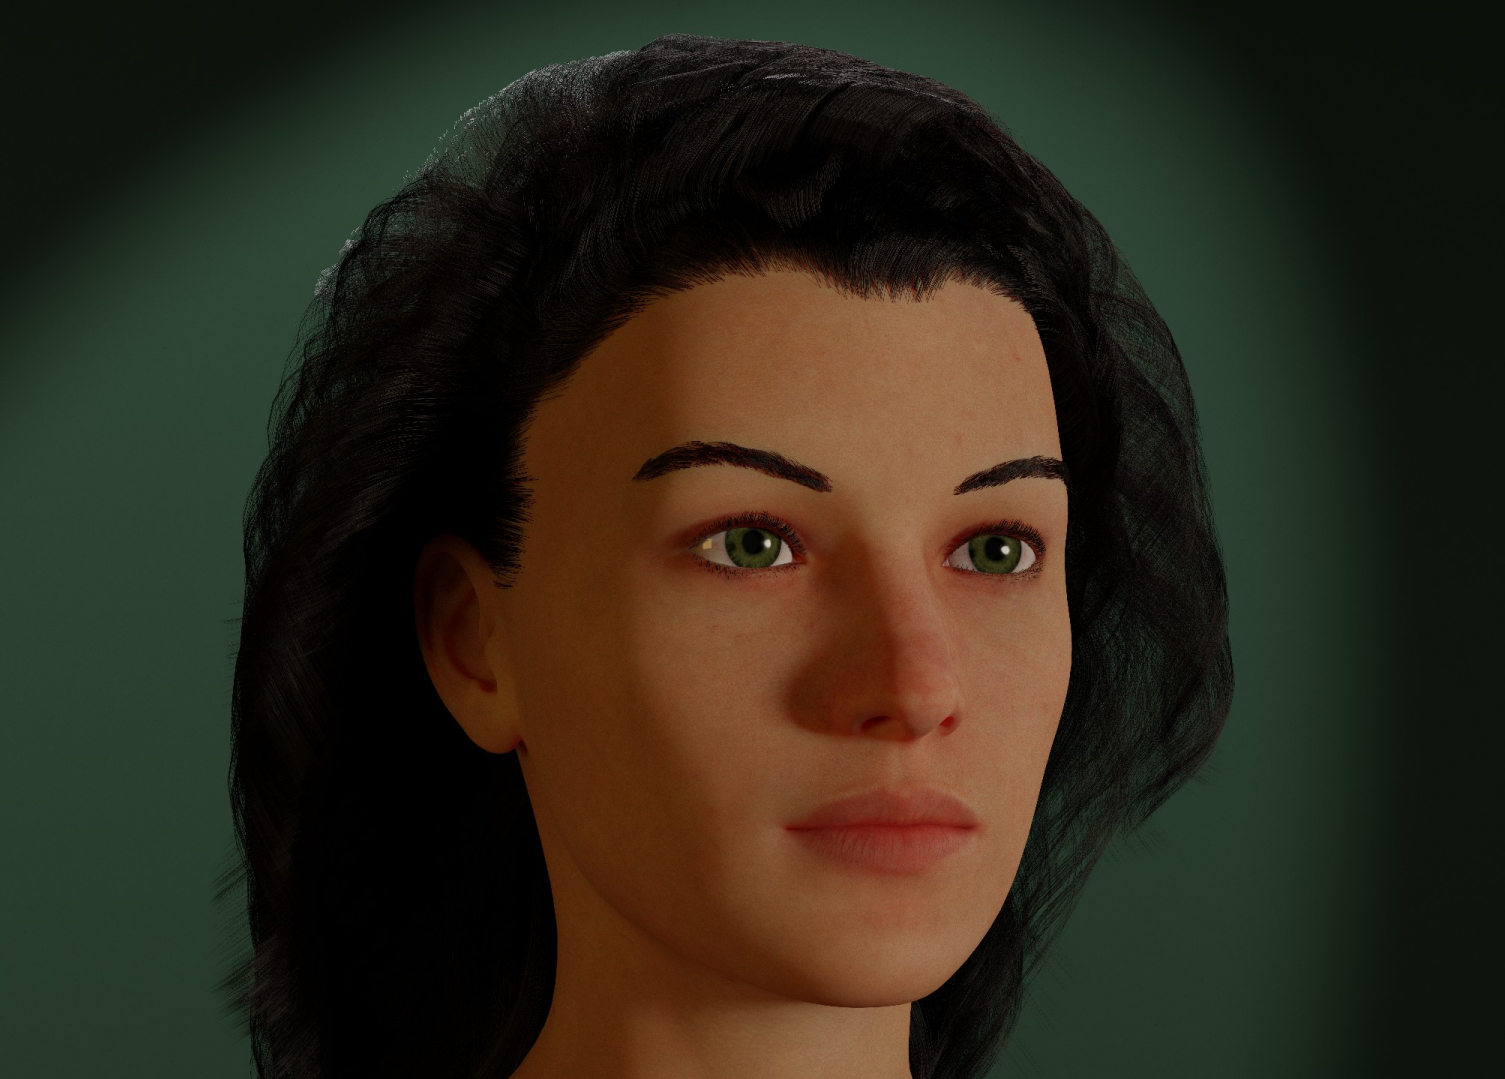
Problems
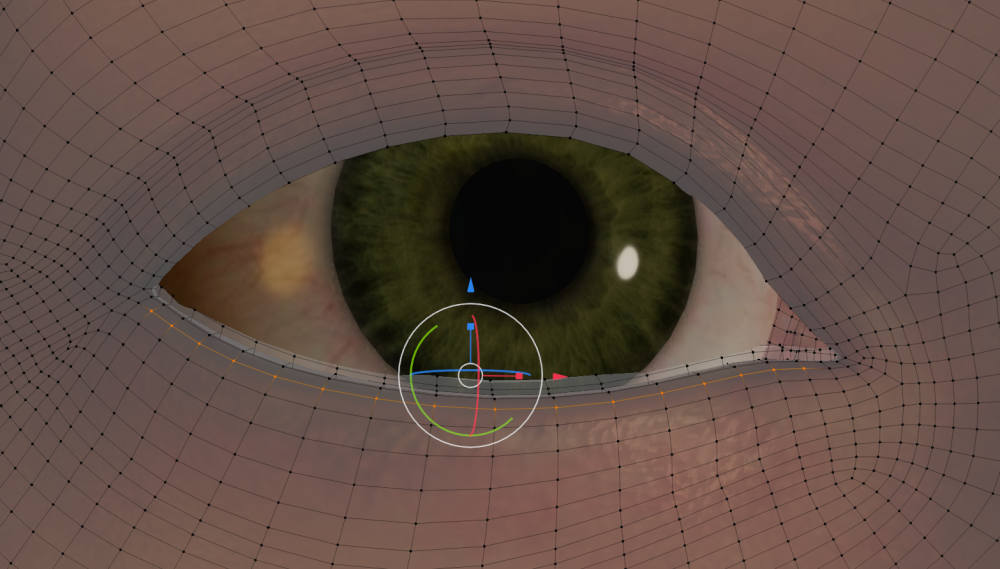
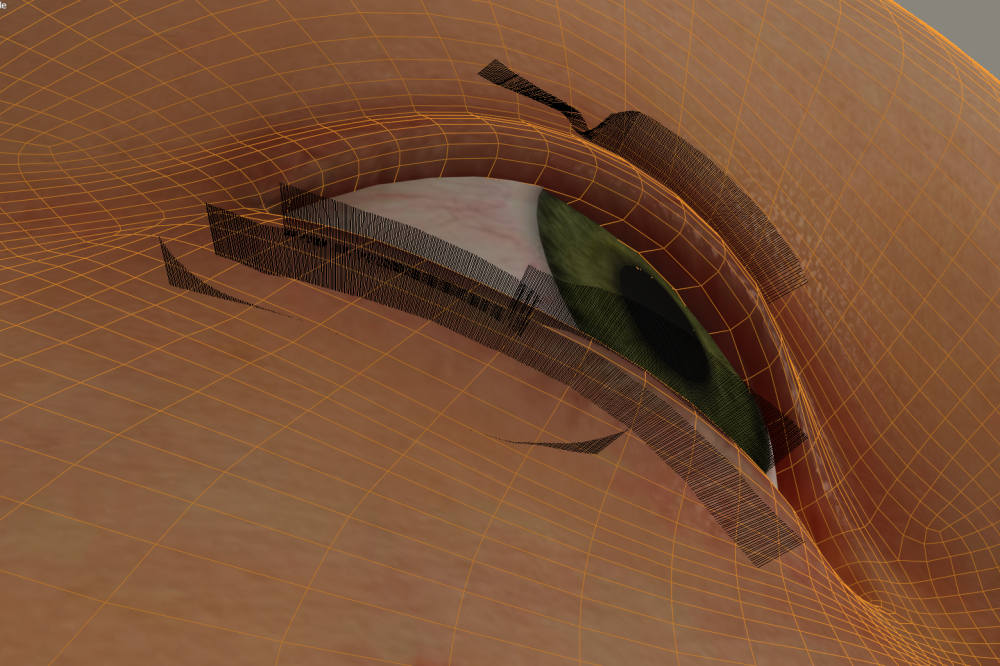
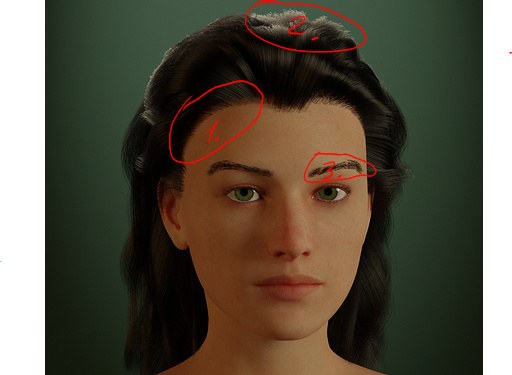
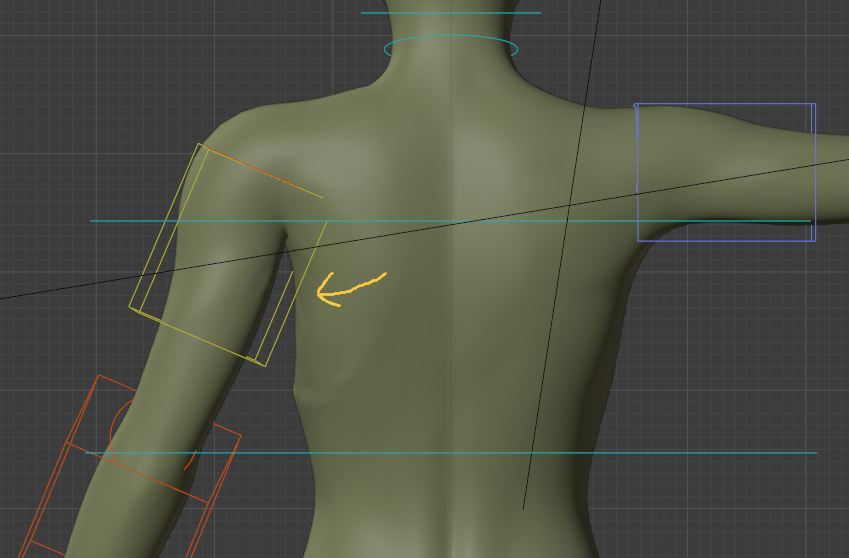
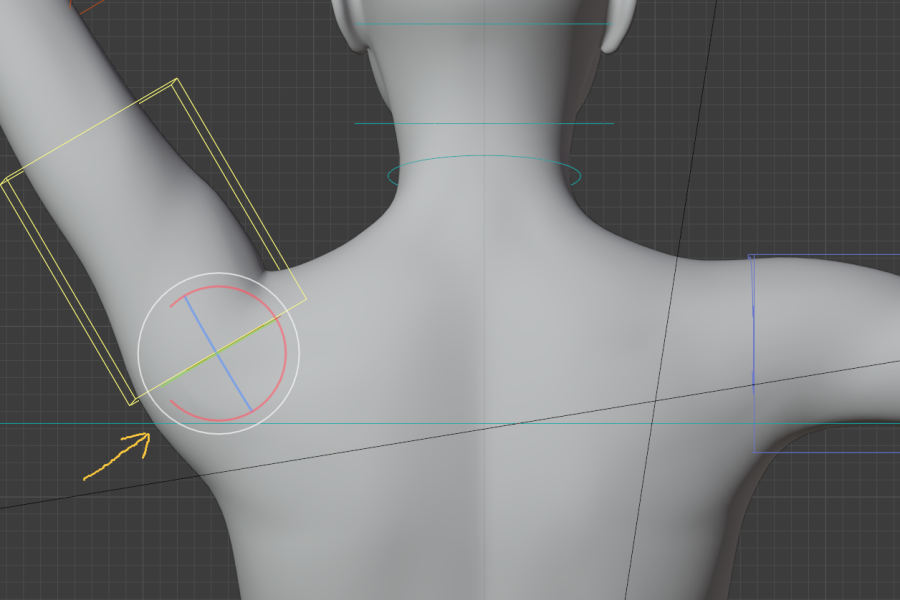
- The eyebrows are have a uniform distance from the face, This is usually not trouble but at a certain angle to light it creates a flat specular highlight that looks wrong.
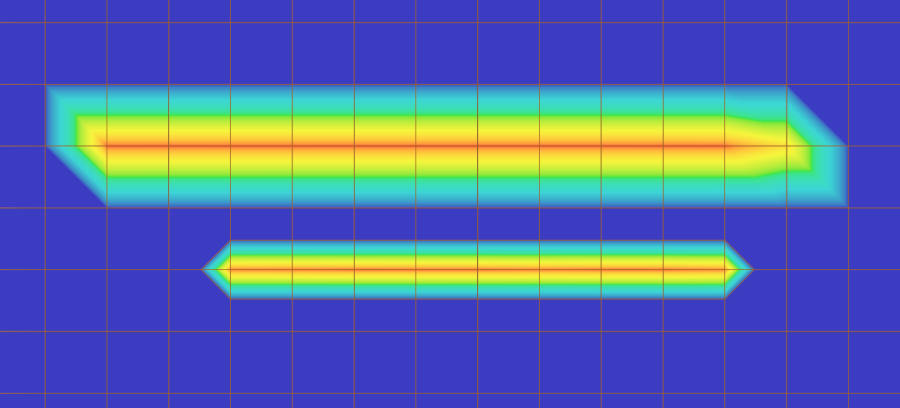
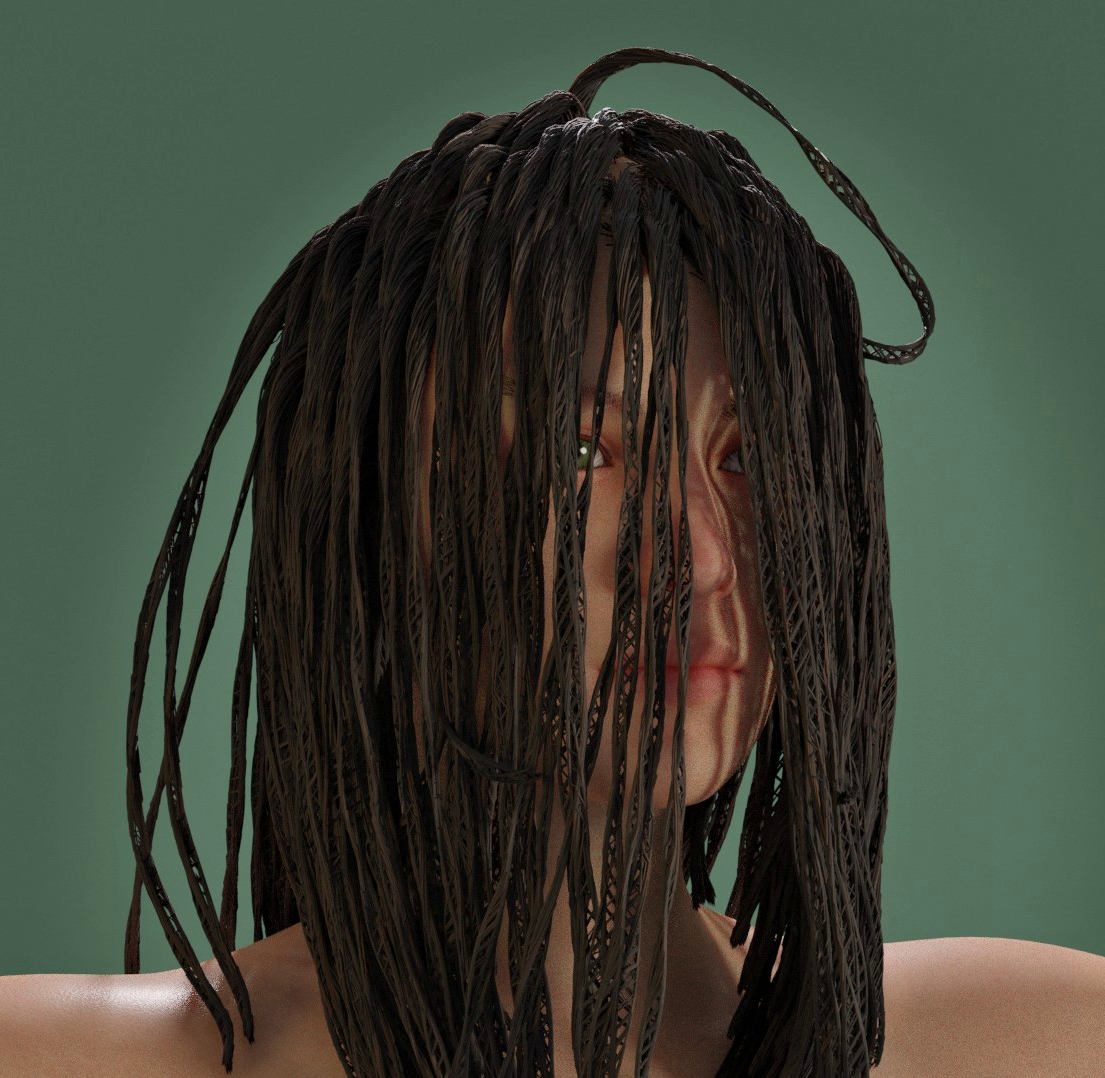
- Using 50 guide hairs and interpolated child hair with kink->wave etc. produces large sheets of hair. Using 200 guides produces small strips that can resemble fettuccine.
I found that adding small amounts of random roughness and end point roughness removed some of the fettuccine look.
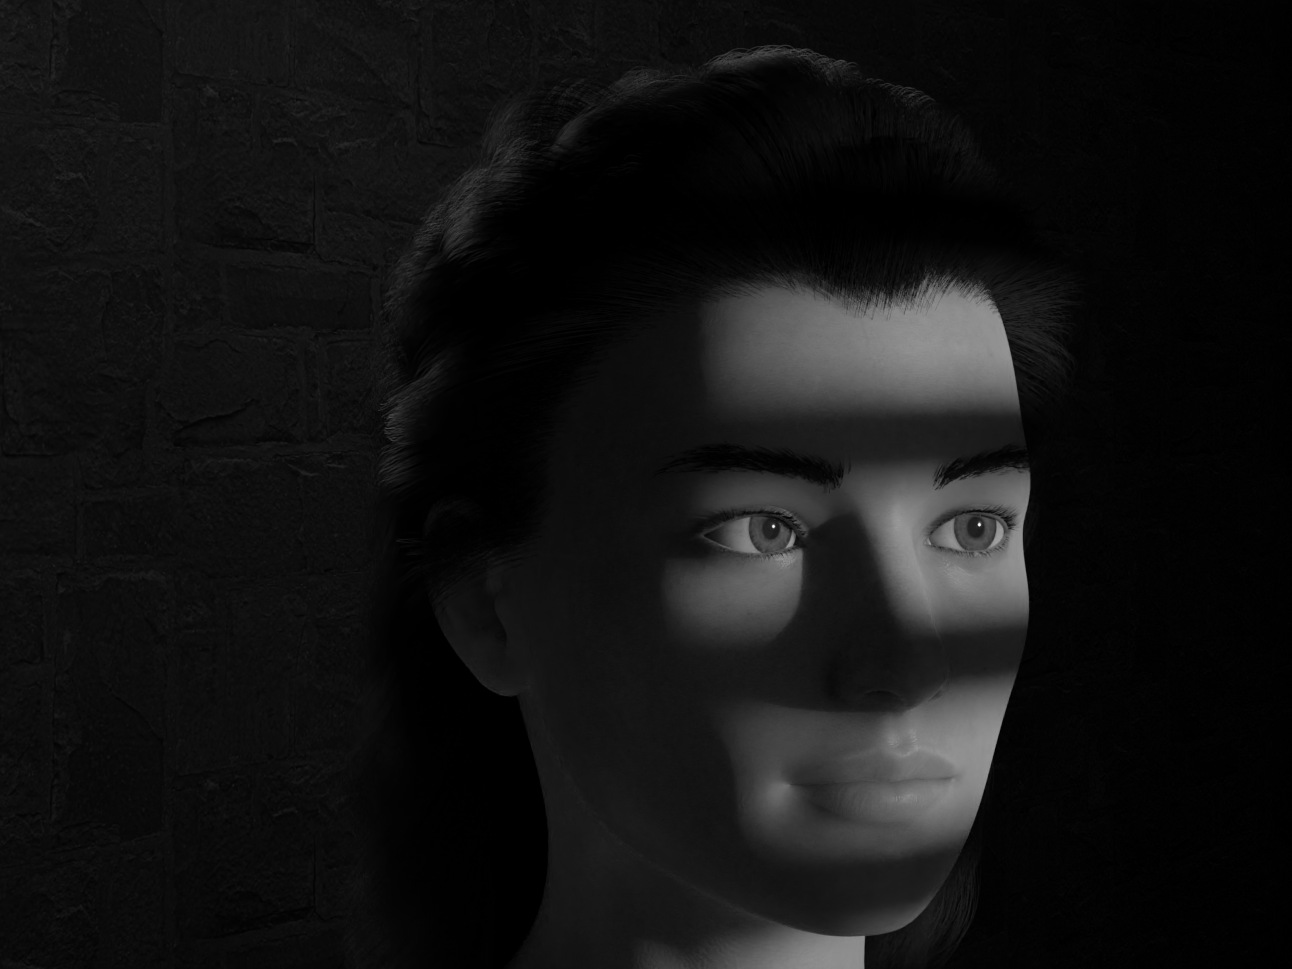
The first pictures looked distorted with the default 35mm camera close to the face. I changed to 100mm and moved the camera back.
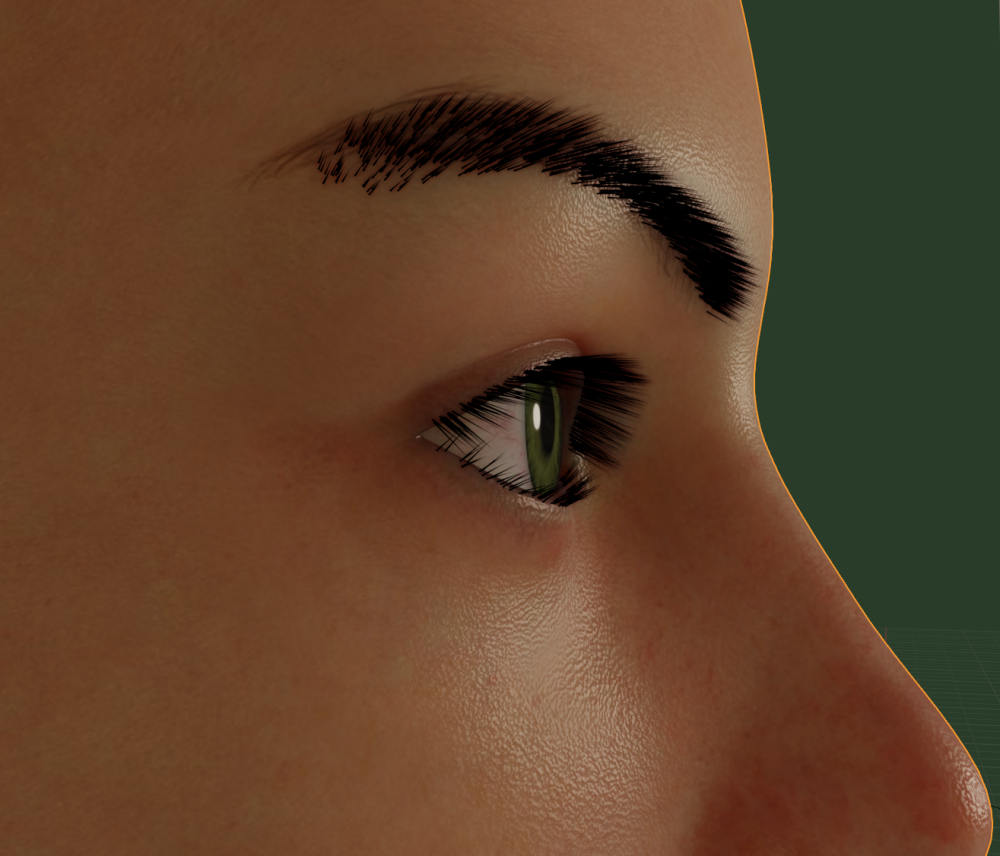
Brow hairs jagged. Remember that I’m going for a mostly natural no makeup look. These strands have realistic thickness but sometimes art is more real than reality* so even thicker might work. Maybe too much skin was visible through the brows. Made them longer.
Hairline. Individuals are different. While a smooth precise curve is the most common feminine hairline some deviate from that with a more squared appearance, widow’s peak, or other. The hairline I intended for “Paige” was somewhat squared with a subdued widow’s peak similar to the example below. My attempt to do that created the “area 1” effect instead of what I wanted. Changed it to the curve and kept the peak.
Woman with widow’s peak.
https://i.pinimg.com/originals/15/a3/a3/15a3a3e64dc96f6fdf276acdec85e076.jpg
Blender 2.90, cycles, 2000 samples, adaptive sampling. 1440p.
Miscellaneous:
Low strength weight painting can add stray hairs with interpolated children but there is little control over where they appear. Trial and error.
“Interpolated” child hair is not interpolated. It does not interpolate between guide hairs for placement of child hairs. It spreads the children over the designated area while sort of obeying weight paint. I found where someone looked at the code and verified that. The child paths do seem interpolated from nearby guide hair.
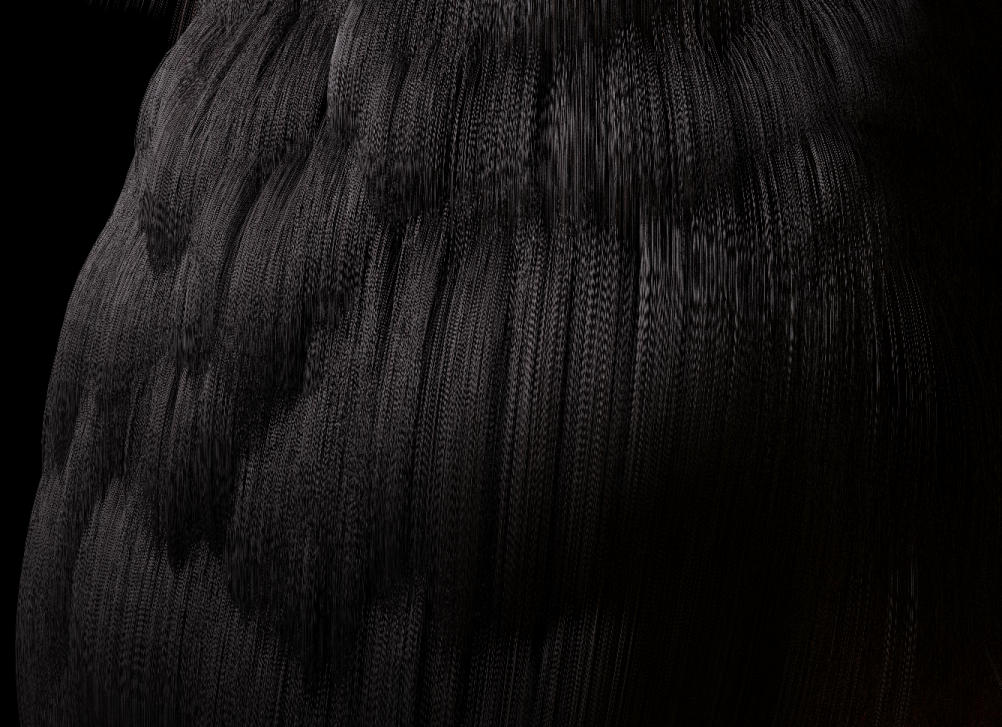
B2.90’s 3D curves hair method works well. Longer render time.
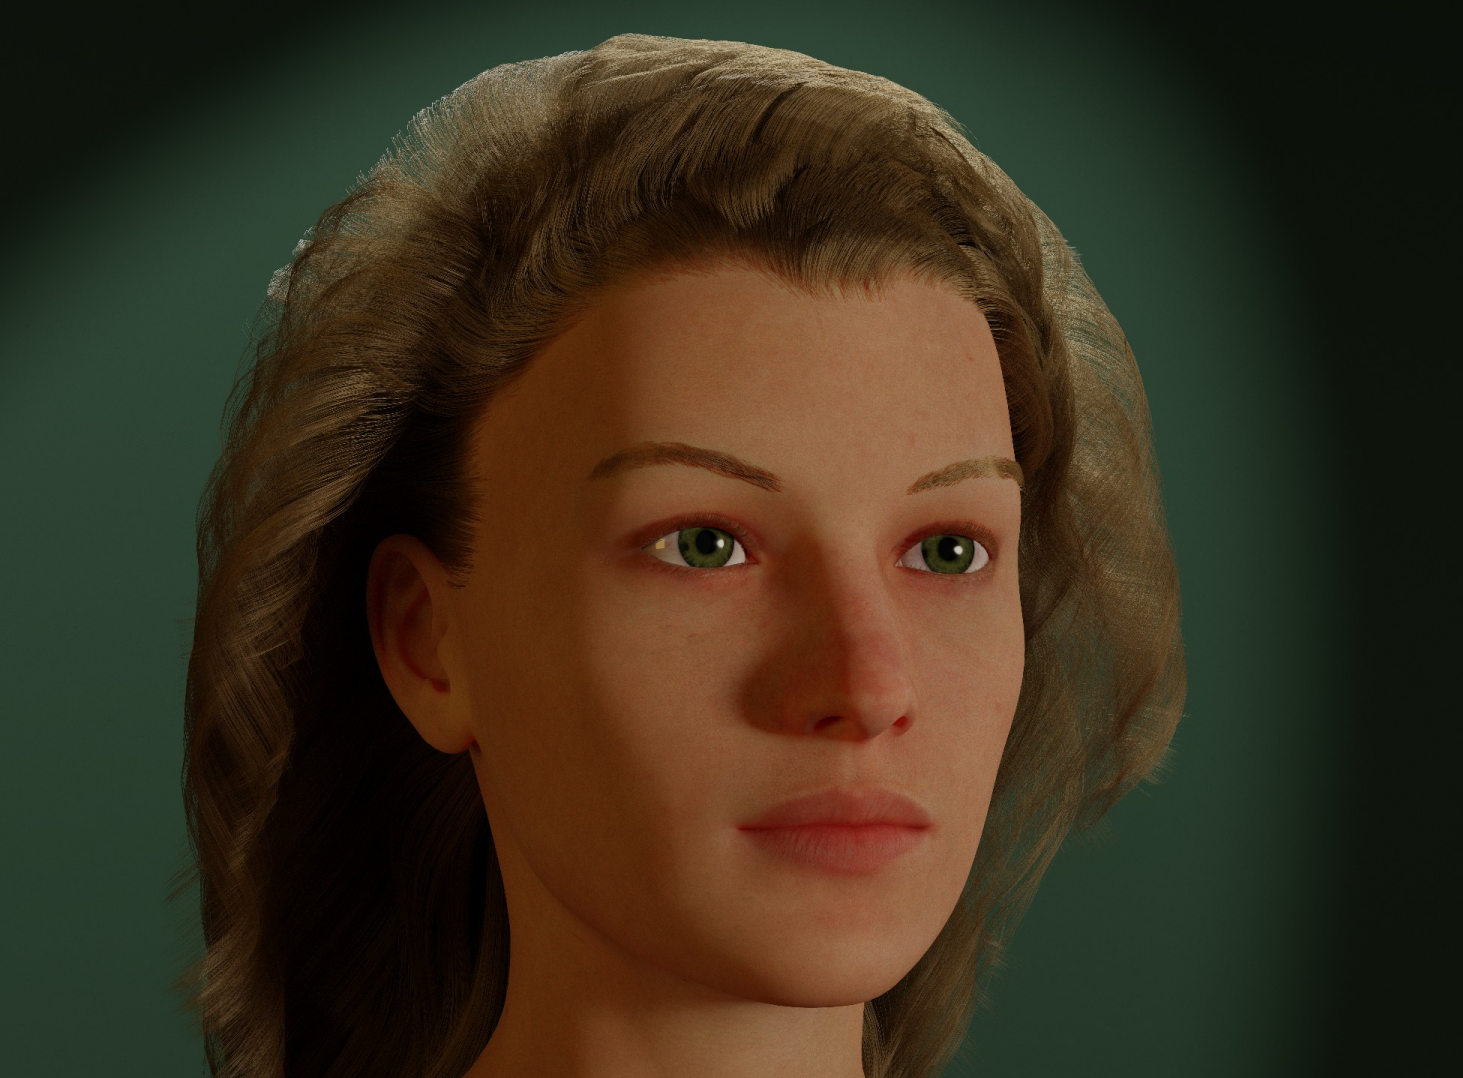
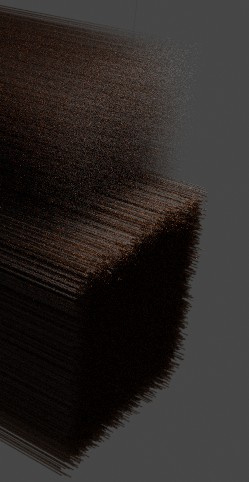
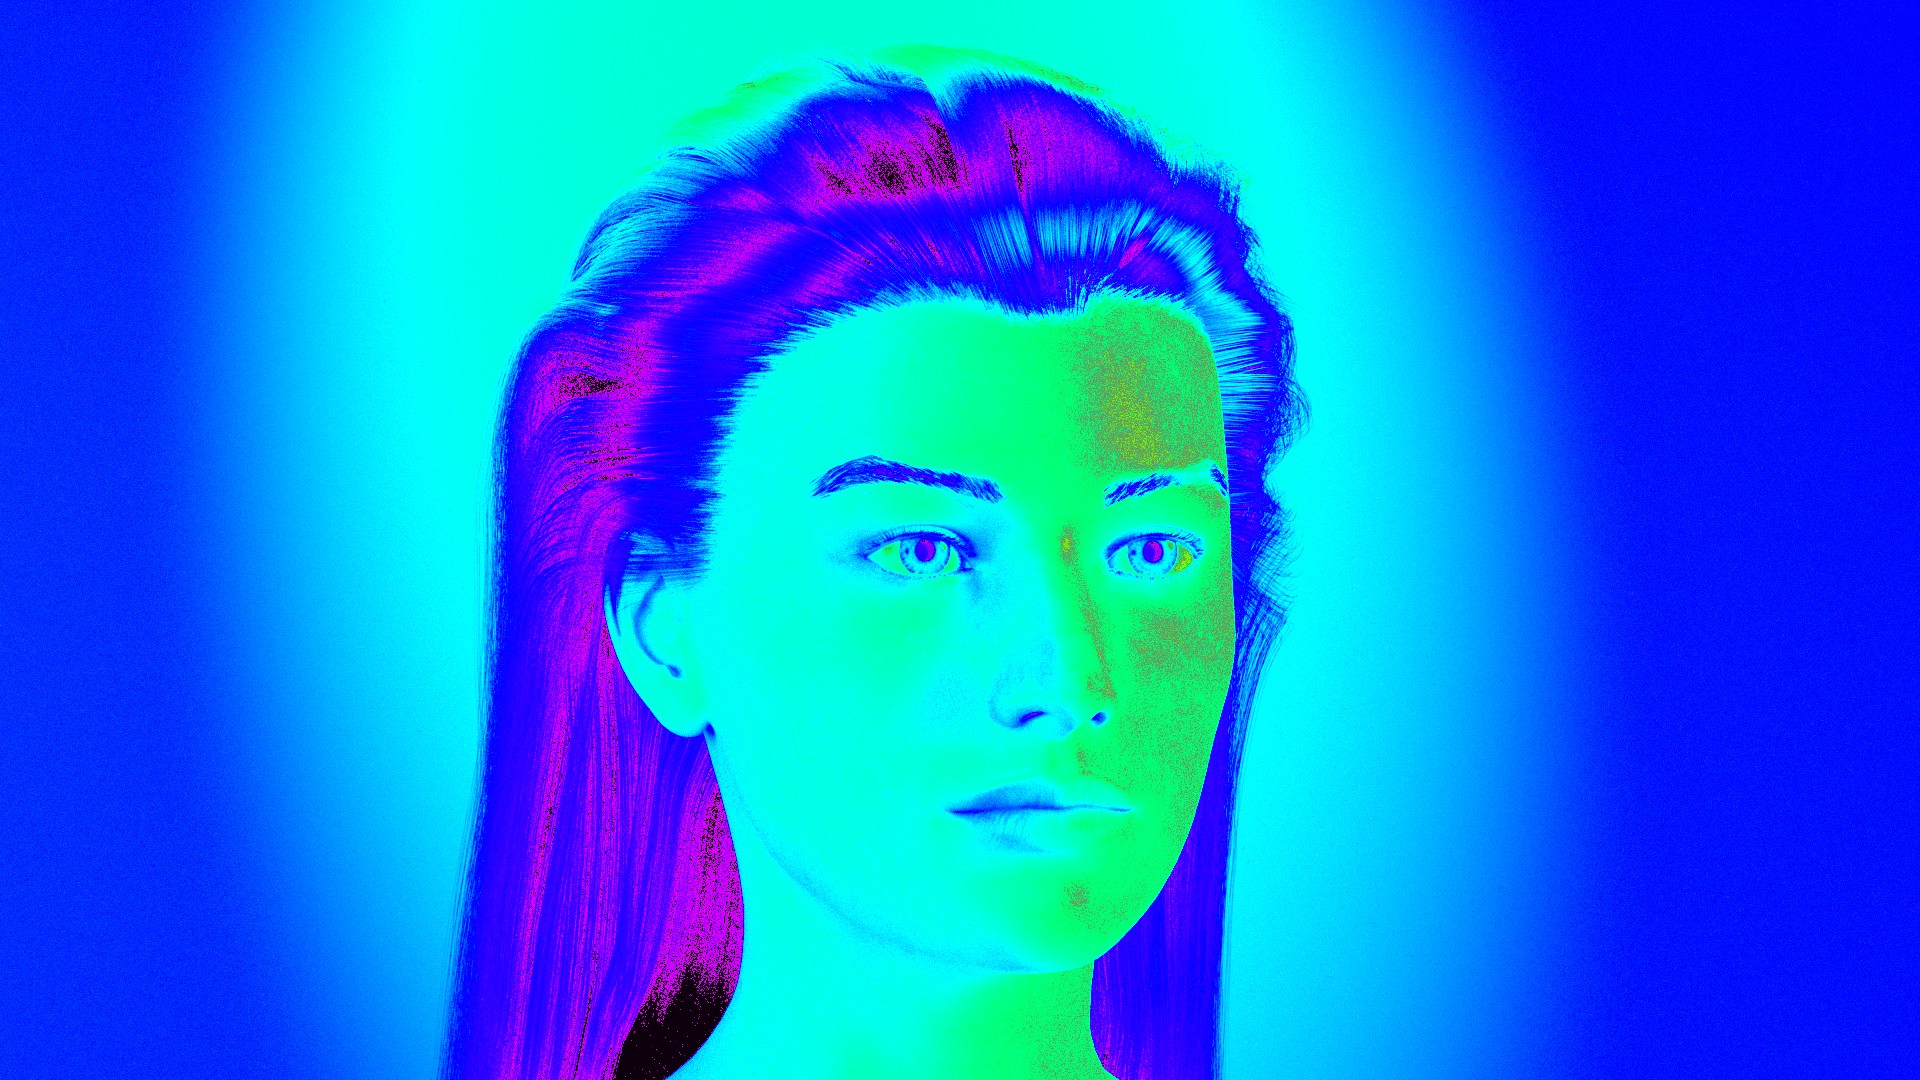
Filmic view transform false color. I’ll use this as art in a modern architectural setting sometime.
I am the world’s greatest hair stylist.
*I learned that from Marcel Delord’s designs where he uses his artistic abilities, non-GI renderers, fake caustics, fake GI, etc. to get a realistic look. http://www.crea-vision.fr/design/index.html
