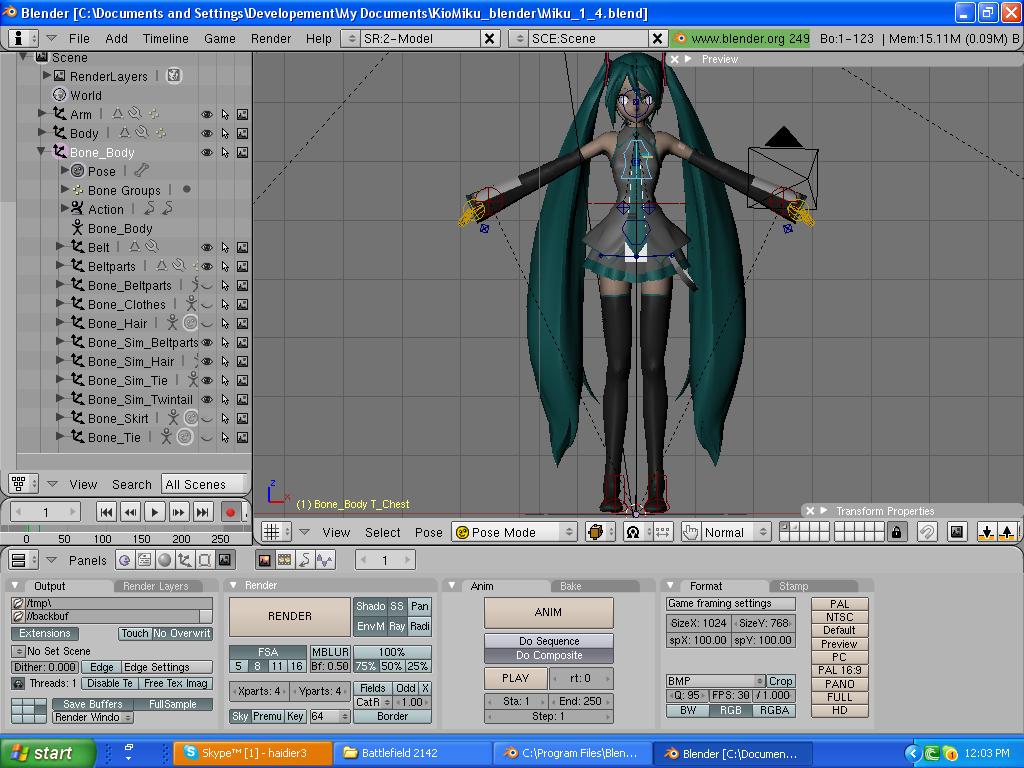
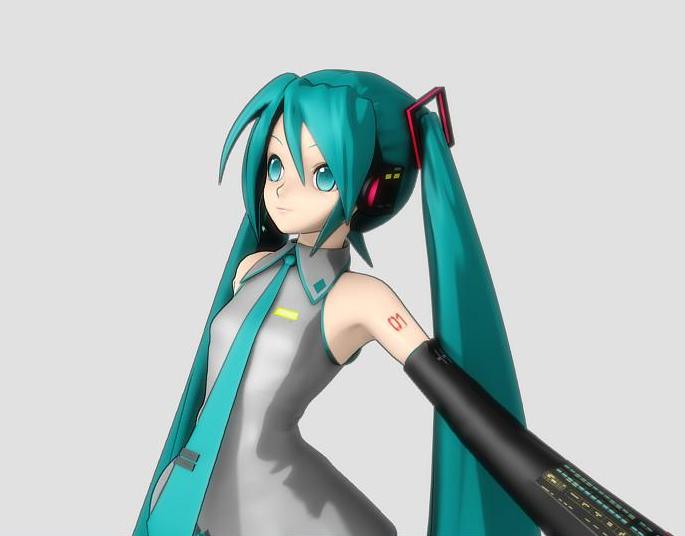
first off, by now ive been posing models for an easy 5 or 6 years, but usually i do it using Carrara 3, but seeing as Blender is obviously VERY superior, i want to learn to do it in blender. heres the model im trying to pose:
ps. this model IS boned, or rigged, whatever you want to say
so here what i want to know:
how to change camera angles (for the main screen and the render camera)
how to select diffrent bones (and how to move them)
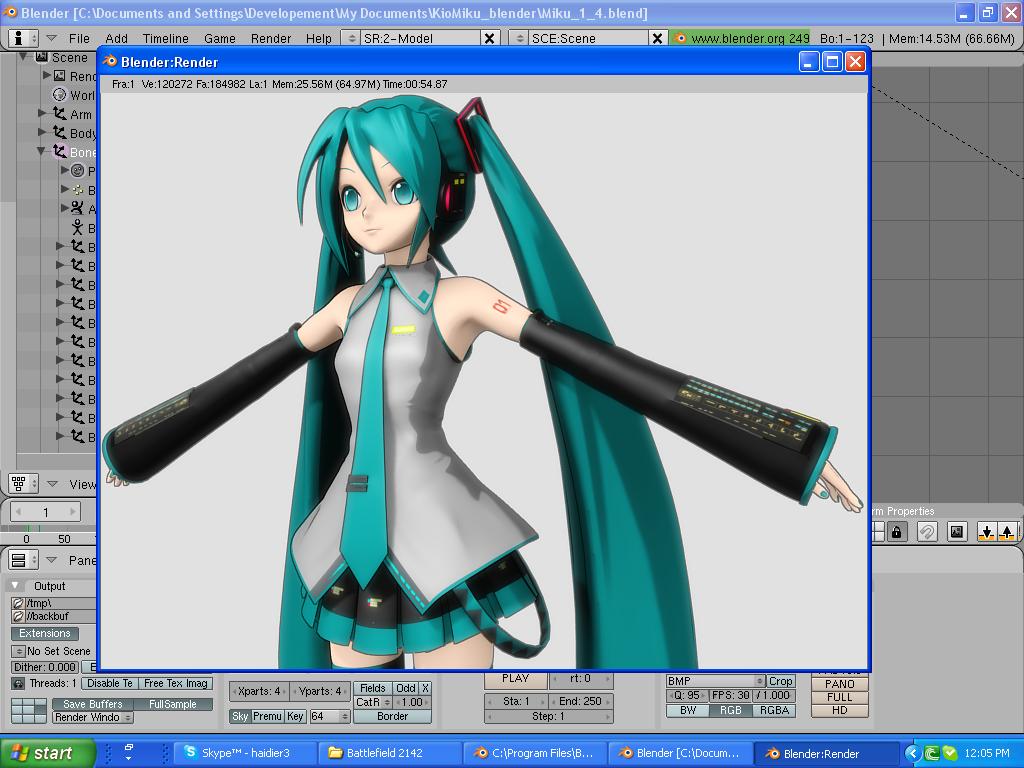
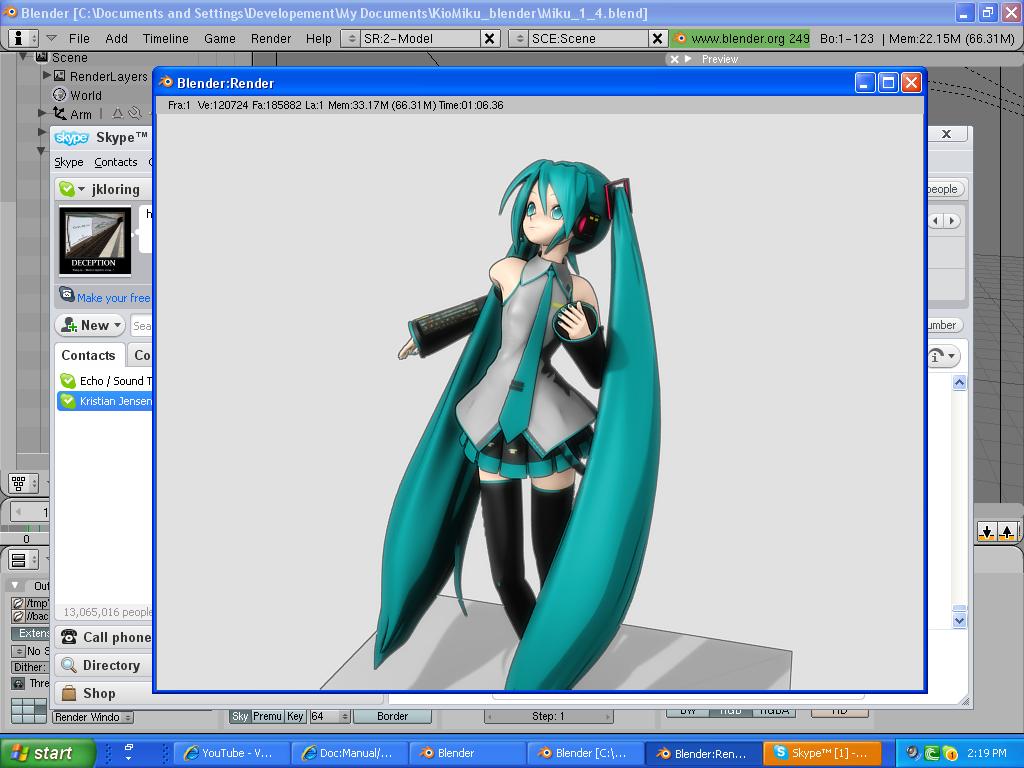
if i have more questions, ill post them, and ill give u a render once i get it posed well ^^
heres the blender wiki entry for the camera, the bottom shows how to change the camera view by rotating the camera or going into camera fly mode.
for the bones question, you need to select the bone object by rightclicking it and editing the bones from it by selecting them using rightclicking them. This tutorial shows how to put together bones, but the bottom shows how to edit them. This tutorial shows the start to end basics of creating an animation using bones. Look at the ‘Animation’ section to jump straight to this since the bone rig has already been made.
I also suggest reading through the noobtopro wiki since youre new to blender. good luck! XD willkeep an eye on how your miku animations go.
Also, where’d you get your miku model, or did you make it?^^
ok, ok, its a simple pose, but im just learning how, and the model is difficult, its much easier and quicker in Carrara, but hell, this renderer rocks!
The render camera is the camera object in the screen. You can select it and move (g), rotate® it like any other object, either while viewing through it (NUMPAD-0) or while looking at the scene through the 3d view.
You can add multiple cameras to the scene, and switch between them by selecting the (RMB) camera then pressing CTR-NUMPAD-0
You can split the interface into multiple windows (RMB on window border), make one of the windows the active camera, make the other windows ortho views (right/left/front), then move the camera object in the ortho views, while viewing the result in the “camera” window.
You can assign a “track to” constraint to the camera (similar to other 3d program’s “look at”), using any object as the target,
As for your posing “exploding mesh”, that is almost always the result of having multiple vertex groups (bones) controlling the same area of mesh. Select the armature (bones), put the armature in POSE mode (CTR-TAB), then select the mesh, and put it into weight paint mode (CTR-TAB), then SH-LMB on an area of the mesh.
A “popu” menu will display which vertex group(s) (bones) are “bound” to the mesh. LMB on the menu item will select that vertex group. You can then use weight painting or the vertex panel (F9) to adjust the vertex weighting. Generally you only want one bone (vertex group) controlling a specific area of the mesh, or if multiple bones are influencing the area, the weights should usually be different. (I.e. a “secondary” bone might be adjusted to have a far lesser weighting than a “primary” bone).
(The armature (collection of bones) must also be in POSE mode so that individual bone(s) can be selected (RMB), while posing / animating.
umm render the bone rig…? i dont get it… ill get u a pic of the umm… i dont even know how to do anything liek that
i started blender TODAY a hour ago, you cant ask me for things like that, ur gonna have to explain better x.x
im just trying to learn how to do this … at least make a single not animated pic…
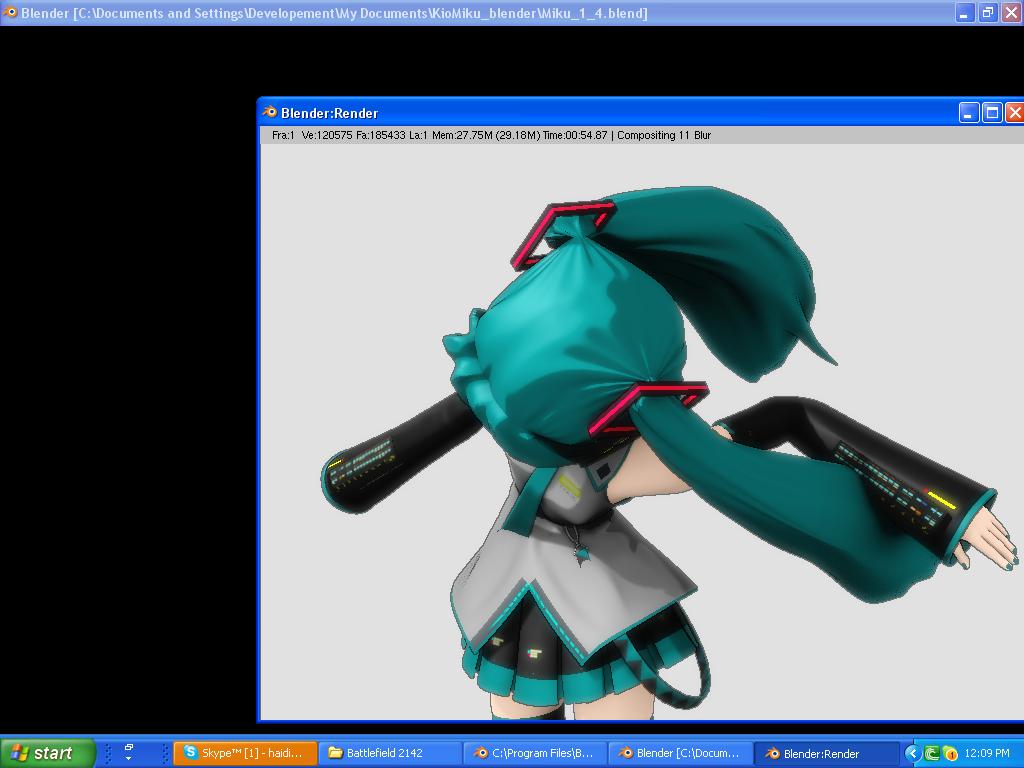
ok… i saw a vid of the origional creator of this model using it, and the hair flowed freely around, i was wondering if there was a modifier to make it worjk on phyisics like that… plz tell me x.x
ps. also if a similar modifier could be placed on the skirt i would apreciate that much ^^
its possible with blender but hair/cloth physics tends to slow things down in blender, heres a few tutorials on the matter: video tutorial noobtopro tutorial
in theorey, to get the physics to work for her ponytails, you would make most of the vertices in the hair belong to the group thats allowed to move (after playing with the settings) and the ring of vertices in the hair by the scalp/hairtie will be assigned to the group that doesnt move. you could do the same thing to the skirt, but you may have to set up the rest of her body so that the hair can collide with it.
I cant explain this very well, i only use cloth physics in blender to bake a new piece of clothing around a body, i havent used it in animations that well.
to be honest tho, in most of the mikumikudance programs ive seen, the ponytails have their own bone structures and you make the hair flow by animating them across time to show wind or movement. Without physics, it takes some thinking to get right (head nods? how does the hair react)
let me know how you are going on with this, id love to see miku’s hair run by physics XD might have to try that my models too someday tehe.
well, i dont really plan to do it in animation yet, just for a freeze frame… becuz i want to get still posing down in blender before i try animating… and also
this is NOT miku dance. this is just a 3d model of miku
and also…
the skirt cant be controlled by cloth physics because there is no mesh beneith it… or at least moslty. and the skirt is attached the the shirt (which has no mesh undernieth) so umm… is there jsut like a sway modifier or somethin?
well, i didnt mean it like that, i know its not mikumikudance, i was just saying how it did it for miku’s hair and i assumed that the rig you got might have bones for the hair too meow, my bad.
that shouldnt be a problem, i mean, the onlyparts of an object change from the cloth physics can be decided for you, so you just set the shirt to not move, or be ‘pinned’. as for the skirt, strange that theres no models under it, i thought the top part of the legs would be there. if there isnt, you can always just make up a simple mesh yourself under it just for physics that isnt rendered^^ perhaps.
im not sure about there being anything like a sway modifier outside using cloth. you can always use cloth in the meantime since its not for animations and only apply it a little so that the cloth sways but doesnt flutter in the wind or have miku sitting down as the cloth would follow gravity^^ hehe.
well, yeah, there is the top of the legs, but the skirt is attached to the shirt (the same mesh) and there isnt anything beneith the shirt, so if i set the skirt to cloth, the shirt would just fall, right? and the peopel would be like… OMFG WTH? ecause she’s just me floating limbs then xD
nah, it wouldnt. as i said, in a mesh you can set which vertices act as cloth and which dont (the pinned vertices). for practical cloth ones, like skirts or sleeves, you need at least some pinned vertices for the cloth to hang from, so having both shirt and skirt in the same mesh for cloth is possible and only get the skirt to move ^.^ hehe
dont give up^^ we all hit instances in our modelling and animations which we have trouble with. lol, ive been working on an animation for like 8 months now, something always goes wrong or needs changed! ^^ you are working with complicated stuff for animations (bone rigs, physic-cloths, high res model) so it will take a while for it all to come together, but it will!
I’m also using this Miku model.
To be warned - there seems like a severe bug in this model (or Blender). If you try to animate, sometimes, the skirt “explodes” and crashes Blender.
 meow, my bad.