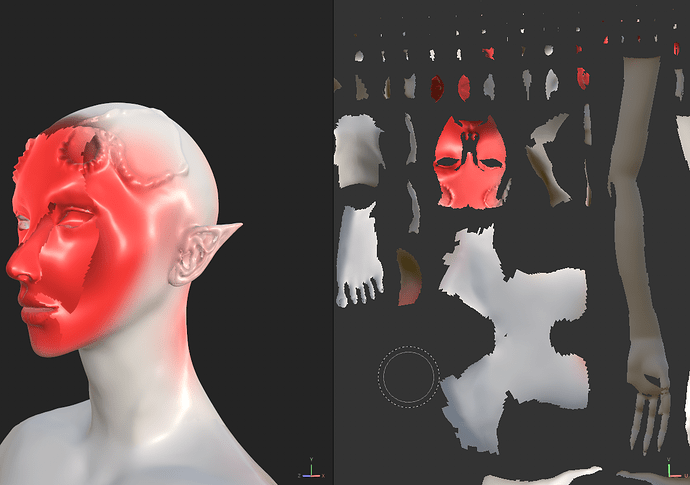
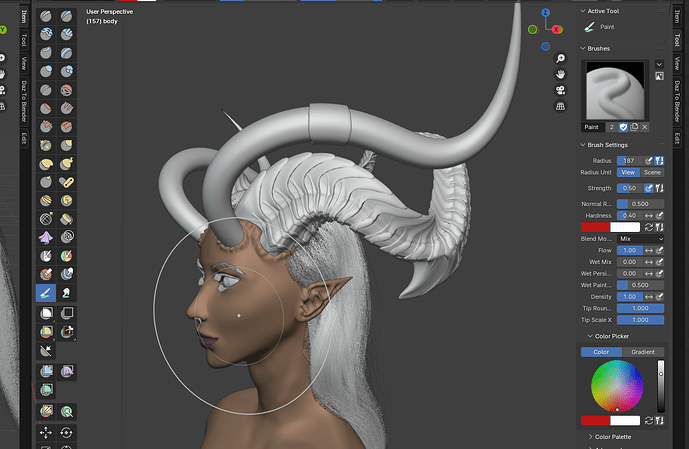
Hi everyone, I’m running into an issue with coloring and texturing in Texture Paint. Has anyone encountered this problem? I’ve retopologized the model multiple times, both in Blender and Maya, but the issues persist. Even when I export to Substance Painter and Mari, the problems remain. Any suggestions on how to fix this?
Welcome ![]() …
…
Check if the polygons are:
- flat shaded
- have inverted normals
- have custom normals.
Additionally: any modifier ? Especially changeing the normal. A normal map with not enough margin ?
Can you select that face in Edit Mode and then in Texture paint turn on Face Select Masking and then test to paint on it?
I see this result a lot with paint on geometry that is pretty dense using Fill tool, but when painting with the default Draw tool it usually has to do with the distance from the model to the view, and I have had luck with resetting my view with the “.” key to View Lock to Active.
Thank you, I tried what you said, but my problem was not solved. When I sent it to Substance Pointer, I realized that the problem is with the Uv mapping.
Most of the characters that I designed have the same problem, this issue bothers me a lot
This screenshot was taken during my Substance Painter workflow, as I had been experiencing an identical problem with Blender’s Texture Paint functionality
However, I’ve found that using the paint tool within the sculpt mode can somewhat mitigate the issue, making it more manageable. My goal is to achieve the most realistic appearance for my character as possible
Are you painting on high resolution sculpted mesh or lower resolution retopologized mesh? Are you confirming your mesh face normals are all correct and nothing is pointing inward?
Painting in Sculpt mode is not the same as using Texture Paint mode but more like Vertex Paint, though the brush controls are way slicker there. To capture that, you will need to do a little prep work on your node tree to combine the texture paint and the color attribute and then bake to a single color map I believe.
Are you generating your UV mapping in Blender or Substance Painter? I ask that because you indicated the issue is related to the mapping, though all I see is a UV layout that doesn’t show the UVs so I assume it to be SP and not Blender for that view.
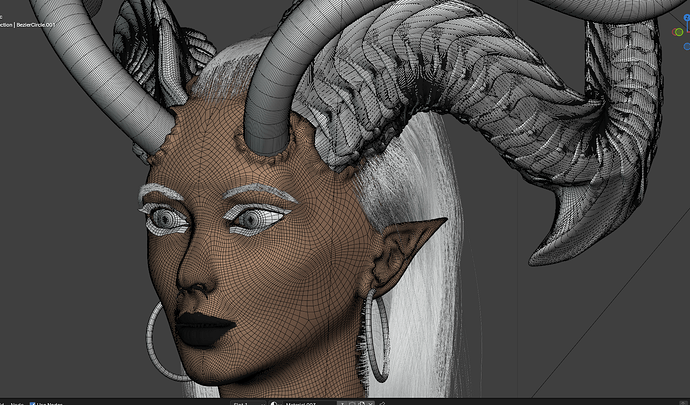
This is the vertex state of my character. After much frustration, I exported it as multiple pieces to Maya, where I performed retopology. Subsequently, I reassembled the pieces in Blender and mirrored the geometry. I am aware that this process was somewhat crude, but I had no other viable option
If you show a blend file maybe to not publish your whole model using:
select the "wrong polygons and use select more ( Ctrl Numpad Plus ) maybe twice, invert the selecting and delete the rest. (maybe only a normal map packed the other are irrelevant)
Then maybe one can have a look and so solve this for the future ??


