Hi!
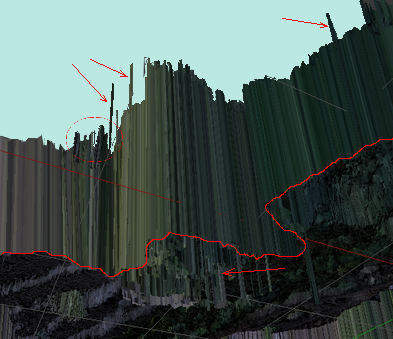
Finally, after almost a week of experimenting i managed to get the model ready for printing. The biggest problem i found with printing these big and complex landscape models is that the amount of detail is just to high and this detail creates sharp edges that cannot be printed, and if they can, they most likely will cause problems when solidifying the model in blender causing intersecting faces. I managed to make the model printable by two separate methods that work very well.
I found that combining meshmixer and blender is the best thing to do when using complex photogrammetry models. Blender is great, but it’s a bit more difficult and time consuming than the tools in meshmixer. My main problem was that after i edited and fixed the model, i would almost always loose my texture.
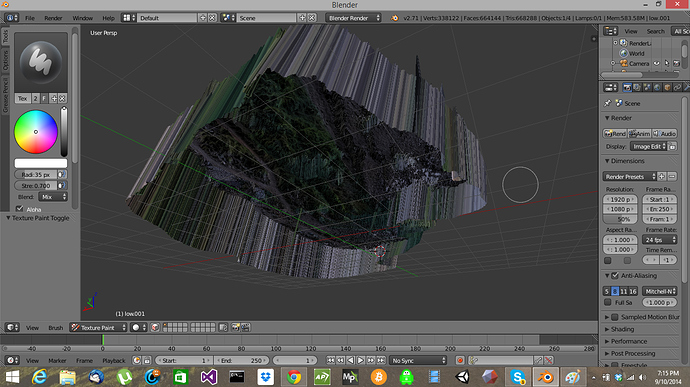
Retexturing the model in Agisoft photoscan after being fixed in blender does not work because blender changes the alignment of the object when exported, which will be orientated incorrectly when imported into Agisoft photoscan.
-First i closed all the mesh holes in the model, retextured with the holes filled, then exported the model as an .obj with texture.
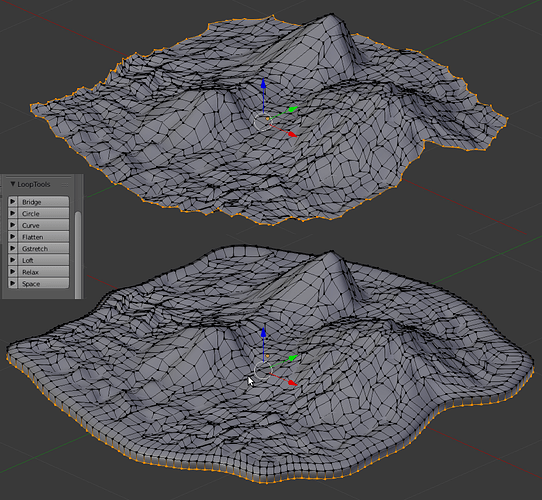
-Imported the model to meshmixer(DO NOT ROTATE OR ALIGN IT), deleted the sharp edges of the model, select the “boundary loop” and smoothen it out 3 times, this technique is the same as in blender with the “relax” function.
-Due to the high polly count, the model has to much detail for the printer to process, so select all (CTRL+A) and CTRL+F to smoothen the entire surface.
-Use the extreme brush to smoothen out the sharp and thin edges of the model.
-Some sharp edges may still be visible, use the volume brush and the fill-faces(F key) to reduce the sharpness. this process takes some time and patience to optimize your mesh.
-From here you have 2 options:
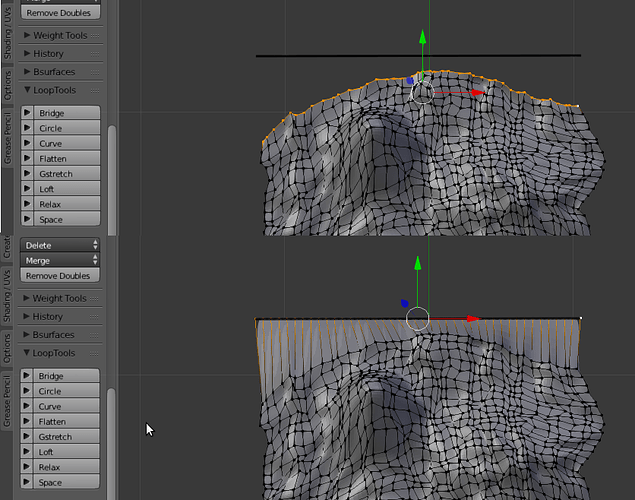
1- Extrude the entire model, or just the boundary in meshmixer. Import the mesh in photoscan to retexture the extruded model. Export the retextured model and load it into netfabb to check it, fixing it in there wont work when you want to preserve the texture. When no problems are found in netfabb, check the wall thickness. Sometimes the wall thickness wont be the enough after extruding in meshmixer, this is mostly when you extrude just the boundary faces. when you extrude the entire model this problem occurs much less often. When the extrusion in meshmixer doesn’t fix the wall thickness problem, go to step 2.
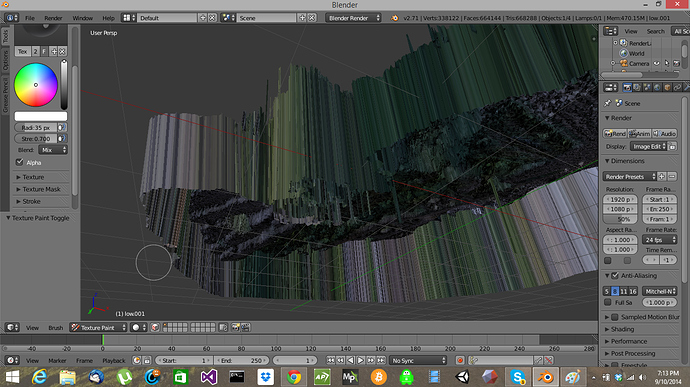
2-You can extrude the model in blender, which is just as easy as in meshmixer. I extrude and solidify the model in blender when meshmixer crashes,which is mostly due to very big files or holes in the mesh,or when the wall thickness does not meet the minimum requirements. Note that you cannot edit cosmetic things is blender because your texture wont be nice looking afterwards, and retexturing it wont work. After solidifying it you will almost always get allot of intersecting faces. I solve this problem by separating the 2 shells and brushing the inner shell until the intersecting faces are gone and thin edges are thick enough. You can separate the shells and fix intersecting faces in meshmixer and blender, it does not matter which one you use( don’t forget to combine the 2 shells after you are done!). You can cut the walls to make it straight and smooth.
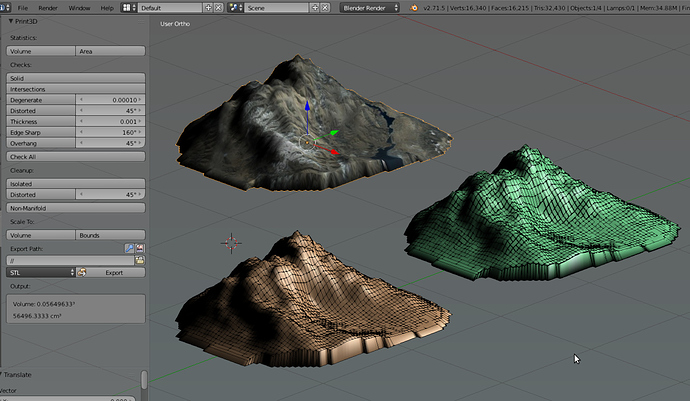
When all this is done, you can recheck it in netfabb or with the blender 3D printing addon.
Now upload your model to your printing website and check with their wall thickness utility if everything is ok, Print!
This looks like allot of text for something that easy, but allot of the smaller steps i left out, if you have any question feel free to ask!
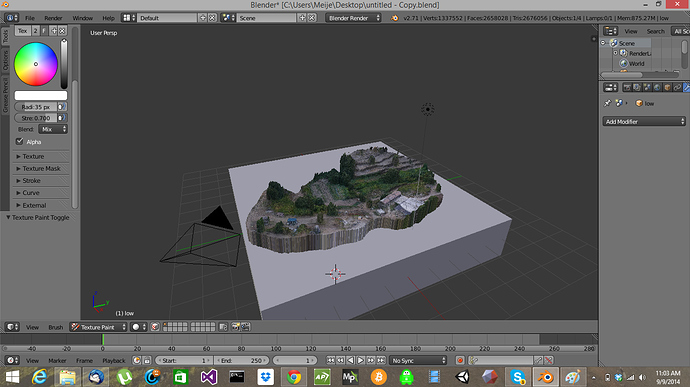
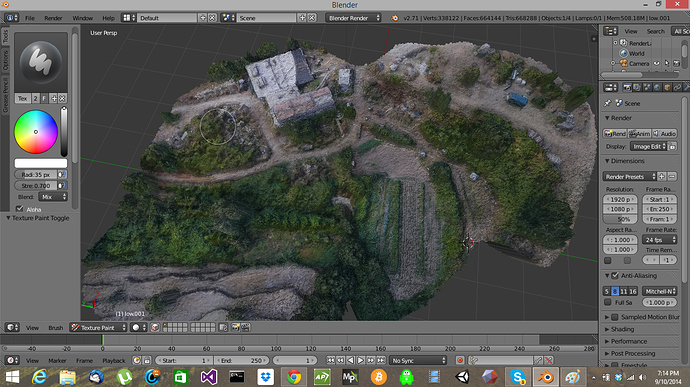
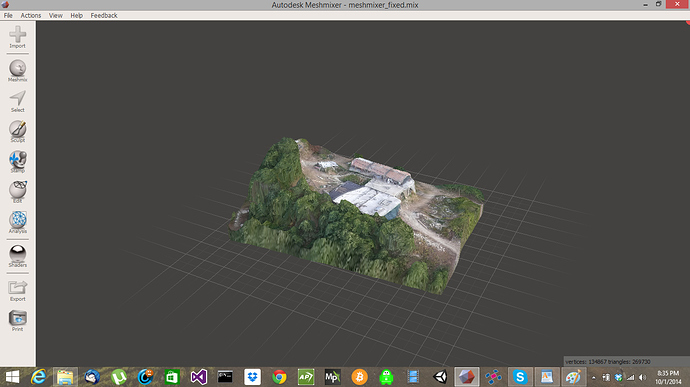
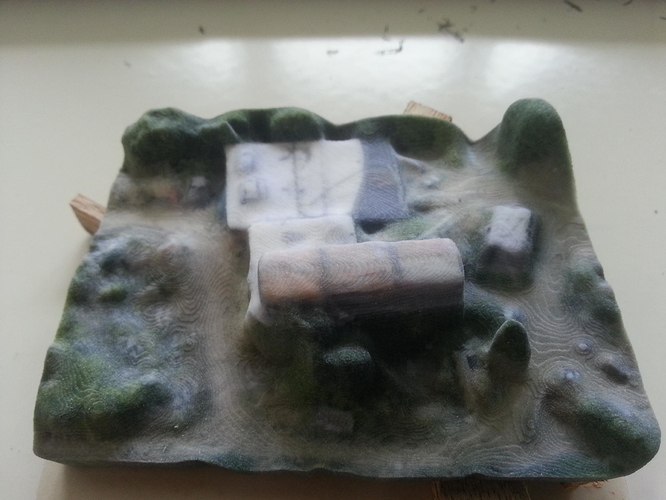
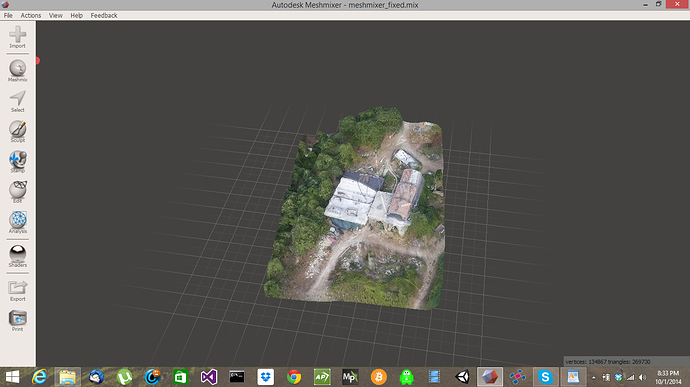
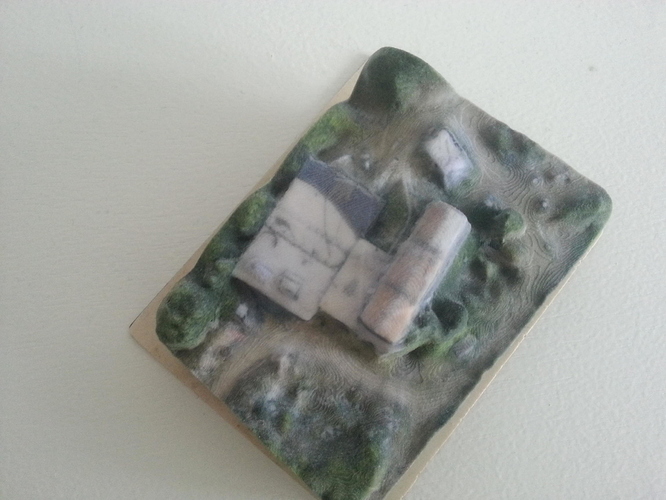
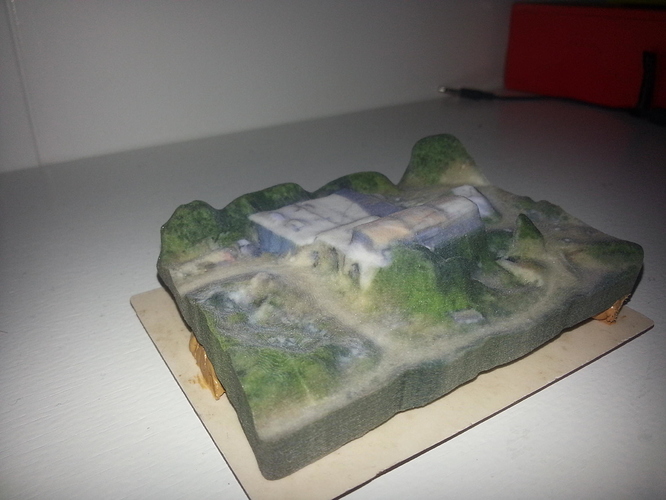
Here are some picture of one of my models.
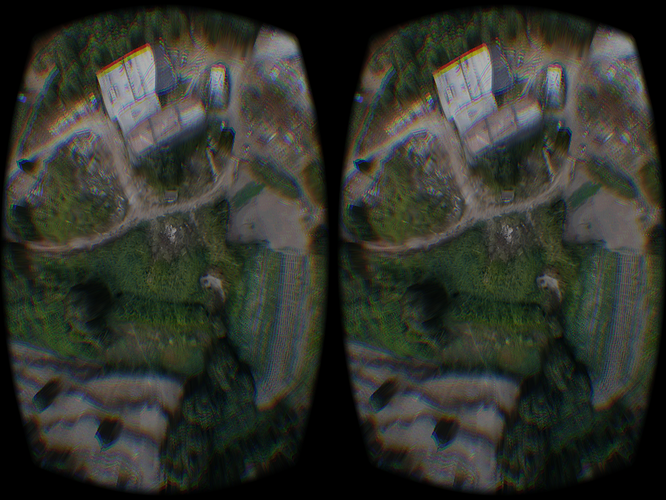
I have also loaded the model into Unity to view the model with the oculus rift from the sky, Epic!
Attachments
