Problem with Animation and Rigid Body

Hi, unfortunately, I don’t have much experience in the field of animation yet. I’ve been trying to solve this problem for three days now, but I can’t seem to figure it out. Even ChatGPT is getting frustrated with me, haha. That’s why I hope someone here will take pity on me and take a look at it.

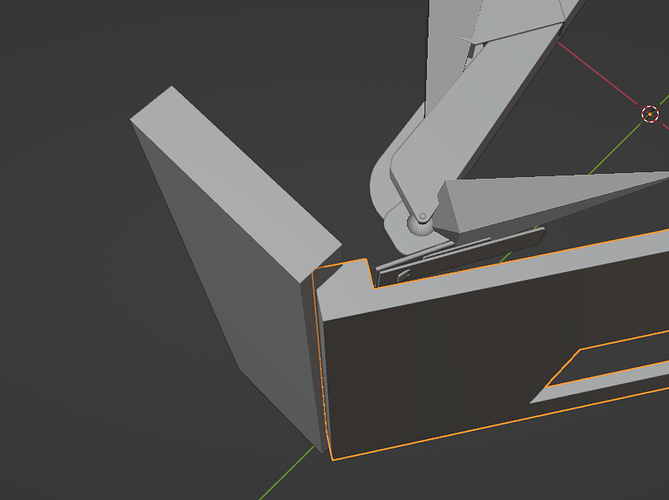
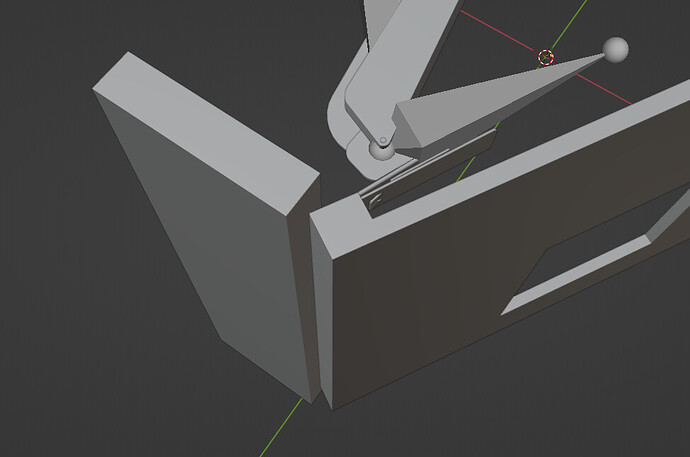
The problem is not the animation itself but the collision between two walls. I’ve tried to solve it with Rigid Body, but I seem to be doing something terribly wrong. Maybe it has something to do with the vertex groups? I don’t know.

I hope someone here can help me out. I’ve attached a simplified file. As soon as you play the animation, the animated wall slides into the other one.

blender_hinge_door_01.blend (1.5 MB)

Thanks in advance! :smiley:

1 Like

Hi,

Sorry, didn’t really get what’s wrong with your animation. Would you mind to explain your problem a bit deeper?

Thanks

Sure ^^ The animated wall is sliding into the side wall here. I managed to achieve it with Rigid Body once before, but unfortunately, I didn’t save the file. Now I’m trying to do it again here, and it’s not working anymore. So, I must be overlooking something silly here, but I just can’t figure it out.

Thanks for the response!

Sorry, overlooked that one, now I see it too.

In my opinion, there’s nothing that might be wrong with the Rigid Body itself, it more about the modeling of your door and placing it at under the right angle.

Hmm, sorry, I don’t quite understand. What do you mean by what might not fit in there?

I need to understand what you’re trying to achieve with your rigid body, may you show an example?

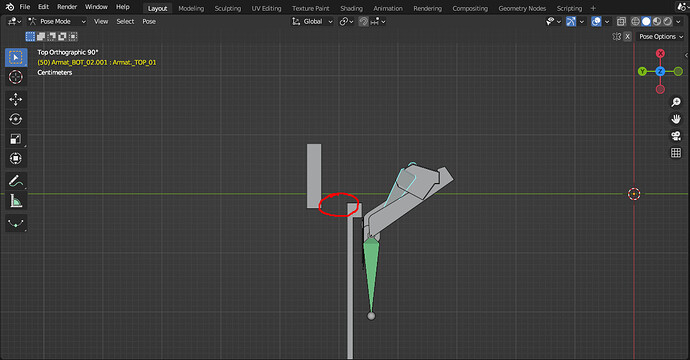
I hope this image can better illustrate what I mean. It should just open realistically and not “blend” together, so to speak.

Combining armatures and rigid bodies doesn’t work. They use two different solvers on different clocks that don’t sync. You need to use one or the other

2 Likes

I don’t think the Rigid Body is the solution. The hinge that you’re trying to make here is a bridge hinge type kind of thing. It’s usually built with a spring suspended system. So when you open the door, the spring pushes the hinge a little to the front to allow a proper rotation.

If you wanna learn all about it, you should have the hinge model ready, so you can see how it rotates or why it rotates the way it is.

But in case you don’t wanna be a hinge engineer or anything, and just wanna a good non colliding animation, just play with the rotation until the door don’t collide with the wall.

This is as far as I can go. I’ll send the Blend file and see if it’s what you’re looking for.

blender_hinge_door_02.blend (1.4 MB)

However, I’m still not sure about the huge gap between the door and the wall when it’s open.

3 Likes

Thank you very much, the explanation has helped me a lot to understand how this is even supposed to be pulled out.
I’m just wondering how it’s supposed to open up. So, the spring is there for that, yes. But how do I do that in the animation? I can’t just move it, can I? Only rotate it, but with my object here, I don’t understand how that’s supposed to work.

Or maybe it can’t work the way I’ve done it? It’s actually hitting both walls directly, so I can’t rotate the bones or objects at all, right?
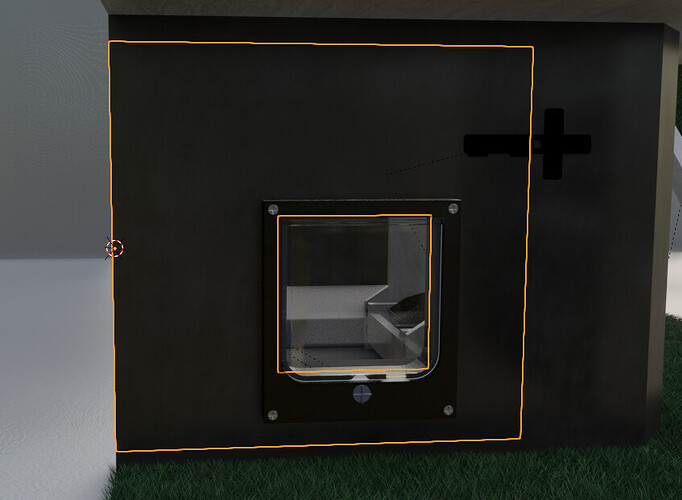
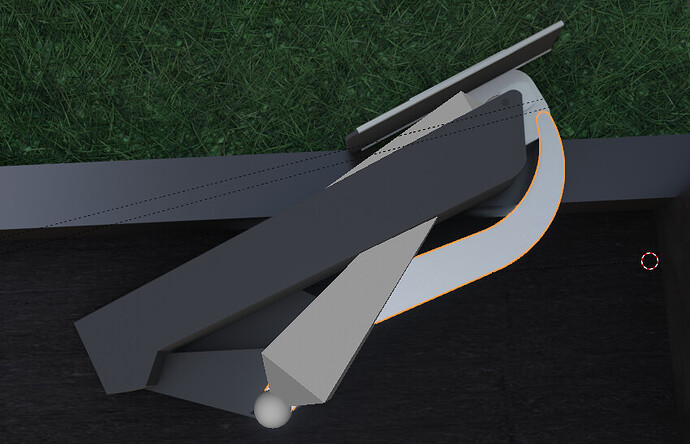
Here is my original work:


(orange is the wall that should open here)

Something would need to be pushed out directly (like the feather), and that’s what I don’t understand how to do in animation. Maybe you could explain that to me; that would be very kind.

I really have no experience with animation, and especially not with these hinges, but I found them really cool and wanted to use them here.

1 Like

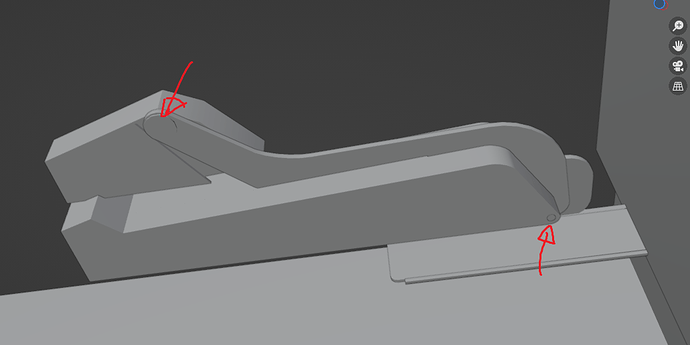
What you’re dealing with is probably a four bar linkage (or even a 6 bar linkage). But it’s impossible to tell on your model, because there are only 2 joints visible:

Do you have a more detailed version of the hinge by any chance? If not, you will probably have to eyeball the rotation as suggested by @Sandtail
Otherwise, you could take a look at this tutorial by @levelpixellevel on how to rig a 6 bar linkage:
https://www.youtube.com/watch?v=sp7XGs_yhto

And if you really want to do it with rigid bodies, you could take a look at Rigid Body Constraints

@Sandtail I doubt that the spring is used to influence the rotation of the door. They will just hold the door in a rest position when it’s closed.

1 Like

Well, first of all, what is the object that you’re trying to create here? I know it’s a door like structure, but is it a house door, or more like a cabinet door. By looking at the size, I’m still guessing that it’s a cabinet, but by the way you’re presenting it, it looks very much like a house door.

Second, where do you see this hinge structure? I mean like, it seems to me that the model is pretty solid, and it doesn’t seem imaginary. So I’m guessing you must have a pretty solid reference. It will help a lot if you can share the reference for this hinge model.

Third, it will help a lot if you can share the original Blend file. It seems that the one you’ve sent earlier is pretty different than the one in your render.

2 Likes

Thank you so much for all your answers. I know it’s a bit confusing with the door. Actually, it’s a lift-up hinge and not suitable as a door. But I found it kind of cool, so now it’s intended to be a door for opening. The whole thing is supposed to be a cat house.

So I’ve been trying this for hours now with different options.

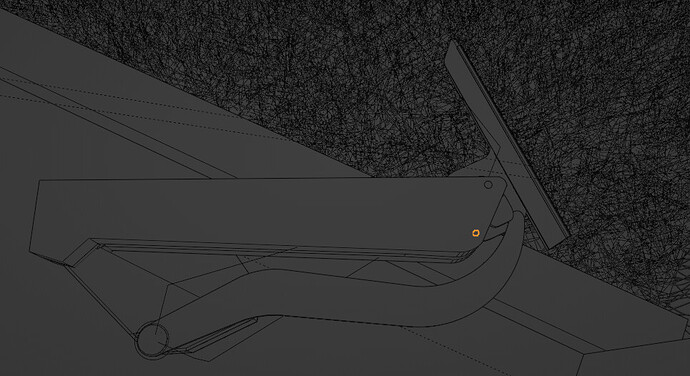
Afterwards, I saw that I had positioned this curvy metal part incorrectly, and I think that could be the problem. I would like to try it out to see if that really was the issue, but I just can’t manage to do it haha.

Like this is correct so far:

I would have to rotate it here, like, two times: once connected to bone a and the other time with the second bone. I’ve left it as it was in the beginning now. The metal part is connected to bone 1 and is completely painted red using auto weights.

So somehow, I now also have to connect it to bone 2, but in such a way that the lower part doesn’t rotate along with it.

Here, the metal part should rotate along with the thread, but it doesn’t because I just don’t know how to connect it. So, connecting two objects with two bones and an armature. Maybe that’s not even possible. Do you know which method I could possibly use to solve/try this?

I don’t know if anyone understands what I’m trying to do because I don’t even know what I’m trying to explain myself. My brain doesn’t seem to be functioning properly anymore. That’s probably why I can’t find a solution; I don’t know how to explain it.

Oh, and about the Blender file… well, it’s not that easy to export right now. I currently have 6 million edges, and it’s causing quite a bit of lag. I need to optimize it first, hahah :skull:

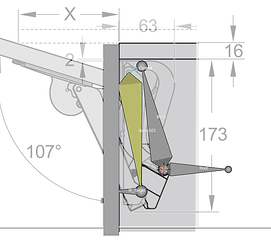
And here the hinge: https://immerag.ch/brand/PEKA/%2B%2BCerniere-sollevabili-PEKA-FREEspace_64.7290

2 Likes

That’s a four bar linkage (a double rocker in type to be specific).

There are different ways on how to rig them. Here’s an example (just rotate the Control bone):


FREEspace.blend (334.1 KB)
I found some “blueprints” but the position of the joint where the IK_Target sits can’t be seen. I just had to approximate it so there’s some slight error in there.

2 Likes

Damn, my guess was correct the first time around. I saw it from the bottom side, and it made much more sense.

The thing is, I guess you need more bones to do this. @Zebrahead did most of the research, so kudos to him actually.

This is as far as I can go for now.

blender_hinge_door_02.blend (1.8 MB)

It’s exactly the same thing as what he did, but I wouldn’t rely on IK so much for this kind of thing. You will need to move around the objects a bit to get a proper rotation, but what you did is actually already pretty solid.

And, as a side note, you don’t need to use auto weights or weight painting at all for hard surface stuff like these, because you would want everything in red (Value 1).

You can parent it to the rig with Empty Groups, and then go to Edit Mode, select all the faces (shortcut A), and on the Vertex Groups just select the bone you want the object to be parented onto, and click the ‘Assign’ button, and voila.

3 Likes

Wow, I am amazed! You guys are incredible! I am soooo grateful. And above all, thanks for the Blender files. Now I finally get it. Haha, thank you all, you are brilliant. :brown_heart:

2 Likes