Hello. This is my second day using Blender and I’m having trouble with UV Texturing.
Before that, I had never used Blender and similar programs to work with 3d models, since I worked mainly on 2d games. But right now I need to draw a couple of textures for some simple geometric shapes, and I started simple by selecting a cube.
I generated a UV-map of a default Blender cube with Smart UV Project. Set value 0.008 of Island Margin (which is what most Blender users suggested) and then exported it at size of 1024x1024 in order to paint my texture over it in Photoshop. I started with something simple for testing and chose a simple chess grid.
But already after opening this UV-Map in Photoshop, I ran into the problem of inaccuracy of the borders of the sides of the cube. As a result, I did not quite understand where the exact border of the texture should be. (As you can see in the screenshot, the borders of the sides are not exact and equal of 2 pixels).
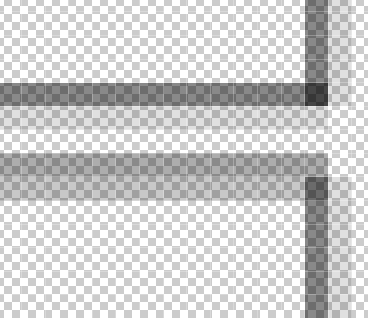
I decided to draw the texture right on top of these borders (screenshot below):

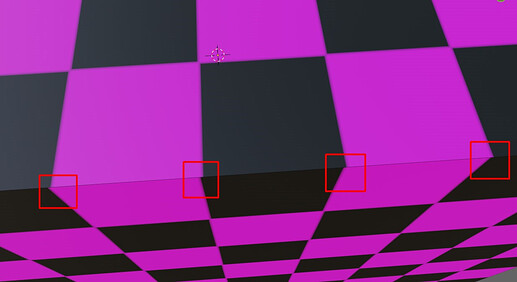
But after exporting this texture to Blender and applying it to the cube, I noticed a slight shift in the chess grid cells, which you can see in the screenshot:
After that, I looked at how it looks in the UV Editing tab and noticed that the borders of sides that is shown in Blender is slightly smaller than the texture itself, but the protrusion of the texture beyond the UV-Map border is different depending on the side (shown in the screenshot below):

I decided to reduce the texture by 1 pixel on each side in order to fit the texture exactly into the borders of UV-map. But after checking the result in Blender I got confused (check screenshot below):
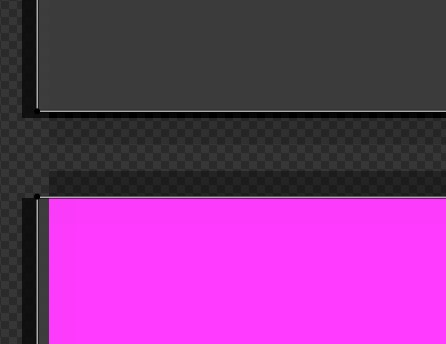
I’m confused. Why the UV borders in Blender are different on each side and why they are not equal to pixels in Photoshop.
For a final check, I just took the original UV-map I generated at the beginning in Blender using Smart UV Project (screenshot below)
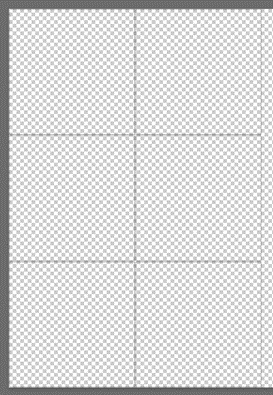
and opened it in UV-Editor, in order to see how accurate the original UV-map itself is. And the results are:
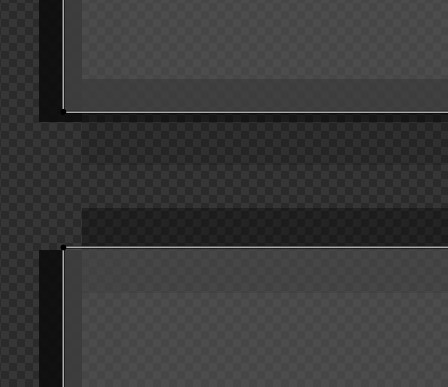
Why the original UV-map generated by Blender does not match the UV-map in UV Editor. Like what, how is it even possible.
How do I get the generated UV-map to be accurate with the real UV-map in Blender. How do I understand to which borders to draw texture, etc.
Im new here so I apologize in advance for the bad explanation.
