Hi !
<b>character animators</b>, i made a <b>face rig</b> like Jpbouza`s <b>Blend-rig</b>. now i face a problem with <b>weight painting</b>. when i paint a single bone area, then the color spread to other bones area. <b>how i paint the specific area</b> ? ..........:confused:
Attachments
by going into edit mode,the proper vertex group will allrady be selected when you created it by painting in weight paint mode. select everything and remove, then assign only those few verts you want assigned with it. This step won’t be mirrored though, so do only one side, then later on, use the copy weights script to paste evertying over to the other side. works for me.
Looks like a complicated rig, these are popping up like springflowers. Mind showing more of it?
Hi,
FreakyDude,
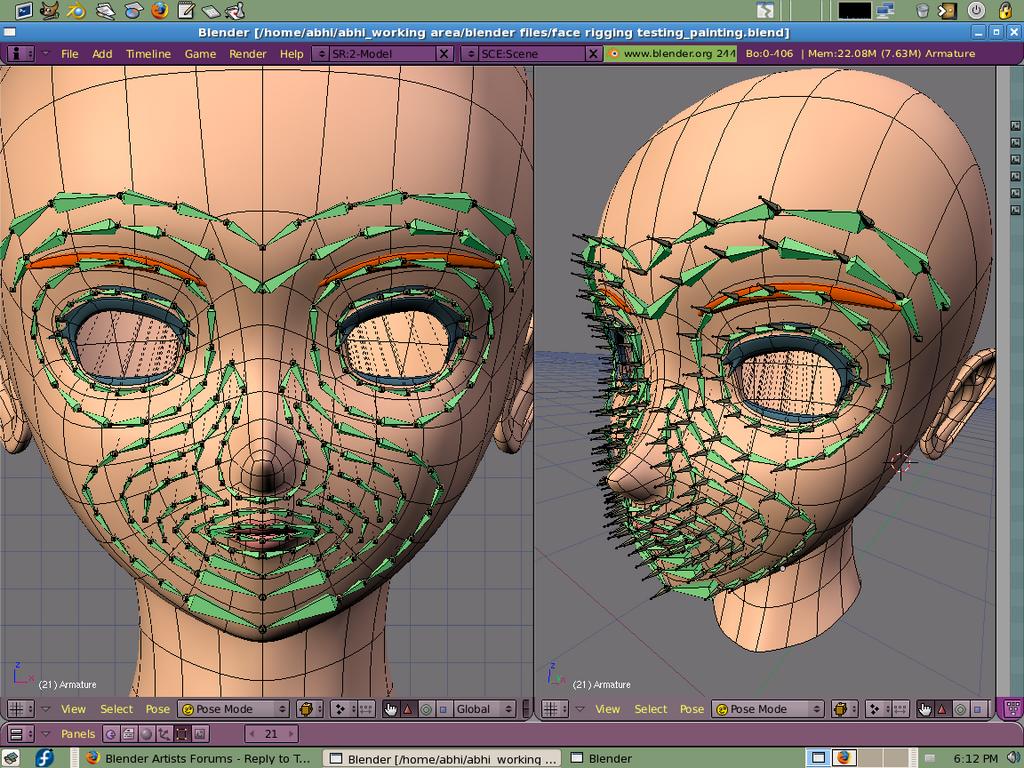
this is the model and if i want some further help about this,can i send you private message?
Attachments
i think this armature is very complicated, so i remodeled the armature.
Attachments
yeah sure you can pm. I won’t be home for most of the weekend though, but if you want to manually assign the vertex groups, add an armature modifier to the mesh, fill in the armature’s name, go to weight paint mode, and then:
- select one of the bones(armature is in pose mode)
- start to paint
-if the button window is in the editmode buttons, you’ll notice a new vertgroup with the bone’s name will be created, which means you have some vertex assigned. Doesn’t matter which ones, you’ll remove them anyway.
- go to editmode (tab, also in weight paint)
- select all the vertex and remove them from the active vertex group(NOTE this should be the active bone you’re trying to paint to)
5.Manually select your vertex, type in the amount of weight you want them to have in the option in the vertexgroup buttons area, then hit assign.
- repeat this for other vertex you want to assign with another weight value.
- repeat this process for the next bone.
Do only half the model this way, then copy/paste the weight over with a script afterwards. Gotta go now.