I’m used to use the command Sweep in Rhino, and the results are as expected, and simple.
However, I can’t begin to understand how to sweep in Blender. I know one must use a curve, and in the Bevel tab, choose Object or Profile. If I choose Object, I must rotate my object curve in Edit mode (randomly in my opinion), and never seem to get the desired output.
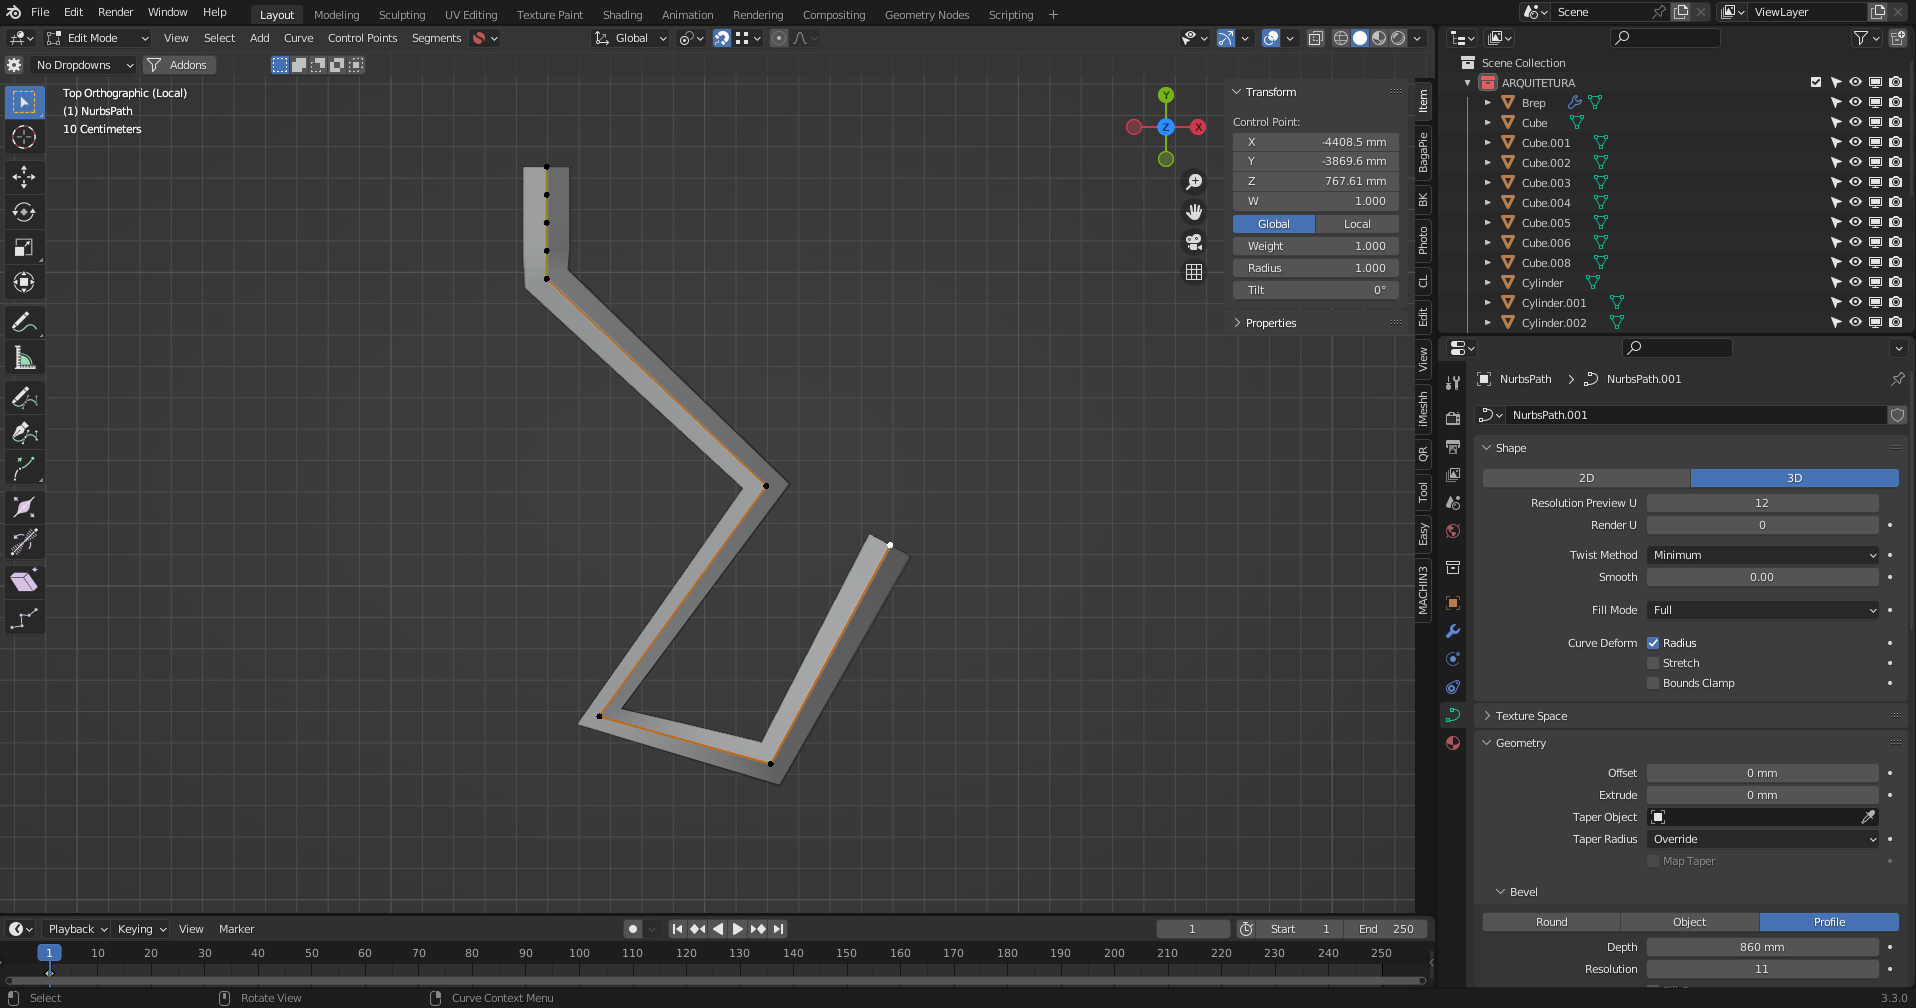
When I choose Profile, each vertex seems to add a certain “weight” to the sweeped profile, as can be seen in the picture. What am I doing wrong?
As far as i understand this blender only tries to rotate the profile along the curve… this is often not what
someone wants only using straight lines… but there ared different solution for example with Geometry Nodes… (didn’t directly found what i was remembering…)
I’ve watched that video several times, but when the time comes when one needs to rotate the profile is when I give up (and he also struggles with this too).
And his shape is closed, which avoids the “weight” problem I mentioned earlier.