Well// you might just look at the opacity image map… i also wonder why it uses color to connect to alpha… try alpha ? or play with any alpha converters… ???
Okay, I figured it out… There was an HDRI that weights 1.03gb and it packed it… I deleted it now and it’s just 9,5mb and it should work now… I used WeTransfer because the file is over 5mb now. If you could look at it I would be grateful. Thank you for helping.
I don’t know why it uses color either, but playing with alpha options doesn’t really help the issue. I uploaded the file and it should work now properly so maybe if you’re willing and have energy and time, you could look at it ![]() Anyways thank you for help!
Anyways thank you for help!
hey, the problem has nothing to do with textures or materials, even with just a white princibled shader the problem still persists.
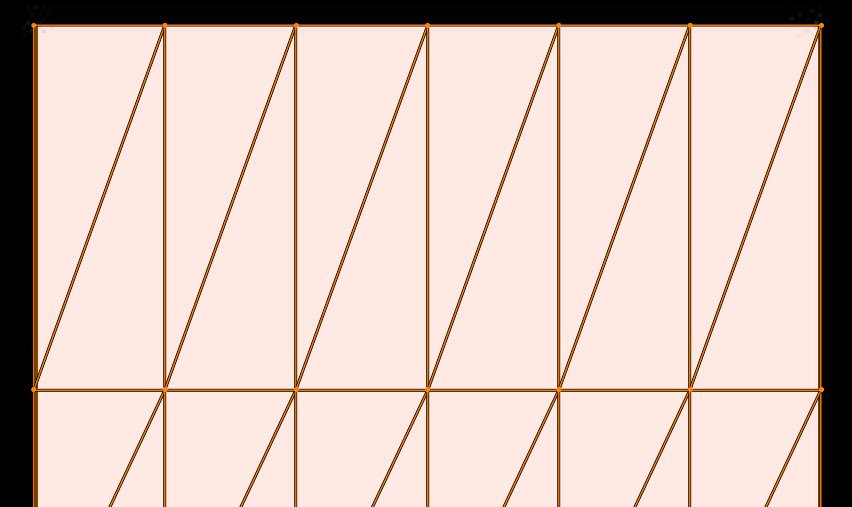
The problem seems to be that speedtree exports with two faces per triangle, one facing upwards/outside and one facing inside, something that is impossible to achieve with the blender edit tool and somthing the blender shaders really dont like, because faces are visible from back and front and are the z-fighting with each other.

I tried using the backfacing node in the shader to solve that issue, but for some reason that doesn’t work in this case. There is a thread with someone who had a similar issue but its pretty old.
The most elegant solution would be if speedtree’s export settings could be changed to not include these faces, but I don’t use speedtree and have no idea if that is possible.
Unfortunatly I was not able to think of or find a simple way to do it otherwise.
You could do it manually:
- go into edit mode
- sheck that x-ray mode is off
- change selection mode to face mode
- hide everything but one leaf
- look from the bottom up
- select all visible faces with box select
- delete them
- unhide the other stuff
- repeat steps for all leafs
writing a script should be possible, too.
If the two faces overlap consistently, just select all, press M, choose By Distance. Done in two clicks
that is not possible because the faces share vertecies, merge by distance does nothing
Hello! So, you were right. I had the wrong settings in SpeedTree! I disabled two-side option and exported the model again and the leaves are fixed now! Thank you so, so, so much! I can’t tell you how grateful I am!
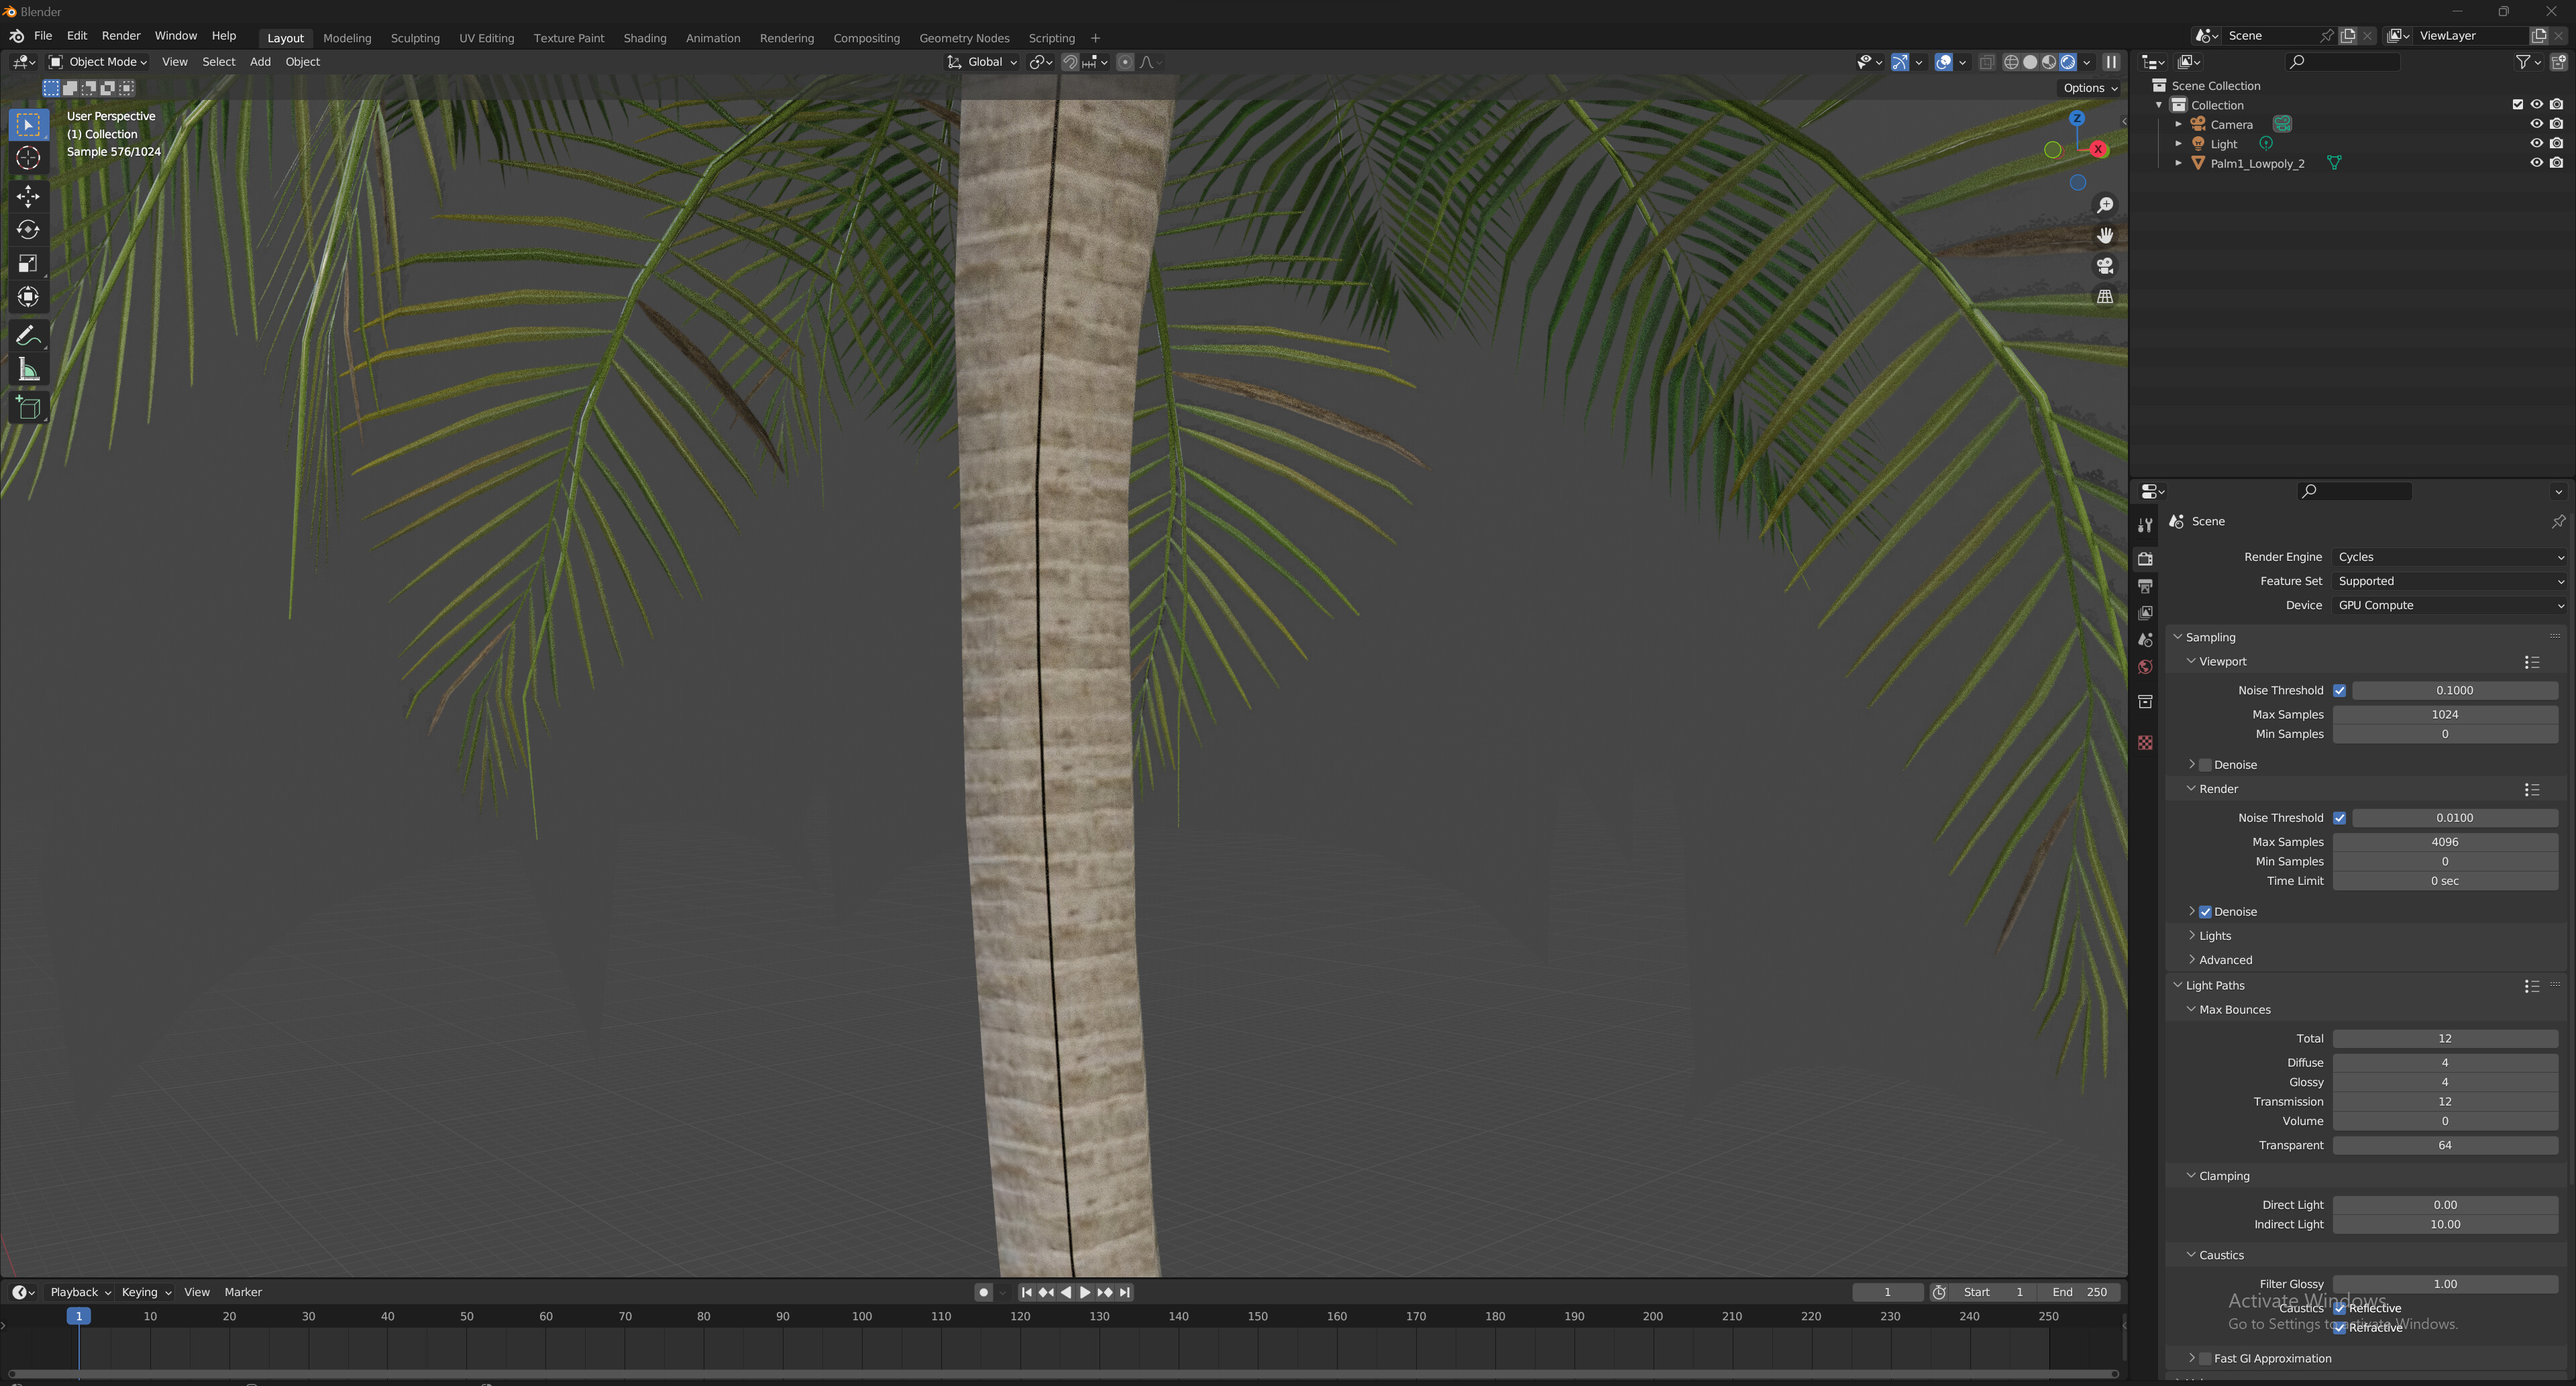
There is unfortunately just one more thing that doesn’t work tho - when I import the mesh, there is this “cut” in the middle of the bark. There’s no such thing in SpeedTree. Do you have any idea what could be the problem here?
Thank you for the reply, unfortunately this didn’t do it. @leonkax was right and I had to to fix the settings in SpeedTree.
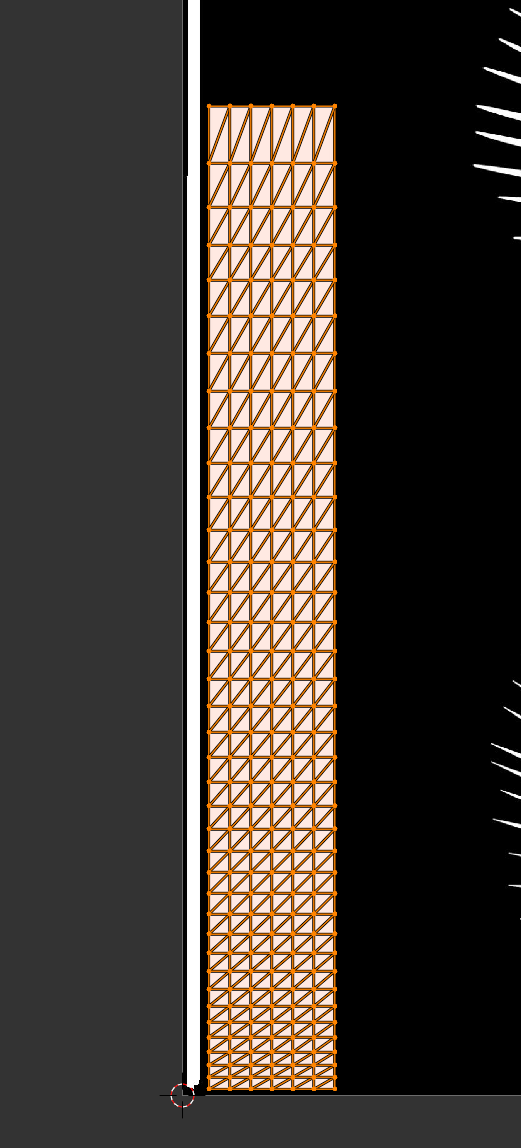
the UV-map of the stem seems to not be perfectly aligned with the opacity map. I have no idea what could cause that.
To fix it just go into the UV Editing tab, select just the stem, select palm1_lowpoly_Opacity and scale the UVs it in the x axis until its completly in the white shape
Edit: phrasing
1 Like
I love you man !!! Thank you so much for help, it fixed the issue. Now I get to have a 20k model instead of a 400k!! Can I repay you anyhow?? I’m so, so grateful ![]()
glad I could help ![]()
1 Like
Hey man! I hope I’m not annoying you too much. I got a new problem that was previously mentioned in this thread but I was wondering if anything else was done about it.
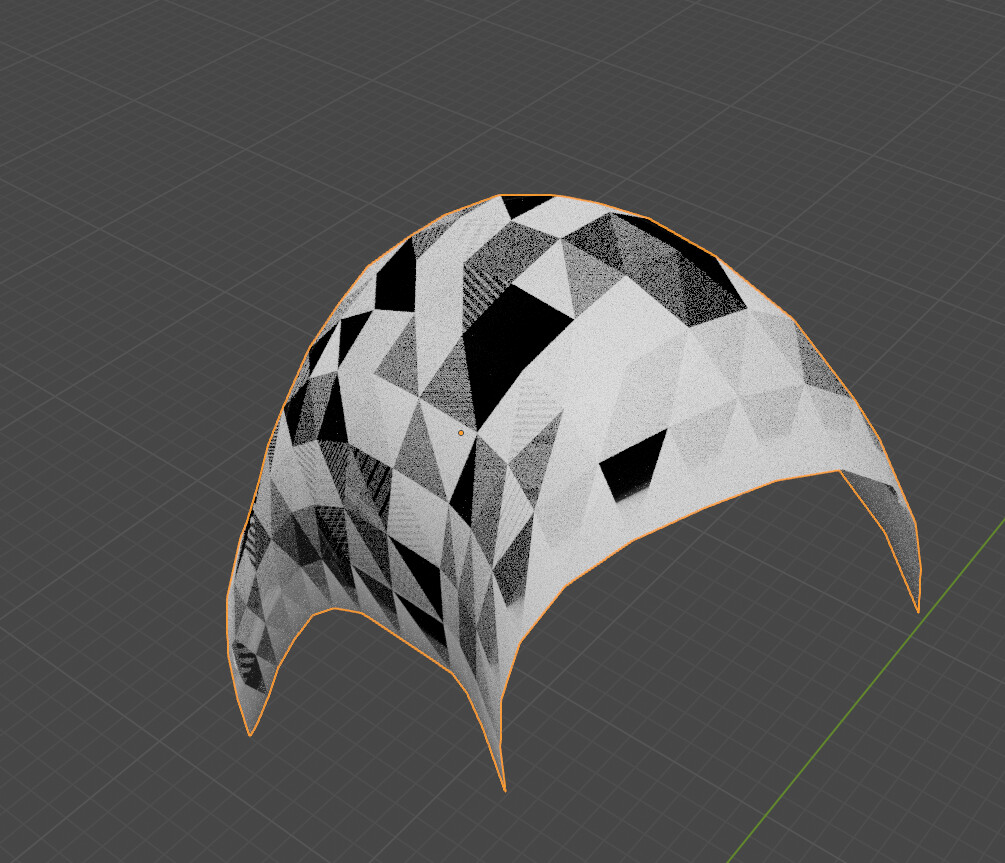
I have a problem where the imported palm trees (that you helped me to fix) show these black spots near the core. I know raising transparent light bounces reduces the black spots (thanks to @joseph), but that also raises the render time significantly. Do you know if anything else can be done about them?
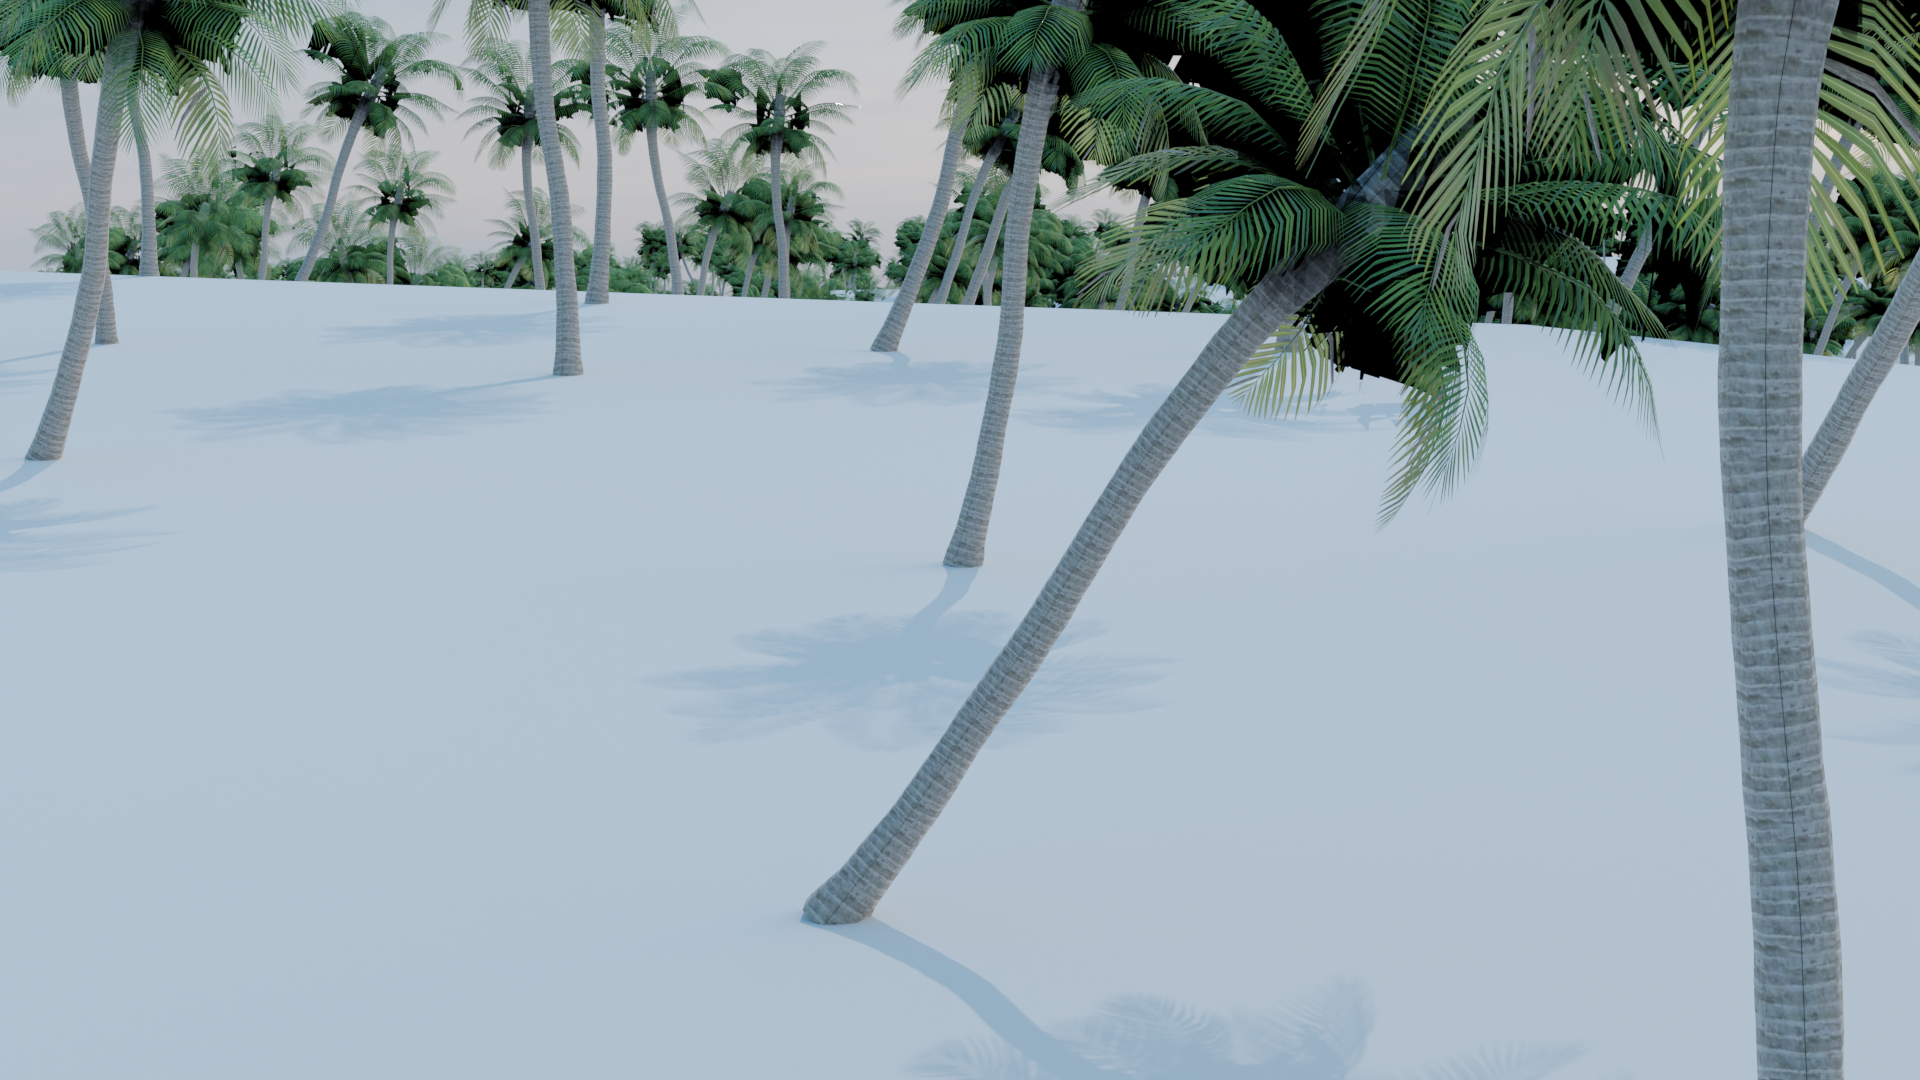
This pic is rendered with transparent put on 8. On 64 it’s completely reduced, but the render time is more than twice longer.
I’d be so grateful for any help.
Cheers!
I would find the lowest possible transparent bounces number that works- 8 is too little, 64 is too many, try 12 or 16
lies! lies i tell ya, lies! ![]()
okay, mebbe not. don’t be like me and throw 64 to 128 at everything ![]()
1 Like
Hey man, I had to start a new island because the other project got so messed up. I has the same issue again with importing this model of a tree, but for some reason this time it doesn’t work. I make the changes in the UV editing tab and the difference can be seen in the edit mode, but when I switch it back to object mode, the textures look the same. Do you know what could be causing this?
44 seems to do the trick in this case:)
damn why do you do this to yourself, usually 12-16 is enough no? haha
probably… i do have presets for 12 (in all) and 16 (in all) . but it is fun to throw silly numbers at solving a render too. ![]()
at the top of my head i can’t think of much.
- Are there multiple uv maps present?
- When you go back into editmode, has the uv map also reset?
I think there is a bit more clarification needed to answer properly. It might also make sense to post it as a new question. It might be an unrelated problem from your previous question ![]()
1 Like
Okay, I will start a new thread, thank you!