Procedural castle with geometry nodes

So, first, it’s not only related to the fog, the idea is to recreate the whole scene.
the main inspiration comes from here :

But it seems that they made a lot of things simpler in the meantime.

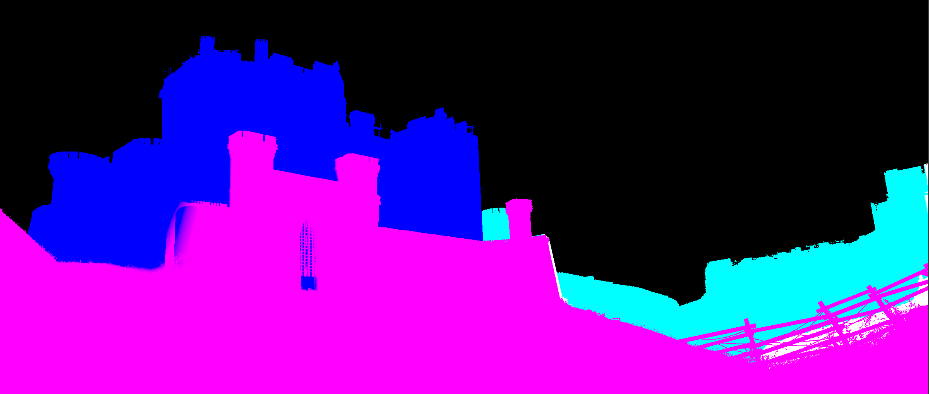
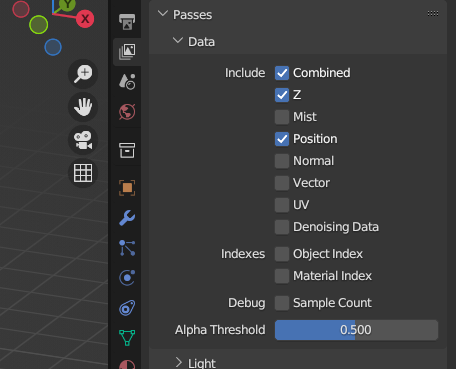
First we need two renders, the actual render of the scene and a position pass :
image

The position pass looks like this :


and it’s basically the pixel’s position in 3D space.
I export both images in .exr (other formats won’t work).

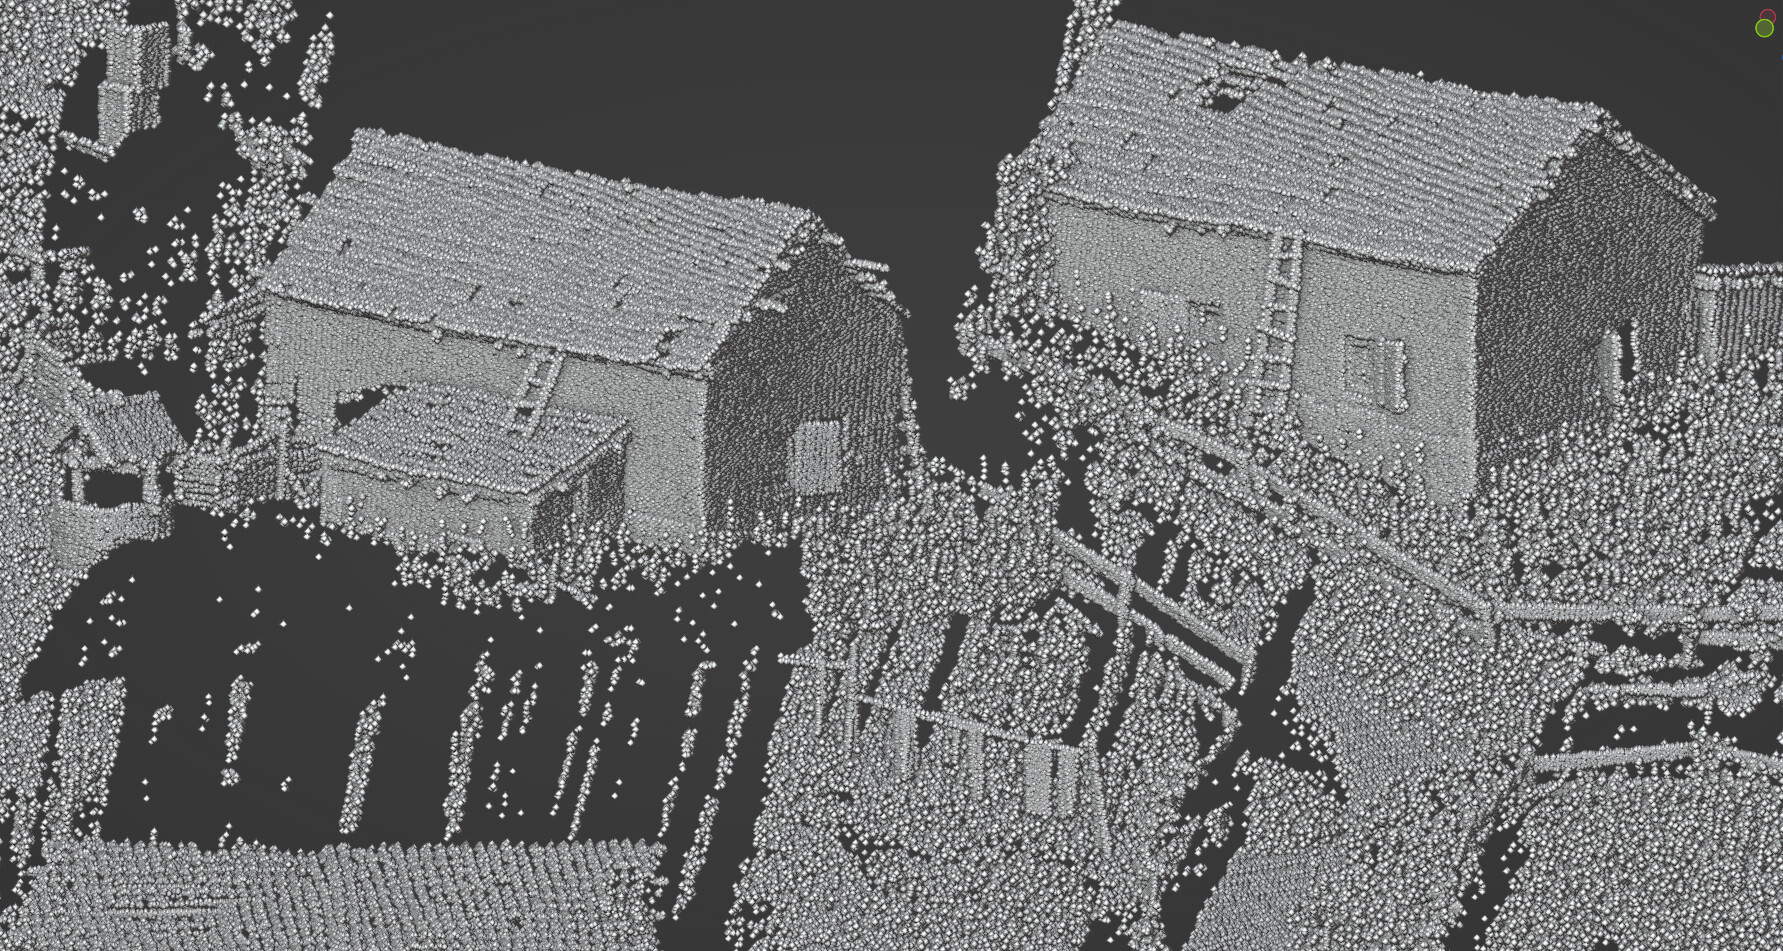
Then, using geometry nodes we need to create one point per pixel of the image,
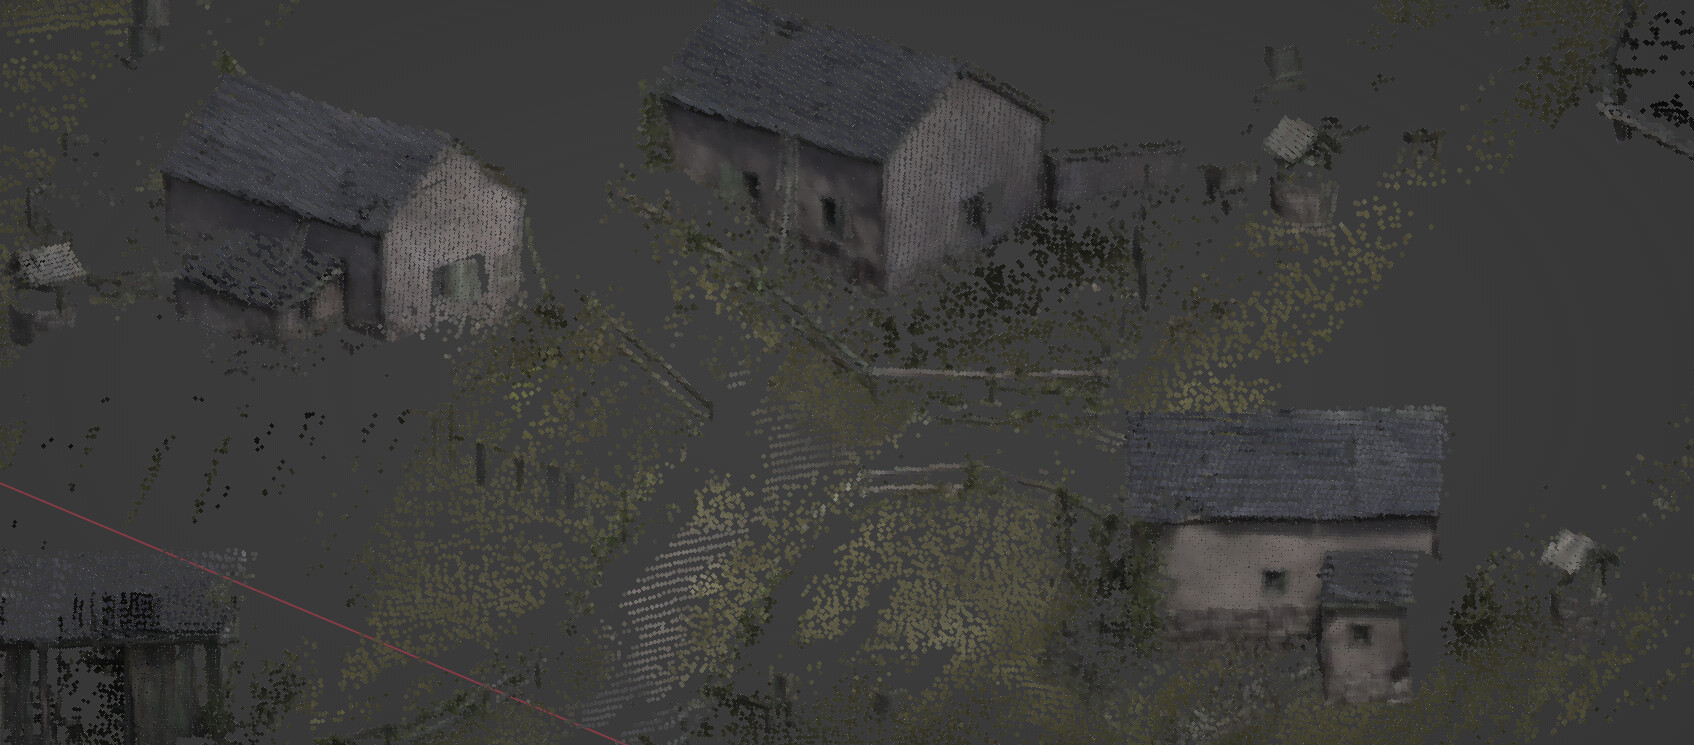
we can use a set position node and sample the position pass from the EXR, and store the color from the color pass as an attribute to reuse later in the material.

This gives something that looks like this :

from camera :

The tricky part is to give each point at correct radius according to the camera distance and focal length. If you are better at maths than I am you can probably find the perfect equation.
I just eyeballed the value and use some map range node and it worked fine.

Finally as the camera move away from the rendered position some holes starts to appear :

That’s why I rendered several images. In the material I also fade out the unneeded points.

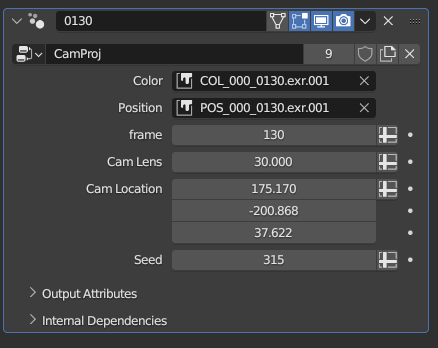
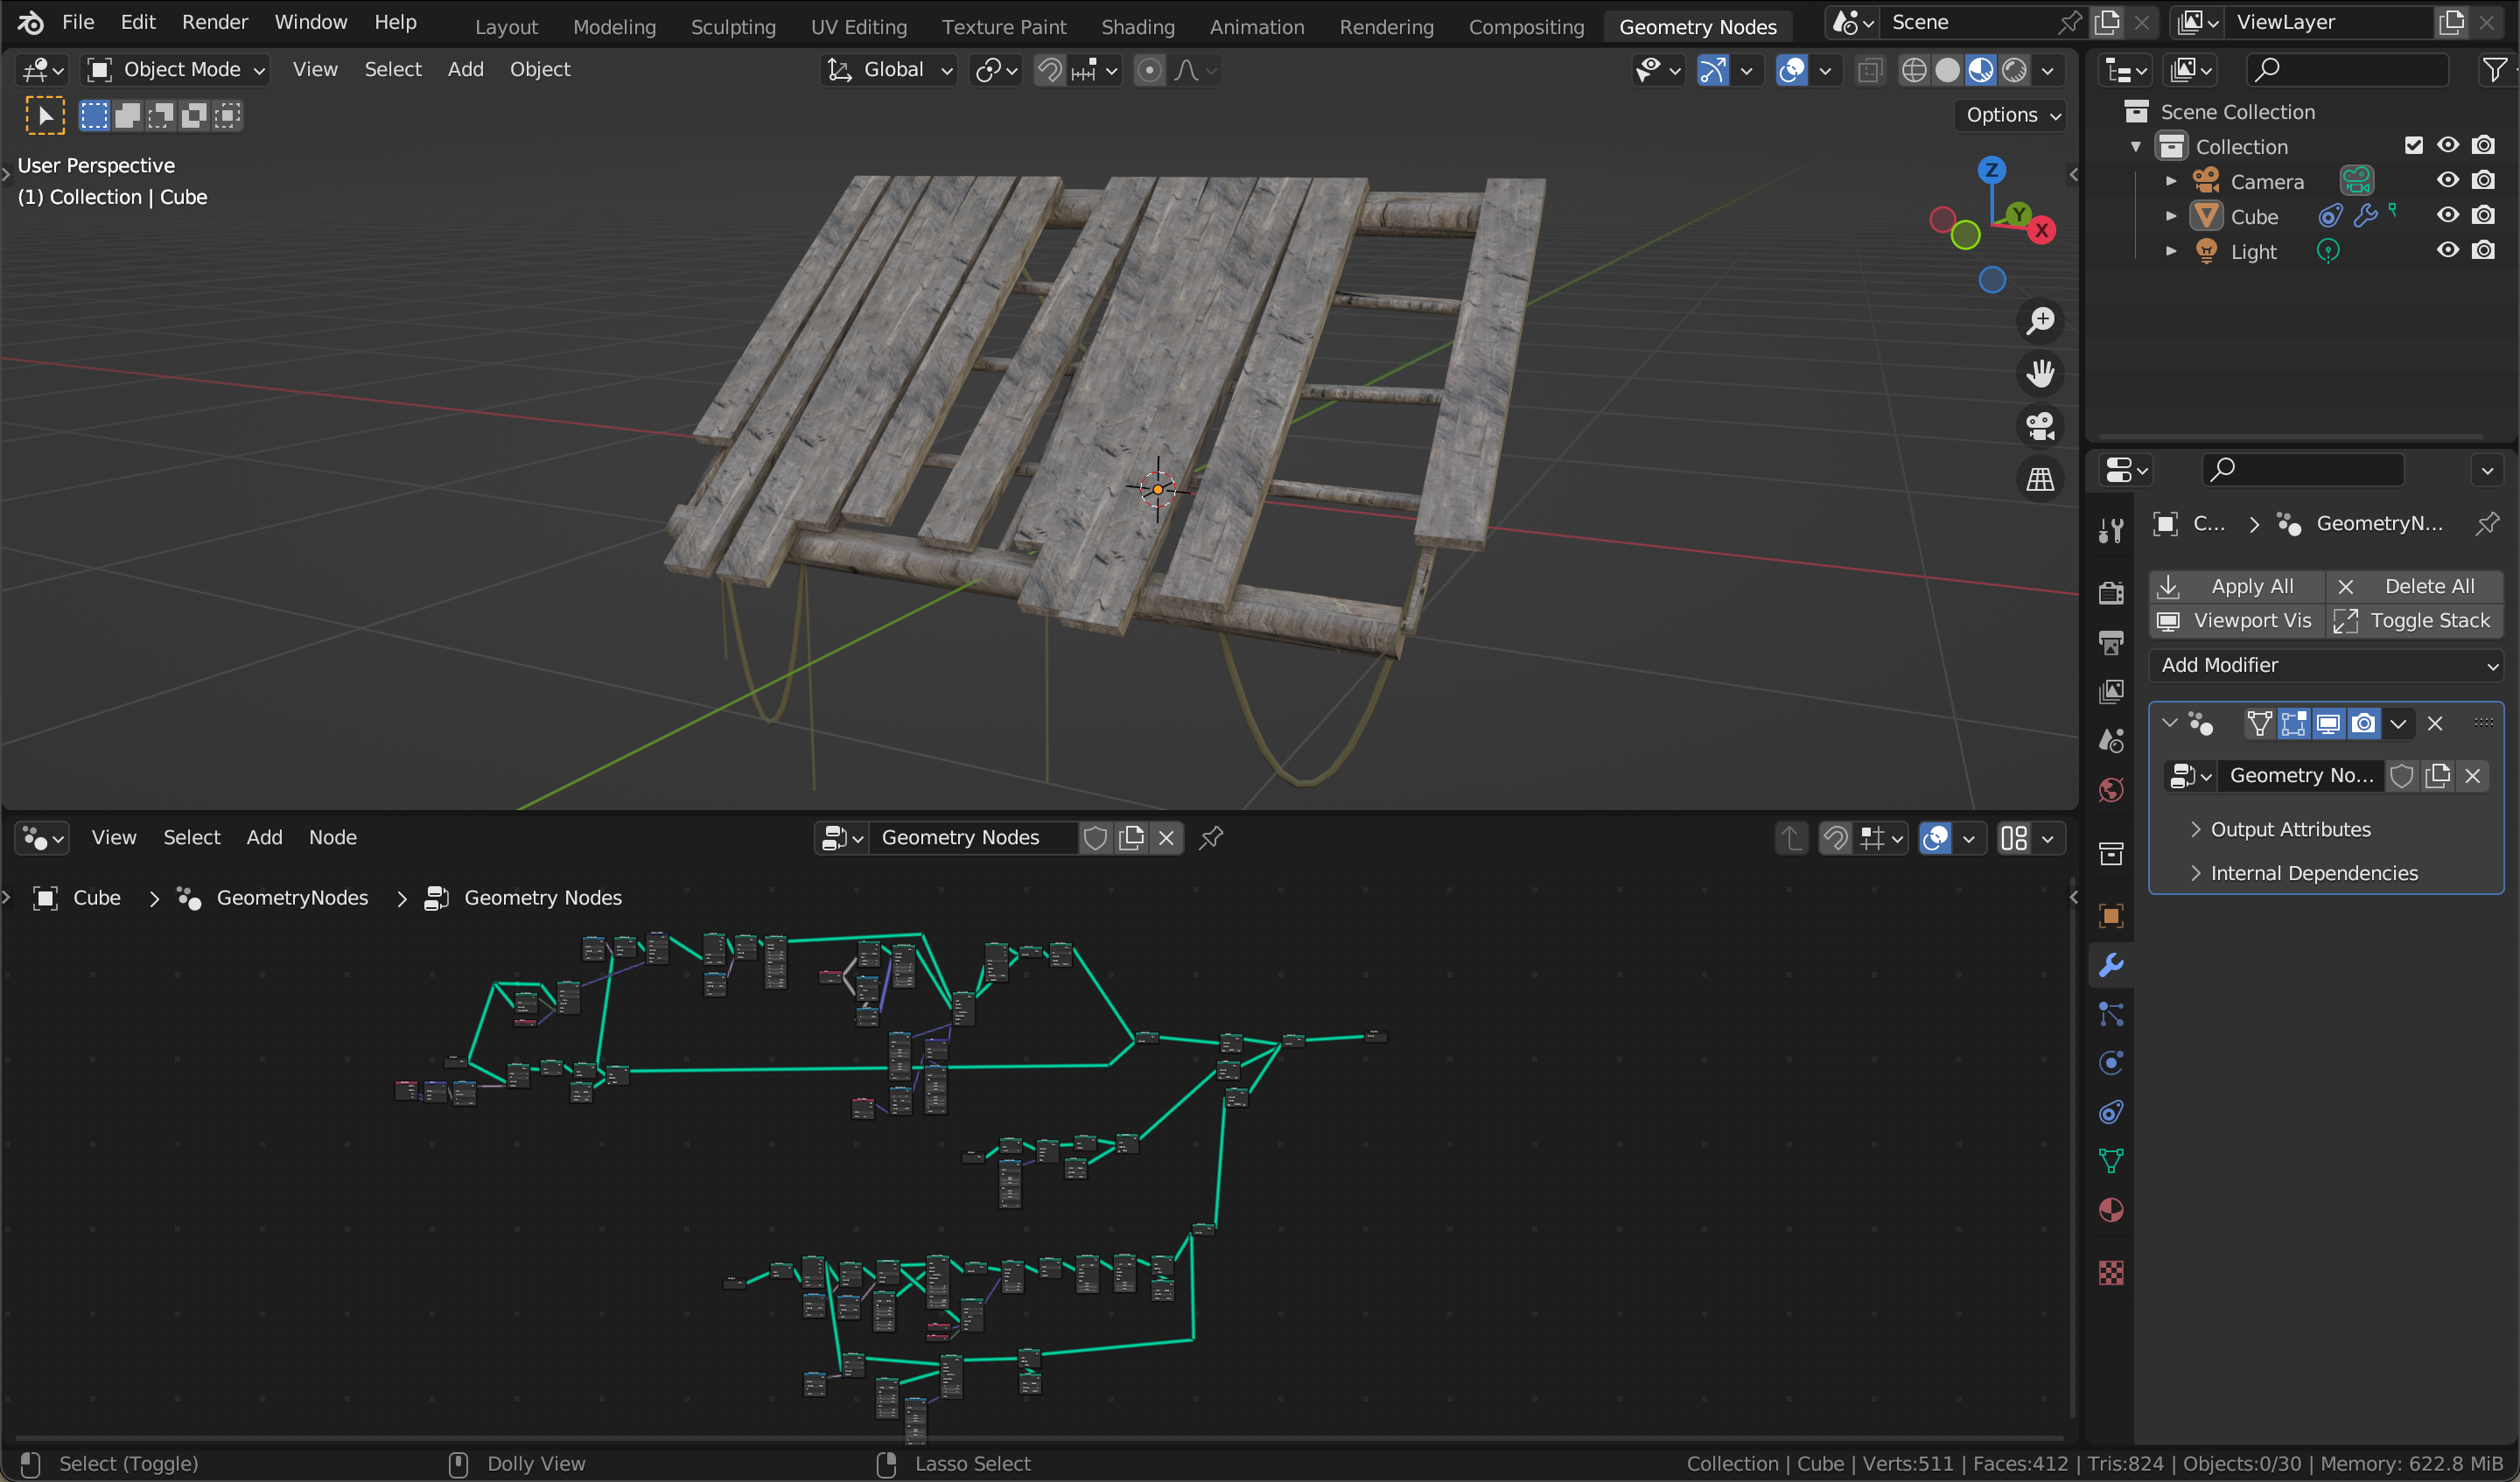
Here is how the final modifier looks like :
image
I use a little .py script to read all the images and set all the modifiers.

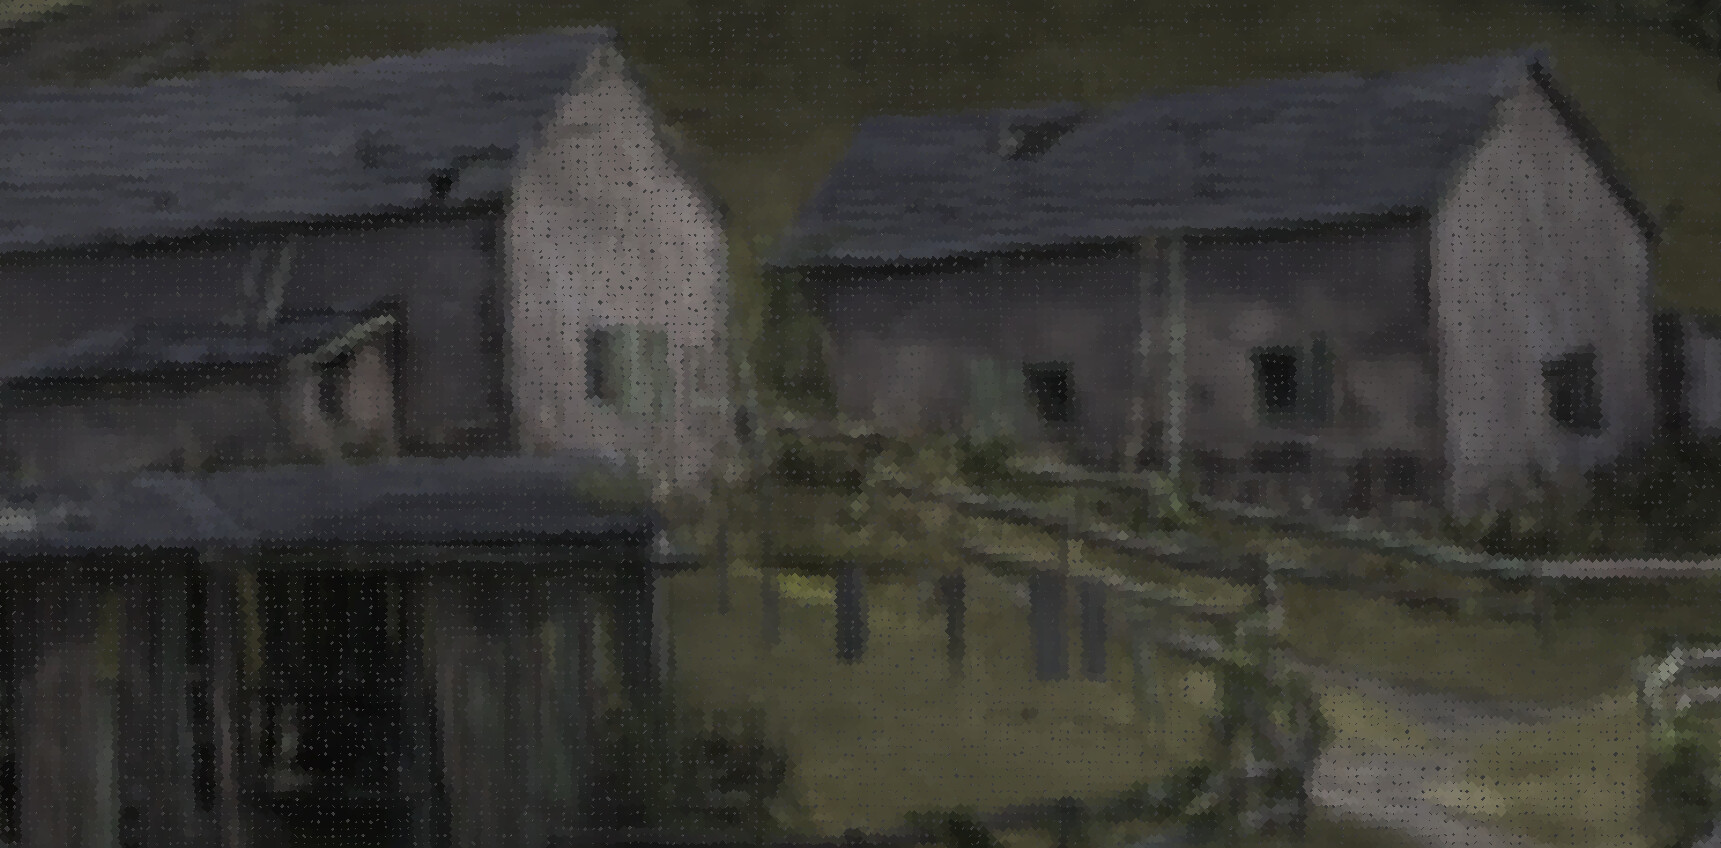
Then to render everything I use cycles that can now render point clouds.
I tried DOF and motion blur and they worked fine, I can also export the Z pass to be used in comp
for the fog, and I also render some elements like the sky and some birds as mesh. That way the birds can be animated.

As said, the technique isn’t perfect and I always end up with little holes that I need to inpaint in comp, but it’s quite interesting nonetheless.

I’m wondering how useful that can be in a “Arcane like project” where background are painted over a 3D mesh. Maybe using a point cloud could make things simpler ?

15 Likes

wow :open_mouth: all this work is just insane !

It is a great step towards procedural worlds building !

I bookmark it right away and thank you very much @sozap :smiley:

Happy blending !

1 Like

really neat style of castle you’re building! Looks really old/ancient, love the way the pieces ‘lean’ together. Makes it feel heavy.

Can’t even begin to comprehend the level of nodes this must have taken. But thanks for sharing your resources, I’m gonna go through all of those!

1 Like

Thanks a lot @Samuel_Sullins !
Indeed making a complete walk through would be too long and impractical, but I’ll try to explain a few concepts that helped me !

In the meantime, if you have any questions feel free to ask and I’ll try my best to answer them !

3 Likes

Ok, thanks!

have a question about the main castle buildings.

Do you instance the walls and pieces on the guide geometry, or do you just use the guide to control the generation of new geometry from scratch?

1 Like

Great question, it helped me to find a way to present the overall idea without being swamped into the details !

The way it’s build is quite similar to how I made my abandoned house generator.
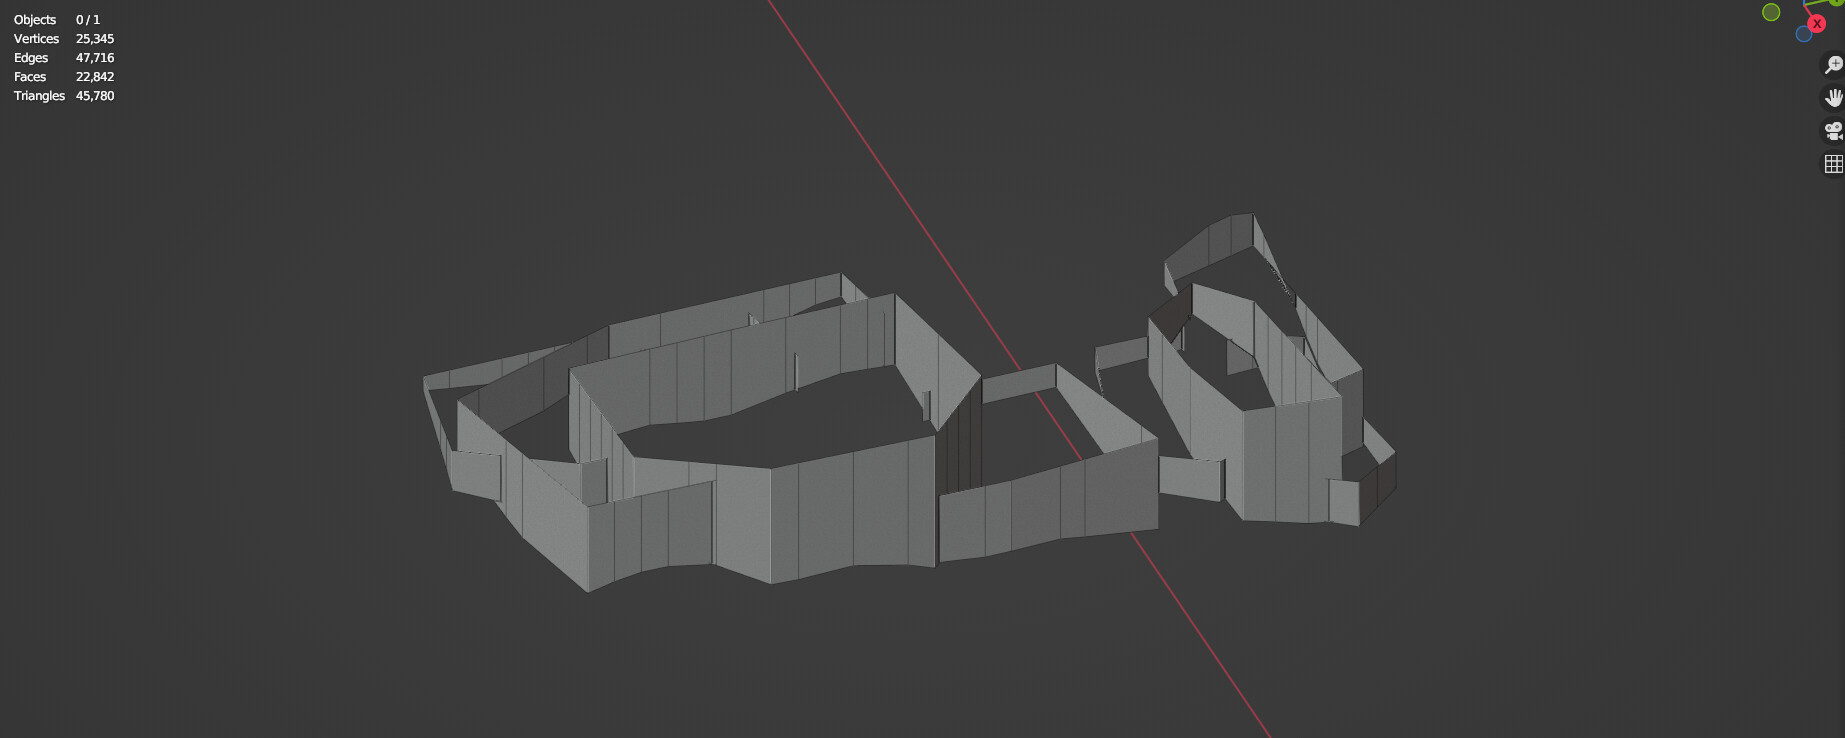
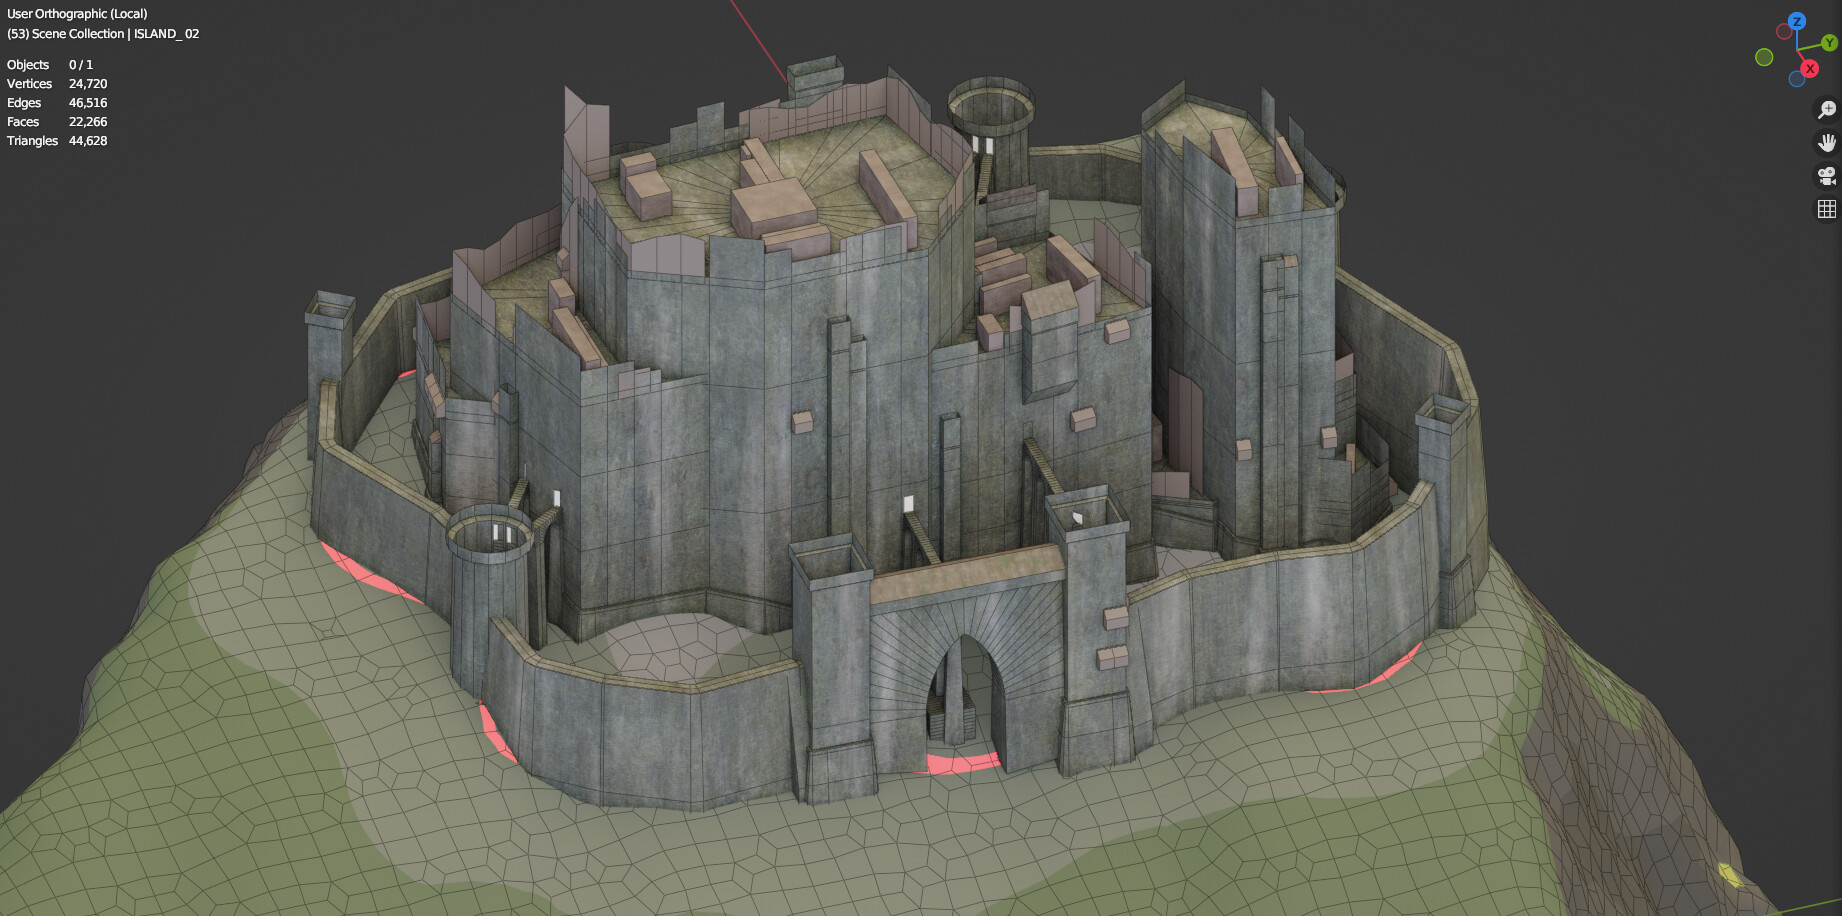
I create a basemesh that gives the main shapes, and then a detail pass add all the details.
This time that basemesh is more elaborated , but it’s the same idea !

The basemesh :

The final mesh :

This is a breakdown of the basemesh generation :

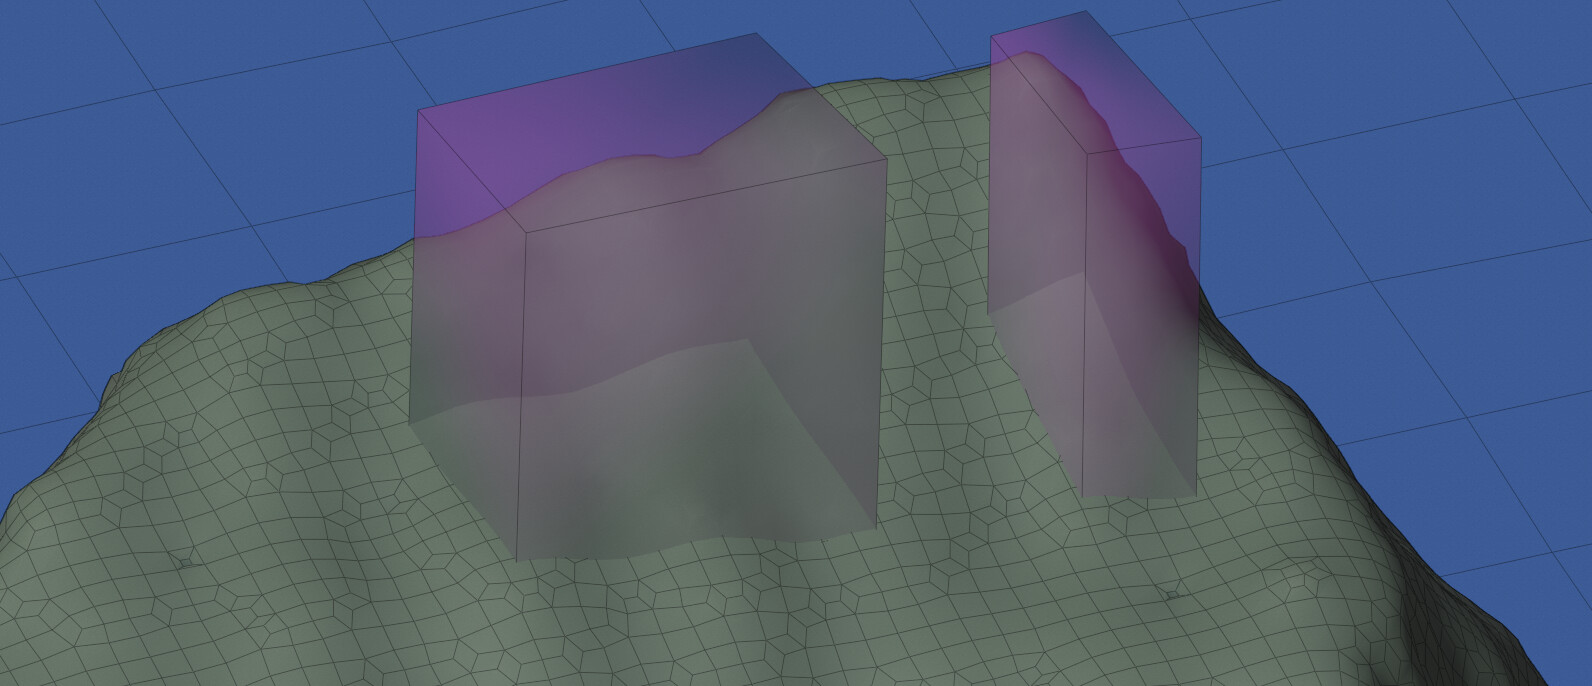
I start with the ground and the cubes I use to place the castle :

I keep only the bottom :

Duplicate that a bunch of time :

Then it’s converted to curves, resampled, and projected into the ground :

from there I extrude the base :

Add roofs and secondary details :

The outer walls are made using distance from the initial shape :

While creating the geometry I also create a lot of curves that I can use later to create more elements and details :

A pass with all the third level of detail , still in a basemesh state :

And the detail pass that extract each elements separately ( using named attributes) and create more geometry :

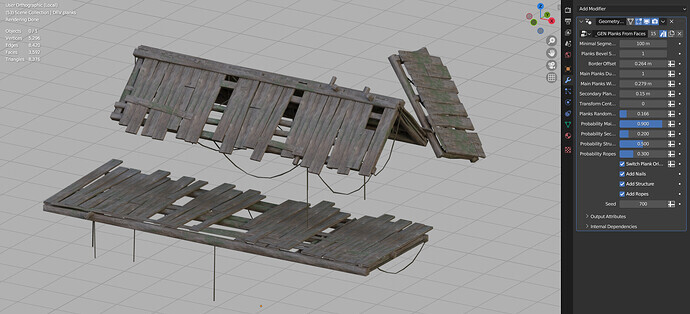
And to add details I build a lot of small modules, this one for instance take some faces :

And generates some wood structures from them :

That way it’s easy to put these structures in many places and reuse that same setup !

19 Likes

Wow, thanks for the comprehensive breakdown!

Such a neat process, I think I’m gonna have to try it.

The way you place the detail curves early and then find them with named attributes is super clever.

thanks again for your time!

1 Like

very nice, very cool

1 Like

This is truly amazing, thank you for the insights!

1 Like

Wow great stuff! Also nice to see, that you used some nodes from my collection :grinning:, thanks for the credit and your thorough breakdown. This is definitely something for the best of blenderartists 2023 at the end of the year!

3 Likes

Hey @sozap !

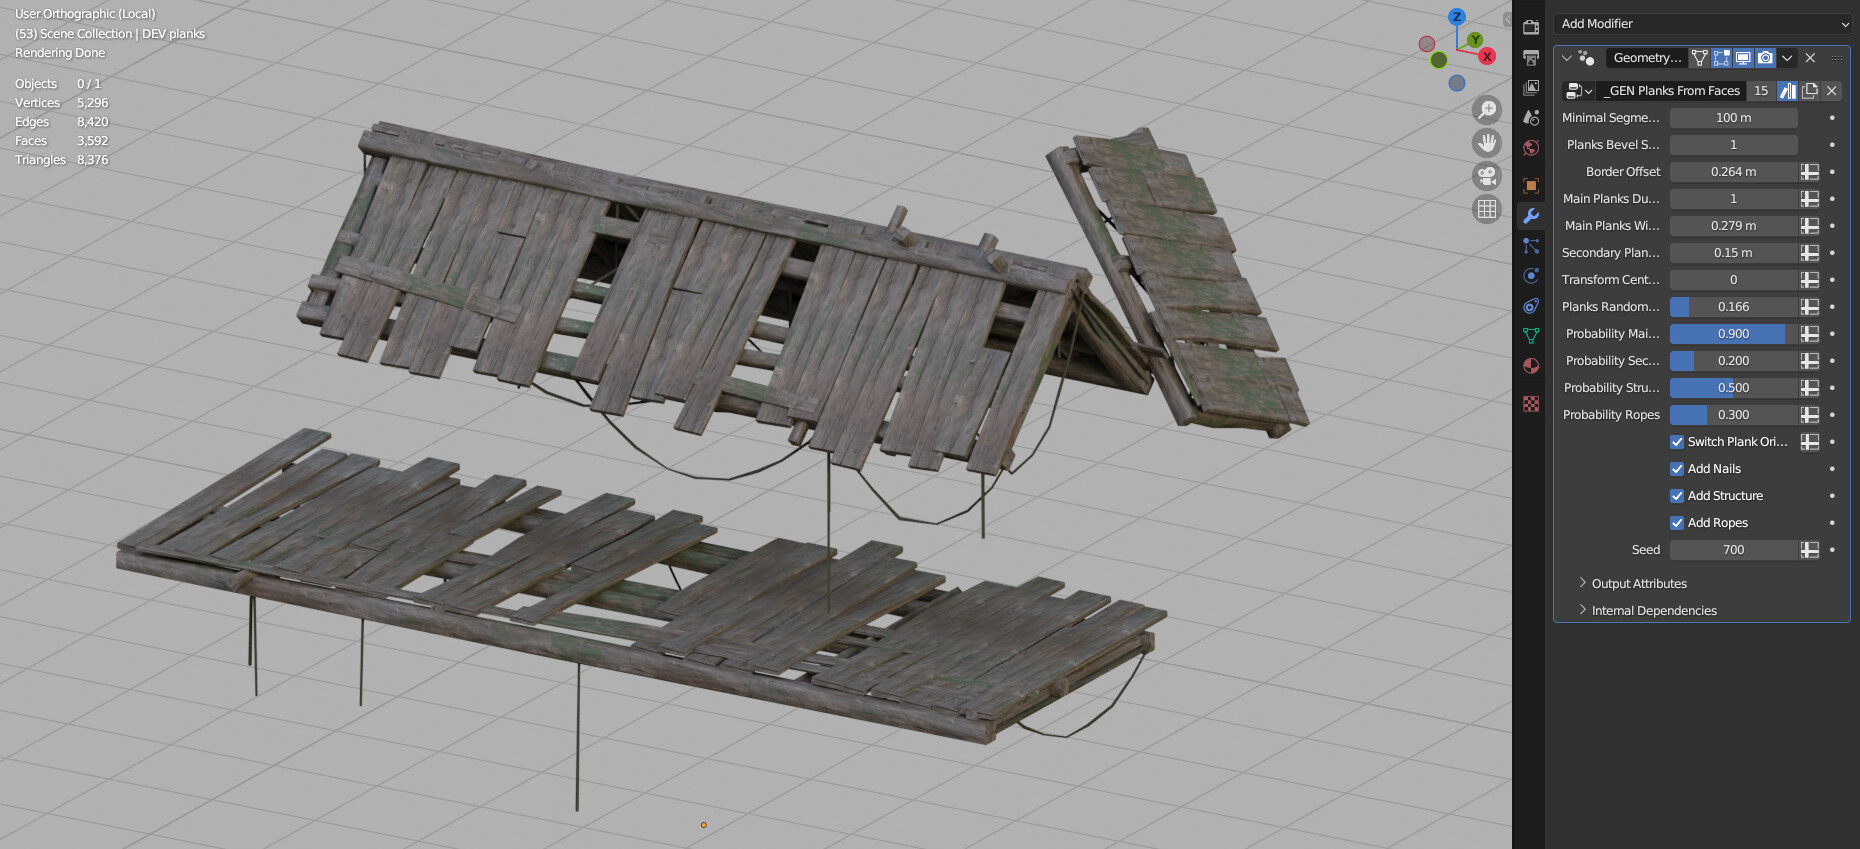
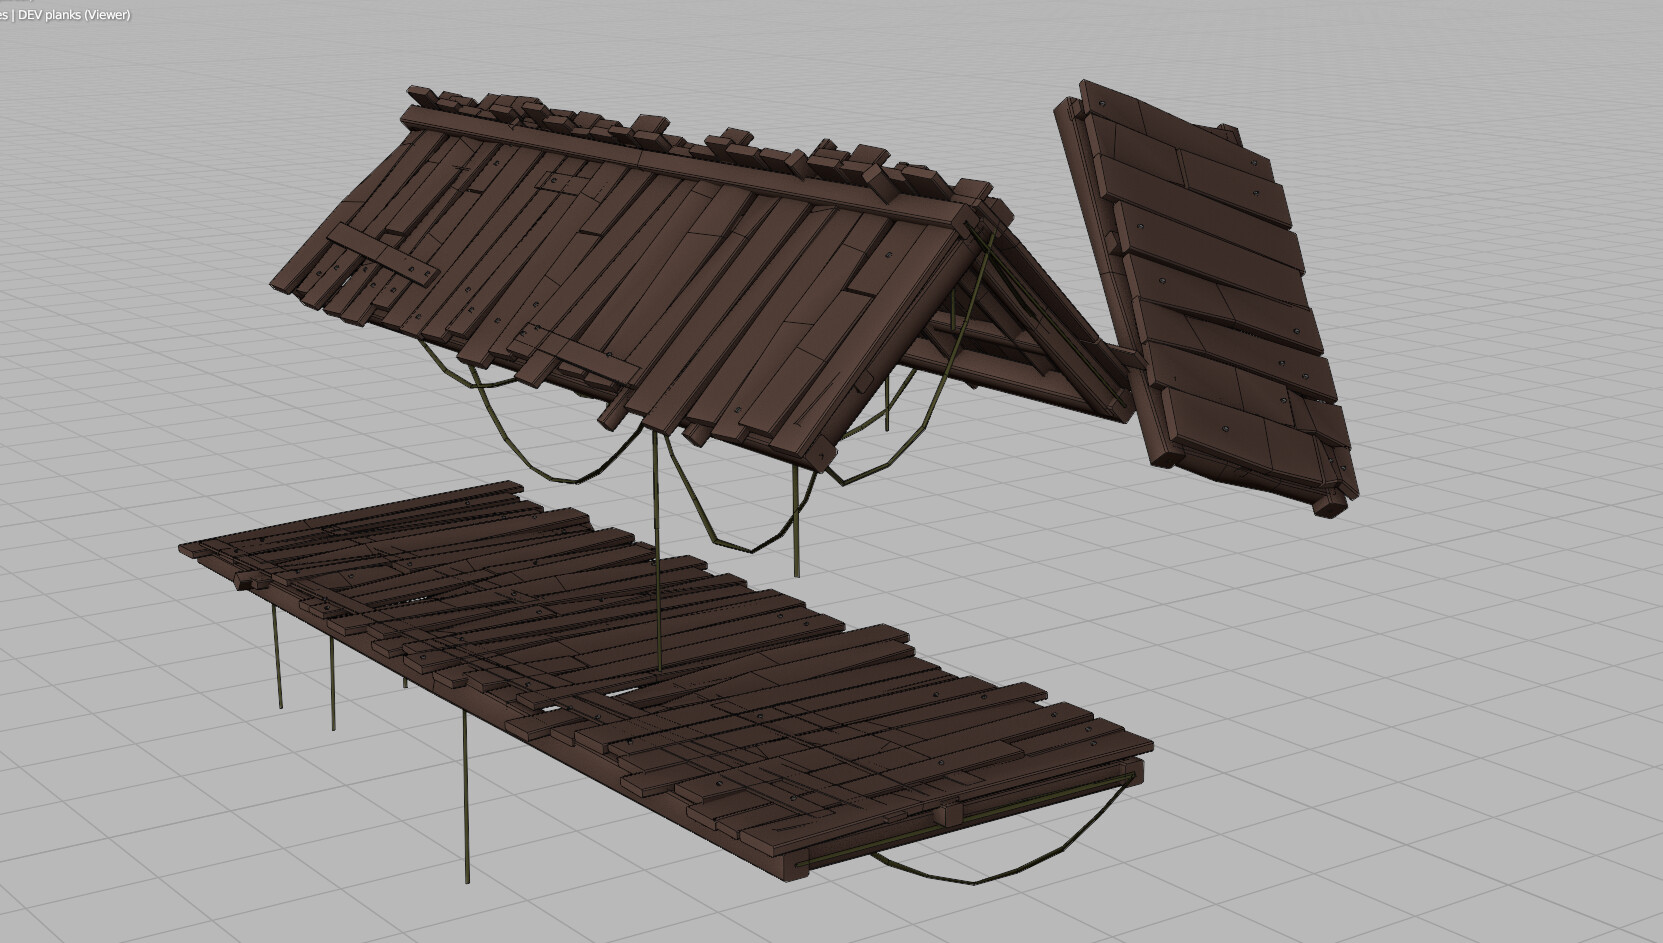
I stared at this pic :
image

and though it appears to be pretty simple, compared to what you use to do i believe it is not^^

What i’d be really interrested in is ( maybe through a new topic for thos wooden parts ? ) to learn the process you use for making this, including the GN inner mechanisms :slight_smile:

Unfortunately this would take lots of time and as far as i know you got few :wink:

Anyway, thanks a lot for sharing all this ! :smiley:

Happy blending !

3 Likes

Featured this in The Blend: https://blend.beehiiv.com/p/follow-curve

Because it’s awesome.

2 Likes

Yeah, this is really interesting—I gave it a shot & there’s a lot I couldn’t discover.

Here’s what I got:

I take the plane, then:

  • delete the short edges
  • mesh the long ones into beams
  • instance grids along the top one for planks
  • use the original normal to rotate them correctly
  • extrude them
  • subdivide the original plane, mesh that for the small in-between beams

seems like @sozap uses more instancing in his setup—but I’m not sure how to do that!

cool stuff though, will keep working at it

4 Likes

Hello @pitibonom, and thank you very much for the nice comments !

I’ll try to make a little technical breakdown :
The overall method can probably be made simpler.
Wood structures are relatively simple to do with GN in general, and quite fun too ! you should definitely try it at some point !

One method could be to start with a grid and separate horizontal and vertical edges. That’s something I used to do when working on my abandoned house project.

Here I wanted to try something a bit different, and the idea was to try to reset transforms first to make the job easier. That’s a technique I explored in different places during the project.
It’s along the same lines as how I did my procedural flowers, but in a bit more elaborated fashion.

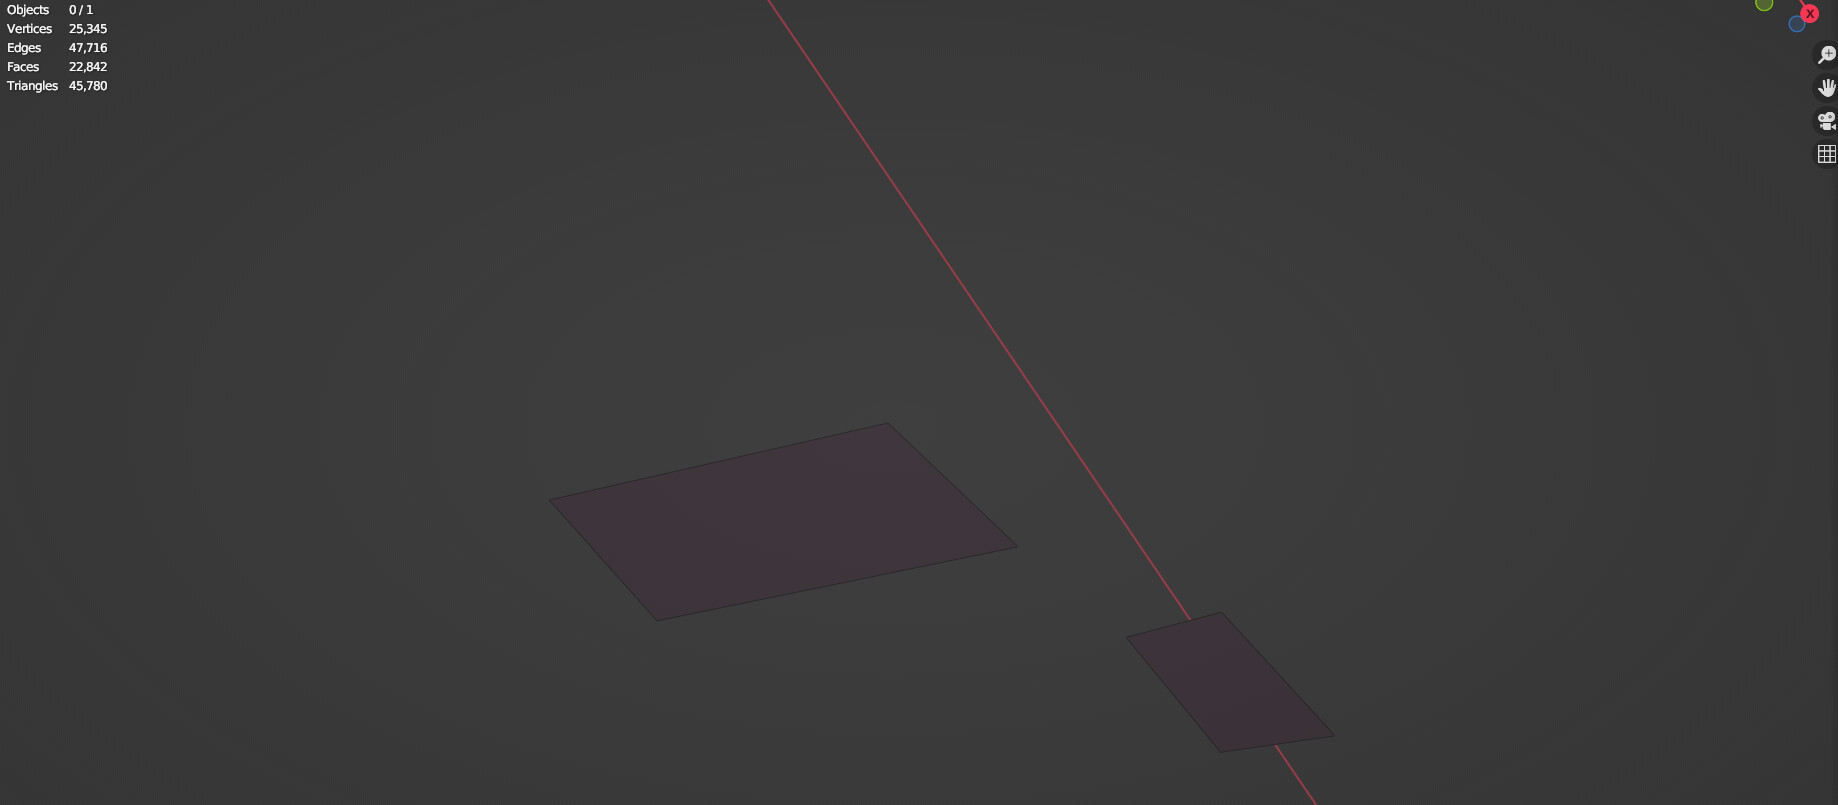
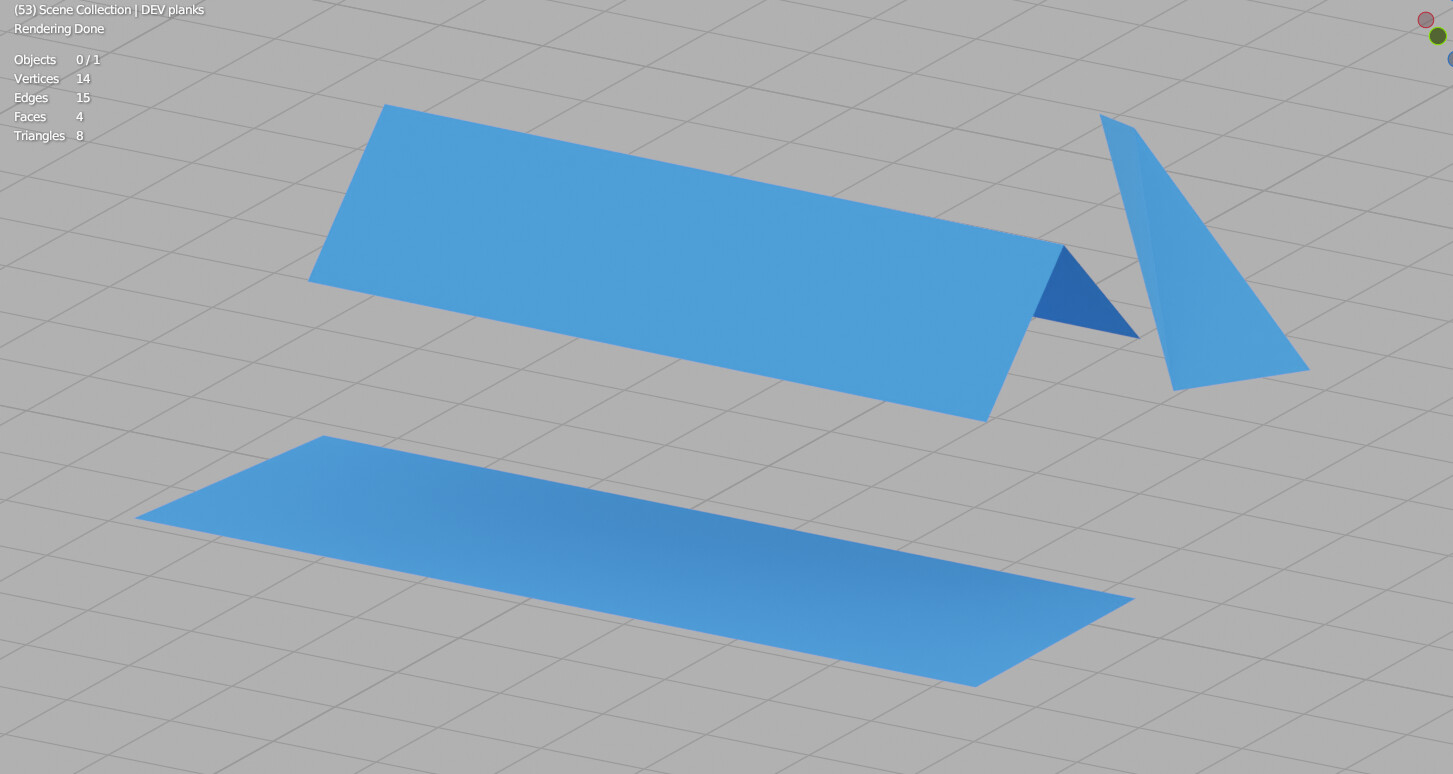
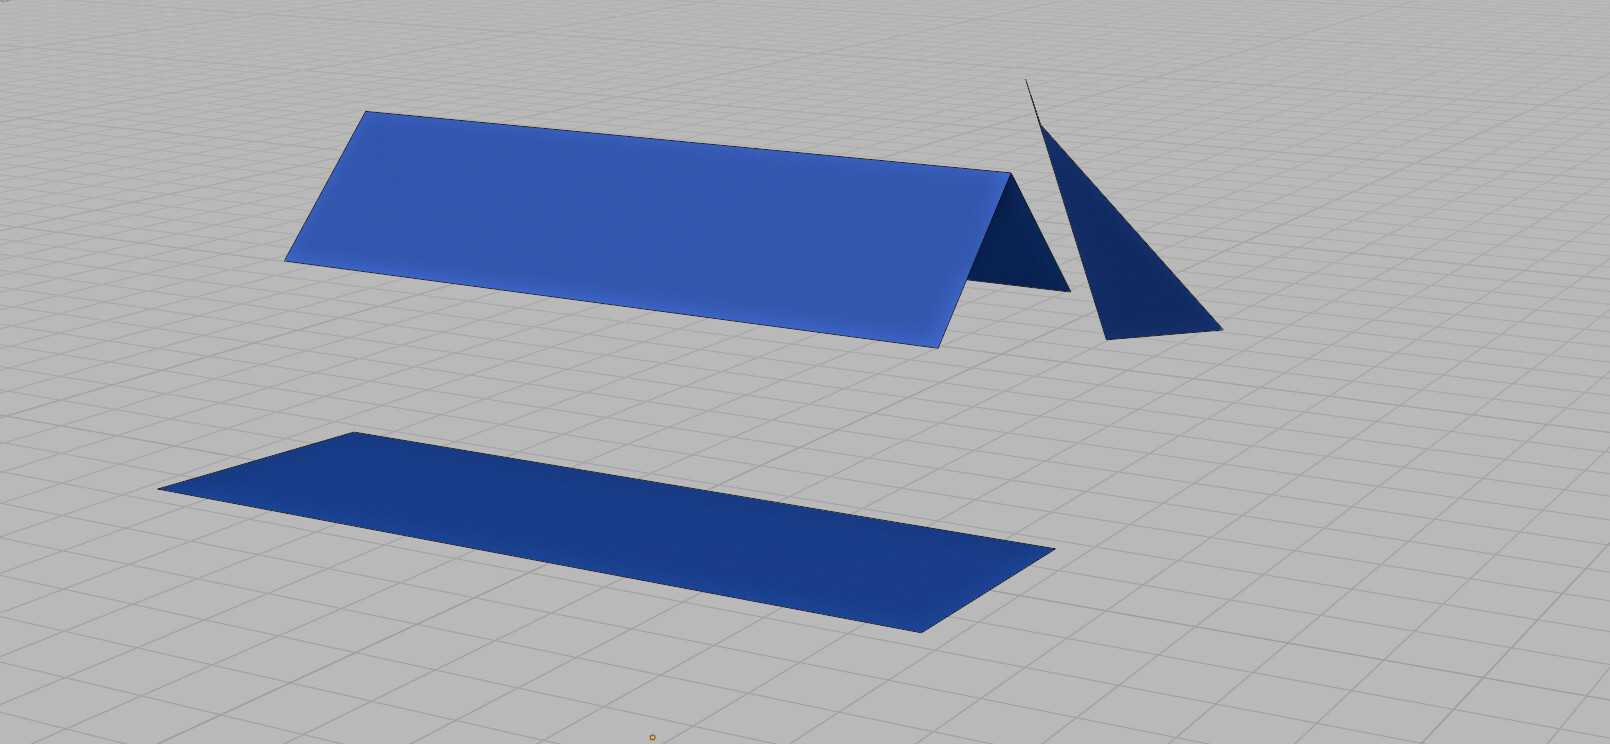
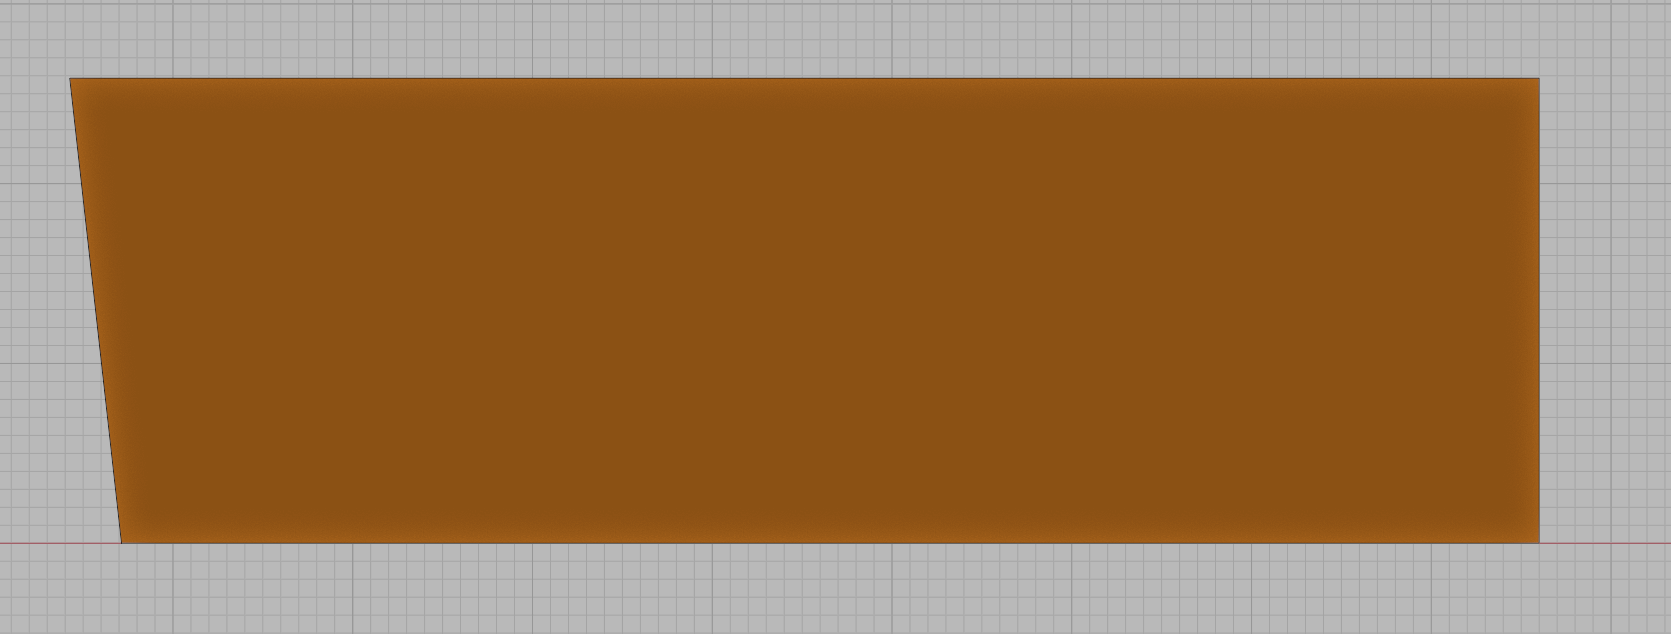
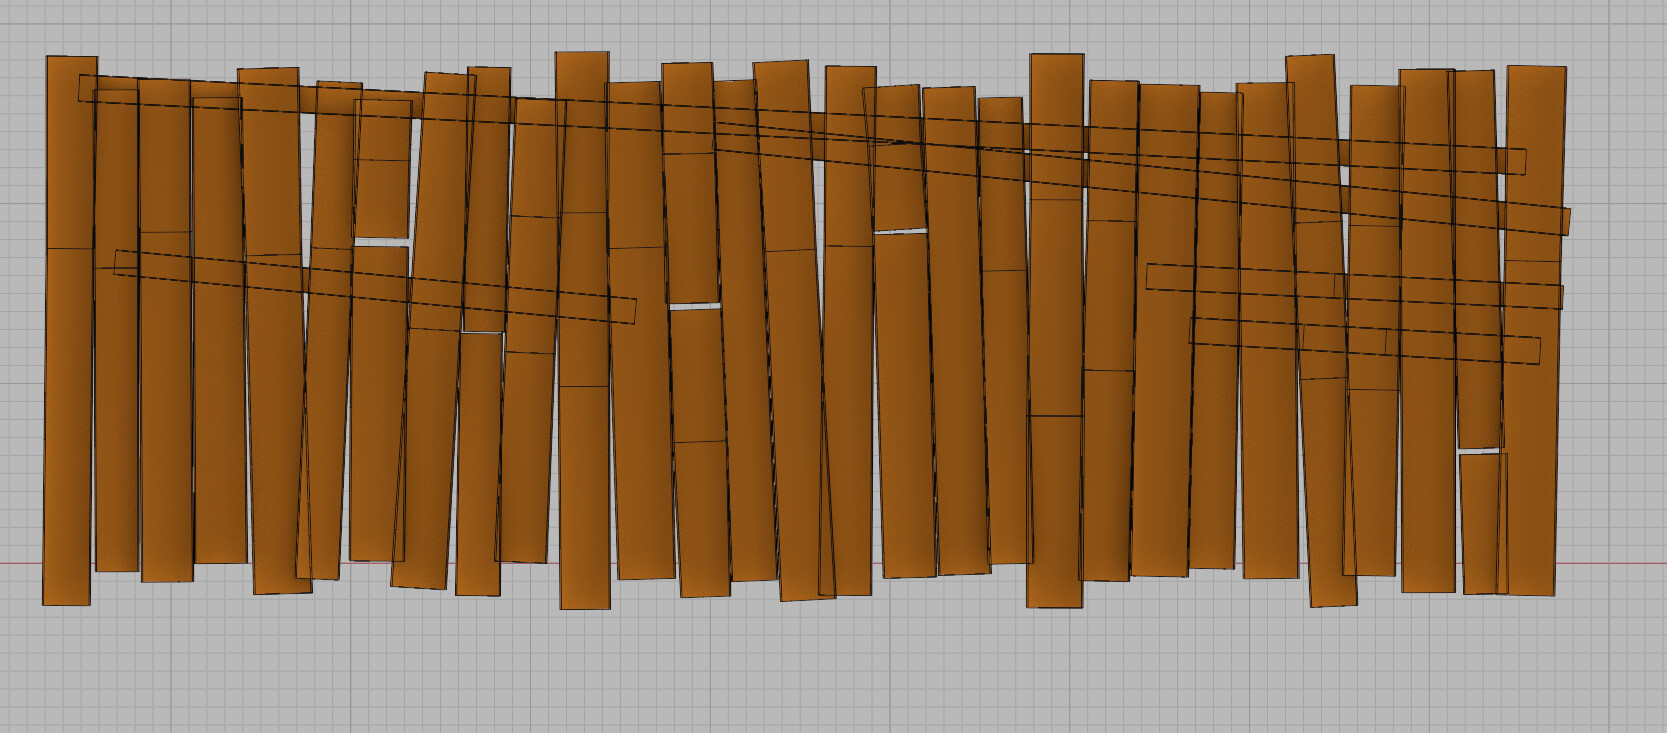
So , My input is a bunch of faces :

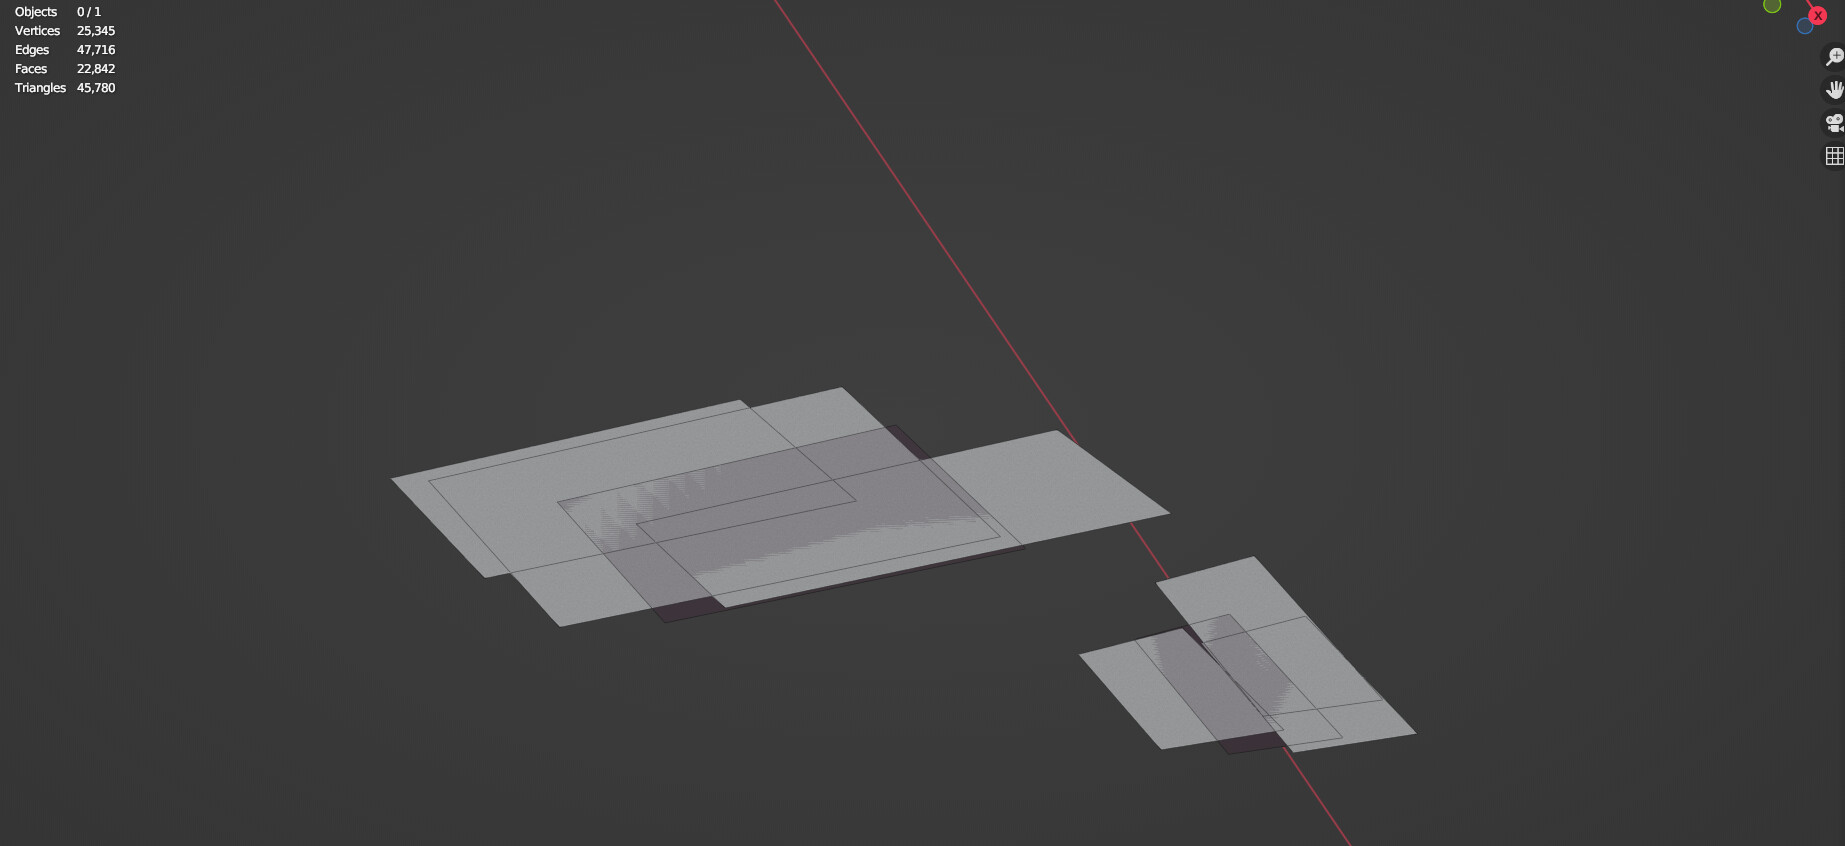
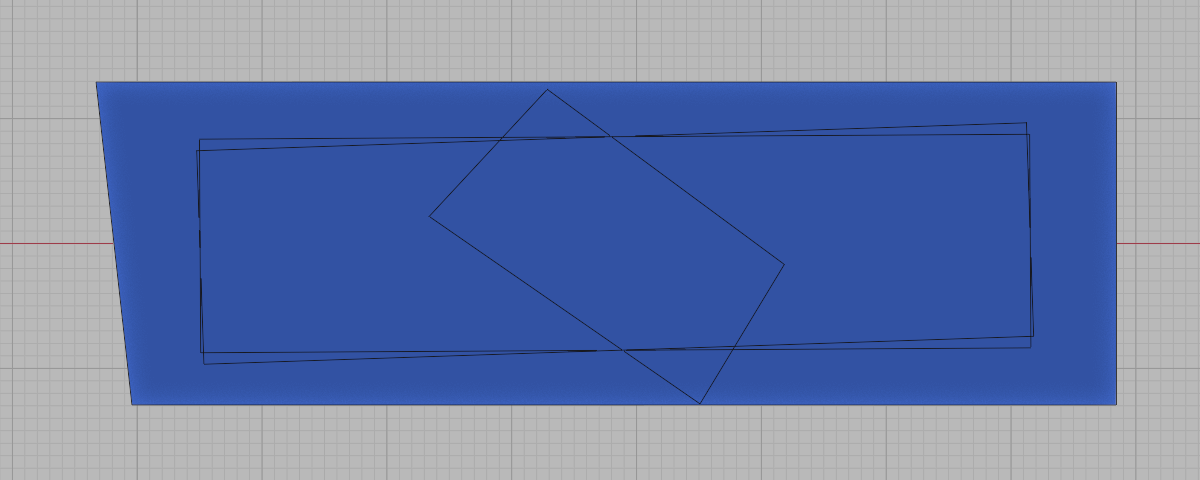
Here are the same faces but with most of their transforms cancelled :


and eventually I get to that result :

I think a much simpler way to do that would be to UV-Unwrap the mesh,
in that case I preferred to make my own solution, the only advantage is that I can make sure the faces stay oriented the same way (up/down), so I can use the same system for other things like doors for instance ! And anyway the main goal of that project was to try to do things the hard way …

Ok, so this transform cancellation is really the most complicated step in the process.
And now I can take advantage of that simplified setup :

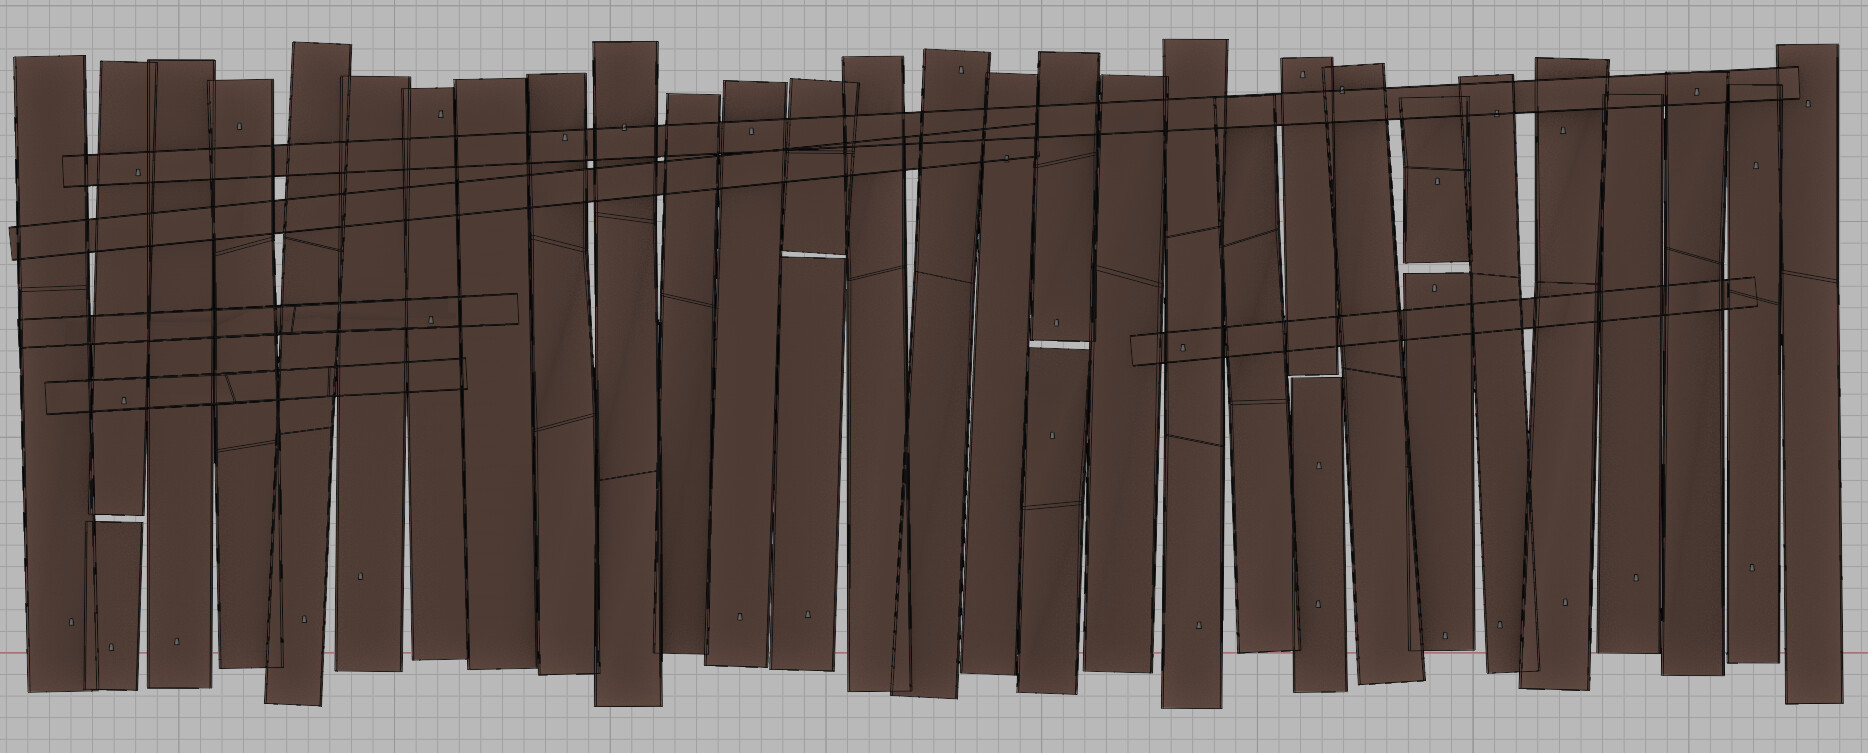
A face :

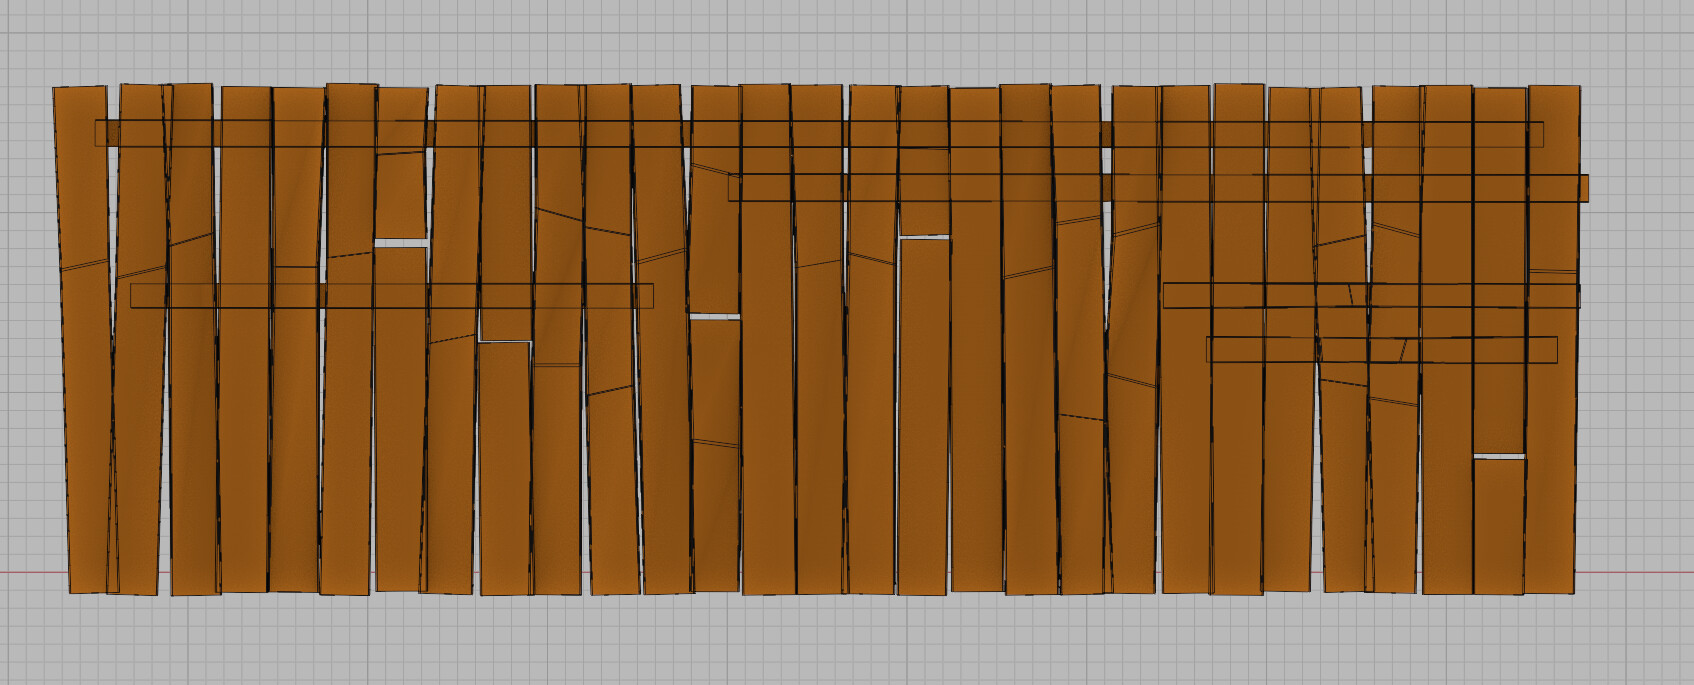
turned into planks :

This is how I do it :
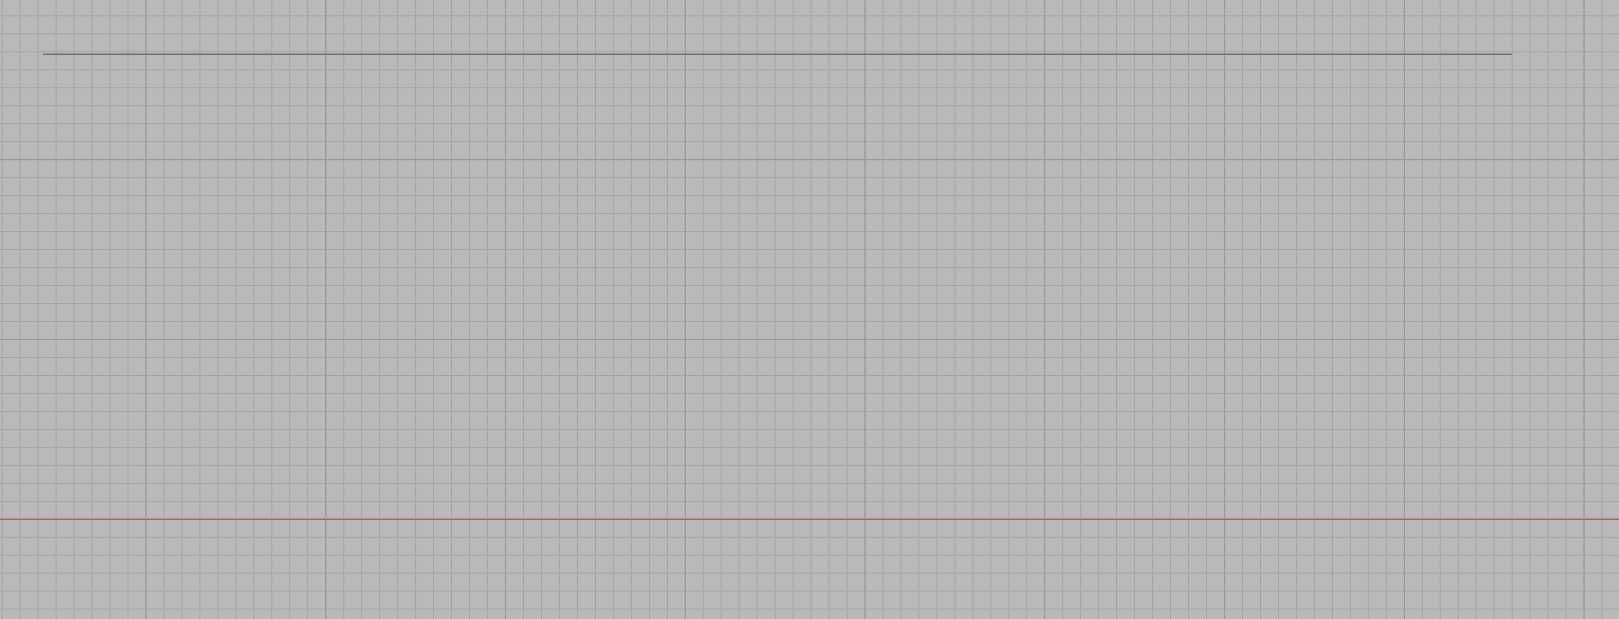
First, I separate the topmost edge :


This is easy since all the faces lays into the ground thanks to the simplified setup.
So if a point got it’s Z location ~= 0 , we can remove it, and we can convert the remaining edge into a curve.

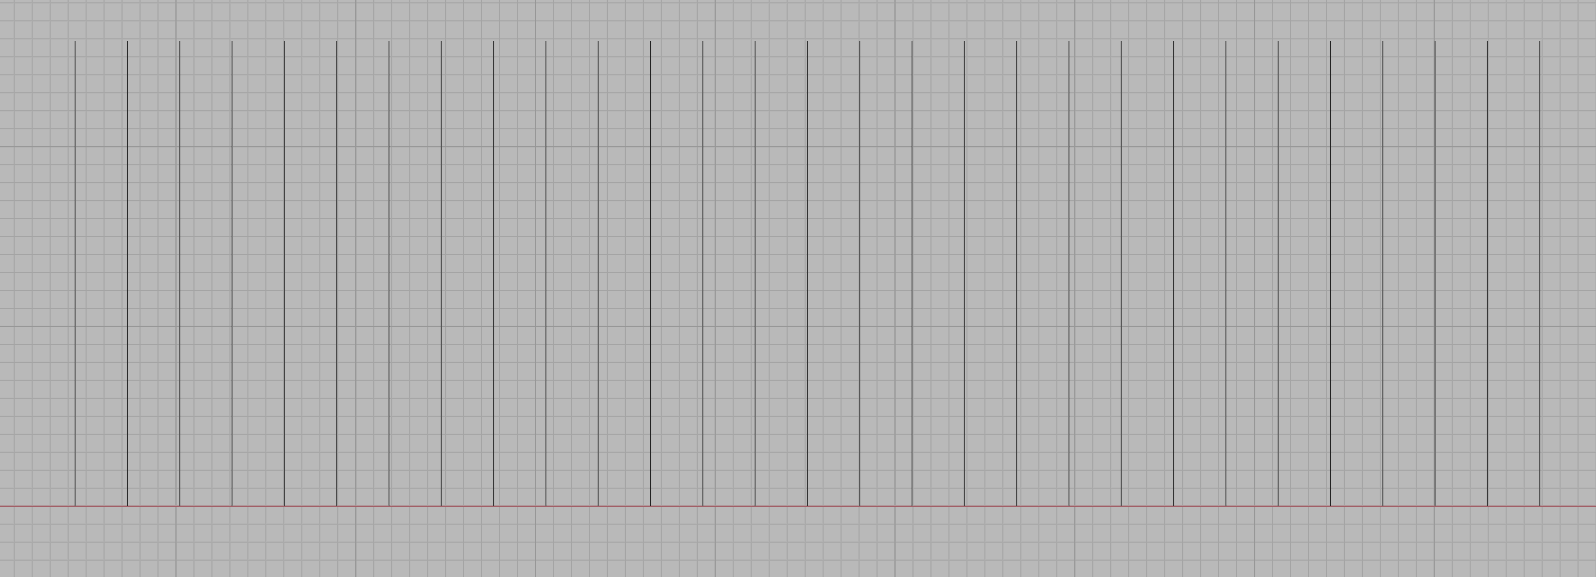
We can resample that curve and get an array of curves :
Here again , we can take advantage of the fact that the faces lays on the ground, so we can set the Z position of the endpoints of the curves to 0.

Then I use a few utility nodegroups, one that allows to split curves in half, the other allows to transform curves using either their start, center, or end :

That way it’s super easy to add randomness,
Here is how these groups looks like:

In the meantime, I do something a bit similar with horizontal lines:

They got their share of splitting and randomization :

And eventually I delete nearly all of these and merge that with the previous curves :

And when everything is passed through a curve to mesh it looks like that :

There is one last trick to make the cuts a little bit slanted, but this one is a bit longer to explain :


From there it’s all about adding details… Here there are some nails, that are made by taking the planks curves and converting them to points.

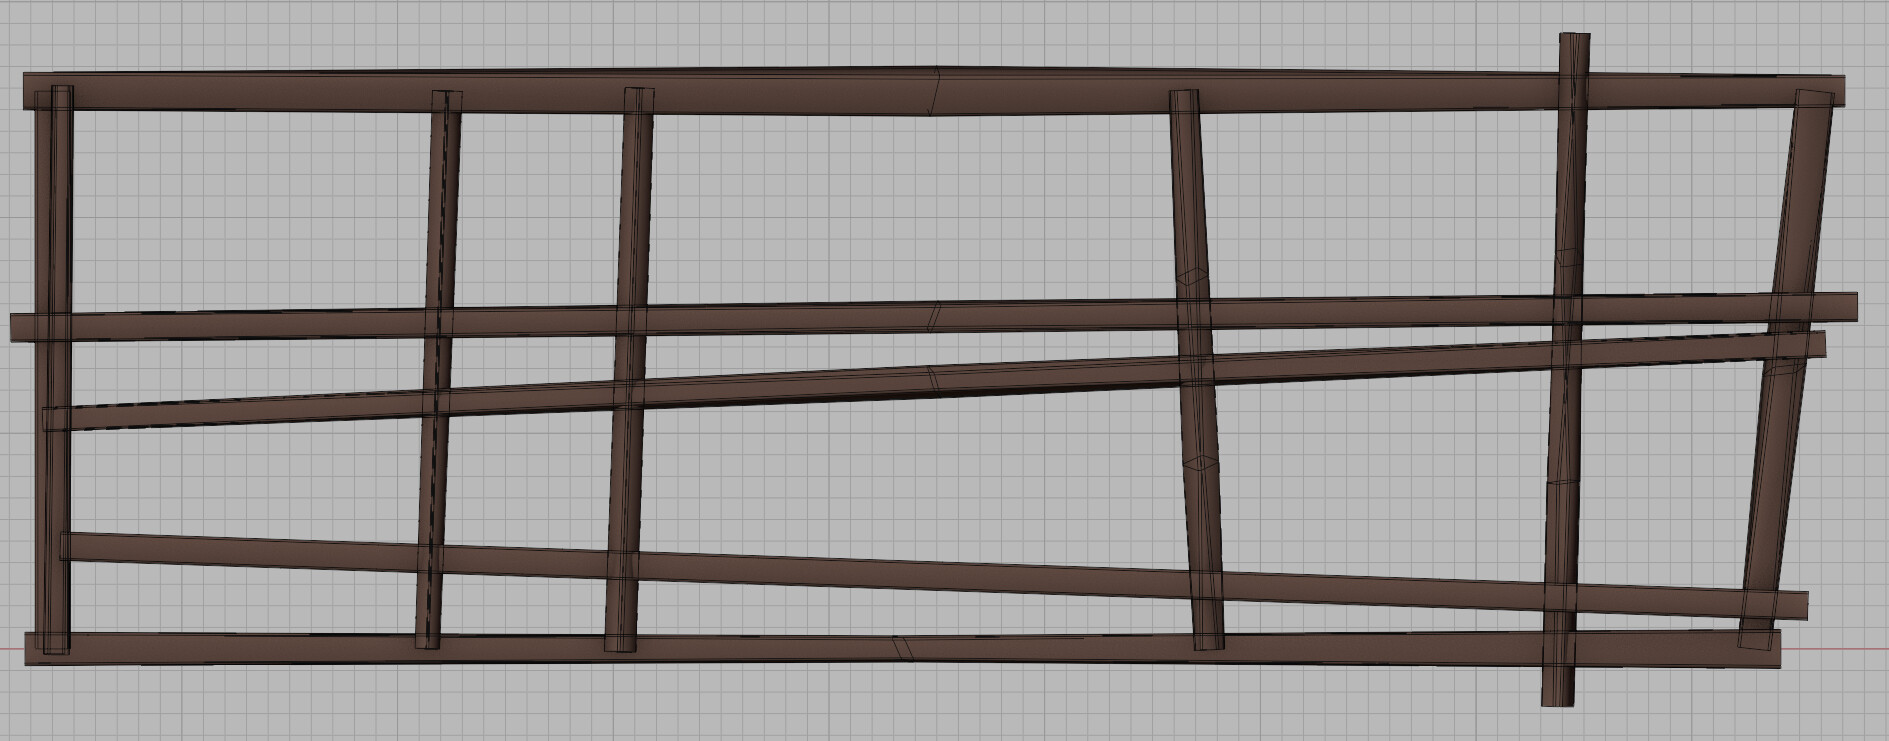
I also added an optional frame structure :


Which is using the original face’s edges, and reused a few curves made earlier.

Thanks to the transform cancellation, it’s more of a 2D problem than anything else.

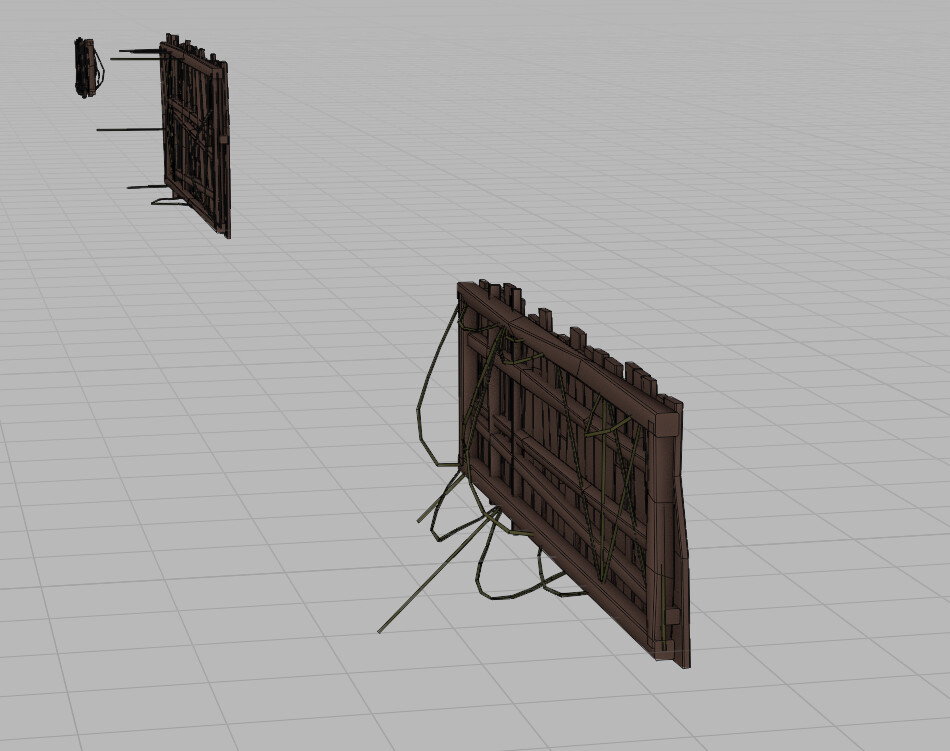
The last element was some hanging ropes, which is one of my main personal mantra : “It always looks cooler with hanging ropes”.

And while everything else was easier to do because everything was aligned to the world and kind of 2D, in that case I had to do a few juggling to get the original face’s orientation so the ropes can hang in the right direction. Which looks a bit weird with the transform cancellation.

Finally once everything is done, I can transfer the original faces position and rotation, and put everything back into place :

That same basic technique to cancel face transform was used in other places , like to generate these doors :

Since I was trying a lot of stuff, I won’t say that it’s the best way to make a setup like that.
If I had to redo the same thing in a more professional environment I’d probably try to make some stuff in a much more simpler way, or maybe I’ll realize that I don’t even need to cancel transforms ( or that it’s possible to do it in a more simpler way).
A good example is the ropes, I was probably possible to add them once the transforms was restored, but I though it was a fun challenge to try to orient them before resetting transform.

Don’t hesitate to ask if you have further questions !
20 Likes

this is an amazing breakdown, thanks @sozap!

The reset transforms thing is awesome—that way you can reliably get the same selection by position. Love that.

“it always looks cooler with hanging ropes” I’m memorizing that quote :smiley:

2 Likes

Hey @Samuel_Sullins !

First thanks a lot for mentioning that thread in your website ! It’s super appreciated !
And secondly , super cool how you recreate the setup !

I think it’s the best way to learn geometry nodes , sure learning specific little tricks is very helpful, but finding your own way to solve problems is even more valuable.

I think you’re pretty close, the only thing is because you keep face’s orientation it’s more difficult to do some transforms in the face’s space. But it’s doable and an interesting challenge too !

1 Like

yes, definitely the best way to learn.

going to try to figure out how to reset transforms now. Should be very interesting—I’ll have to be careful not to distort/flip the geo

1 Like

@sozap
Thanks for the breakdown.

1 Like

Thanks @Ratchet !

@Samuel_Sullins, yeah it’s quite fun to test and that can lead to a lot of neat tricks in general.
On my particular example, I didn’t mention that it works best with rectangular faces, if the face is too distorted in the first place it breaks easily.

I didn’t try the sample UV node, but it’s definitely a good candidate for similar stuff.
Just like it was done here : https://80.lv/articles/procedural-house-production/

Have fun and feel free to share your progress it’s super interesting !

3 Likes

From Houdini interview

I think that using procedurally generated architecture in games are fairly common these days, but I have yet to see people using pre-made simple models and then generating all the bells and whistles from there, but maybe we will see more of it in the time to come.

Perhaps creators will sell such assets generators instead of premade assets.

One issue using such generators compared to modular building,
is that you don’t benefit GPU instancing for re used walls, windows, doors, roofs . . .
With modular assets, a big city would share few walls re used everywhere same for windows and doors.

While with this approach generating from a low poly version, each building has it’s own size and proprotions and unique geometry, there is no modular assets usage.
This would not be an issue on Unreal 5 with Nanite or for using those unique assets on movies or illustration productions.

2 Likes