Growing flowers with geometry nodes

Hello,

I’ve started to work on this little experiment for learning purpose :

It started when I was contacted by a company looking for a houdini artist to do something similar to this setup by Ben Watts : https://www.linkedin.com/posts/benwattsdesign_houdini-fx-animation-ugcPost-6923170469990854656-qTvG?utm_source=linkedin_share

In the end I didn’t get the job, but I though that could be a great exercise for me anyway. I tried to stick to the schedule that was provided by the company, which was around 2/3 weeks of work ( 10/15 days).

It took me ~5 days to make the setup, which I think is good because most of the remaining time would be invested in animating and fine tuning things according to client feedback anyway.

I’m quite happy with the result, even if I think there is still room for improvement.
When looked at from above the shape could be better, still it works from a distance.

The geometry node setup takes some curves as input and output flowers, with two parameters to make the plant grow and the flower blossom.
Here is how the final tree looks like :

And the hand modeled elements used in the setup :

I used Named Attributes a lot, which was really helping in making the setup simpler and cleaner.
The most interesting part was how to instance things like petals and individually deform them.
That was done in different steps :

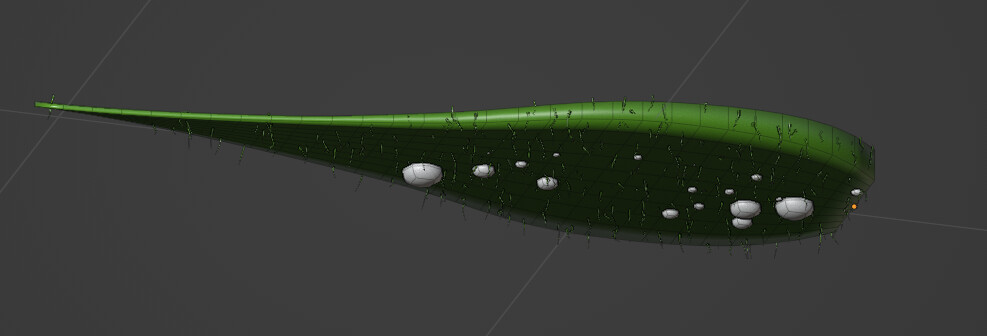
That part is modeled with nodes, here it’s before instancing :

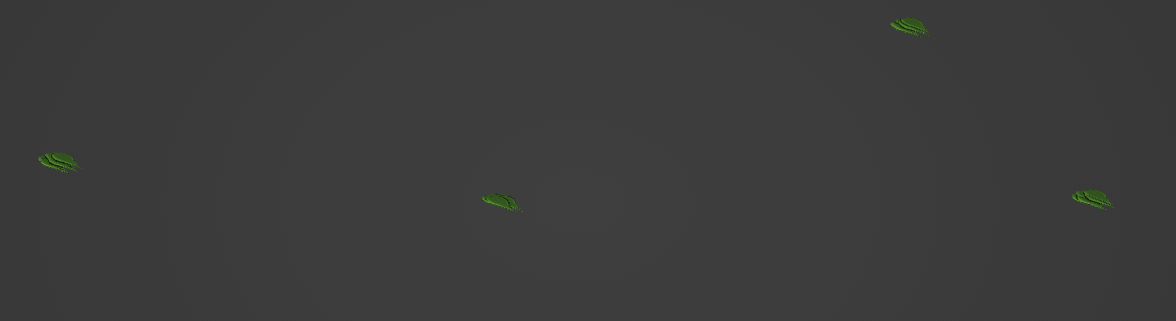
Then they’re instanced where the flowers should be :


At this point I store their location and rotation as named attribute, along with a grow factor, and other attributes that are needed further down the line.

Then after I realized the instances, I reset their location, putting them back at the center of the world , and start to deform them according to the grow factor and other parameters :

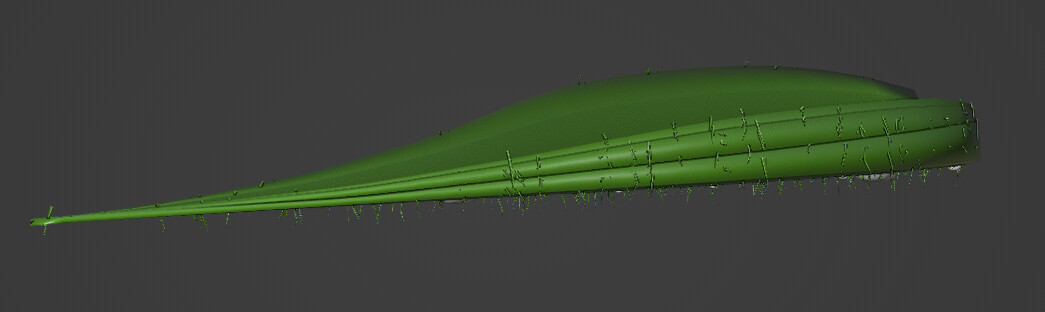
here it’s all the deformations cumulated :


Most of the time I used a rotate vector node on the position, and make the rotation varies according to some other value.
Having all that at the center allowed me to do a lot of things in a simpler way. Like taking the distance between a point and the origin (0,0,0) and use that as a increasing factor for deformation.

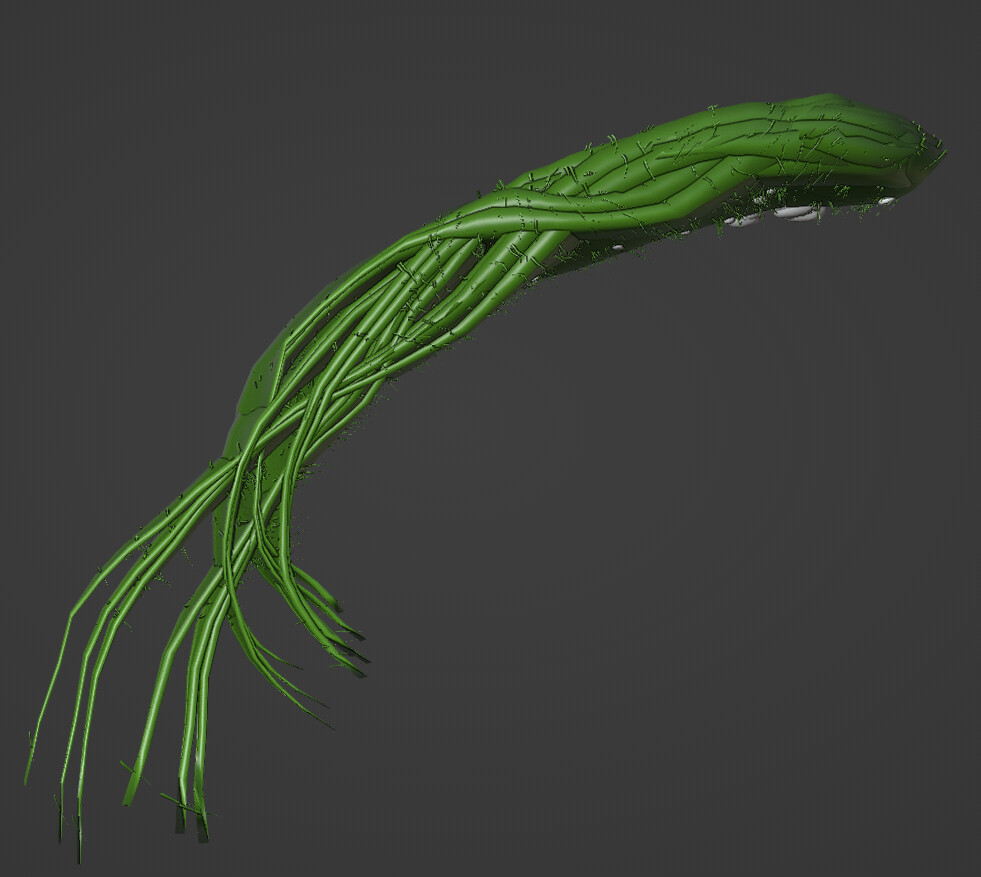
Then all this is merged with the petals that went to a similar process :

And then I apply the original location and rotation that was given when instancing :


I know that this technique of cancelling transforms , and applying it back latter is quite common in procedural modeling, but it was a first time for me and that was quite inspiring !

And that’s it !

I’ll post more images and animated shots once I’ve finished them,
In the meantime I’d be glad to get some feedback, I’m not sure I wan’t to rework the setup, but I’d be interested to know how I could have done things better ! Maybe for the time I actually get the job :smiley:

Thanks !

64 Likes

Super interesting and inspiring projects as always :smiley: Can’t wait to see the animations!

1 Like

That’s super cool !
Very nice render also.
What do you mean by storing the location and rotation in named attribute ? It’s different from just capturing ?

1 Like

Thanks a lot !
Store Named Attribute and Capture Attribute indeed do the same things. At least in the way I used them.

But in my case it was much more convenient. If I used capture attribute the tree would have been way more messy and harder to follow. And by giving names to attributes it’s also easier to follow the logic you’re implementing.

It’s also simpler to access other attributes like vertex groups, colors, UV…

So yes, in the end it could have been done without Named Attribute but probably a bit slower and with a more convoluted tree in the end.

Both are great and sometime it’s way simpler to capture the attribute and use it right away. I used them also in different places.

2 Likes

Thank you ! But I mean, how do you create a named attribute ? I must be missing a concept or something here I think

1 Like

Hum, I think it’s in blender 3.2 : https://wiki.blender.org/wiki/Reference/Release_Notes/3.2/Nodes_Physics
I tend to use development versions when working on personal stuff.

2 Likes

They are looking really good, great stuff as usual keep going!

1 Like

Amazing. The detail is incredible.

One thing that I don’t understand about this website is the difference between “Work in Progress” and “Finished Projects”. This work looks finished to me. Is there a clear distinction or is it just subjectively up the artist to categorize their work? The answer is probably in the FAQ. It is a long way of saying, “Great job!” again.

1 Like

It’s just artist intent - a finished work is, well, finished, and a WIP is something that updates are planned for, at least in my mind. I think it also indicates something of a tolerance for criticism- suggestions on a WIP are more geared towards this specific project, and suggestions on a finished project (should) be geared towards things the artist could do in future projects :slight_smile: it is completely subjective though, you’re right

2 Likes

Thanks a lot to you and the others for the positive feedback !

Yes, this is nearly finished, I’ll work now on making animated renders to make a little video.
I tend to share my work in WIP once I’m halfway through and I’m confident I can finish it.
But that’s very personal, on this one I was interested in getting some feedback, and maybe do a few more easy tweaks based on that before calling it done.
But yeah, I could have waited a bit more and post it in finished :smiley:

3 Likes

That makes senses. WIP can expect more C and C.

1 Like

Cool. I look forward to seeing it!

1 Like

Here are some animated shots,


I’m happy with the overall results but it looks like some polish are needed, and a few bugs remain…

20 Likes

Nicee, looks amazing

The wide shot is my favourite, a really impressive result

2 Likes

Stunning. Wonderful.

2 Likes

How did you go about avoiding intersections with the leaves? I’m trying to find tutorials for it and it seems like I’m not even sure what is the best term to call it to find an answer at the first place…

1 Like

Hehe, I tried to minimize issues, but there are indeed some intersections.
I think it’s hard to solve unless you plan that from the start, like avoiding too much bending etc…
Having intersecting mesh and correct this afterward sound way much more complicated.

I’ve discussed about that a bit here :

But no simple / ideal solution comes out …

1 Like

thank you! your advices across the platform are very appreciated. and also, your texturing is really nice!

2 Likes

Thanks a lot !!

1 Like

Apart from the petals, which seem too thick/like made from silicone or wax, this is looking better than the “original” by far. Especially the green parts rolling back.
Reading about the process just had to stop when I tasted brain matter on my tongue, which tells me I’ll have to find resources on the processes involved - intriguing!

2 Likes