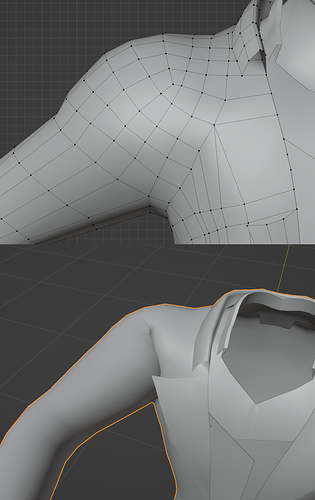
I have on shoulder that mesh. I copy (try copy) it from polycount wiki.
After rotate arm forward I have that fold on shoulder. Can it be improved by edit mesh or weight paint ?
Well you are the right site (BA and PC)… if you look at the first one of [http://wiki.polycount.com/wiki/ShoulderTopology](https://wiki.polycount ShoulderTopology)… then this could work…
Following the wiki a bit more… there is always the tradeoff between anatomical modeling, perfect loop cuts and textureing and animationablity ( ← is this a word ??)
And of course experience… (and good judgement)… so: practice, practice, practice… and then practice a bit more ![]()
(and for this example i would guess: more weight paint… )
Thanks, I will try that Japanese shoulder on my model, but most 3d artists use anatomical modeling and I don’t know what think about it
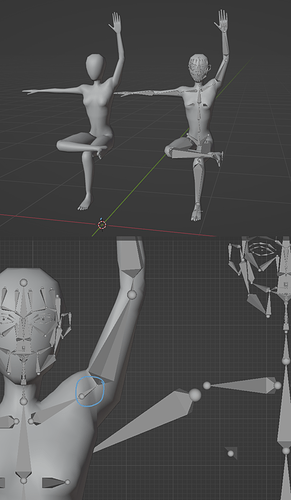
Welcome again, I got solution, I just needed more bones for better control, BLUE CIRCLE on second image, I add normal rigfy armature for compare. Royal skies made a tutorial for “double joints” here is link https: https://www.youtube.com/watch?v=JbQX8C3lrHE
now I have quite natural rotations and moves
Extra bones + drivers are pretty much the only way. (Corrective shapekeys are a thing but they are even more pain in the ass to set up). No topology trick will make the Armature modifier’s linear interpolation behave like real muscles.

