Hi - I’m new to this forum, have just started learning 3D two weeks ago, and decided to use blender. It’s frikkin awesome. I’m really into texturing and lighting - this is my first project without a tut. Will put up a more detailed description of how I did it at a later stage, but for now here’s the render.

That’s pretty good! I can’t think of any improvements at the moment.
That is realistic to me. Might try some SSS if you don’t already have some on now. Great work!
After two weeks such excellent render? You are really talented! Good luck with your future projects.
Wow, that’s awesome. Could you post here how you did the texturing on this one? I would love to know how. Thanks so much, sir. 
-Reyn
That’s great for two weeks!
I am hungry now looks really interesting!
Thanks for the comments guys.
-
Moddelling the apple was pretty simple so I won’t describe this
-
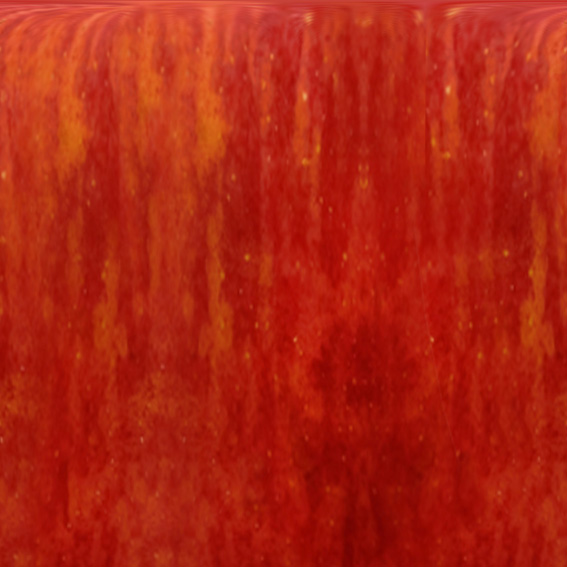
I started off creating the base texture in photoshop using a photo of an apple. Made sure there were no hilights or shadows on it, then painted on some extra detail. I didn’t put the small dots on this texture. I then used the polar coordinates filter on it to flatten it out so I could wrap it round the apple.
-
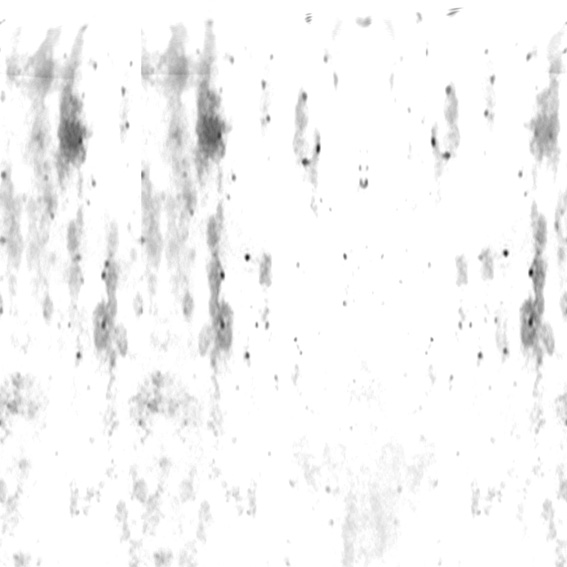
Applied the texture in blender using Orco and Sphere settings with a bit of adjustment. Had to flip Y and Z axes. I added a ring around the top of the apple mapped to refl. Then used an adjusted black and white version of the tex image mapped to normal, refl and spec to give the surface more texture.
-
I created a new texture node and started with my texture. See the shot of my node tree below, but I basically created another reflective layer on top that was more specular, with pale orange spec colour, then added the spots. Couldn’t figure out how to make them map to norm in nodes tho. A lot of this was trial and error, so I’m not entirely sure exactly what my node tree is doing. :o
-
The render - I tried seting up a node pipeline for this but it was way too advanced for me so I just used a normal render. Turned on radiosity, AO, rayshadows and reflections - then rendered.
I’m not too happy with the stalk - but need to spend more time on it. Would also like to add SSS but haven’t really figured that one out yet. Any good tuts? Everything I find on google is on faking SSS in the older version of blender. I’d like to know how to use the SSS settings in the latest version.
Cheers
Attachments

http://blenderartists.org/forum/showthread.php?t=132989
check the above link
bye the way…love the apple…im hungry now lol