Looks like a leather material. But nice SSS
Hi All
@bonrw1, thanks, and thanks for the links, will definitely check mudbox out. not going to put ears on this one as i have just used the head for practice for the sculpt i am busy with.
@minoribus, thanks for your constant help and the link, really appreciate it. had a look at Yuri’s work, he certainly knows what he is doing.
@Salamander, must have baked him to long :D. jokes aside, you are 100% correct, funny thing i find is that you look and look at the screen for hours on end and you think you have it OK, have a look a day later and you think to yourself ‘‘that looks really crappy’’ that’s why others also looking for you is so important.
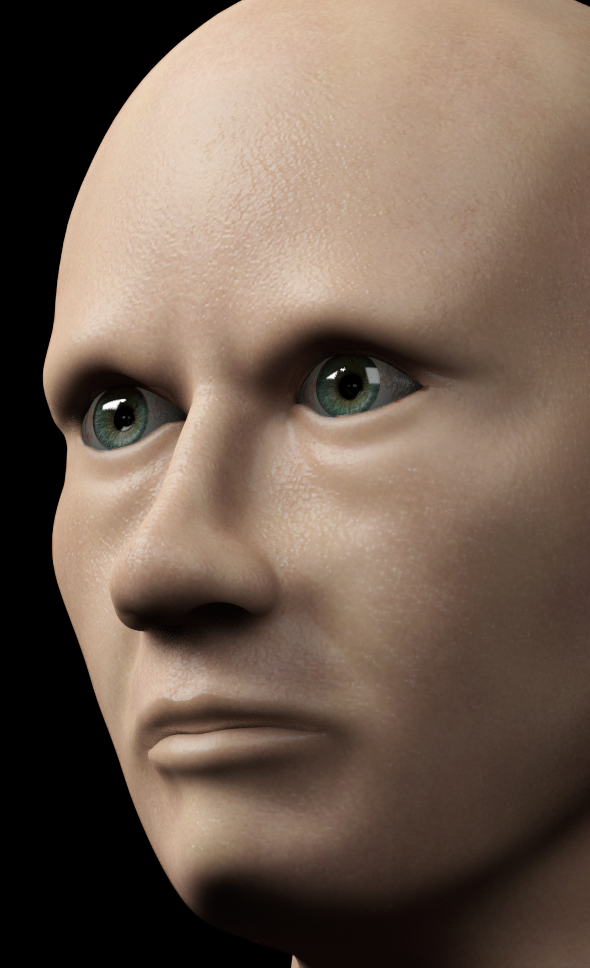
added some eyes just for fun, got too much gloss in the white. think i have got about as much out of a single 1024 texture as i can, time to spend some time with the various techniques and tutorials that everyone has mentioned in this thread.
[ATTACH=CONFIG]360333[/ATTACH]
shaun
Attachments
I’m pretty sur the gloss is the same in all the eye. If I look my eyes in a mirror, the reflection dont stop at the border of the cornea and the rest of the eyeball is similarly reflective. Obviously the more visible in reflection is the lighter part and it’s more obvious on the iris but its only because it has more contrast here than on the white part.
Looking at comercial product I use they make the eyes with two sphere one big for the white part and a smaler sphere for the cornea, ti make the reflection be distorted but I cant say if you used this as your reflection stop at the border of the cornea, for my shaders one imported in blender I merge the materials of both the cornea and the rest of the outer part of the eyeball to set the reflective material.
Well, it’s not skin, I m probably off topic. 
Not sure if you have seen this, www.fineart.sk seems to be the same guys from 3d.sk helping the poor guys out. :evilgrin:

Hi All
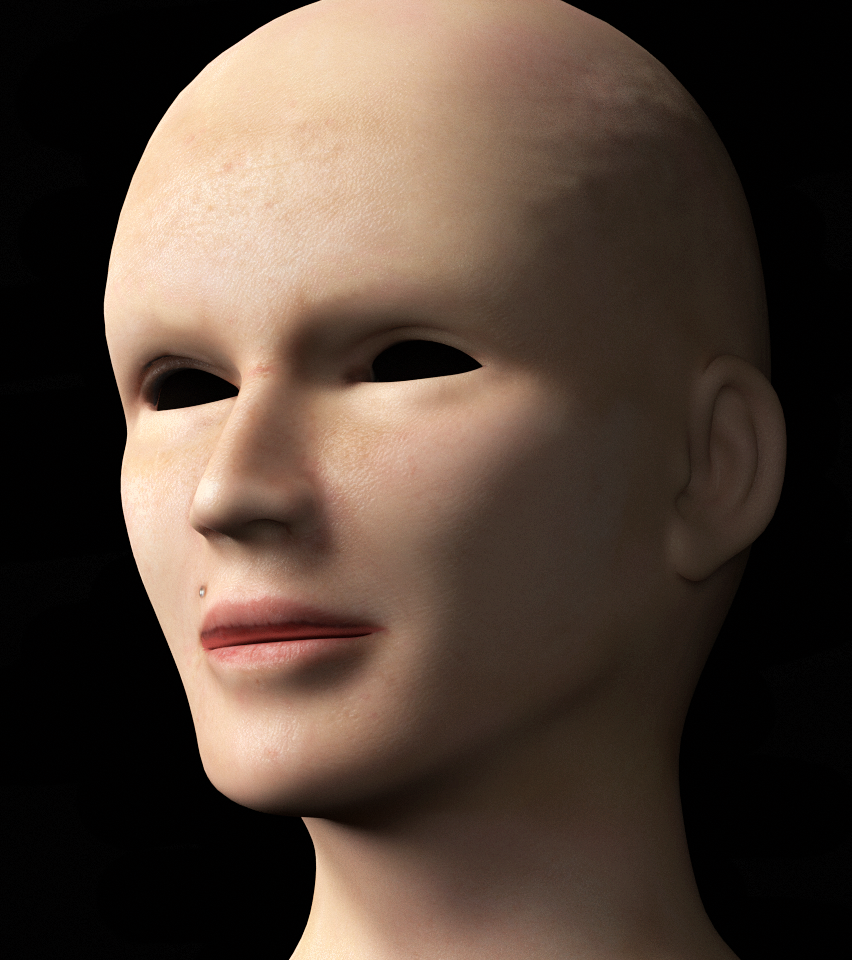
The pic posted yesterday really looks S–T and yesterday I thought it looked good.
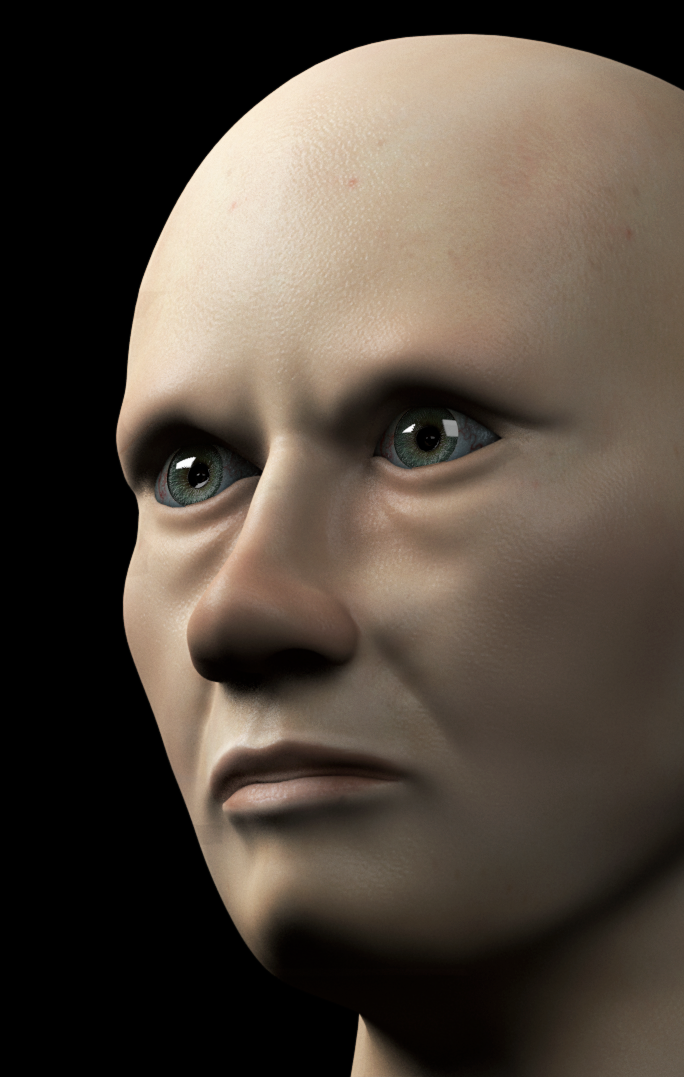
Tried a bit more today and I think it is looking better with the exception of the lips and the fact that he looks like Rudolph, Santa’s reindeer. The skin is also looking quite feminine. Skin is really tough to make!!!
Shaun

Hi Shaun,
Your shading looks very good! However you have wandered into very dangerous area by having goal to test realistic skin while testing it on a custom non completed model.
- If your objective is only SKIN SHADING then you should use 3D scanned model(preferably cleaned) as this is the ONLY way to eliminate other variables and focus on the shading alone. Very often people use this model: http://i6.minus.com/jMALEyQJILvcL.jpg
- If you want to model your own realistic head then you are hurting yourself tremendously right now by focusing on very last elements of the pipeline that are computationally expensive(e.g setting up expensive lighting and shading setup) and introduce additional layer of complexity that is hard to manage (such as grooming, scene lighting, extra textures etc) as well as distraction (e.g eyes shading is HYPER REAL but face is not so it distracts). You should essentially first focus on modeling and then texturing, only then shading and light setup.
In other words you need to define your goals and then go the best way about it.
Kick some ass 
eyes are too big. looks almost like an anime-realistic eye.
also i think its too glossy. looks like its made of glass.
really good render though.
also make the eyebrows a lot more dense, and stright/sharp. if you look at referances you can see they are all quite thick and glides off to the side.
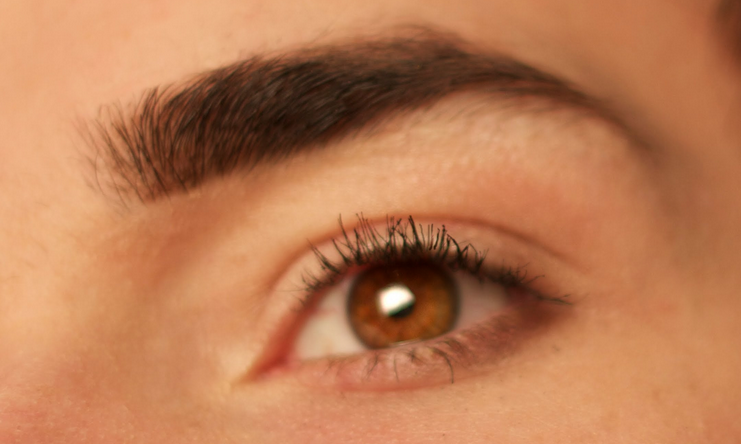
also again, look at the referance above. that should give you an idea of how to improve the eyes aswell. 
Hi All
@cgstrive, thanks for your comments, really appreciated and noted. You are probably right, I got off topic on my own topic :spin: (is that even allowed) :evilgrin:
@finalbarrage, thanks for taking a look, eyes are to big as i scaled them up a bit because the sockets on the sculpt were poorly done. Thanks for the reference image. Really tricky to get the eyebrows correct, maybe the solution would be to model them.
Tried my hand at projection painting, will need to get a better lighting and node set up going, been having a look at the node setup that pyroevil made for skin, he used stuff that i did not even know cycles had :eek:, i obviously have a long way to go.
Edit: Base head mesh from natholis at blendswap
Shaun
I have tried creating realistic skin before too. Not so successful . But I learn some things. Here is my tips:
-
Use the final lighting for your model. Shaders for such complex materials as skin never really works well for all lighting situation. I think 3D algorithms doesn’t really capture the whole thing. So in a certain lighting situation, the shader works well but not in another. There are even times that you can get away with just using diffuse and glossy shaders (no SSS and others). So when you make such shader then do it when you have the lighting nearly final. Adjust when neccessary (ussually it is necessary).
-
Skin don’t have uniform specularity. Some part of the skin (like the nose) are shinier that the others (like the cheeks). This shinynies also is different in different situation (skin is wet, or sweaty, or wearing makeup). You have to vary the shininies (specular?) of the skin to achieve this.
-
Skin has varied SSS strenght and color. In some areas (like the ears and nose), SSS effect is strong, while in others (forhead, cheeks), the SSS effect is less. The color of SSS effect is also different in different areas. Some areas like around the eyes is a bit bluish. The forehead and cheeks is more yellowish and the ears and nosetrils is more reddish. This also varies on age and condition of the skin. Older people often have more yellowish or green tint while babies has more reddish or pinkish hue. Match it with the are of your model.
-
Wrinkles and pores has a lot to do of how skin looks. If you need extreme closeups then you should study these very intensely as these features varies all around the face. Pores varies in size, shape and direction. Wrinkles varies in size, depth and direction. You had to mimic it just right for the shader to look realistic in closeup.
Skin is very complex. You really need a large amount of dedication and hardwork to create a great skin material for your model.
Hi All
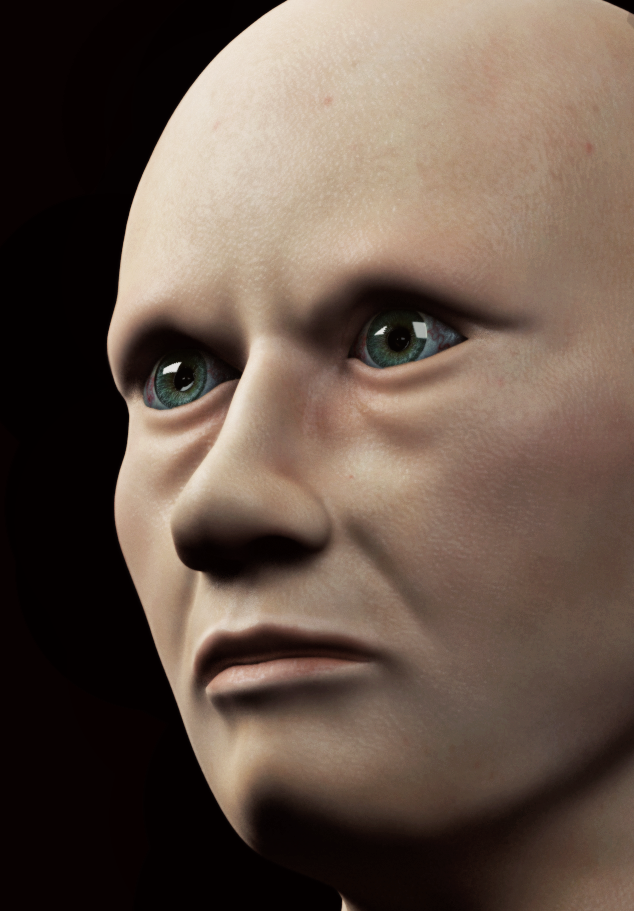
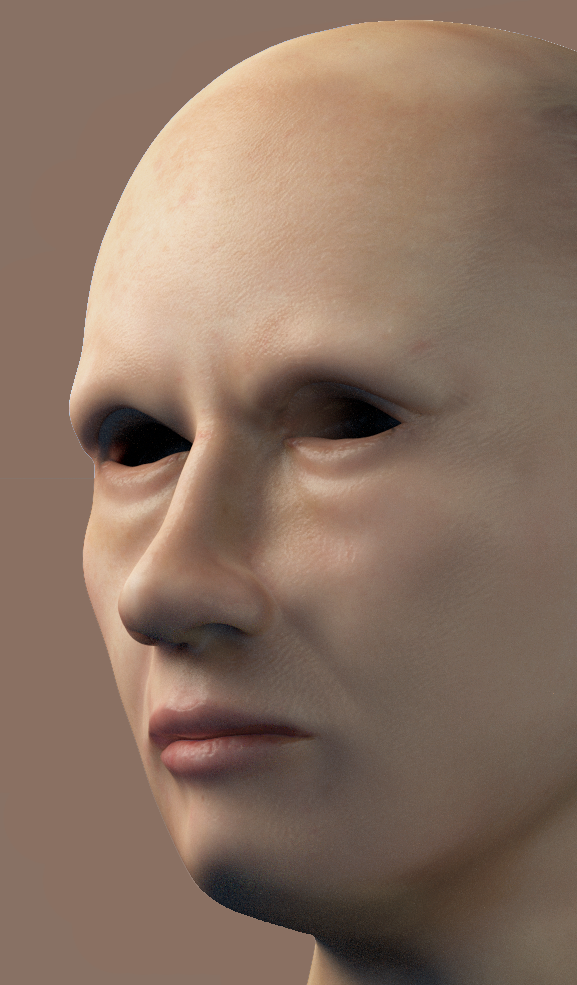
@Ralmon, thanks for your input. did another render tonight using a HDRI, also spent a little more time on the projection painting. Seems to have made a big change (well to my eyes anyway :D). You are so right, skin is a whole lot more complex than i ever thought it would be.
Shaun
Well, thanks. You are making a good effort though and even if you failed you will still learn a lot of stuff.
Also, another crit. You should rise your models eyebrow and make it less prominent. Look at finalbarrage reference.
High Speed
good progress with skin… I also try to improve skin with clint eastwood. Eyelashes you did lookinging good to my eyes. Maybe a litte tip to do hair in my experience is to use as much hair particles as you can/need.That way you will have more control. You can turn hair children down to 1 to get some nice children effects. Beside the vertexgroup a density texture makes sense for children. Another thing I figured out… If you try to ad hairguides on a subdivided mesh it won`t work. You can duplicate the face, apply subdiv and create a new hair system and ad hairguides in particle paint mode. Then you can fist select the subdiv mesh and the the highres mesh and copy hair to your mesh…Important is that the base mesh has same subdivision… just in case you get in trouble with that. Good luck!
Piet
Hi All
Trying to do projection painting with a sculpt that has thousands of triangles is not the easiest thing as you can never get the UV’s aligned properly. You also cannot place seams properly and trying to create any kind of map is virtually impossible. I have put off learning to retopo for ever, but finally decided that if i want to go any further with this I would have to eventually learn. I bit the bullet on Saturday and bought Topogun and spent most of the weekend getting familiar with it. Here is my 1st go at it. Please give some thoughts on where to improve.

Shaun
I think you have done GREAT man, it’s really realistic, very very close. I believe the question is RELATIVE to scenario and it will be VERY hard for you to advance from this state forward. Kind of like a question “does this sphere look more realistic than that sphere” - it loses meaning. Again, you have done wonderful, but for you to yield results you need a concrete project(e.g Tom hanks) with concrete scene and light setup - not that you have to do so because you have already learned and made your point. As far as i can see you have succeeded in your goals set
What about some peach fuzz?