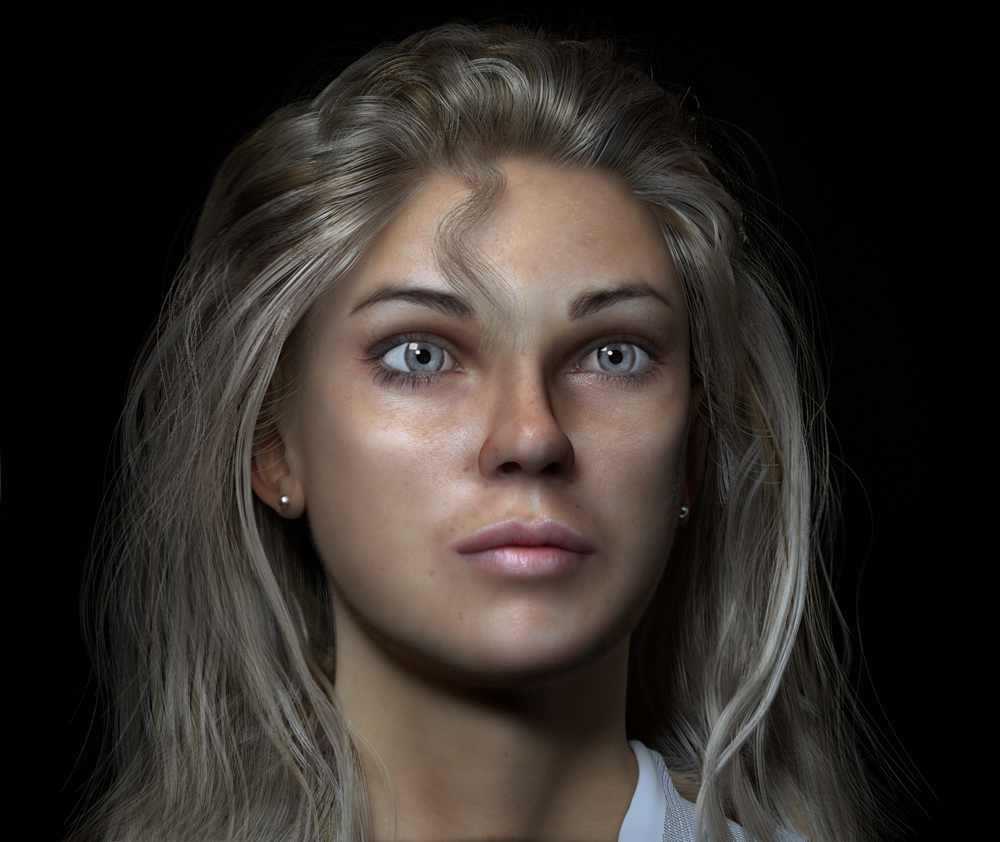
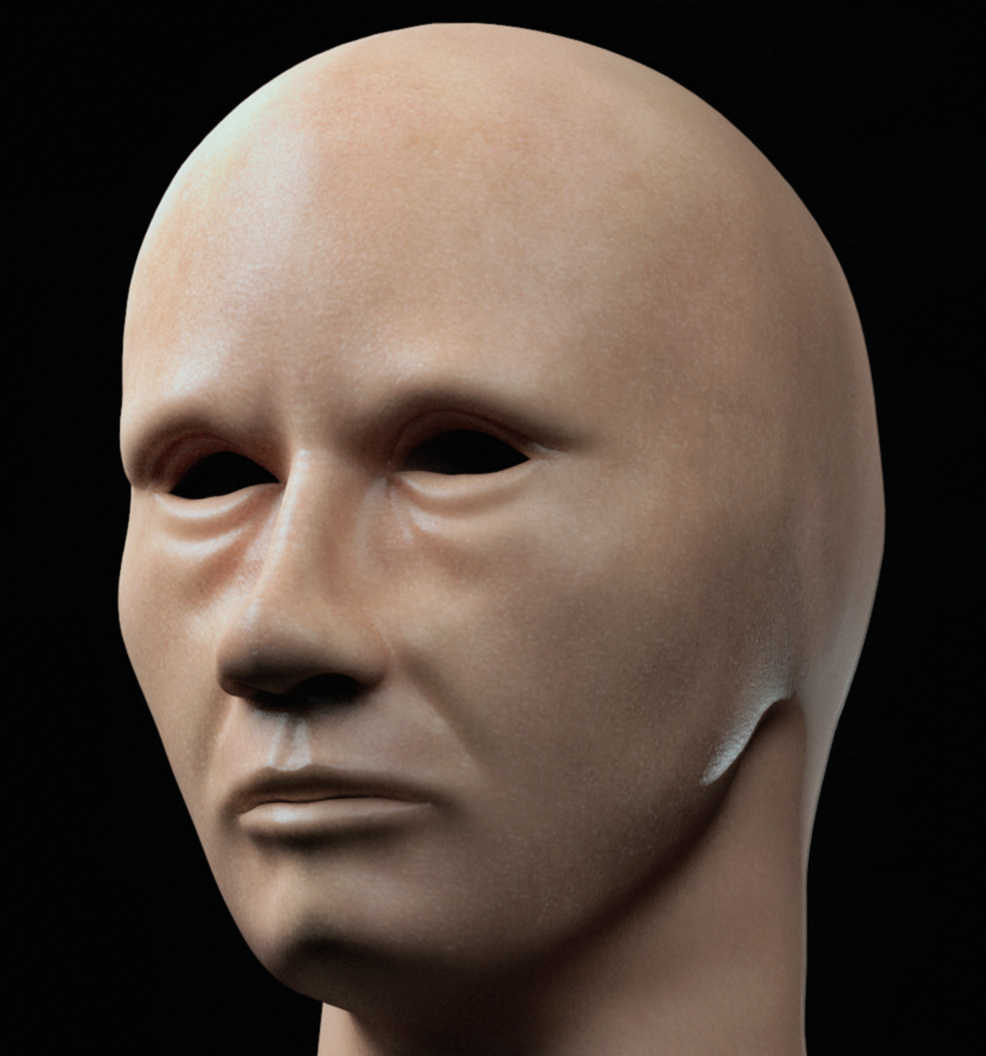
@nicky2048. Thanks so much, this is why it is so good to post here on blender, people pick up straight away what is wrong. I will add the pores when I do the sculpt, have just added a bump made with noise in PS for the moment. I have added another pic in which I added some gloss, but it is definately overcooked and needs to be toned down. Render was really red, looked like he just finished a marathon.
@JA12. That Gif looks great, Thanks for taking the time out to go into such detail, did you do in PS, would love some pointers on workflow if you have the time.
No I used Gimp. If you mean .gif workflow, not sure how to do that in Photoshop but in Gimp I just made duplicates as frames and exported as .gif.
Edit: forgot that I of course used optimize for gif function before exporting. It goes through the layers and separates changed bits from the background. Otherwise the file size would’ve been too big.
If you mean coloring workflow, the main technique I used was frequency separation which separates high frequency detail (pores) and low frequency detail (skin tones) as separate layers. That way it’s possible to build variation on the skin tone only. The workflow is a bit different between Gimp and Photoshop but quick to find how it’s done with a single google search. This one is for photoshop https://fstoppers.com/post-production/ultimate-guide-frequency-separation-technique-8699
I sharpened the pore detail by duplicating high frequency layer because of the workflow in Gimp but that could probably be done with actual sharpen filter. Then I added layers on top of low frequency detail and took a guess where there could be veins closer to the skin. I took a splatter brush and painted purple splatters on the forehead and used smudge brush to spread them. Layer blending to overlay if I remember correctly. Then put smaller ones elsewhere just to give color variation. Same with blood, dark reds to give color variation, layer mode set to color or other suitable.
I also tried to break the highlights by duplicating whole thing, darkening it and then using level adjusted high frequency layer as a layer mask. I was going for reduced highlights where the pores are but not sure if that worked as well as I hoped. Darkened skin version is just level adjusted tone layer, except that I took one vein layer out because purple color wasn’t subtle enough.
It’s just the skin looks so soft, I want to sculpt some deeper feature.
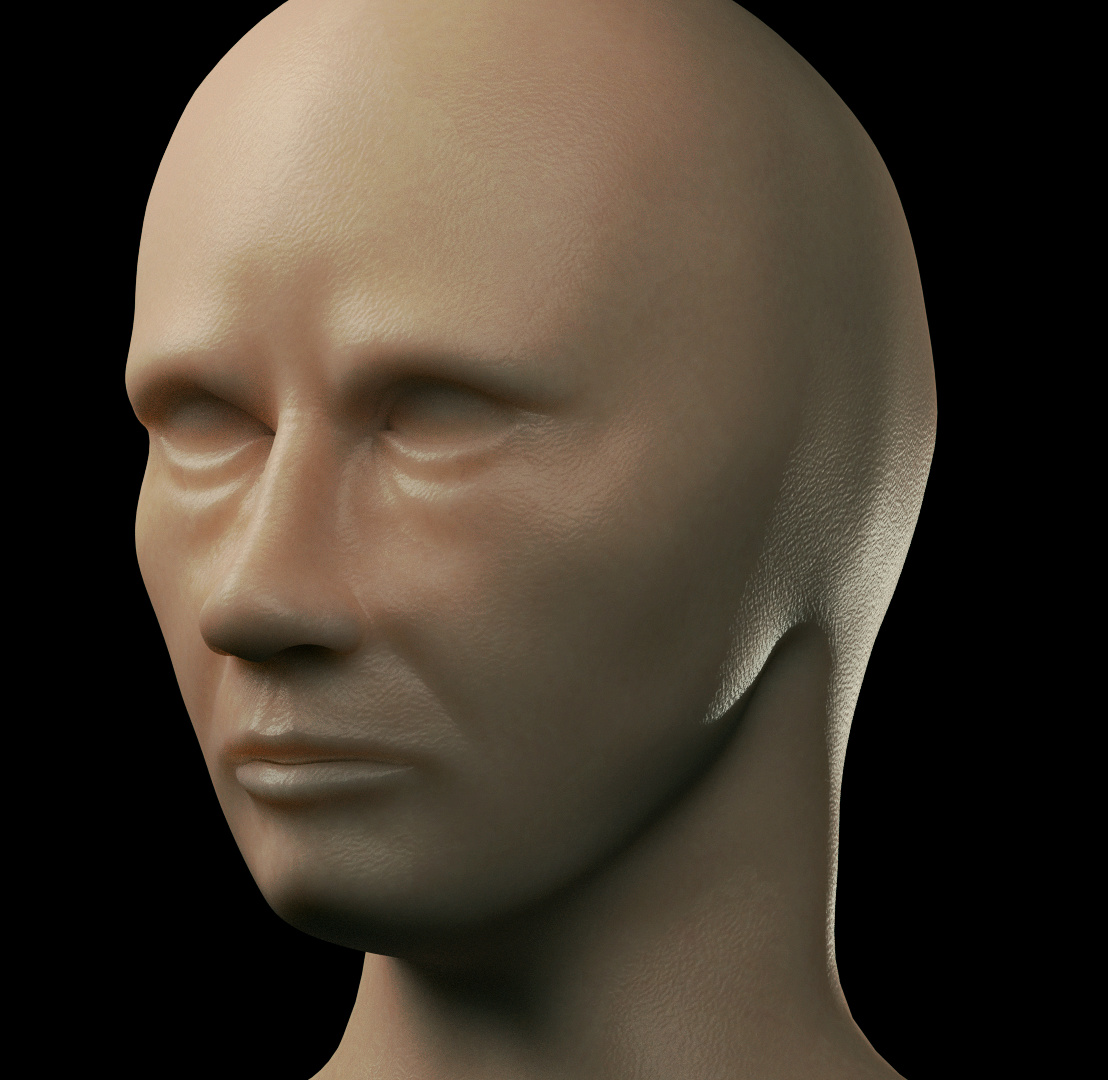
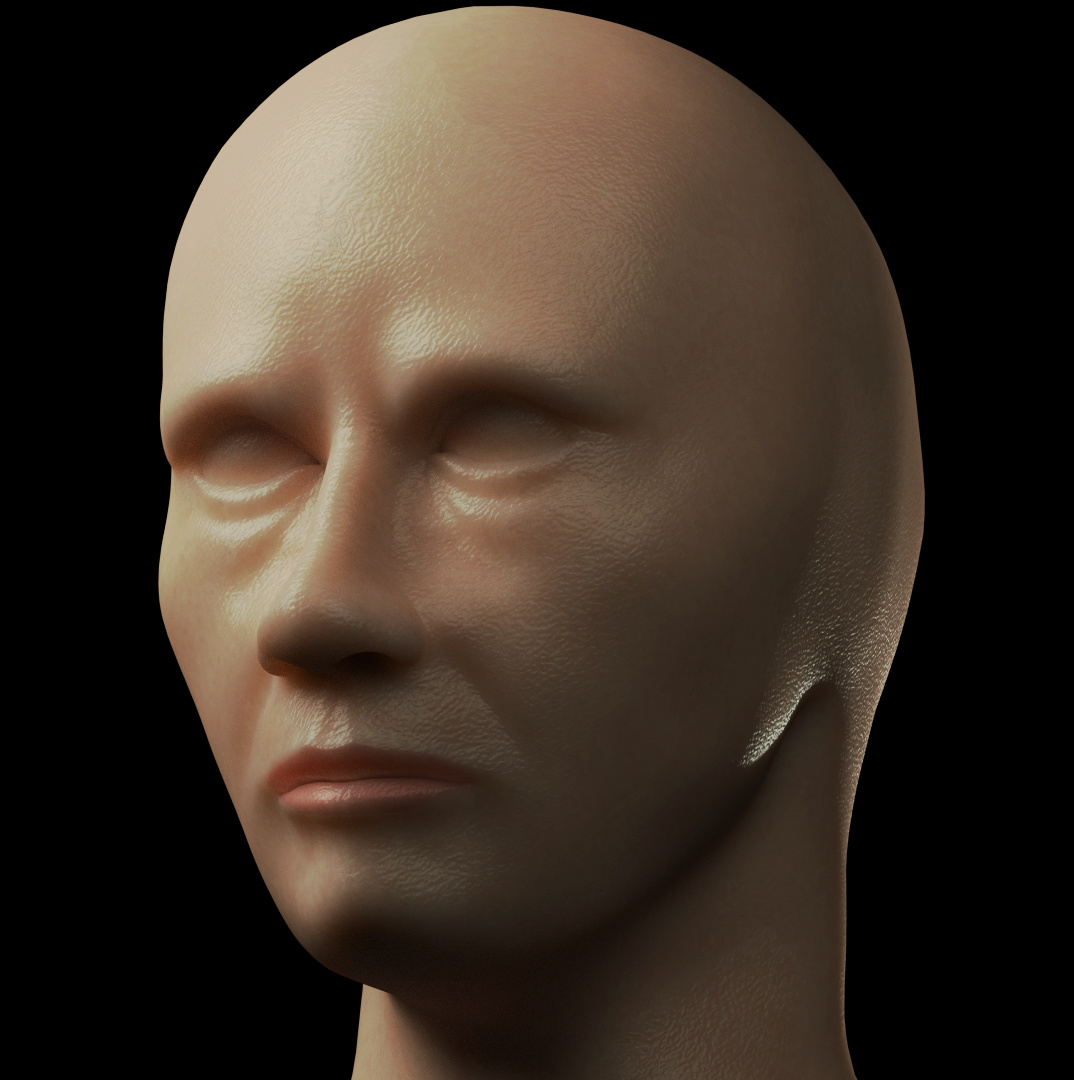
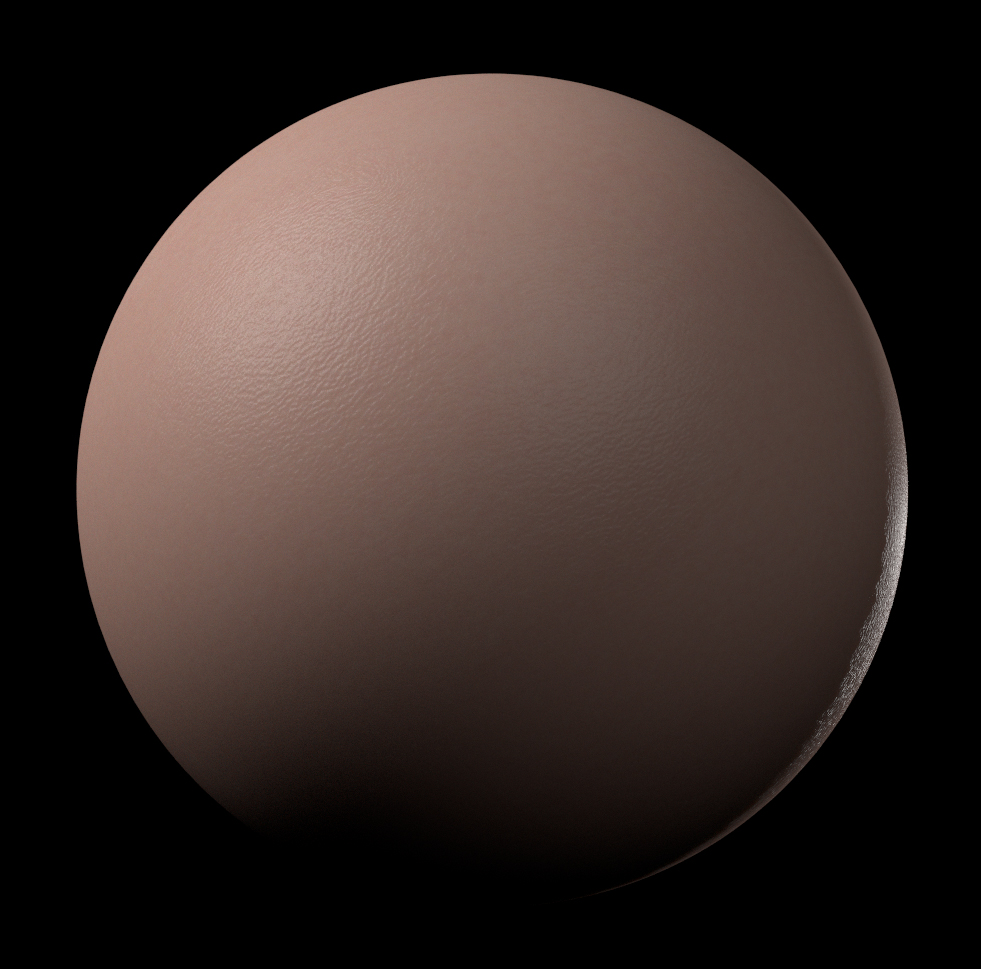
If you applied the material to just a sphere, would show off the nice effects you have, And could be applied as needed. So it works on the mesh in general yet asks more of the display to be the guy seen here in the lines of the mesh.
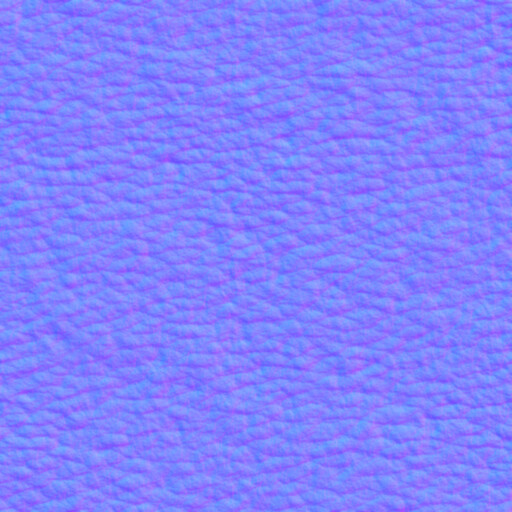
i am just trying at the moment to get the skin to look as good as i can, the head i am using at the moment will not be the one where the texture gets applied. i will put creases and pores in the sculpt i am busy with, the bump map i am using at the moment is just a PNG of some noise i made in PS.
have added a pic of the sphere you asked for, the sphere is a raw blender render.
have played in PS with the skin again, not sure if it is getting better or worse!!!
I assume you’ve seen Kent’s head tutorial, right? There’s a good section on skin there.
You’d be surprised just how much of good skin shading comes from the textures. And having good textures starts with a good base color.
Check out this website for a wide range of skin colors:
I’d also like to take a look at your SSS shader. It looks like your scatter radius is off.
Regarding the skin surface, are you using antropus’ skin alphas, or some kind of alphas? There’s a pretty good selection on this page:
For detailed enough skin your mesh should probably have at least 12 million polygons.
Check out my Scully thread for a bit more info on the skin there.
EDIT:
Also if you need a normal map to tile across the surface (kind of a microbump texture) here’s a cool thing
Hi there! Looking better. Have you seen Kent Trammell’s realistic skin shading in cycles tutorial? http://cgcookie.com/blender/cgc-courses/skin-shading-cycles/ It is VERY hard to find free Hi-res skin textures, I have myself looked for a year all over the web to find them. But I ended up painting my own. If you haven’t already, check out this video https://www.youtube.com/watch?v=58GHhuI9j3I he goes through the whole creation of a 3d portrait, and although he’s using zbrush for painting the textures, you can just as well use Mudbox! just download the Student version, (which is free for 3 years) and I have found it wonderful for hand painting my own textures. Also, what I used to do, was download the free premade head textures at 3d.sk and stencil those on.Overall I think the skin is pretty good, a little pale perhaps, but it is definitely getting somewhere. You really do need ears on the head though. They help you to see the scatter better, as Kent explained in the tutorial I posted above. If you find ears hard to model or sculpt, then you might find the attached head basemesh useful! Keep it up! Looking forward to seeing it once it’s done!
good progress on the skin so far. I like that you’ve reduced the SSS in the last version. There are artists on the web which recommend to paint the skin texture mostly by hand and add only a few details from photos. I don’t know if you are familiar with the work of Yuri Alexander, but he is great at that. Perhaps you want to take a look at his skin tutorial.


 Keep it up! Looking forward to seeing it once it’s done!