Edit again:
I now created an “Underwater volumetric lighting and caustic effect” tutorial , which is available here. Go to “Tuts and tricks”.
Edit:
I updated the animation: both the caustics and volumetric lighting effect, and I also included my previous whale shark into the scene for more realism.
I started playing around with particles to add zillions of small reflective particles in the water, but it just made the rendering too slow for my current purposes. Plus I would have had to motion blurred them to get the movement realistic… and you can imagine how slow that made the rendering!
Anyway, I am more looking for crit on the VOLUMETRIC LIGHTING and the CAUSTIC EFFECTS. I am in the process of writing up a tutorial for those who may be interested.

Original post:
I originally submitted a posting under Blender Tests re this experiment in creating realistic underwater lighting and caustics in Blender.
However, I am now at the point where I would like critique on its realism.
To recap: when I did my whale shark animation a while back, I was frustrated by the fact that one cannot use lights to display the light rays that one sees underwater. (The whale shark link shows the kinds of problems one runs into).
Enrico Valenza’s Bongo tutorial shows how one can emulate the light rays using tubes or cones with special material attributes.
I could not accept Blender’s lighting limitations, so I went about trying to figure out how to work around it. I think I found a way to do it.
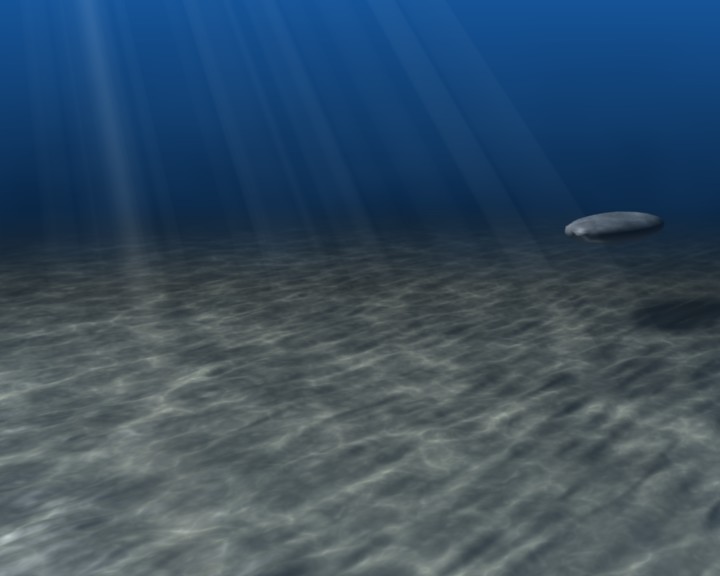
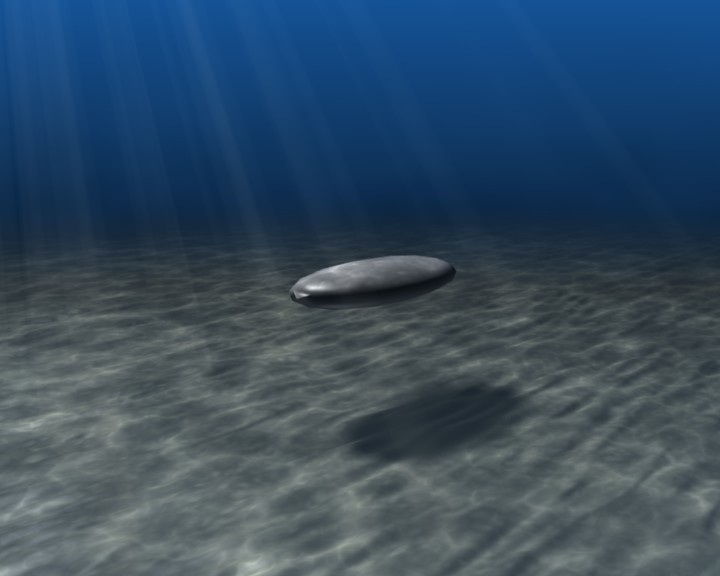
I did the scenes below with three “straight forward” lights (and a few tricks) and no compositing or post-processing, nor material nodes. The light rays and caustics move around throughout the animation.
The caustics on the sea bed are combination of 5 procedural textures.
Below are 2 stills from my 4MB animation. (The object in the scene is not meant to be anything - especially not a fish! - but more to see what the light does on it. I’ll next tackle a realistic fish - maybe I’ll just add the whale shark again…)
C&C are welcome.
AnyMation


