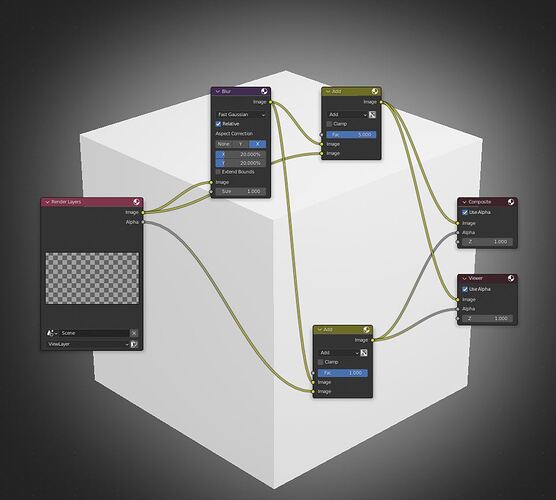
After a bit of research, it seems this has to do with the way the mix node handles alpha: it uses only the alpha of the first image.
The way I found to fix it is to manually add the glare’s result to the render’s alpha and then plug that in the alpha output.
However, once you have saved the image, the alpha layer will cause the glare to get mixed with the background color behind your letters, the color you would see if the image didn’t have transparency. So you will need to have the image’s background be the color you want your glare to have in the final result. That way, you can get close to what you want, but it will always look slightly different from the compositor.
Are the letters slightly transparent? If yes, that could explain their different look. They get blended with the background color differently depending on how the alpha is applied/calculated.
