Hi there folks,
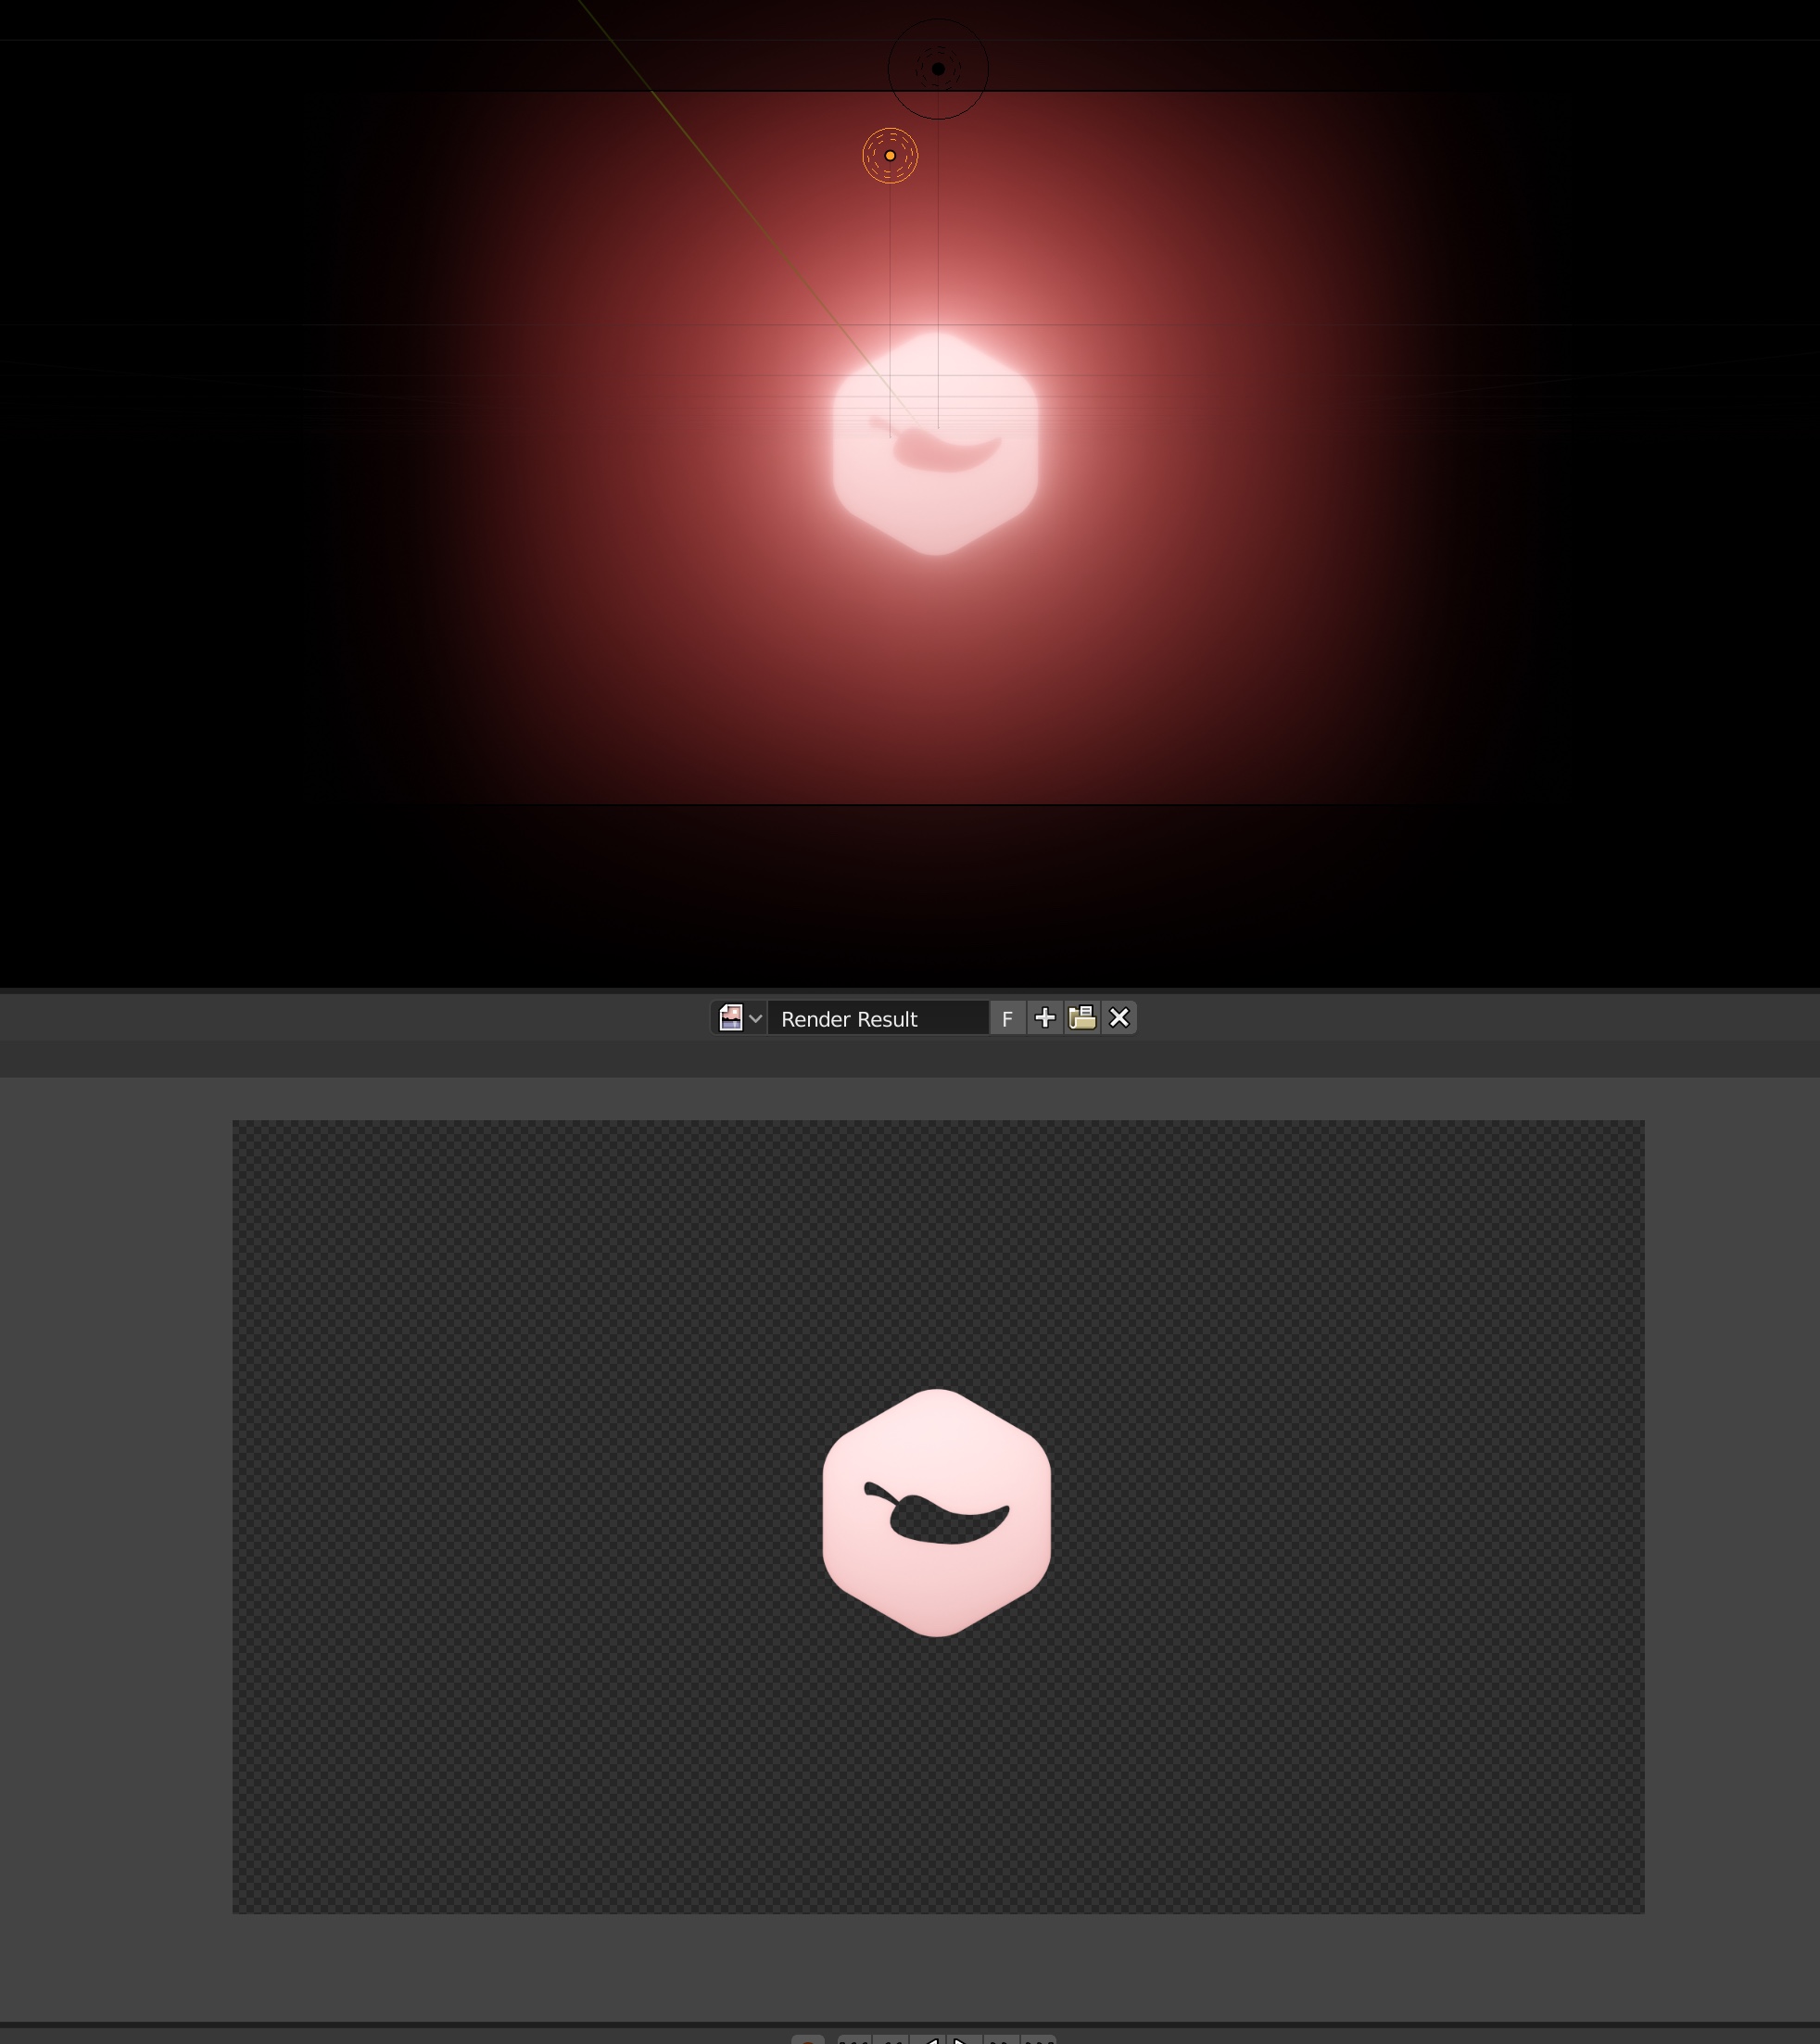
I’m trying to create a animation in Blender 2.8 in Eevee. When exporting to transparent PNG’s it doesn’t render the bloom I’ve setup. See the image…
Is there something I can do to change this, thanks!
Hi there folks,
I’m trying to create a animation in Blender 2.8 in Eevee. When exporting to transparent PNG’s it doesn’t render the bloom I’ve setup. See the image…
Is there something I can do to change this, thanks!
I would like to know if there’s any workaround for this problem as well.
Right now there isn’t. It is because render results use premultiplied alpha. I also want to expose the non-premultiplied render result. I will see with other devs what’s the best approach.
Haven’t tried with Eevee, but I’m guessing it’s the same as cycles. The glow is still there but it doesn’t show up in the image viewer because of how blenders viewer handles alpha, as hypersomniac mentioned. If you save out the file and do an alpha over operation, you should be able to see the glow, since the RGB values are there with a proper 0 alpha, meaning they get added to the RGB values of the other image.
You can see those values in blender using the non-premultiplied view available on the viewer toolbar, but you can’t see it properly unfortunately unless you go through the compositor and add a background image.
In short, if you do an alpha over to composite this on top of something else down the line, your glow should be visible. I do agree that a proper viewing mode should be added to the viewer to be able to see these effects there.
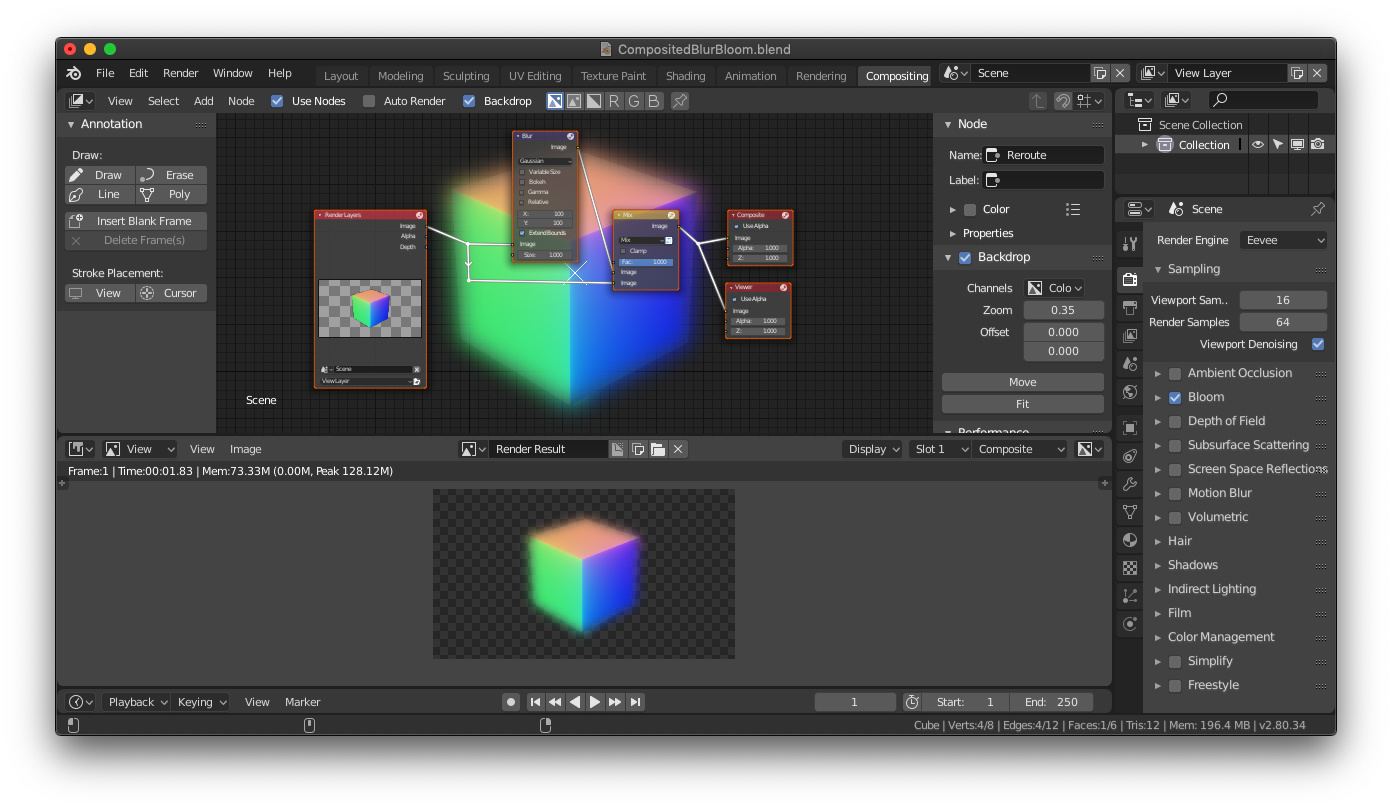
You could try compositing like the example I linked here. I split the rendered image in two nodes, blurred one and then mixed them together again. You can play with the blend modes if you want a slightly different effect and increase/decrease the blur with the x and y blur factors (amount is in pixels I believe)
Here is a link to the file.
https://drive.google.com/file/d/1LFRLV7ICzz7T-0yjLyIund85htzcVYbU/view?usp=sharing
Not the way to go. As @Hypersomniac mentioned, it´s about the alpha premult.
On your image, internal edges are blown out (washed out, destruction of information)…
Catastrophe to composite. A multicolored cube is nothing to worry about.
Think what would happen on a far away building with windows glazing from a sunset view, to see what a nightmare it will become to recover detail information and have the bloom working correctly…
It’s not perfect but a workaround as asked. Better than nothing in my opinion. Some tweaking with the values of the blur and the blend modes may give a better result.
Hey!
no need for the Glare node to get that Bloom Effect in Blender … all you need to do is to set the Color Space of the Image Node from sRGB to Filmic sRGB … this will create a bloom effect for the bright color, just the way it happens in Evee…
That won’t produce a bloom effect, unless I’m misunderstanding what you mean by bloom? Setting an image’s input transform to Filmic instead of plain sRGB tells Blender to assume the image was rendered with Filmic, which compresses bright highlights down into a narrow range—so when Blender linearizes the image by running it through the reverse operation, highlights that were previously slightly below 1 go nuclear—Filmic turns 16.3 into 1, so reverse-Filmic turns 1 into 16.3, and so on down the range of values.
If you have bloom turned on in Eevee, or are applying it in the compositor, you’ll see your highlights suddenly glowing way more than they were before, since bloom / glare are dependent on brightness, but that still only happens if you have a bloom effect happening somewhere in the chain, or you’ve got a volume in the scene that’s scattering light and producing actual physical glow!
Without that, though, you can blast your highlights as bright as you want, and you’ll still never see any bloom unless you add some! Which is where your reply loses me.