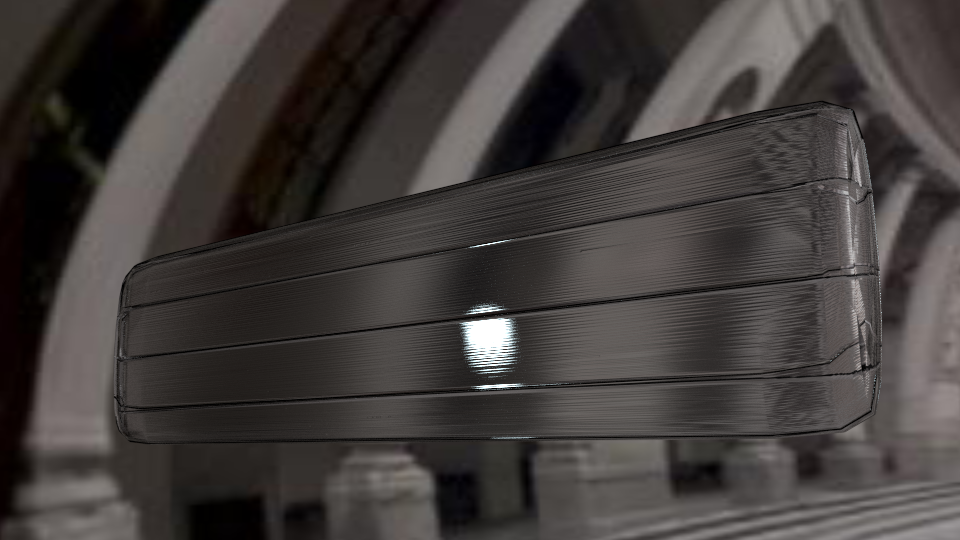
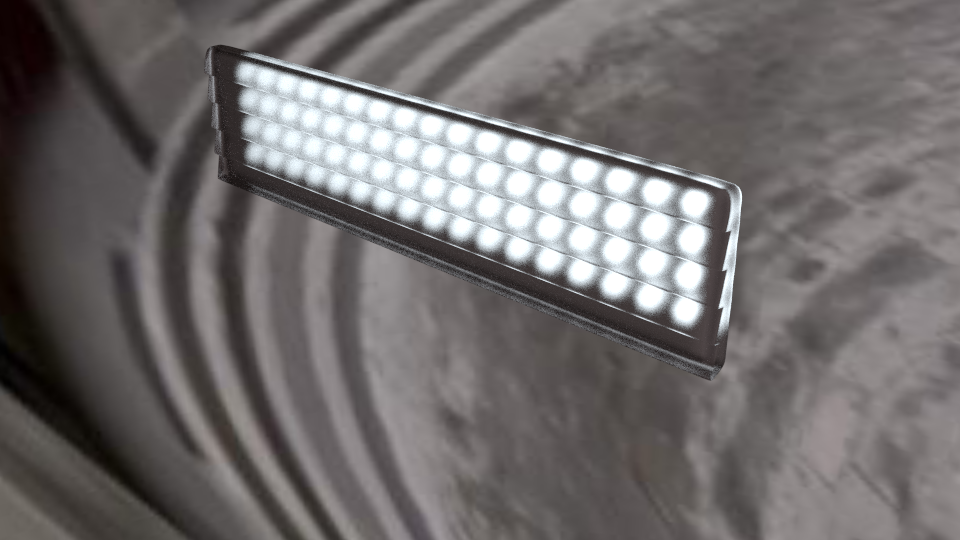
Here is what I am talking about:
I have been searching all over internetZ for a way to do this. Myself I tried to do with Glass+Some texture. Even created a noise texture in Photoshop, but none work. I am new to this. Any help?
Here is what I am talking about:
I have been searching all over internetZ for a way to do this. Myself I tried to do with Glass+Some texture. Even created a noise texture in Photoshop, but none work. I am new to this. Any help?
did you try to make a real model
but will be high res !
i have one for BL but have to try if it can work in cycles !
salutations
What’s the problem?  It’s just a more or less conic mirror behind a flat glass with a bump map on one side… No?
No need of a super-high definition. Just plug your bump map into the displacement input (with a math node to control the size of the bumps) and the subsurf modifier will smooth the angles.
Did I miss something?
Edit: Writer’s Block beat me on the finish line but we say the same thing: Bump map.
Just a quick note, I notice that putting the bump map into the height input of a bump node (vector --> bump) and then putting that into the normal of the shader gives nicer results. And then changing the strength in the bump node lets you change the amount of bumping. Maybe using something like a brick texture with some mapping that squishes it along the x axis, and using that as the bump map would work.
Hope this helps 
Ok so make a bump map. That’s what I tried to do with the noise texture. Or rather, well, just B&W stripes. Turns out they don’t work very well. I guess I will really have to model the damn thing. I thought I could do without modelling/unwarpping/baking and all that nonsence for a single rectangular headlight.
Oh well, I guess I make other fresnel headlights in the future so I can use this. I hate baking. Thanks for clearing this up, gentlemen, time to get to work.
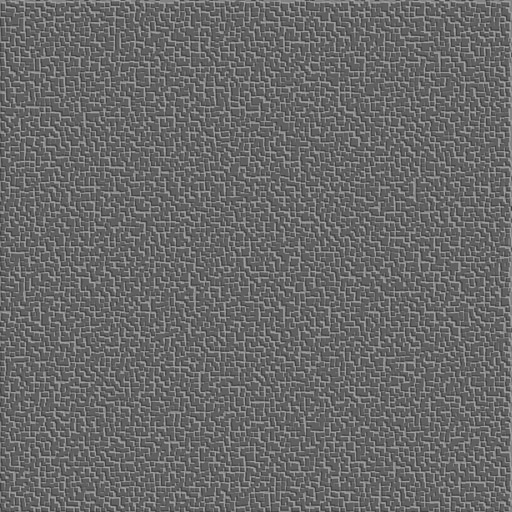
Ok I have quickly done this to see how this looks and it’s as I expected: just a set of gradient stripes essentially. But now I have a problem:
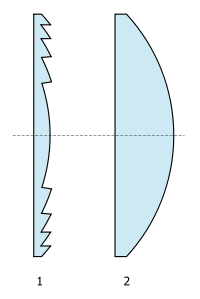
Those are three of the bumps I used. I would have used a maths node (set to multiply) to adjust the strength, usually down by a lot.
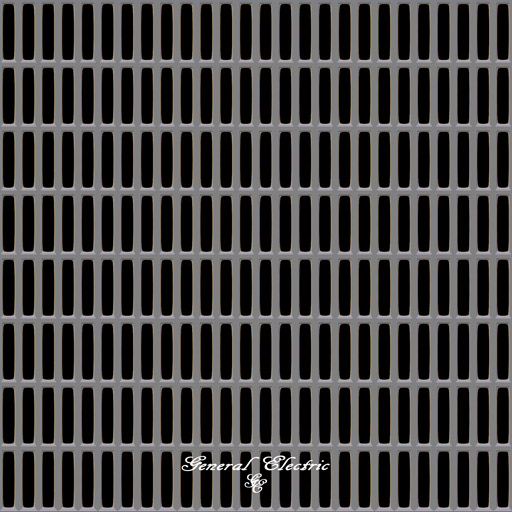
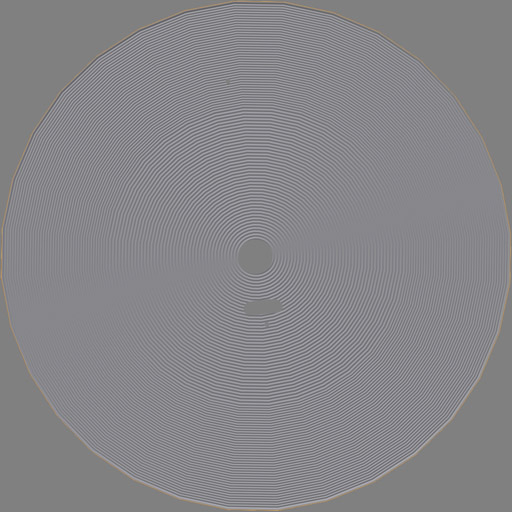
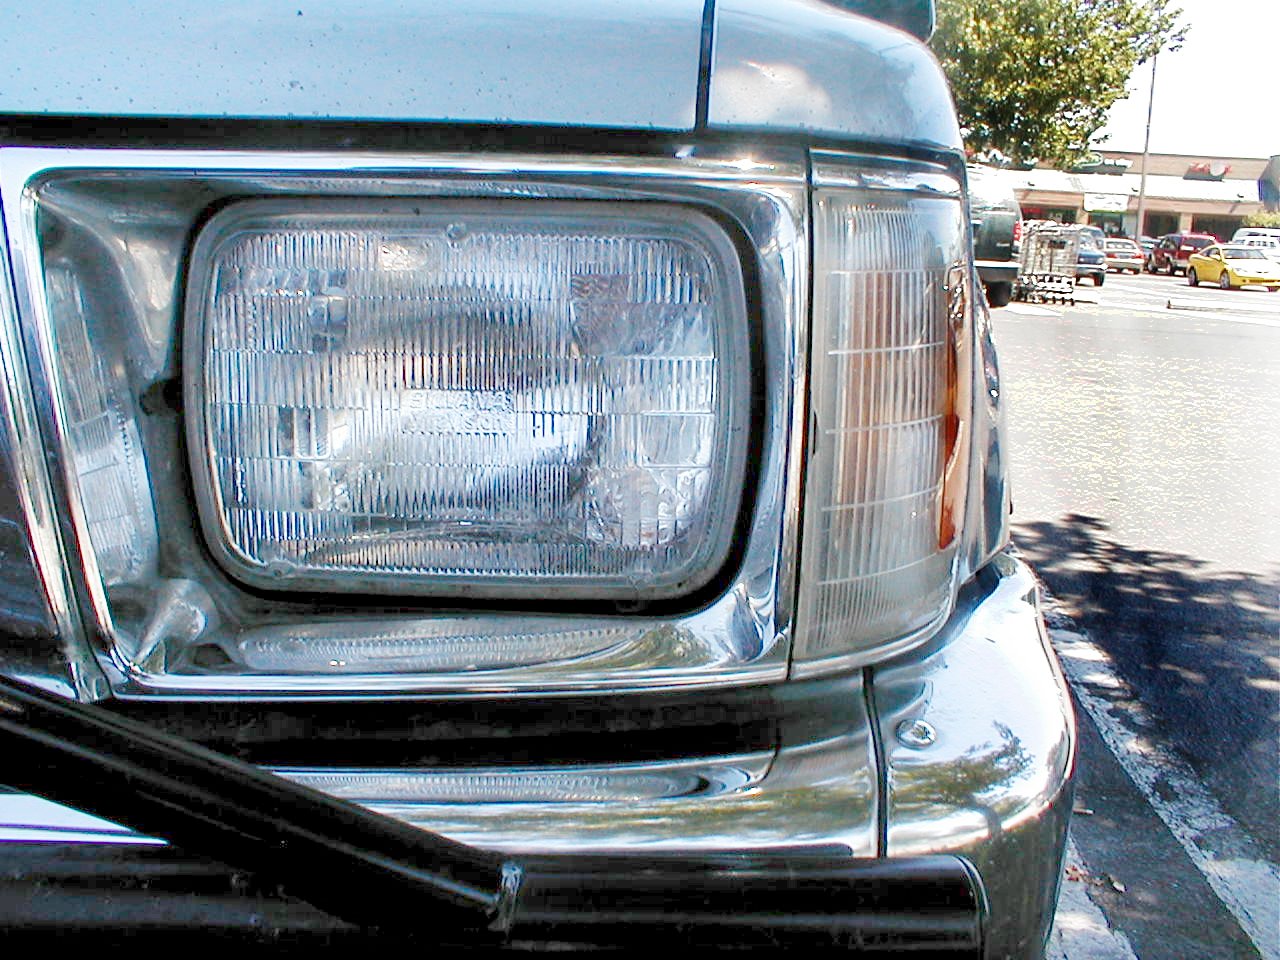
The name of the image relates to where it was used on the Plymouth ‘Christine’.
EDIT:
The image size is smaller here than I used; I used 2048x2048.
There’s no reason you have to model it, you could draw it in photoshop or gimp. Download some brushes and patterns and you should be set. ![]()
‘Headlight_Bump s’ is a drawn one and the other two modelled first.
are you using only bump map or if you use png with apha channel with a glass node
can you show some nodes set up !
thanks
That’s what I initially did: draw them in Photoshop. I think the issue is that I can’t quite get the tone right. This thing is that I need this kind of gradient line because I want the surface to be a set of wide stripes essentially. Your images were very helpful, I see now I need only some subtle variations, not nearly as much contrast as I had, but I still don’t understand the nature of the lines I have on the test image.
If anyone wanted to see my node setup it’s this:
can you explain how to make bake a bump map
i guess this is notdone with cycles but in normal blender with baking
but what are the steps to do it ?
i’m do some more testing for an image i had in normal blender for a light fixture refractor
but not yet working to see how to port it to cycles!
thanks
A bump map is created just like normal or occlusion map. You bake hi-rez geometry onto low-rez texture space. You can go to cgcookie.com/blender and watch some texturing tutorials. Bump map is essentially a black and white image. Darker areas mean more elevated polygons, white means lower. To apply bump map in cycles, after you’ve unwrapped your model just follow my node setup, and open your bump map as the image texture.
Now to my progress…
Not so good. I kept getting dark lines. Eventually I just though that perhaps my deformation was too large for bump map to handle. I ended up just creating geometry:
This is the least of issues though. I am creating a kind of sci-fi train and having all sorts of texture issues. I really do not understand how do those game texture maps look so clean on the model itself, and at the same time are good-looking at the map itself. If I make it look good on my map I get distortions all over the model and vice versa.
not certain which option i baking panel to bake a bump map!
can you give an example of free tut at cgcookie for bump map baking
thanks
This tutorial covers it all pretty much.
All you’ll have to do once you have baked the displacement map is basically just plug that into Cycles.
read the doc for first tut
it is talking about baking a normal map
but does it also covers bump map baking?
thanks
You don’t need “massive geometry” here: you need a sharply-delineated bump map. Make a wave pattern, stretch it out, use the array modifier on it, and shoot it from the side to get the basis for your map. It should be a good high-contrast range from light to dark. Capture not only the color of this map but also the normal-vectors.
Now you’ll use node-based techniques of various kinds to capture and define, separately, the various separate visual characteristics of the light (diffuse vs. specular, surface normals and so on) using the map source as the modifier. And in some cases, not using the map: for instance, if the light’s turned-off and you need to show by means of a reflection that the surface of the light is actually smooth, as you can see from the reference photo, that part of the total effect isn’t modified by the map. (But it might be modified, say, by “noise” to break-up the reflection in various ways.
It’s really a matter of looking critically. Look at the reference-shots and in your mind break down how the various sources of light play upon (and/or through) the object. Then consider, always opting for the computationally cheapest choice that you can get away with, how to produce the combined effect, one piece at a time.
You can do this in BI, or in Cycles, or if you’re feeling really adventurous, in both. But don’t think that you have to “model reality.” This is not reality: this is CG, and “cheating a shot” is a virtue.