Hello everyone. I’m in the process of learning Blender and 3D in general in my free time. This is my first post, so I’m crossing my fingers hoping I’m posting these images right.
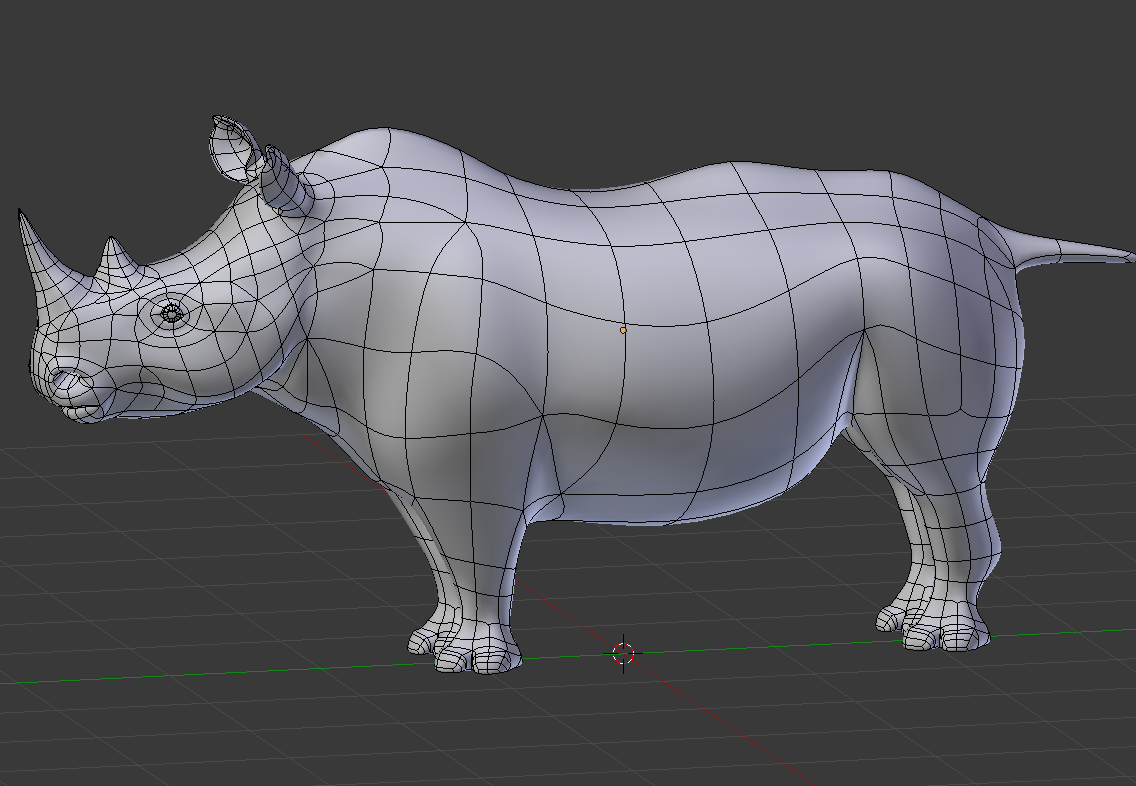
The Blender model before I added details in Sculptris.
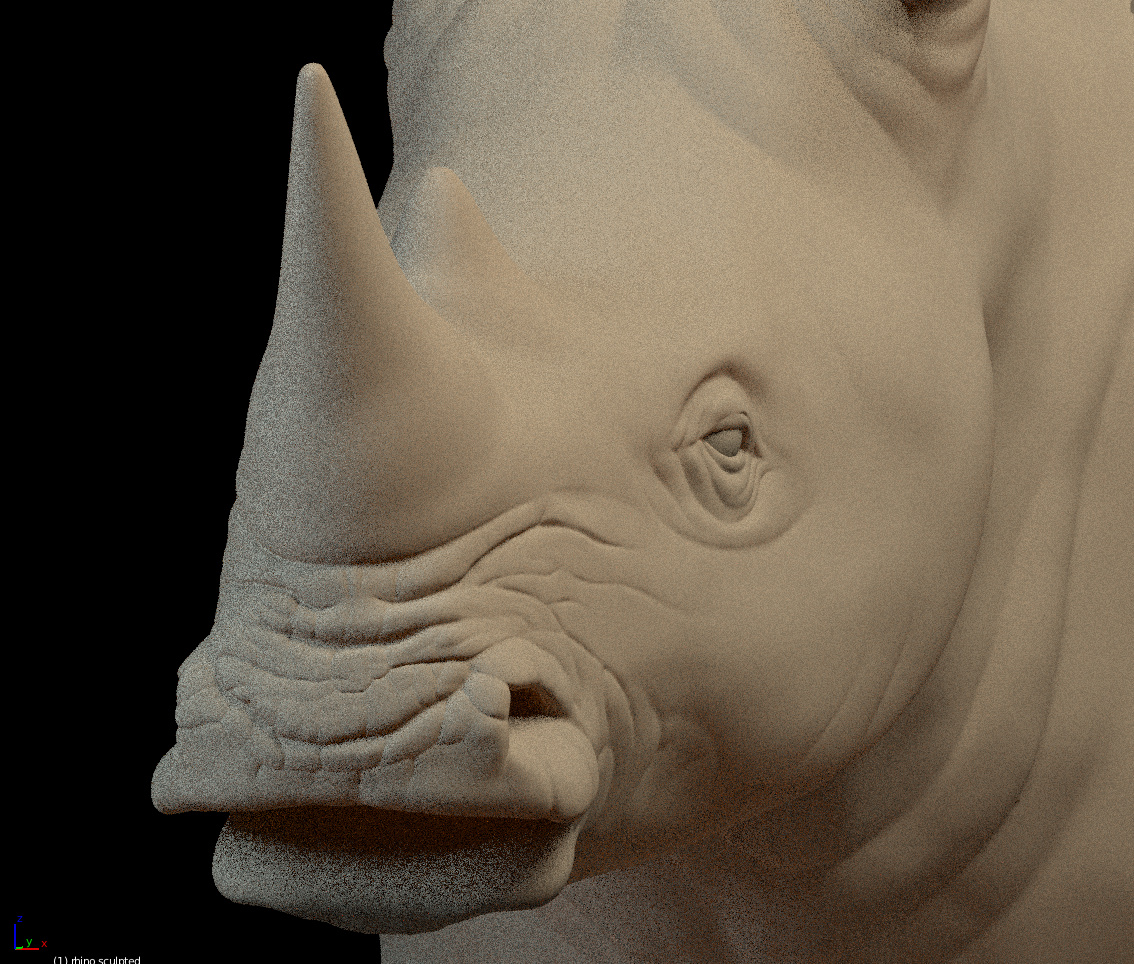
I have a lot of experience with 2D graphics, but have never taken a serious plunge into 3D before (though I’ve dabbled here and there). My project is a short animation of a photo-realistic White Rhinoceros doing something mundane like running or eating or something. I started building the model in Blender, then took it to Sculptris to add the large wrinkles and creases, and now I hope to bring it back into Blender to add texture and displacement maps (for fine details) before rigging and animating. Problem is, I’m kind of at a loss for what steps to take next. The current model is very detailed (almost half a million polys). How do I begin to UV un-wrap this thing? Is it the same process as unwrapping a simple sub-divided model like you see in all the tutorials, or does a model this complex need a different workflow for unwrapping? Suggestions and critique are very welcome.
If you get nothing but silence in this thread, you should interrupt it as “stunned silence.” That would be considered a good model for someone experienced with 3D, let alone a first attempt.
Thank you everyone for the compliments! You are too kind, and I realize that I still have a lot to learn. I’m pretty sure my topology sucks, which I’m sure will come back to haunt me. Thanks for the link Ricky. That technique looks very useful if it works the way I think it does… mapping the sculpted detail onto my original simple mesh would make things so much easier. I’ll check into into it tonight.
I’m not opposed to sharing what I come up with. It didn’t occur to me that anyone would be interested. I’ll post a link here when I get it uploaded.
Hi seversky. The step you’re looking for, and really have to do, is called “Retopology” and “Normal Map Baking”. This step comes after sculpting (when your model has millions of unmanageable polys) and comes before “unwrapping” and “rigging”. There’s no way around it when you’re planning to animate this.
I am not a sculptris user but it is may possible to create and export a Normal map from sculptris and use it in blender for your base model.
Would save a lot of work.
I’ve been working on retopology. The tuturoial that MattMump linked to was very helpful to that end. It’s slow going though… I still have half a dozen triangles that I’m not sure what to do with, and transitioning from the head to the body is difficult because I wanted to keep the body low detail so that I can more easily manage the contours. I don’t want to be fiddling with extra faces if I don’t have to. However, if it doesn’t animate well then I may just need to bite the bullet and carry the edge loops all the way down the body.