(copy/paste of what I have posted on reddit)
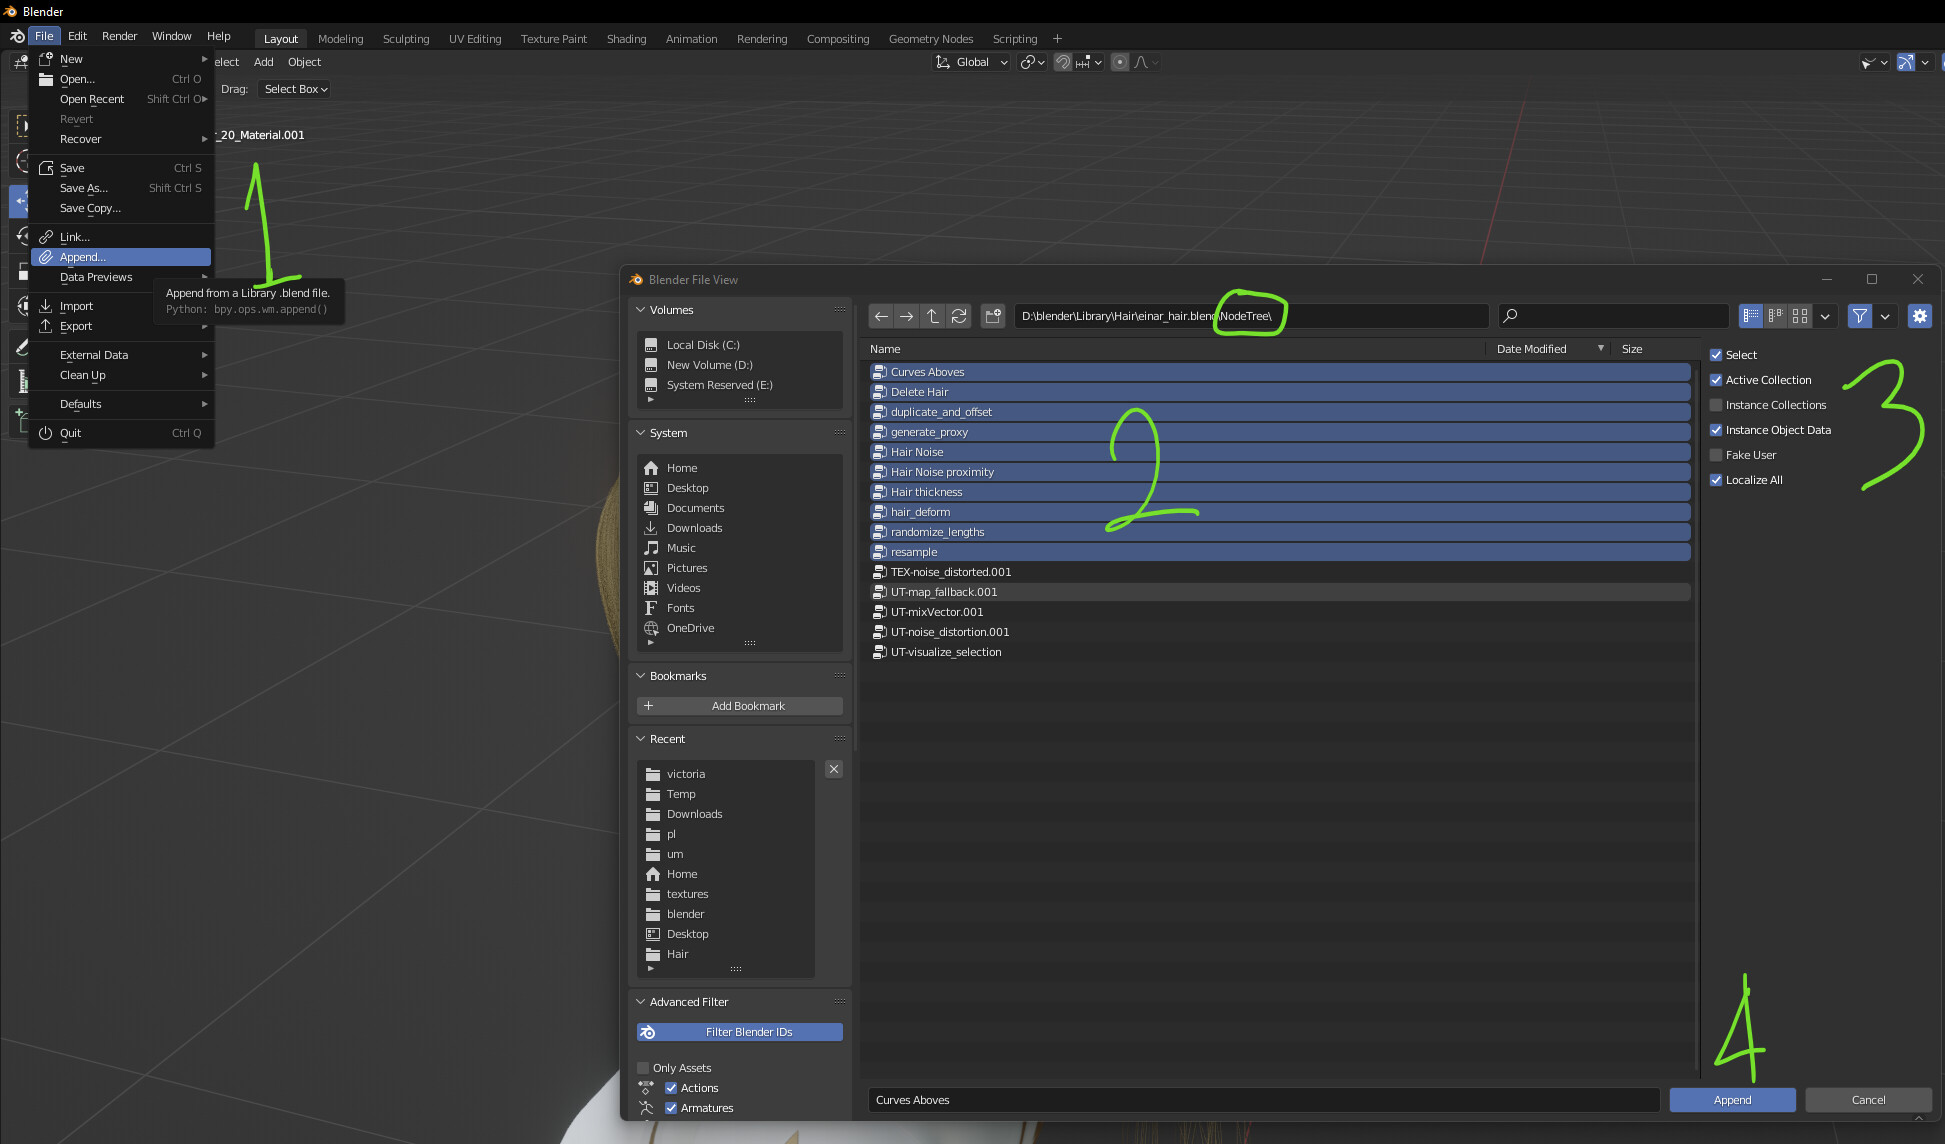
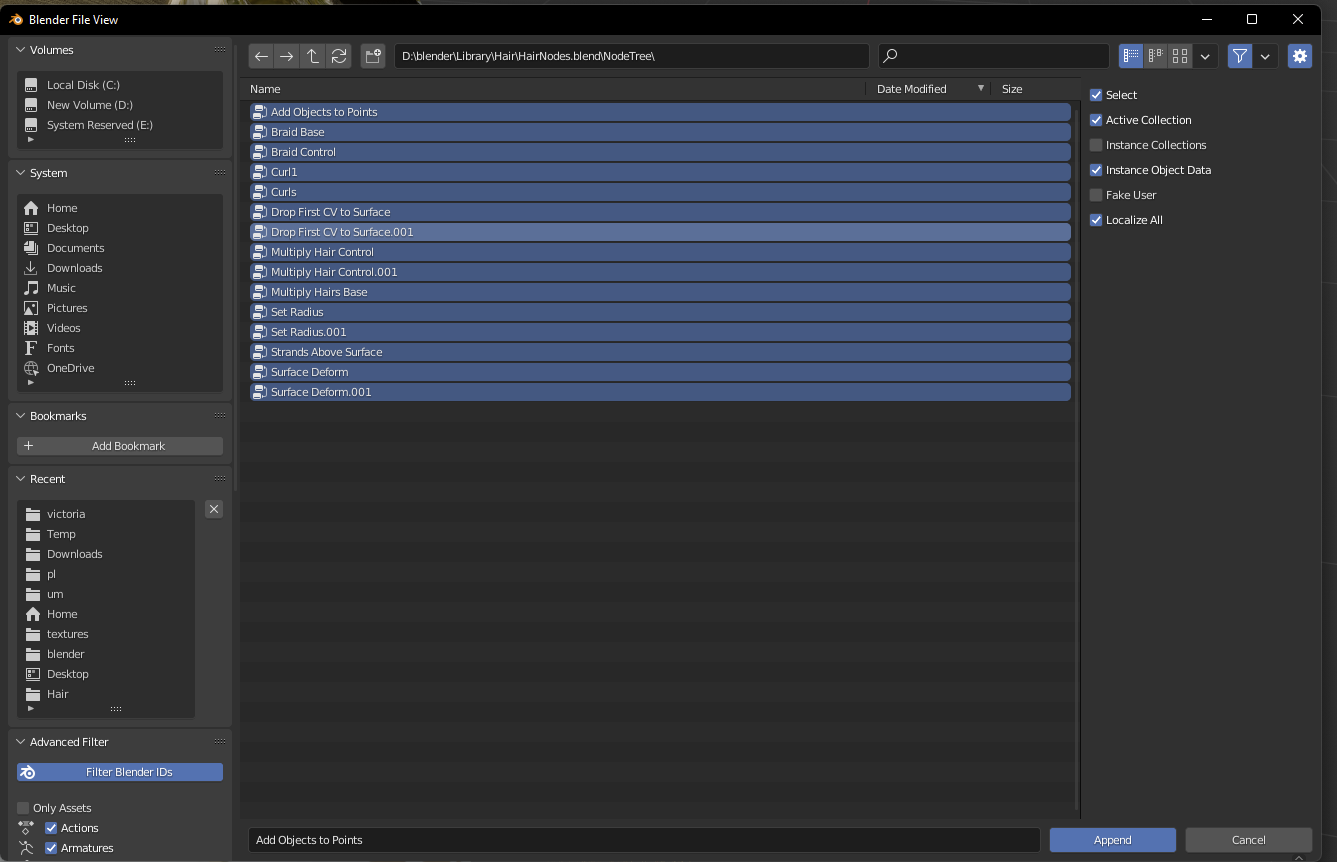
The required geonodes to make rigging and dynamics hair(with cloth sim) possible are in this file https://studio.blender.org/films/heist/gallery/?asset=6072
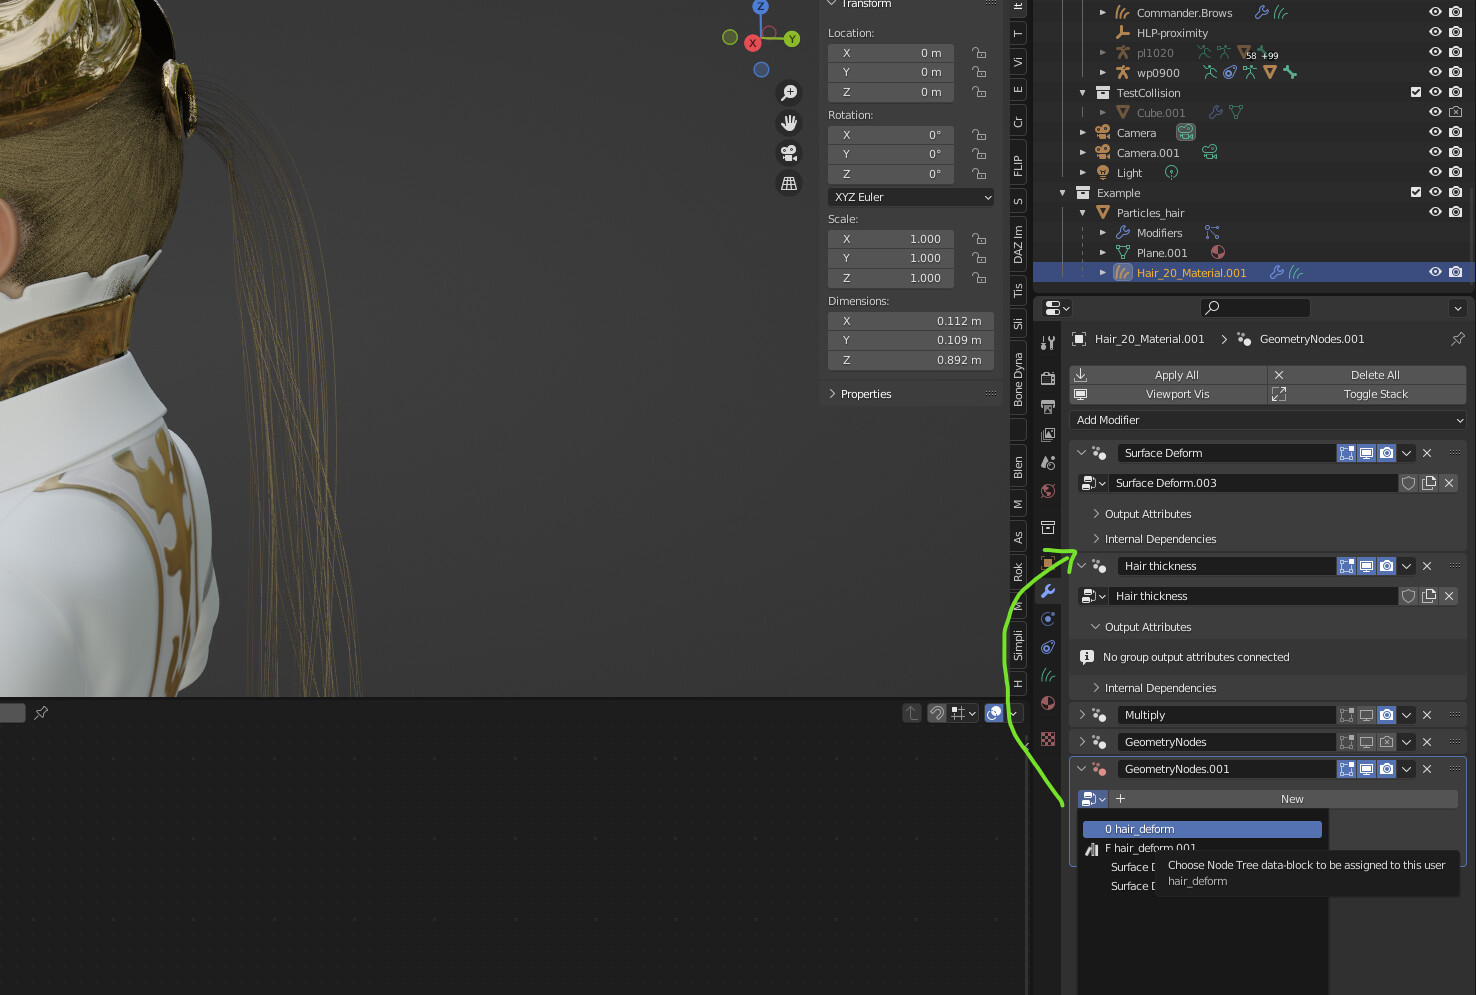
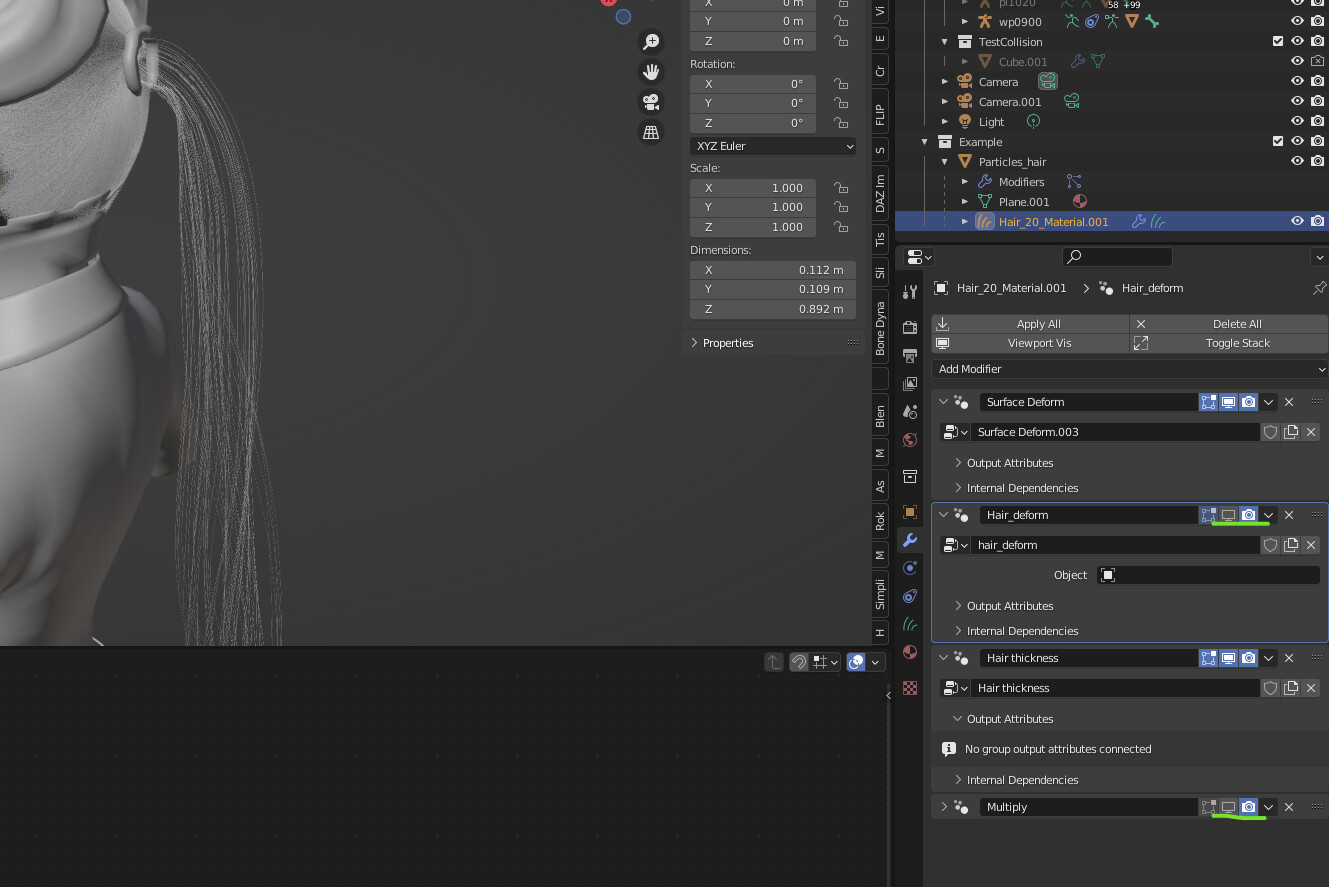
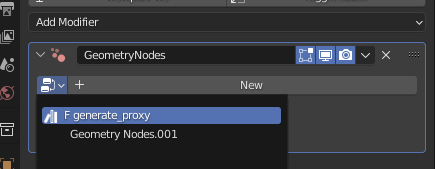
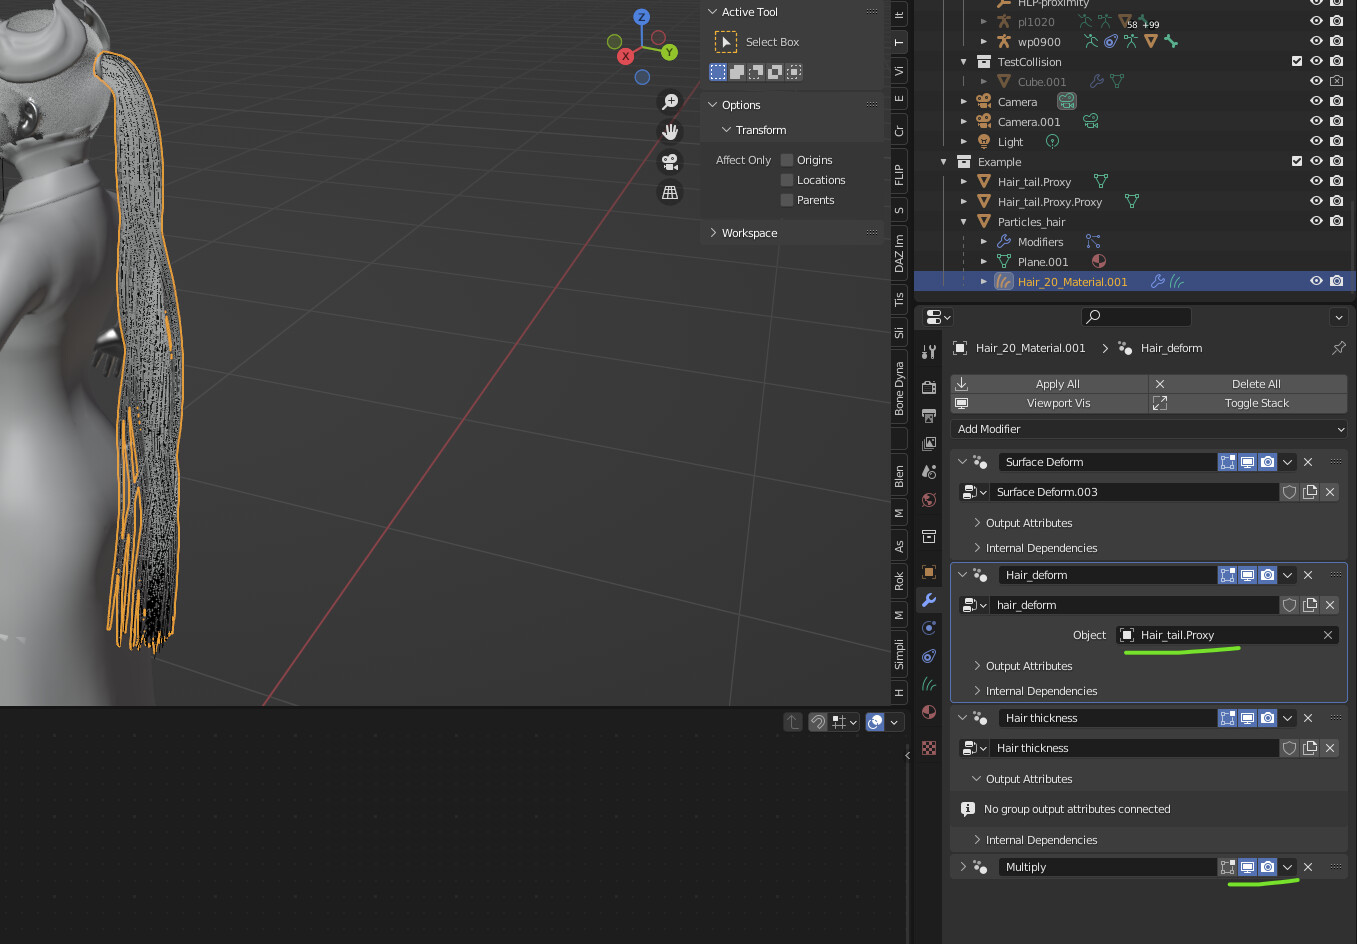
Hair_deform & generate_proxy
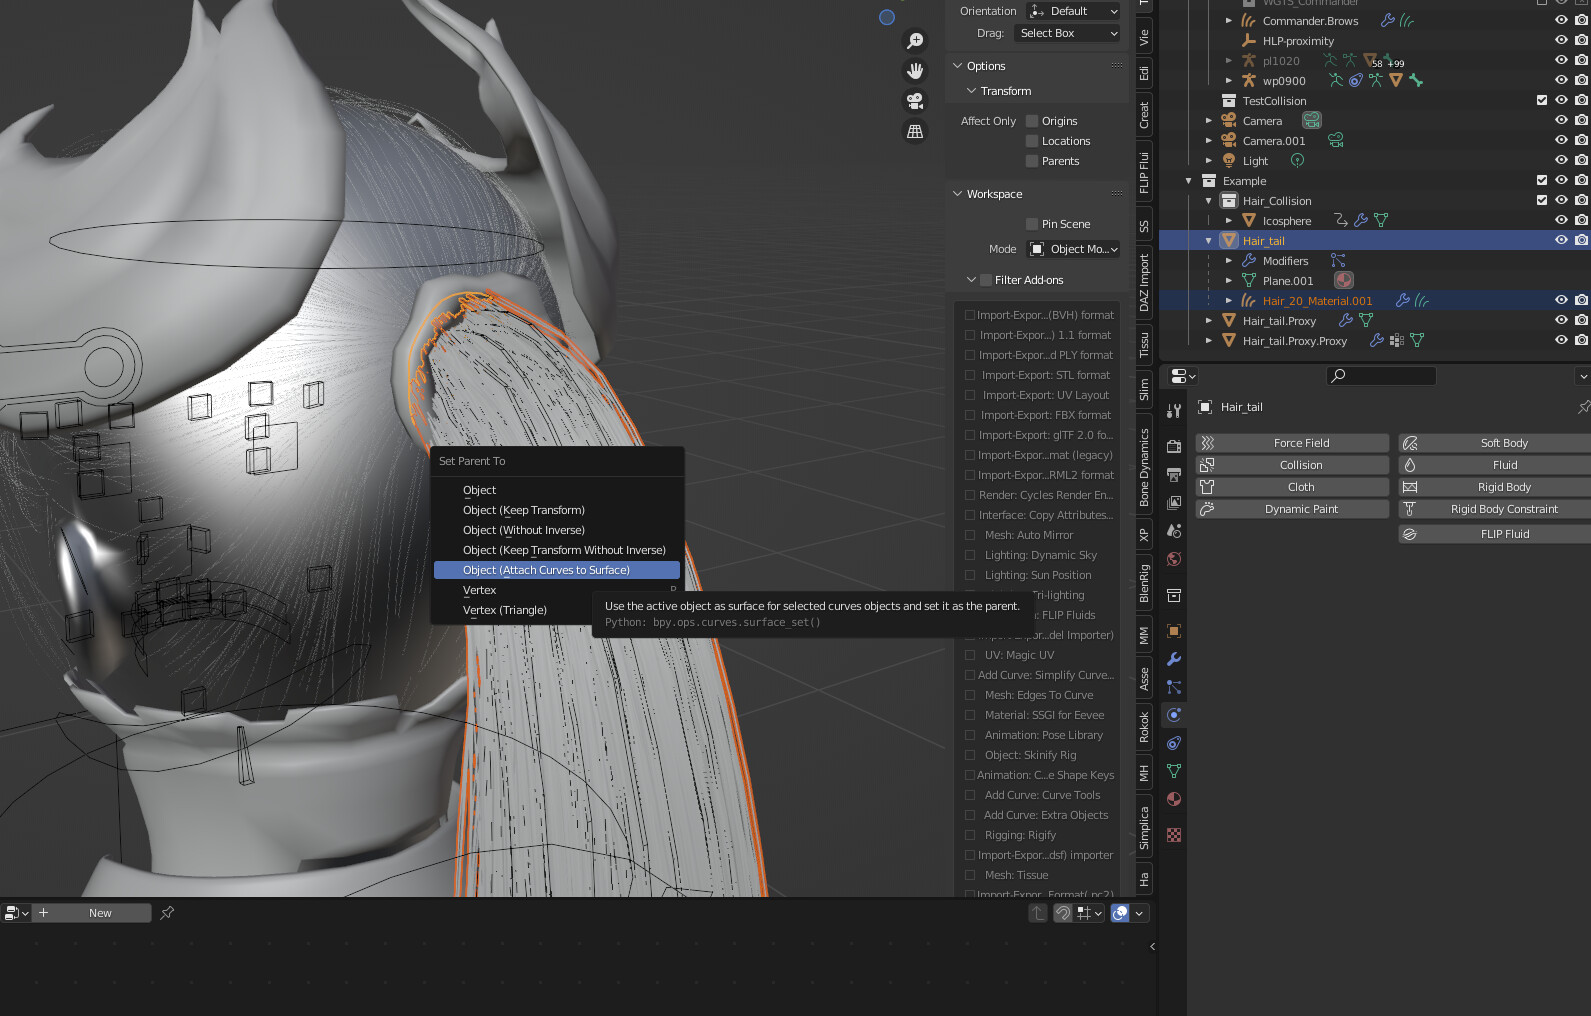
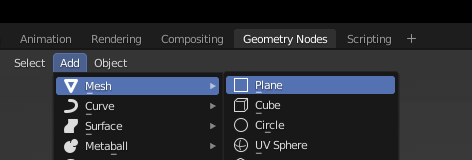
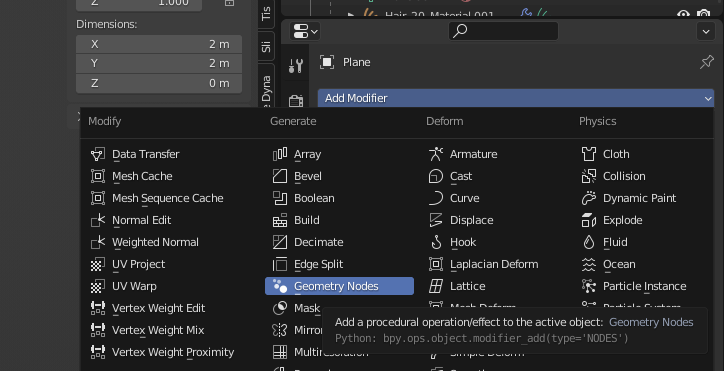
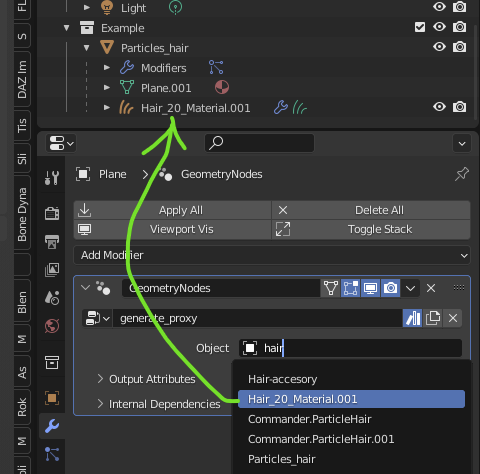
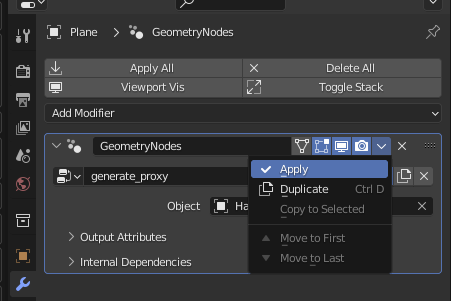
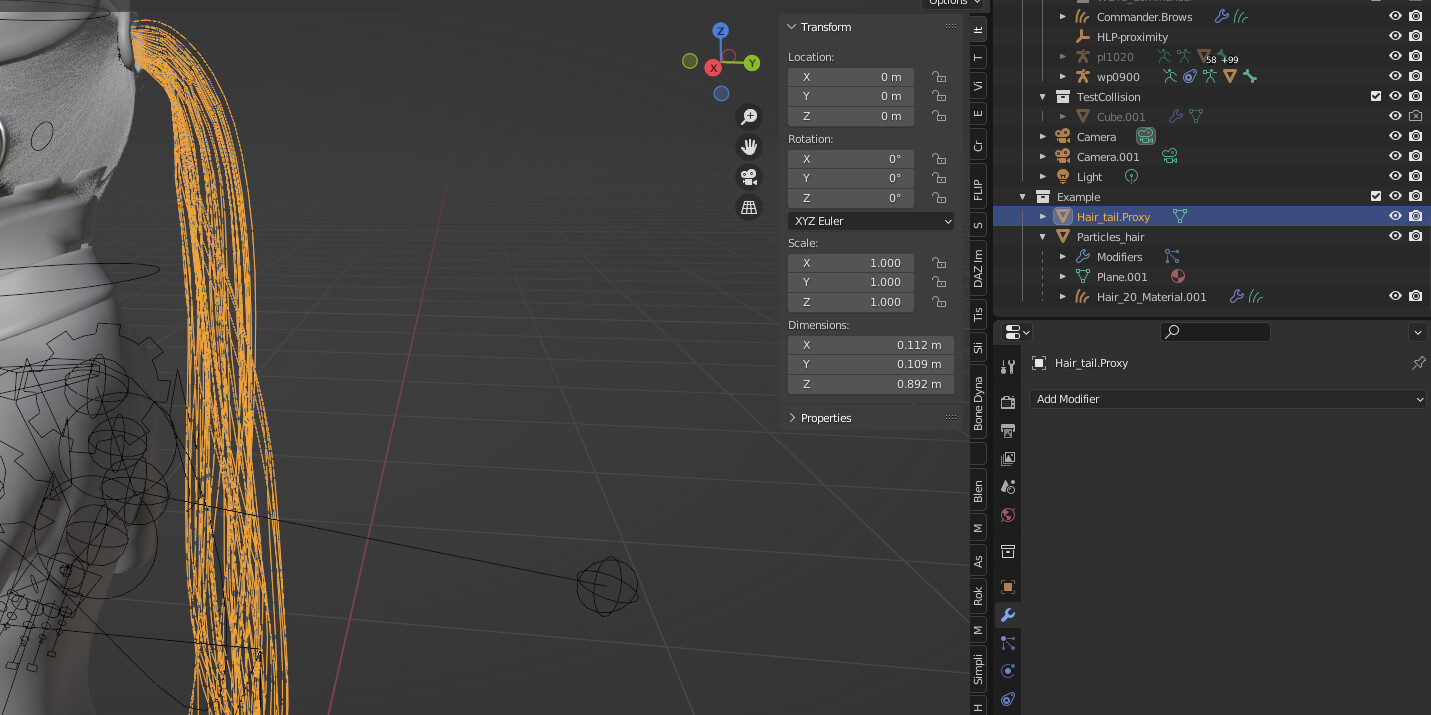
Create any mesh and add generate_proxy then select the haircurves & apply it
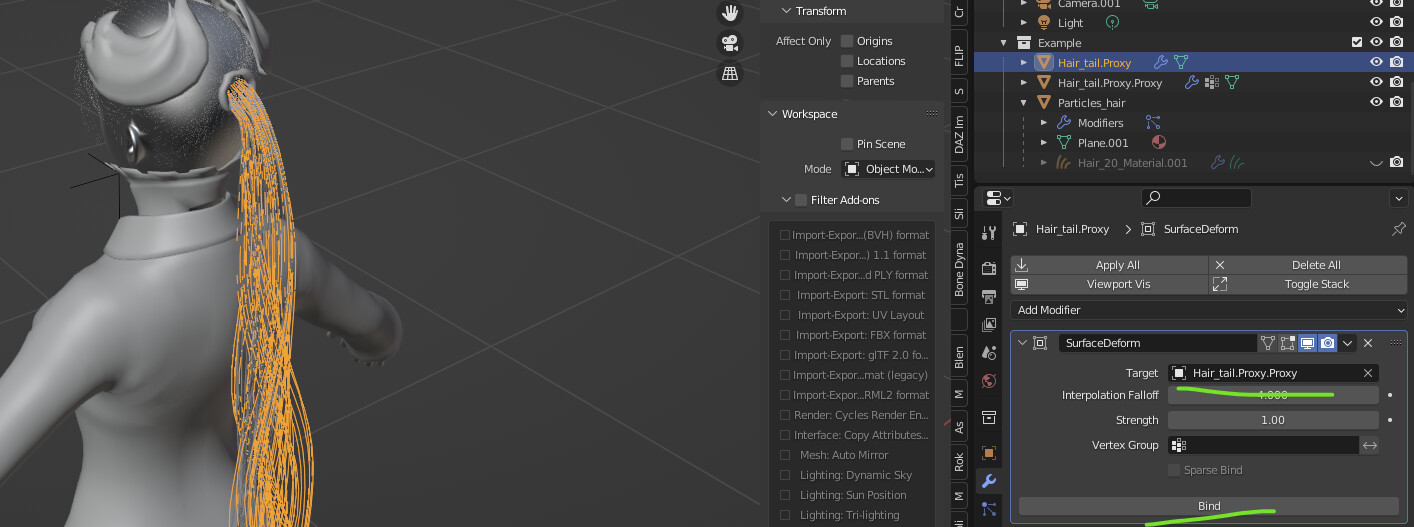
Put Hair_deform on the haircurves and select the proxy you just generated
(If you do any modification to any of those objects, you must re-generate another proxy, you can still add additional genodes that can modify or add additional curves, but it must be under hair_deform)
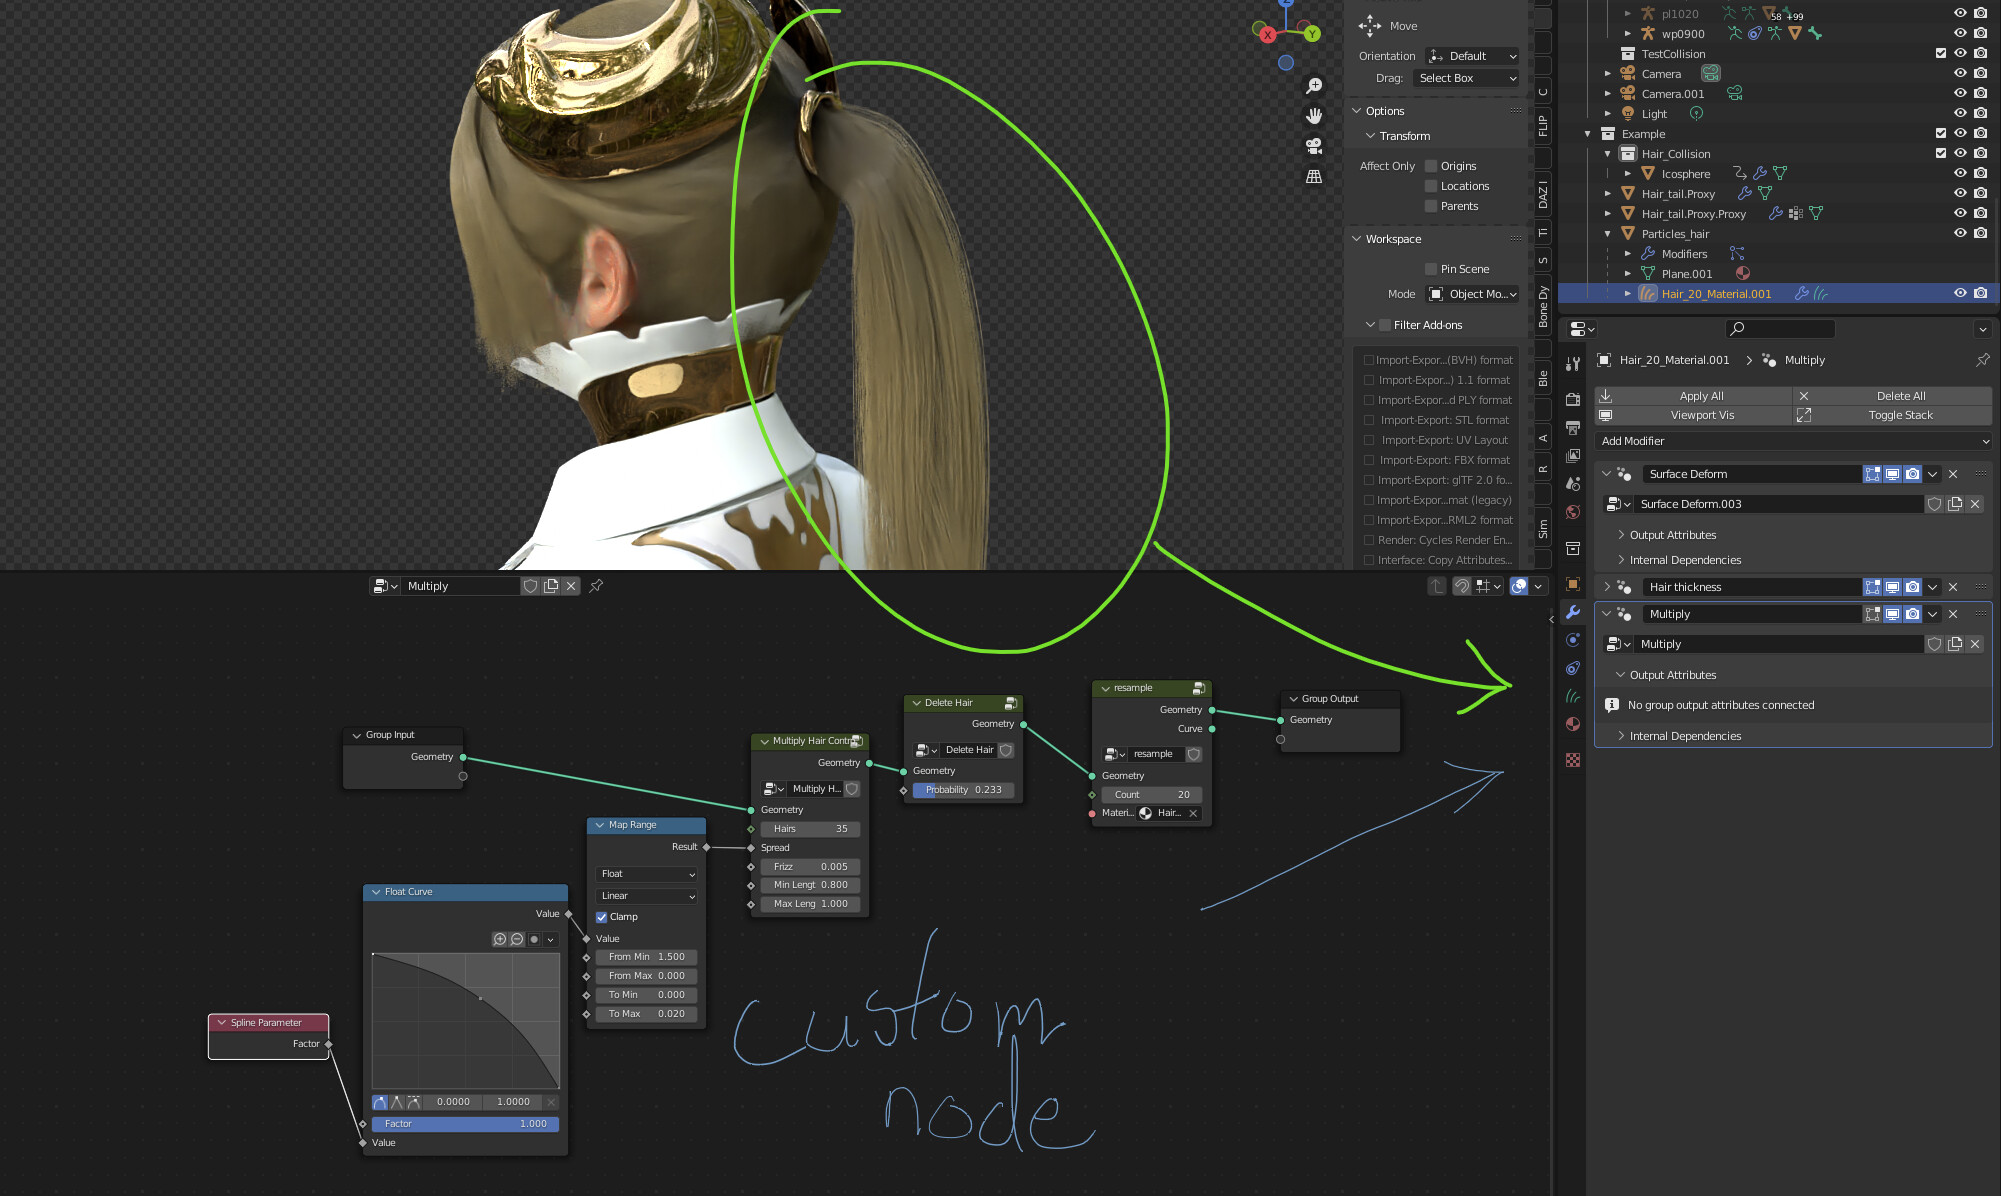
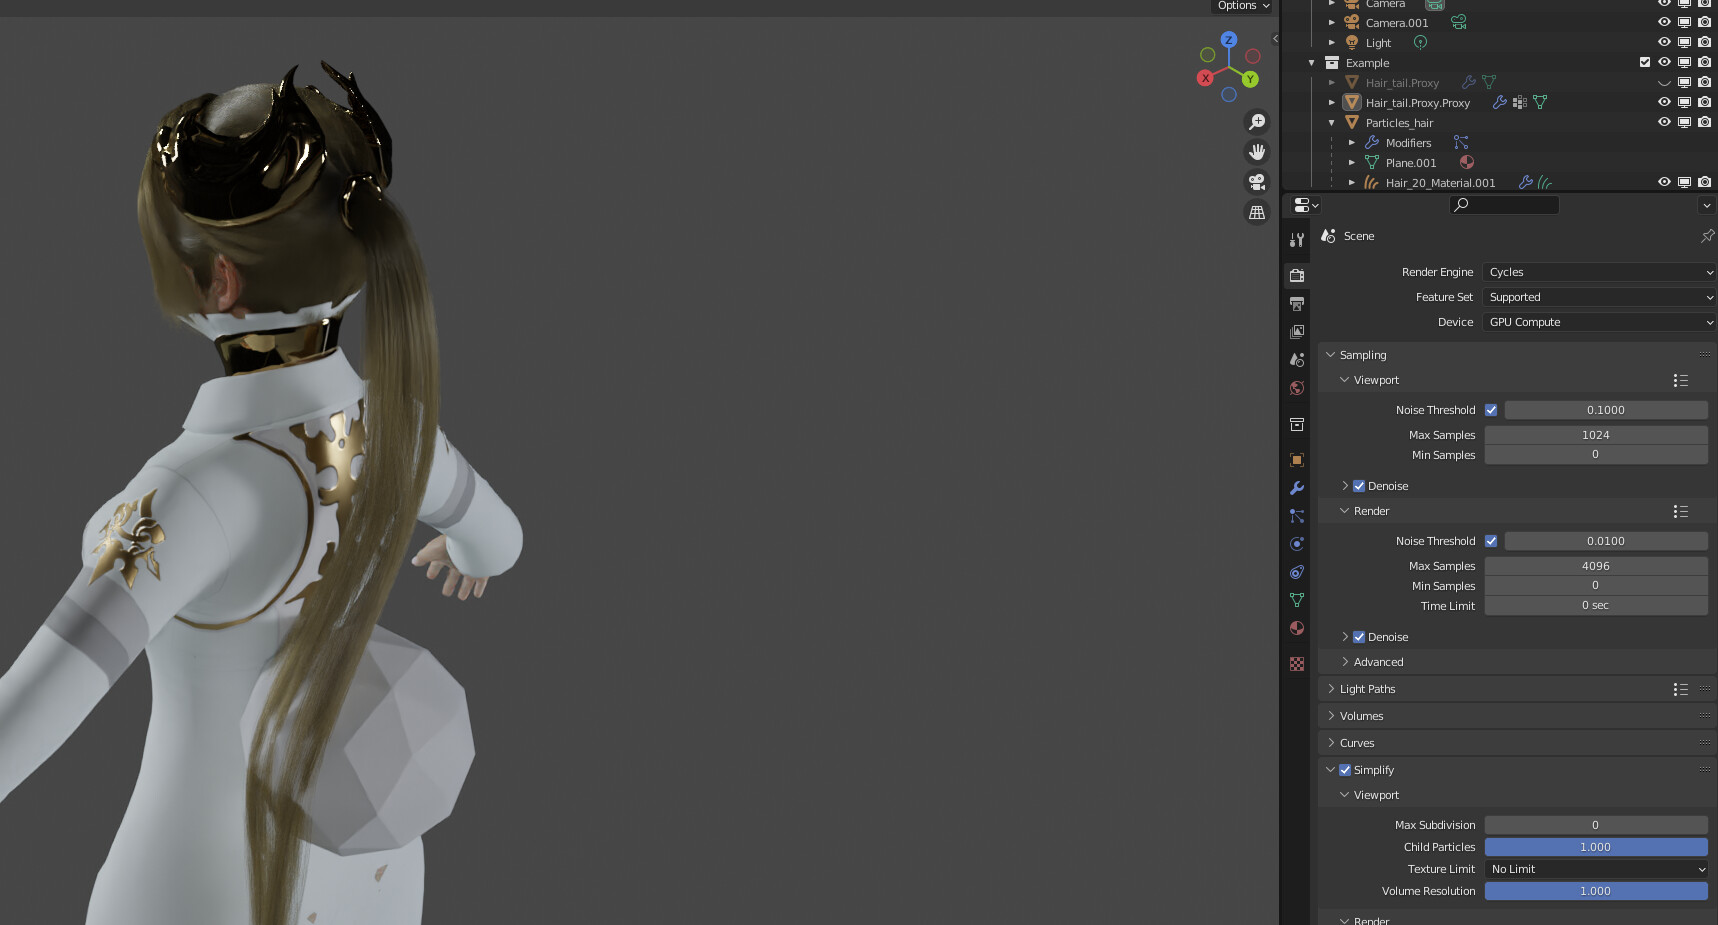
Also the generated mesh will have a lot of vertices, so you need to optimize your hair curves and use geonode to generate more children https://www.youtube.com/watch?v=dUuRmcUQK_s by Johnny Matthews
It’s the same concept as this tutorial https://www.youtube.com/watch?v=W97e8xIVoqE by Nick Burkard
But using geonodes
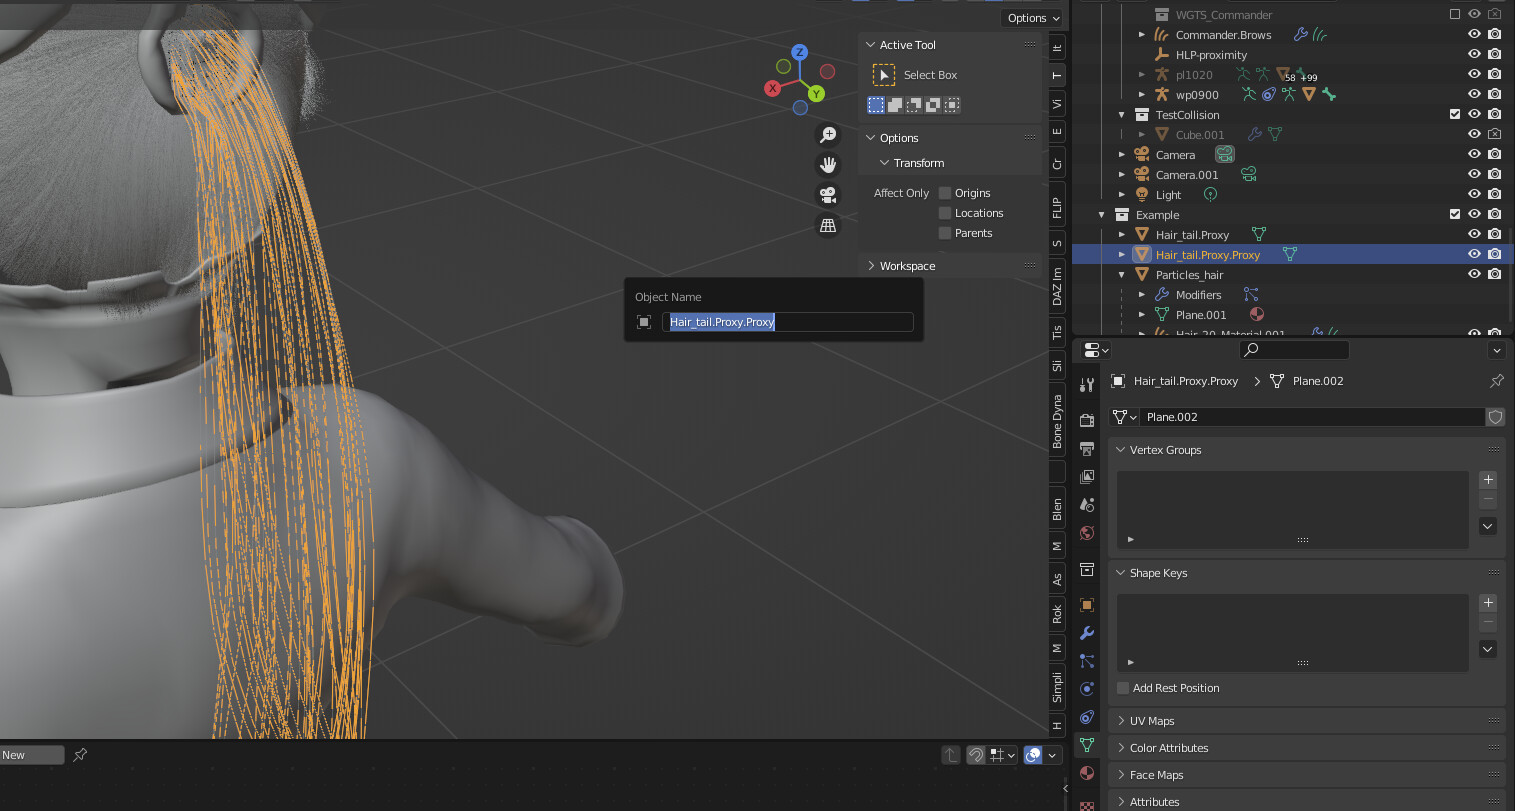
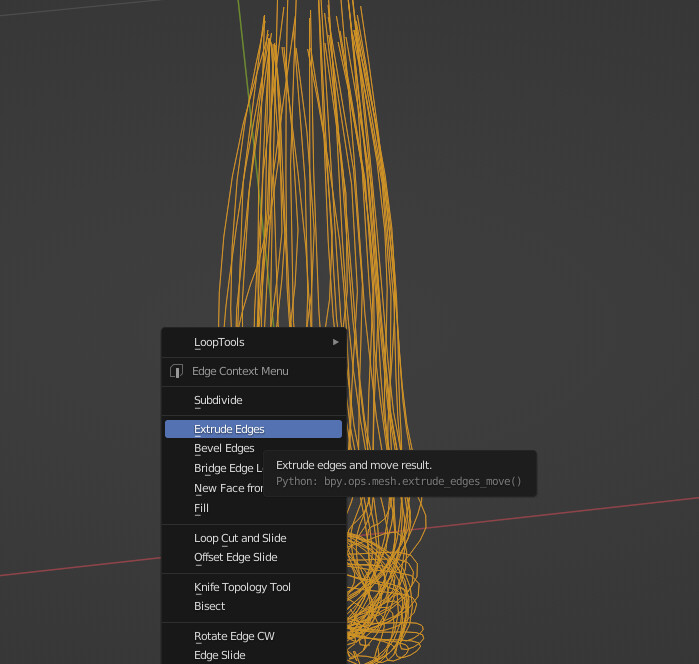
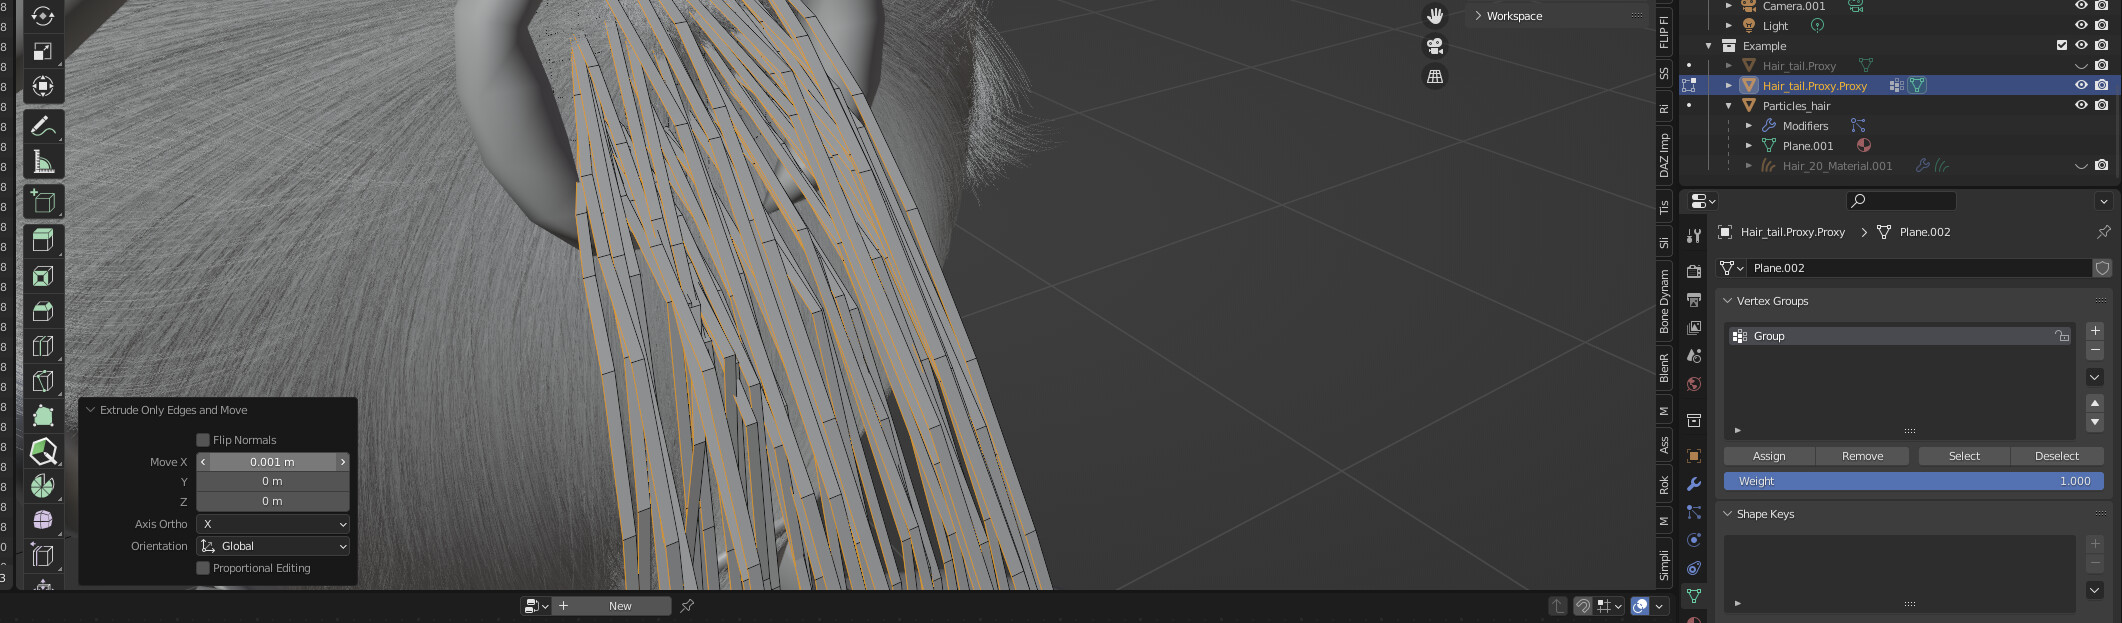
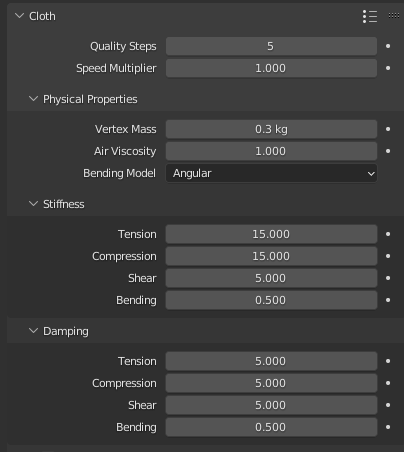
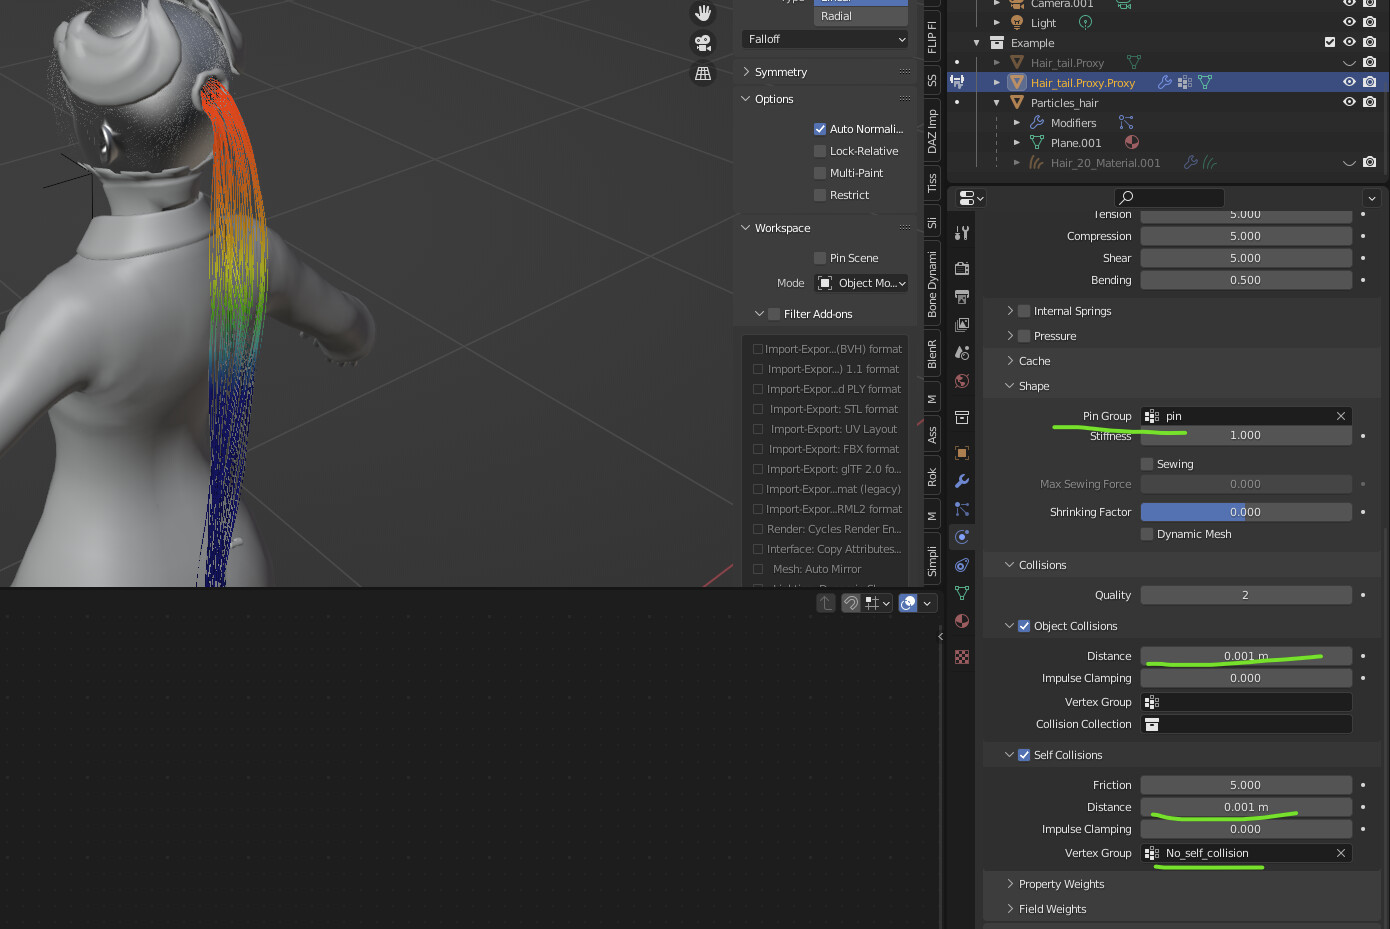
To Simulate hair with cloth physic
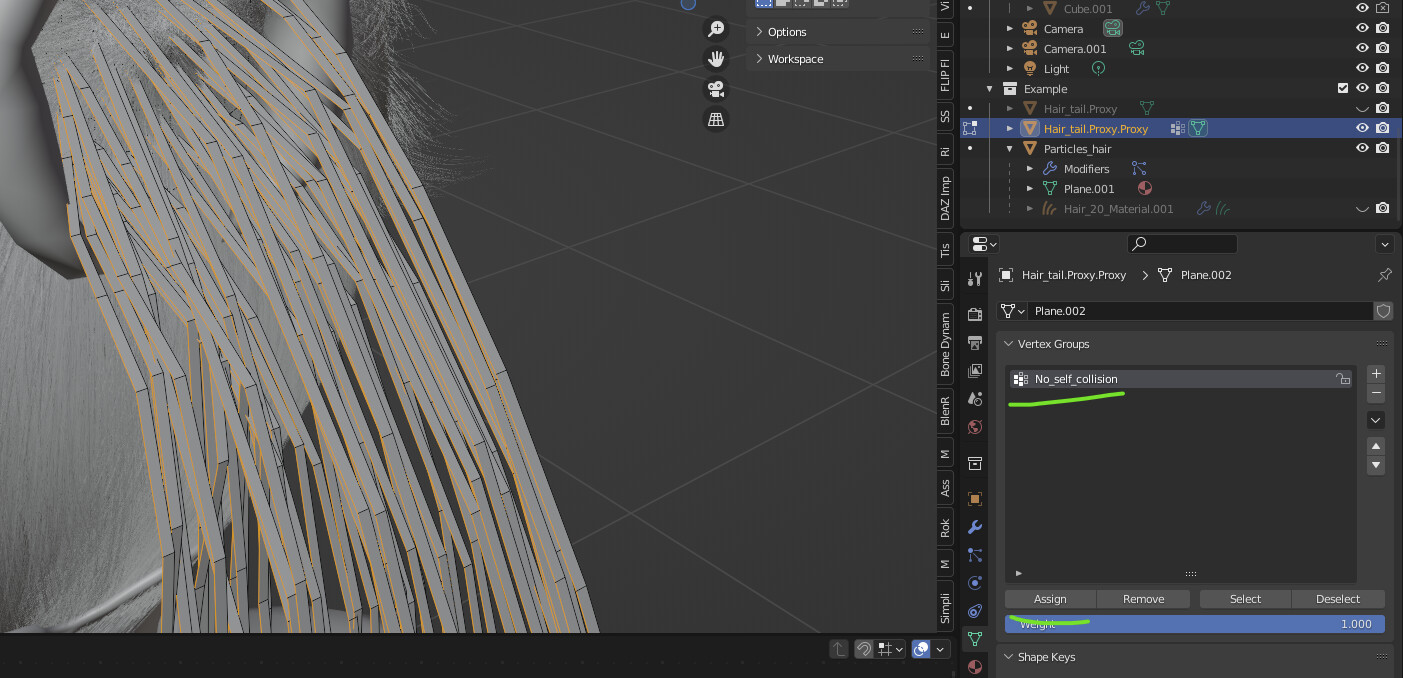
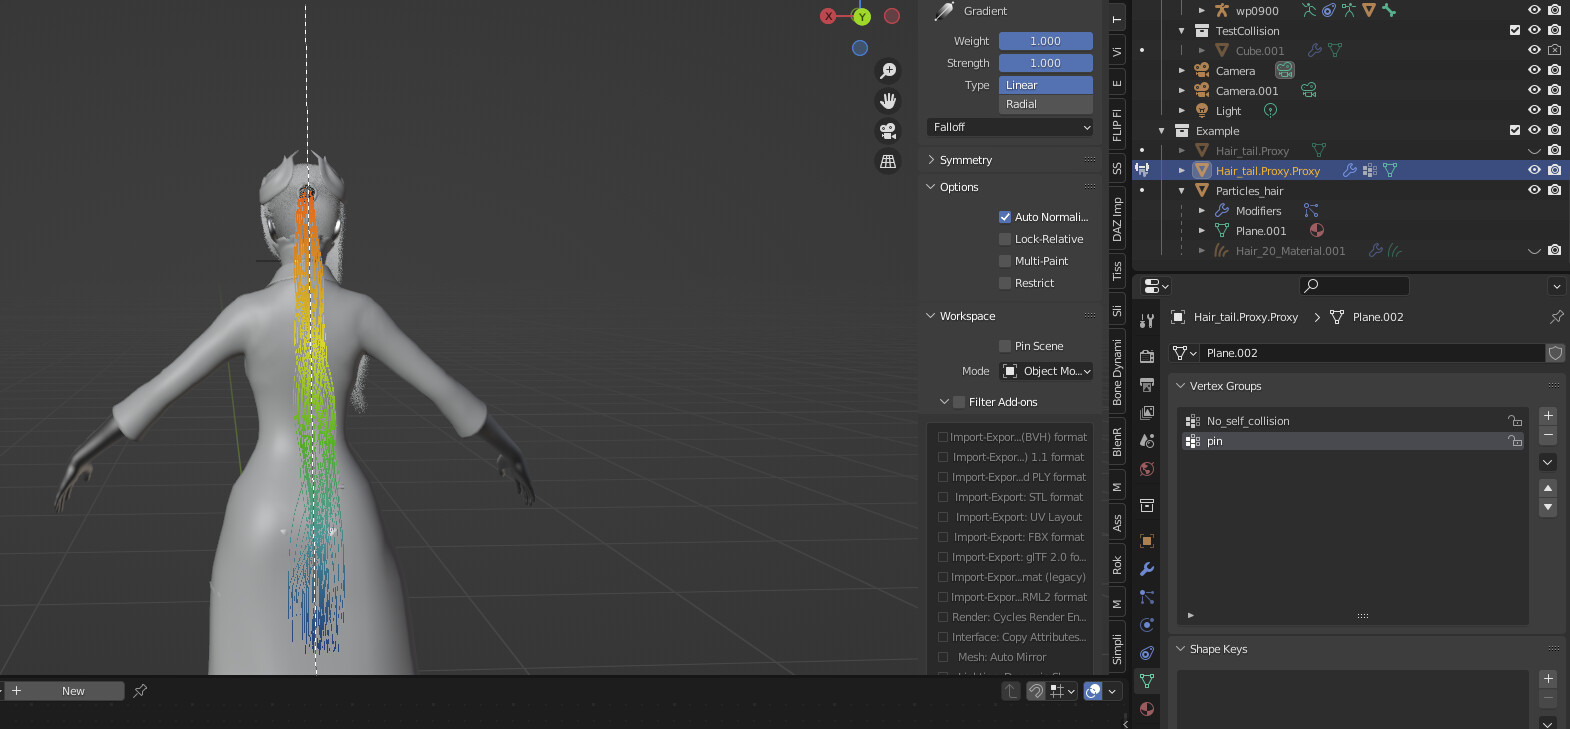
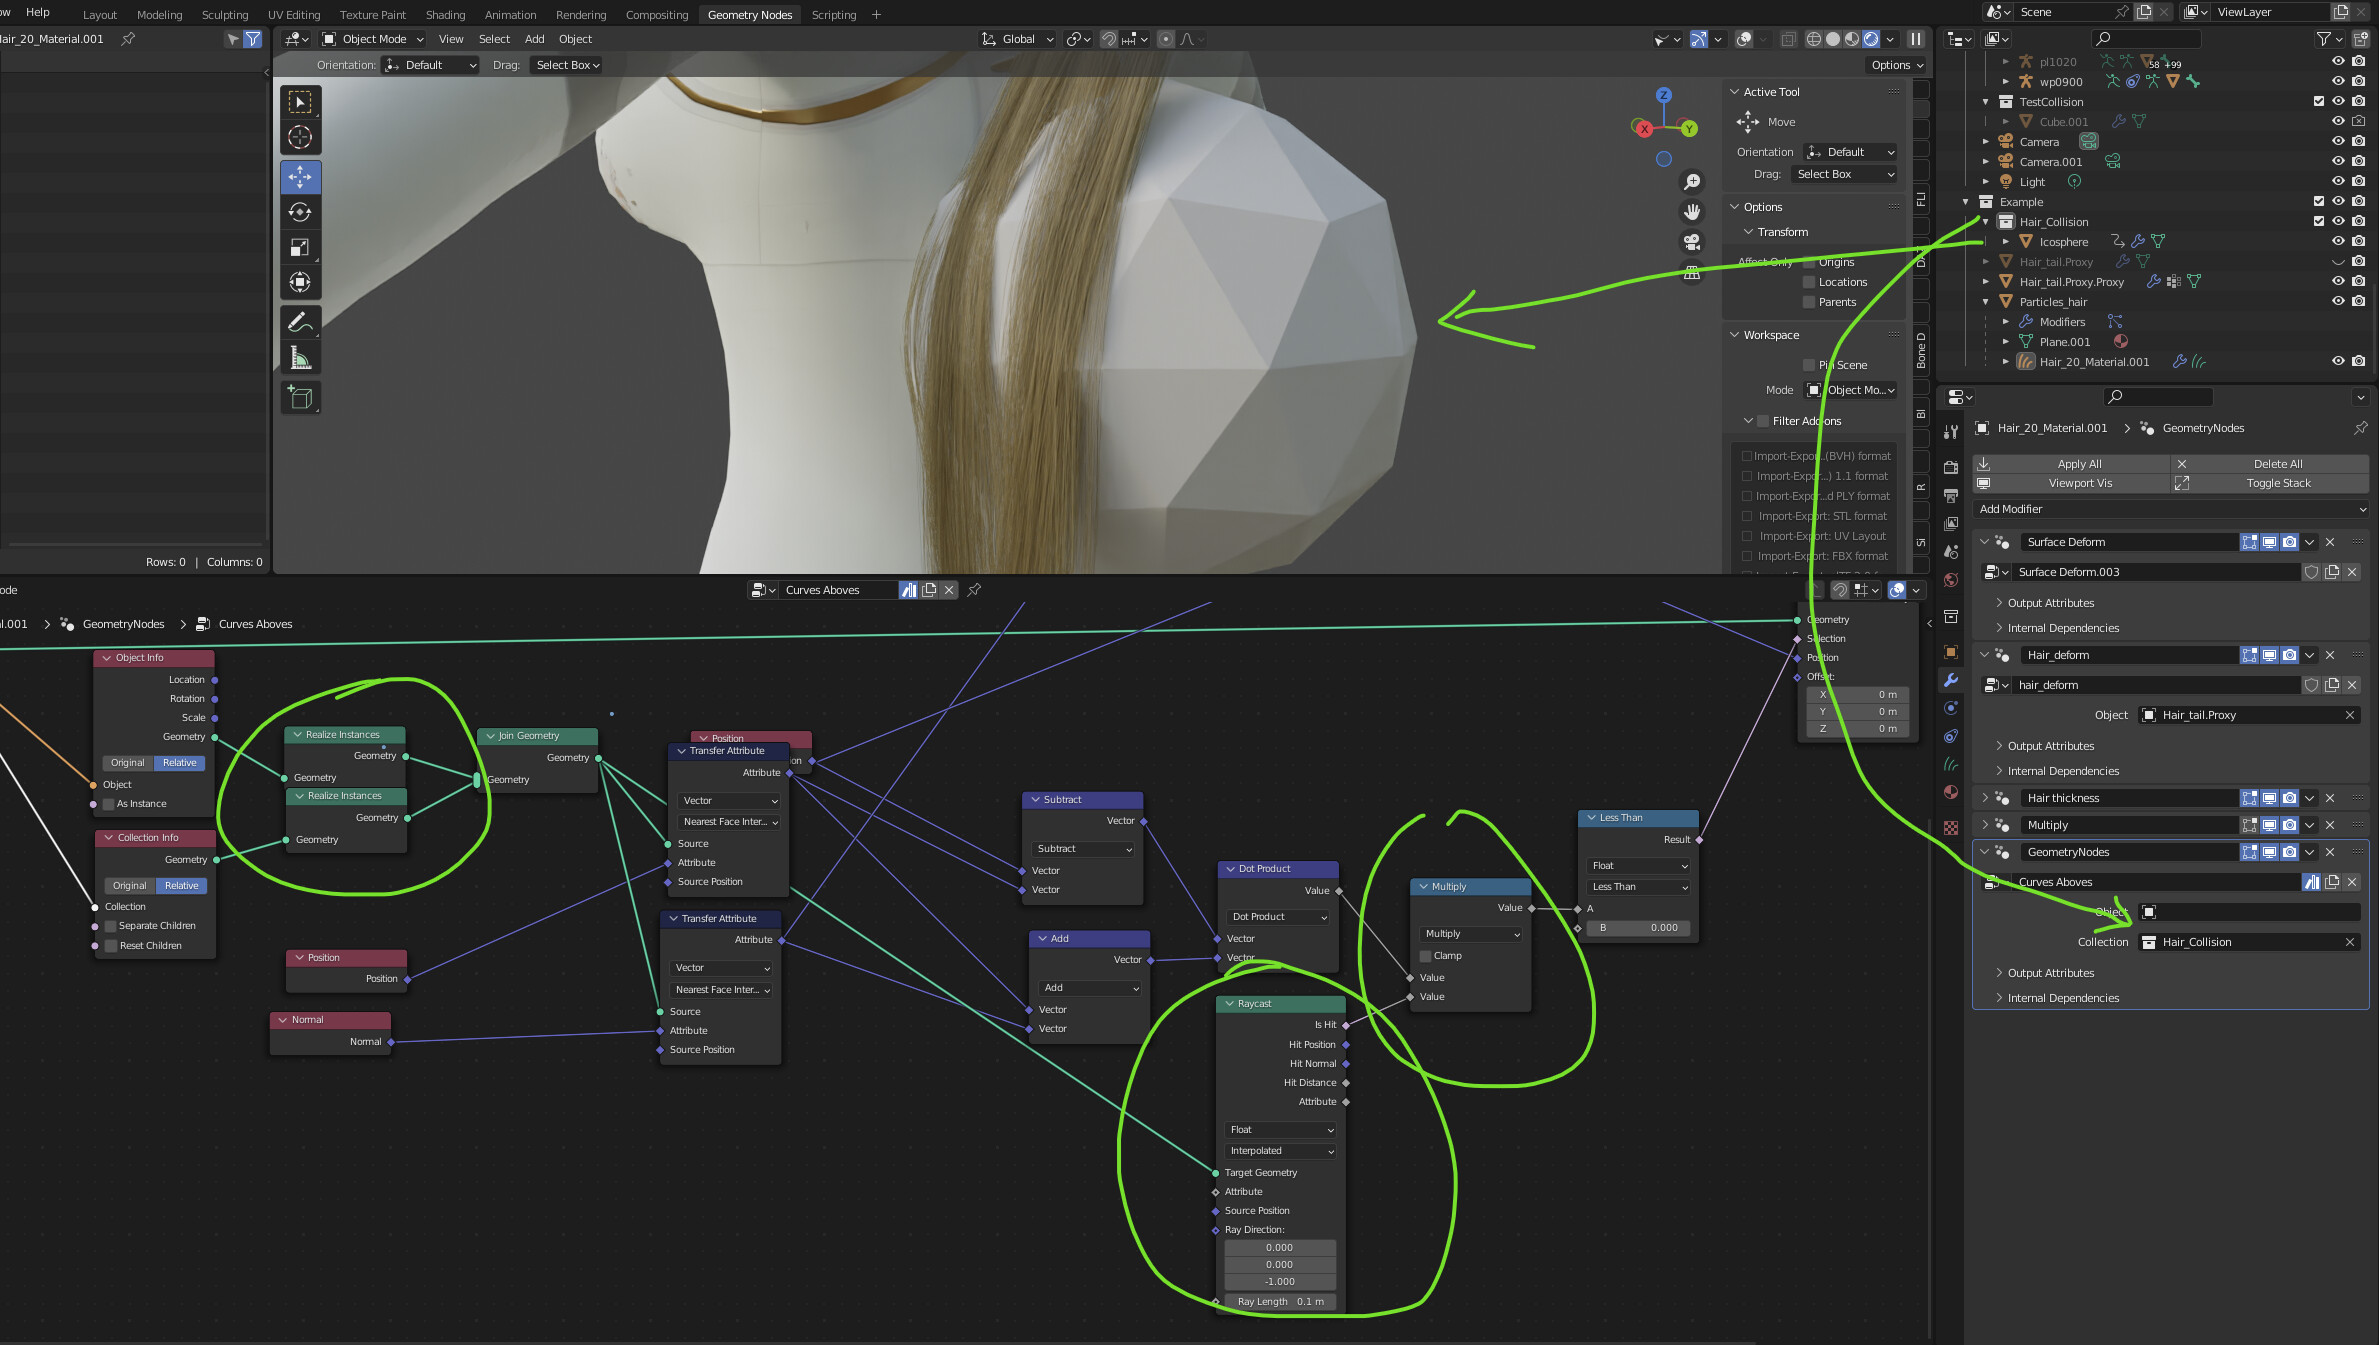
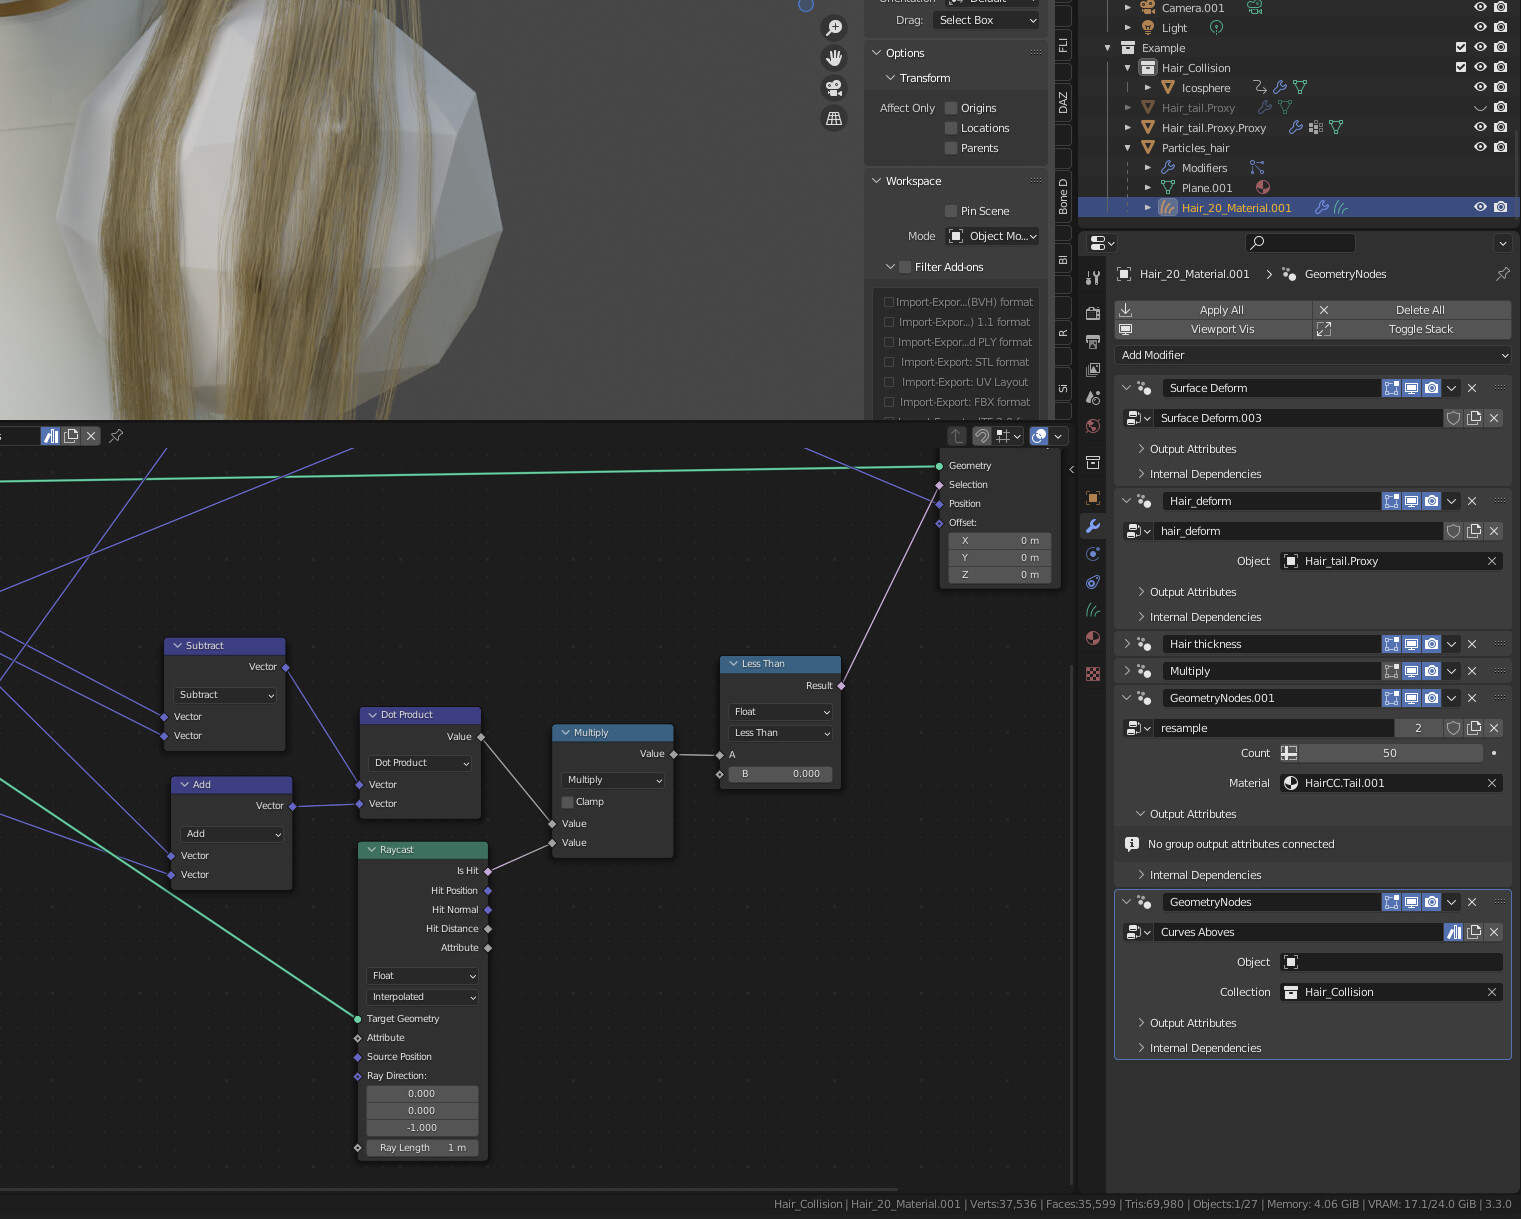
You need to create another proxy for the proxy and extrude faces, otherwise you won’t have any collision. Also it easier to weight paint faces than invisible vertices
Update: Surface Deform need to be the last modifier for interpolated hair curves to work, you will also need to activate the checkbox for: ‘Surface Rest Position’ in the interpolated hair node nvm doesnt work with hair_deform, sorry for the bump
Only if the body or scalp is using armature modifier. This doesnt apply if you are using Child of constraint/Armature Constraint, you wont have hair shifting/moving issue with constraints.