Dear Members,
How can I put a thin bone on a leaf (plane)
Please have a look on my screenshot .
Thanks
Dear Members,
How can I put a thin bone on a leaf (plane)
Thanks
Hey, It looks like you have an armature with bones. To rig the plane (leaf) and make it bend, you use vertex groups that your bones control. This you may need to watch some tutorials on just so its clear. here is a pic of the basics.
Thanks for the reply, but the size of the bone is larger than the plane, could it be hidden when it’s animated ? or ?
Thanks
Do I need to extrude it first for inserting the bone ? thanks
Hey bianchi77, the bones won’t render so you don’t need to worry about that.
If their size is bothering you in the viewport you can always set them to a different display type like B-bones or sticks (or whatever it’s called).
It sounds like you are using only one bone per plane, you might want to subdivide it (right-click on it in Edit Mode and choose Subdivide), that also makes them smaller and you’ll have more animation control than with just the one bone.
Good luck!
thanks for the reply, how can I join 1 cyclinder with 5 planes, so they become one when animating ?
How can I join these two objects ? thanks
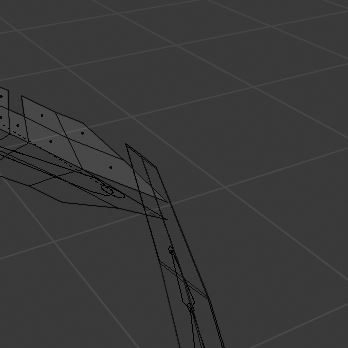
Objects are joined in Object Mode by selecting them and pressing Ctrl+J.
If you mean the bones, you can set the parenting relationships between bones in the bone’s tab under relationships or something.
I believe what you are looking for is Shift-E to > split extrude from one bone…If you are rigging a plant with stem and leaves or something similar…
I will give a try on split extrude, you might be right…I’m still learning…
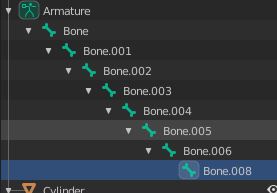
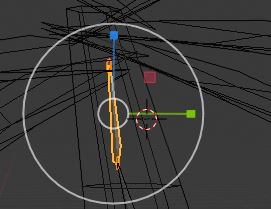
I try SHIFT-E, but this what I got, is it because of a group of bones below ? and it’s already parented ?
Have a look,
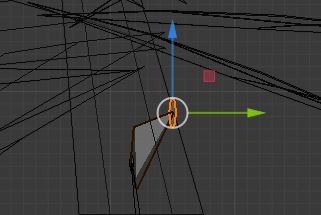
I want to split and extrude the below bone ( vertical) but only got one bone…
I made only bone from scratch, with SHIFT-E, same result, screen shot
Thanks
Did you select the whole bone or just its head/tail ? You have to select the whole bone, just click on the middle (body) then SHIFT+E.
SHIFT+A = adds a bone in edit mode
E = extrudes
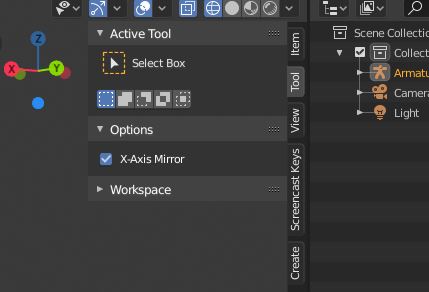
Its not something you change, you enable it so you can work on one half and the other half will change. Not sure its going to work in your case though…
I selected only the head
where can I enable it ? thanks
I got it
Reference
| Mode: | Edit and Pose Mode |
|---|---|
| Panel: | Sidebar region ‣ Tool ‣ Options ‣ X-Axis Mirror |
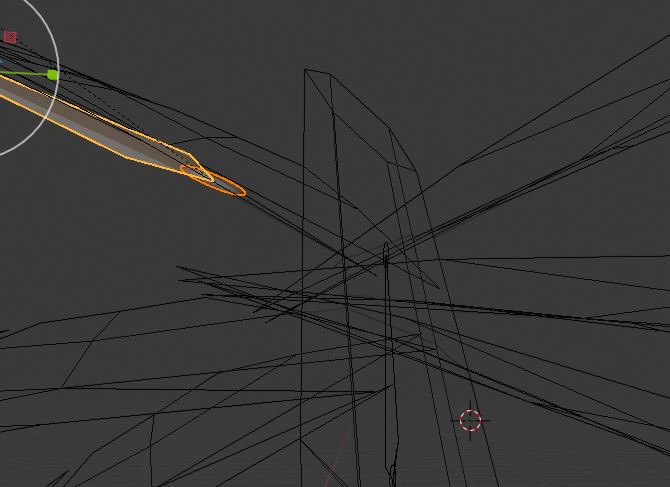
I select the whole bone, what I got
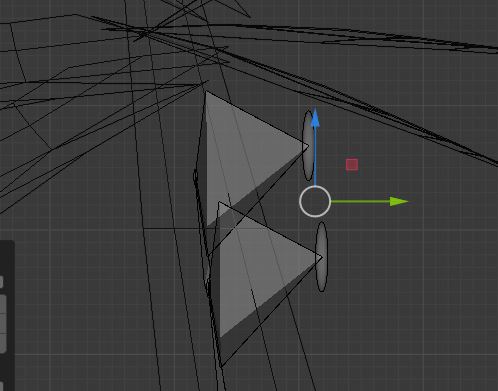
What do I miss here ?
in object mode, the bones become one object
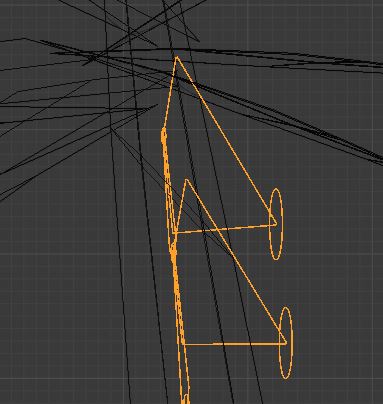
There’s another way I can see, but I don’t know how ?
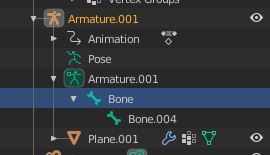
How can I join two bones in different armature ?
Screenshot
x-mirror option
CTRL+J = joins them, selection order matters, the one that you want to be active, select last.
You do this in ‘Object’ mode
It is really hard to see what you have going here when in wire frame…if you would switch to solid mode and then under armature properties ( running guy icon) select Viewport display / in front.
selecting head or tail will give you a single bone at the end of the bone chain…
selecting the body it will add a bone to head and tail on new bone chain
To join two bones in different armatures select the end and Ctrl + P and select connected
Watch this VIDEO as it is close to what you are doing…