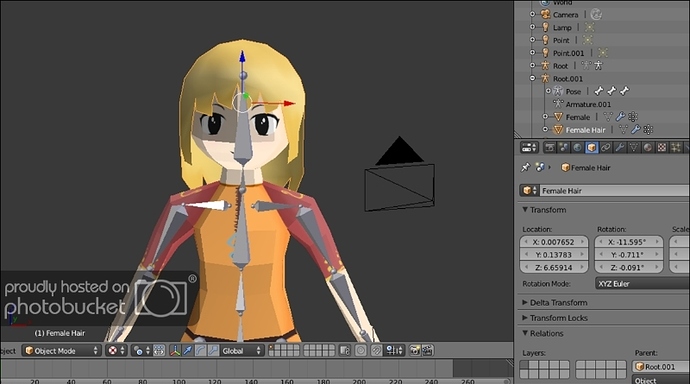
Good day. This is my first time attempting to rig a character and I’m having problems with some vertices not following the armature. I was following a tutorial when I encountered this problem.
First, the hair and body are separate objects that I have initially parented (The body is the parent of the hair object). When I later added the armature, it became the parent of the body. This was when I noticed that the hair object would not follow the armature or the body object and remains unmoving.
I consulted some threads and other tutorials but found none that could solve my problem but I tried tweaking around to find a solution.
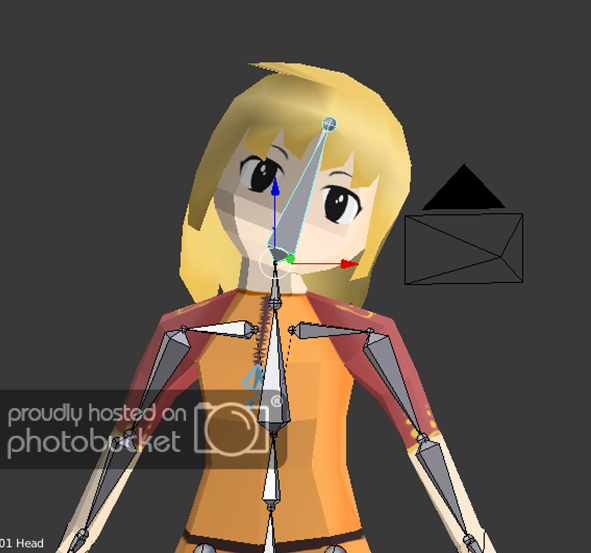
Eventually I found in Pose mode, I selected the hair object and then the Head armature and made it the Parent to the hair with Automatic Weights. Testing it out, the hair moved along with the body, but now the problem is that the top of the hair would not follow and gets left behind. I couldn’t find any threads that had a similar problem with mine.
Below is the screenshot of the problem
I’m hoping someone would be able to help me with this soon. Many thanks in advance!

