Hi There,
I have been following the ‘Blender Character Rigging For Beginners HD’ Course on Udemy. (https://www.udemy.com/course/blender-character-rigging-for-beginners-hd/)
I have gotten to the 95th Lesson and am totally flummoxed trying to work out how the concept that the instructor presents ‘the reverse rig’ works. Ive just spent hours frustrated up to this point doing so many diagrams to work this out… I thought someone with a better eye might be able to look at my blend file and explain this to me because Im too stubborn to just move on without understanding how this part of the rig is functioning, but Im kind of at my wits end.
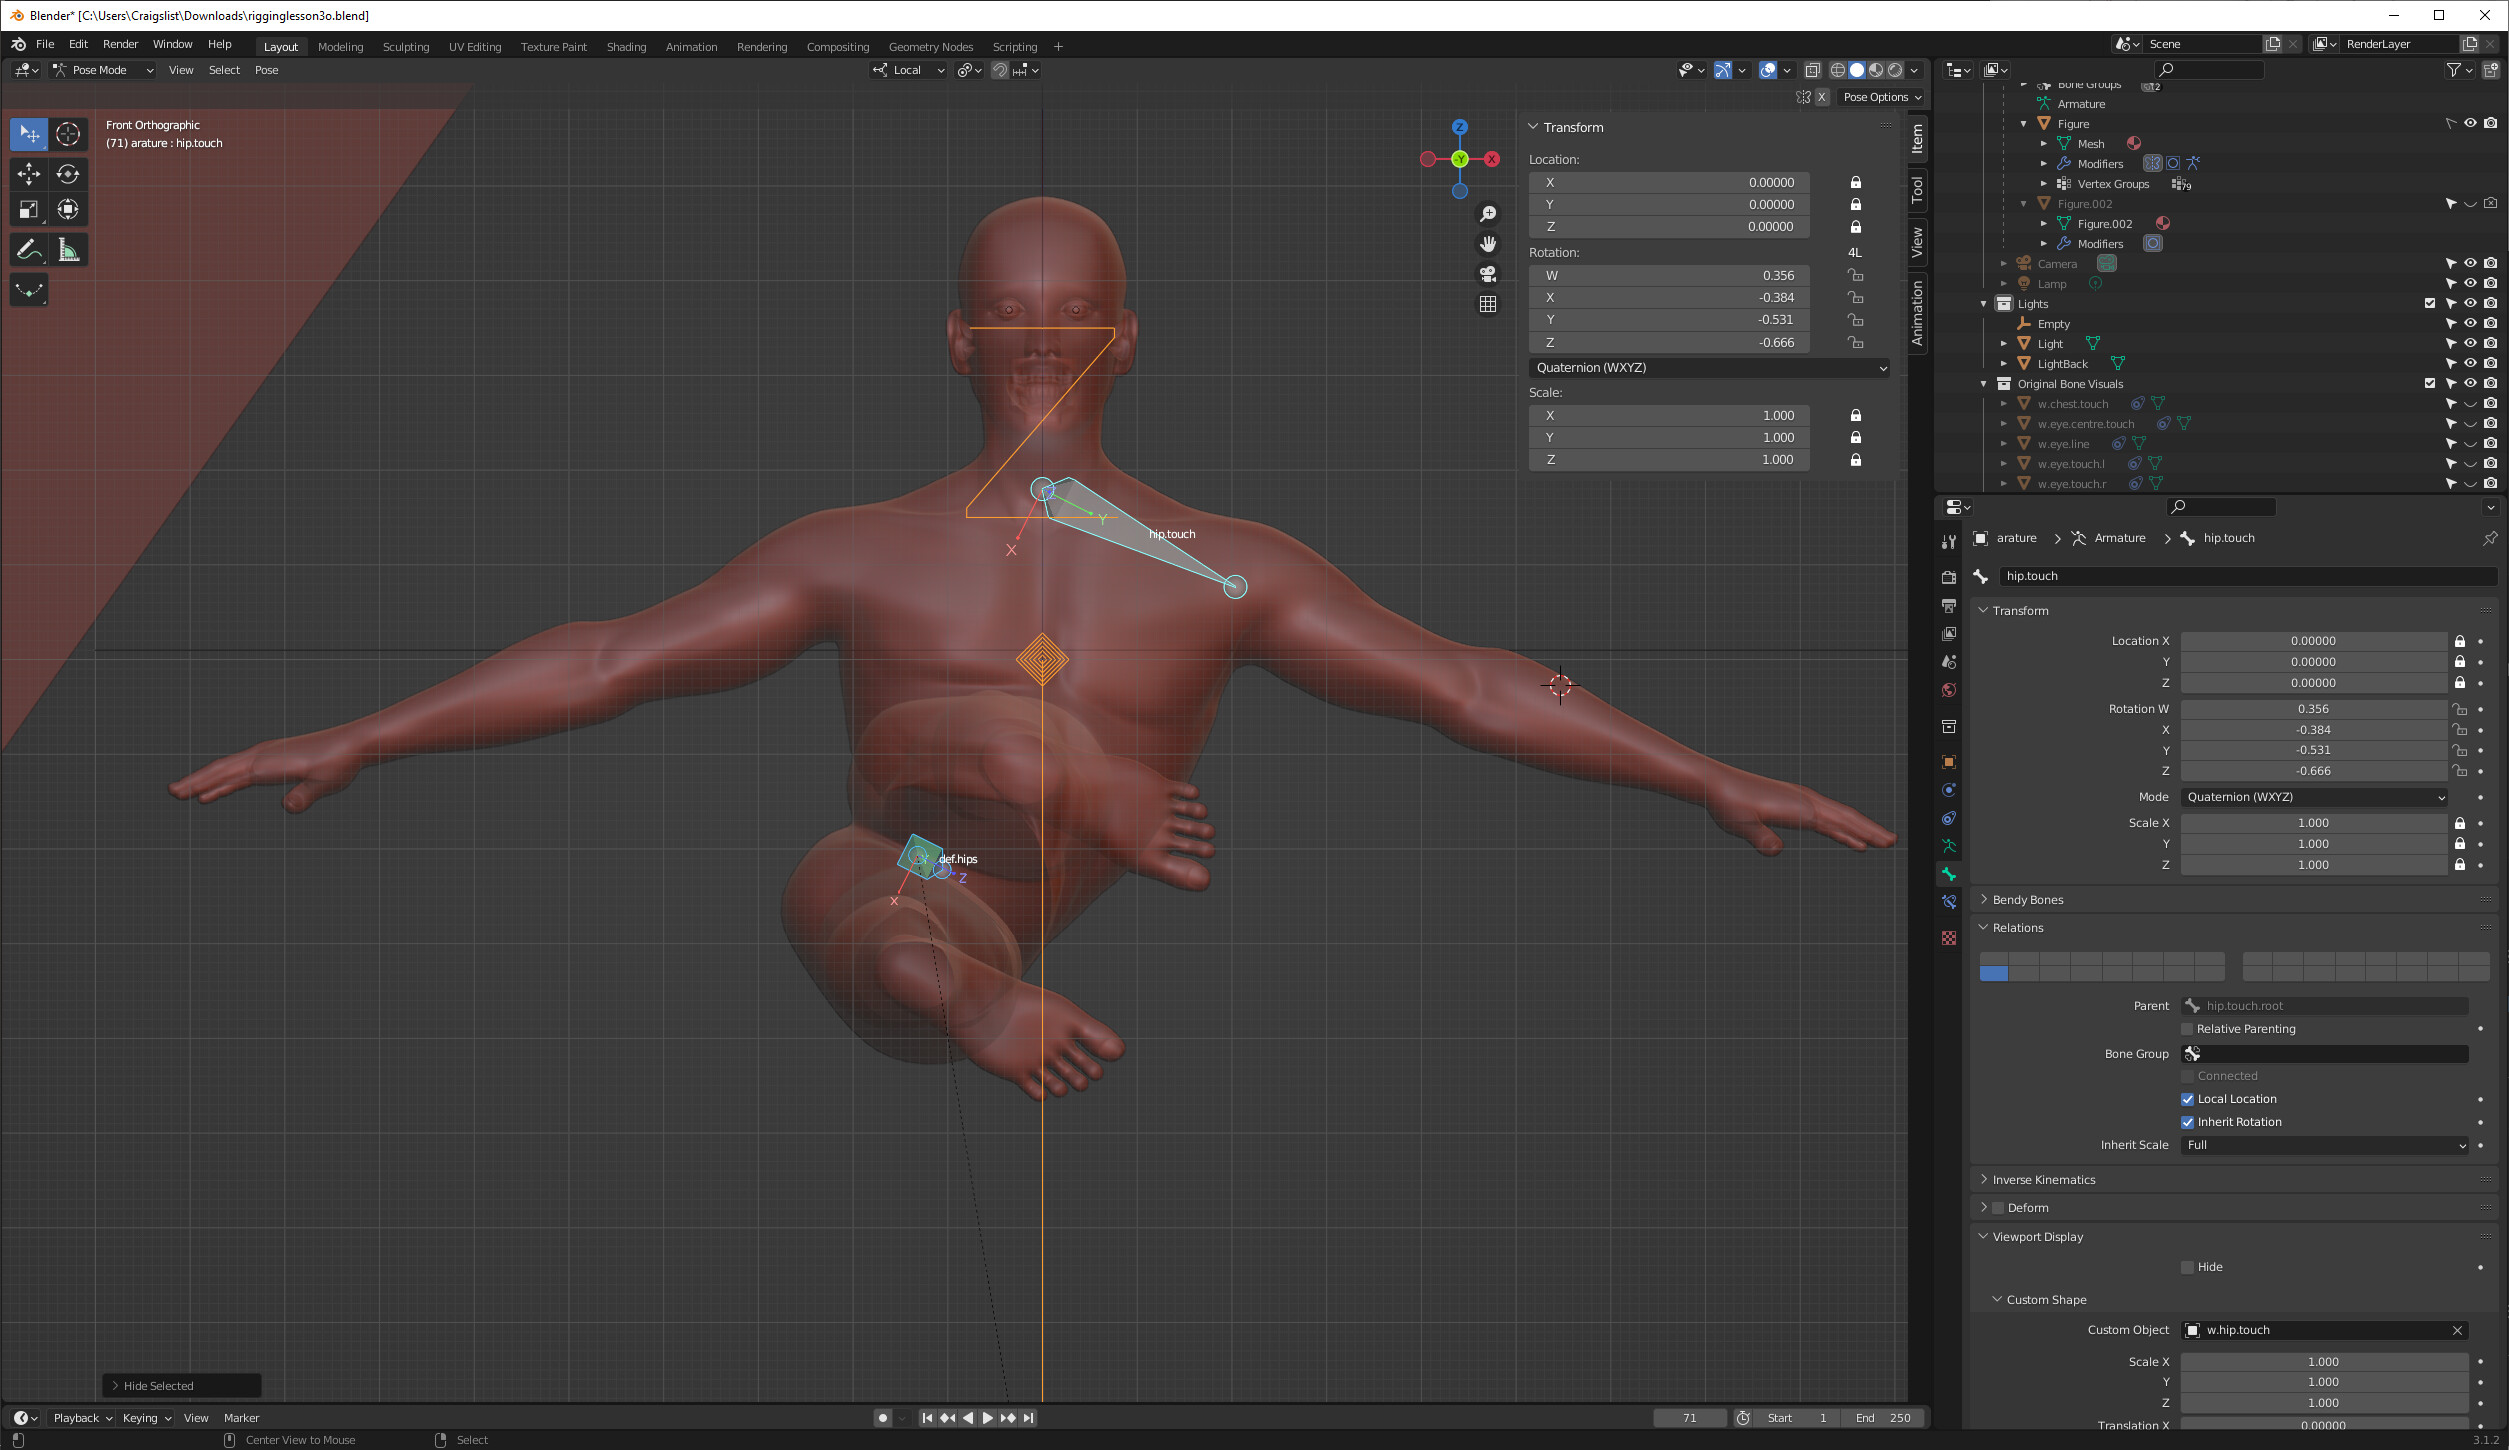
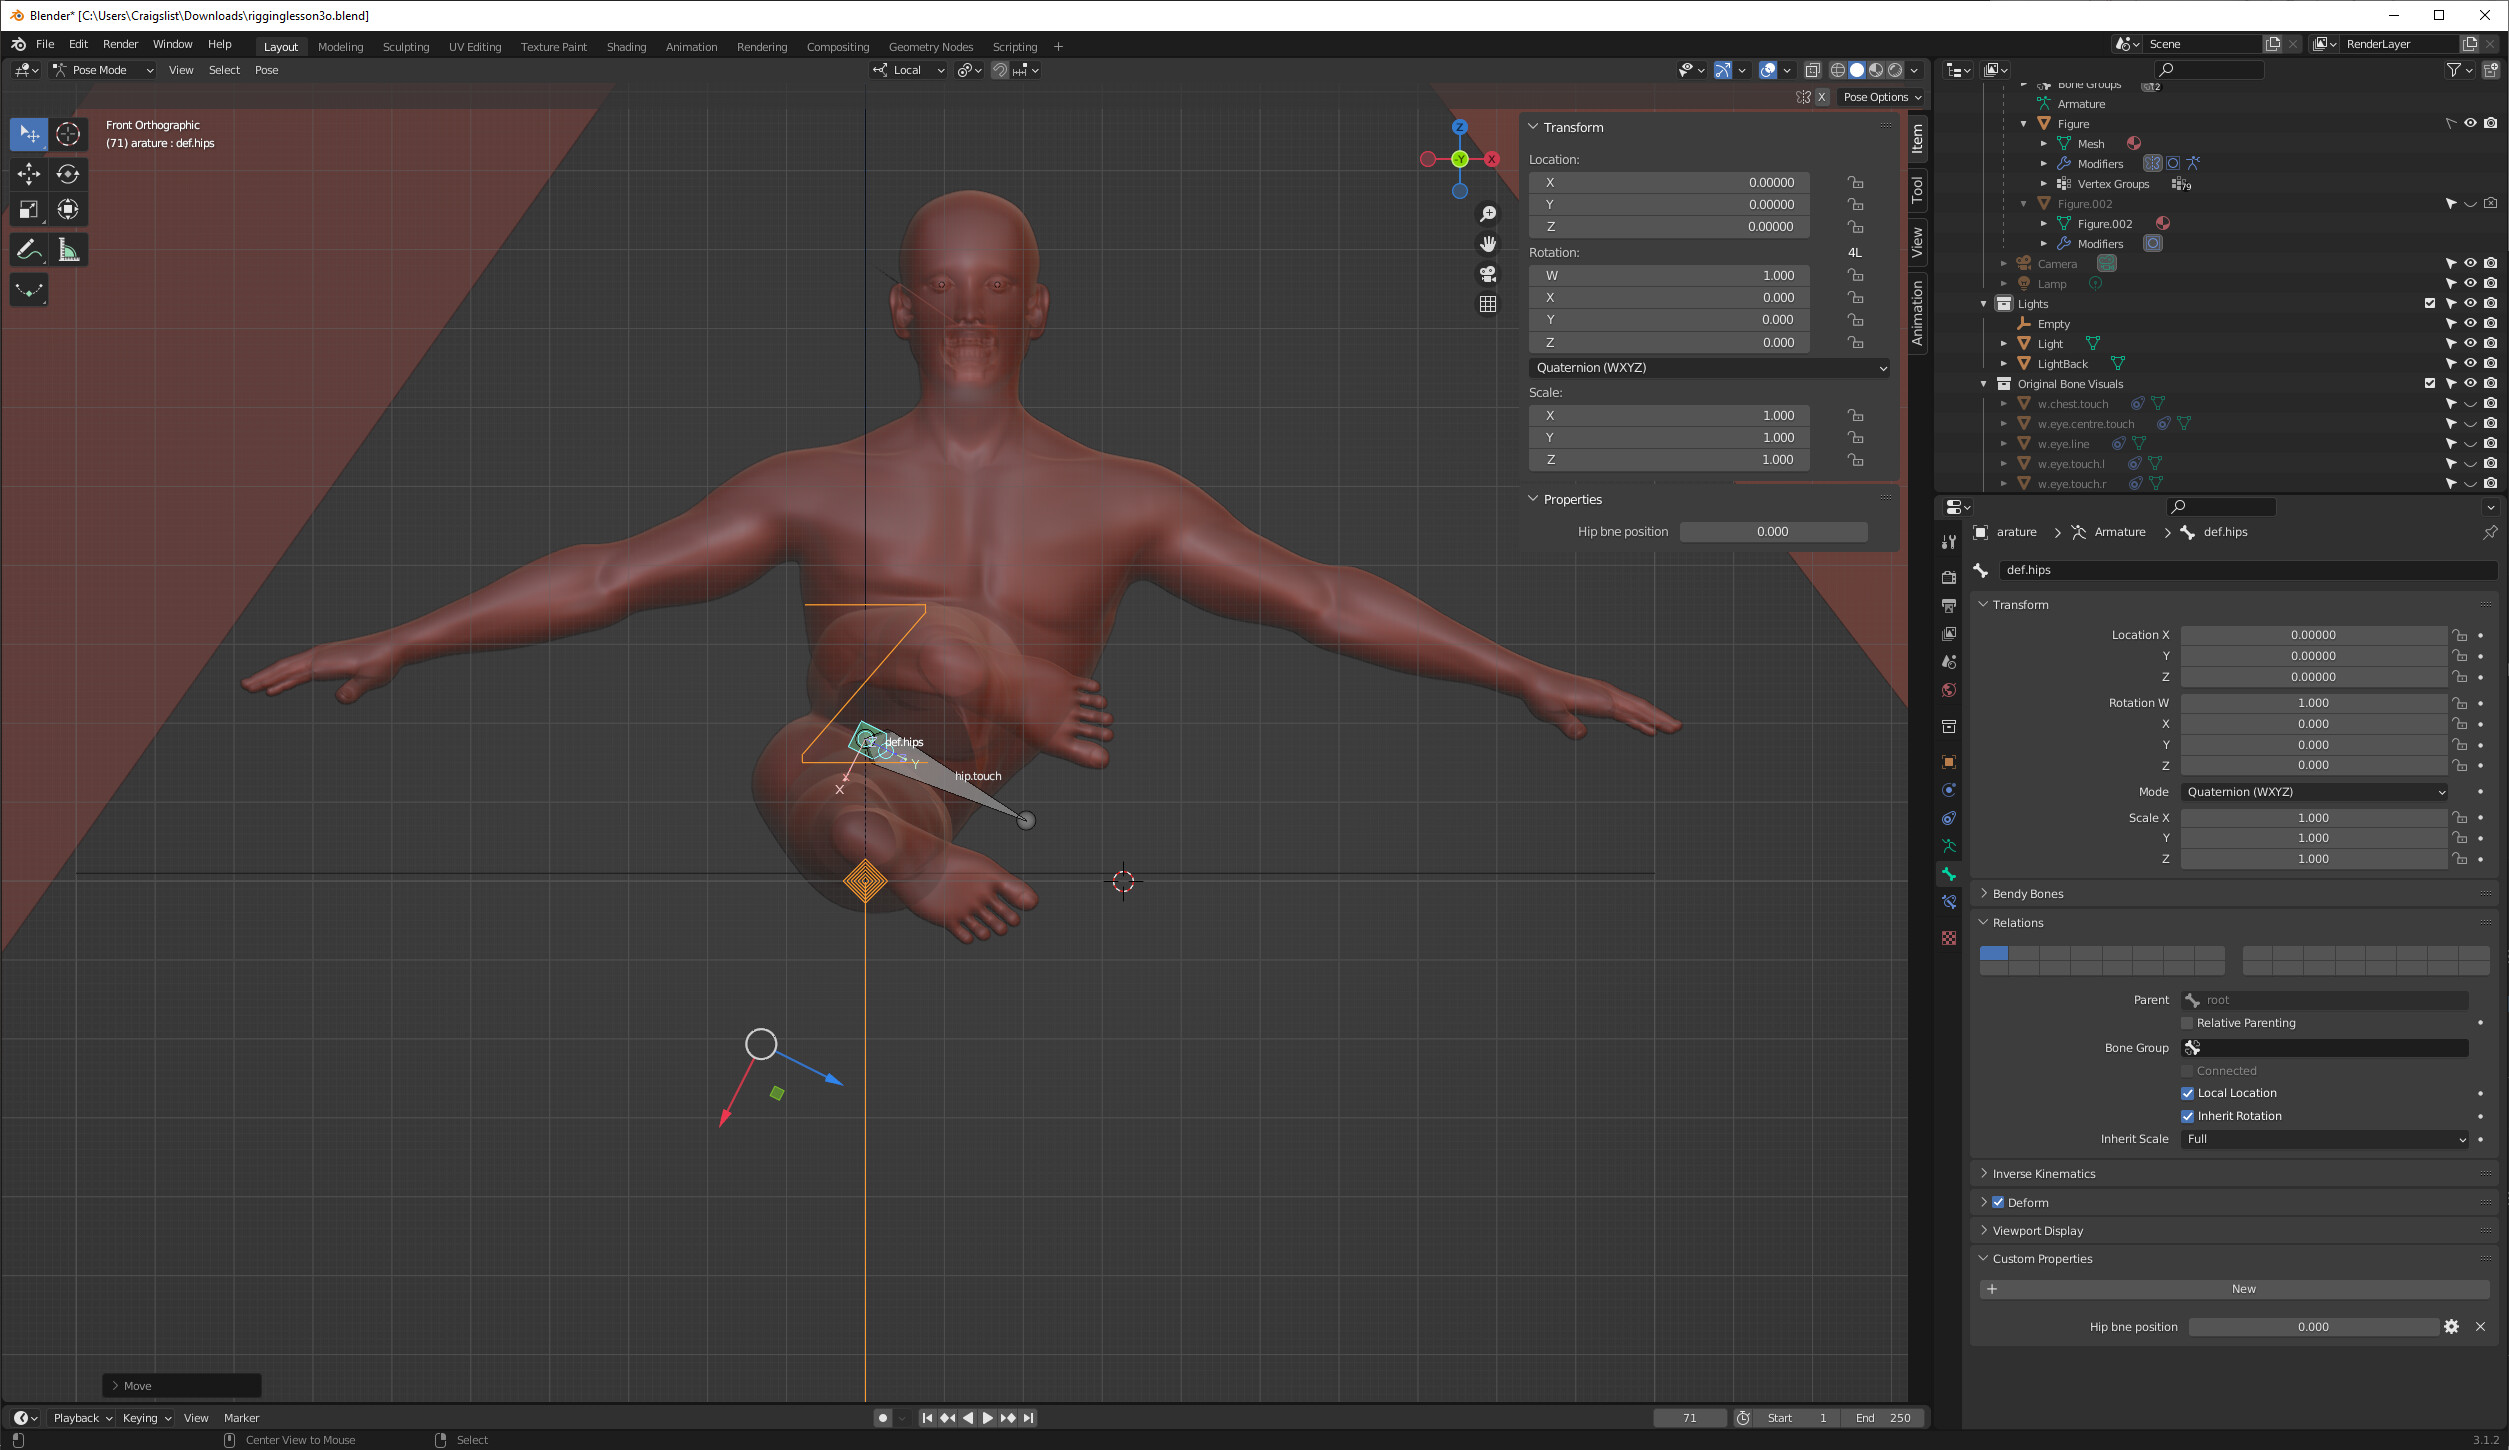
The Hip root deform bone has a series of Copy Location constraints that target each bone in a chain of non-deform bones on a separate bone layer (red bones). By adjusting the custom property attached to this Hip root deform bone ‘Hip Bone Position’ I can move through these copy location constraints (The Hip root deform bone moves up and down in space along the chain of these non deform bones moving all the deform bones and mesh with it.)
Dependent on this custom property value (and therefore the translation of the Hip root deform bone). When I rotate the Hip touch bone as the instructor says ‘the pivot point changes’, this appears to me as the head rotating more with the hips when the custom property is closer is 0 and more when the custom property is closer to 1. But I dont understand how this works? How is it that adjusting this custom property more, or less of the head will rotate along with the hips? ![]()
Any help appreciated. §
rigginglesson3o.blend (1.6 MB)
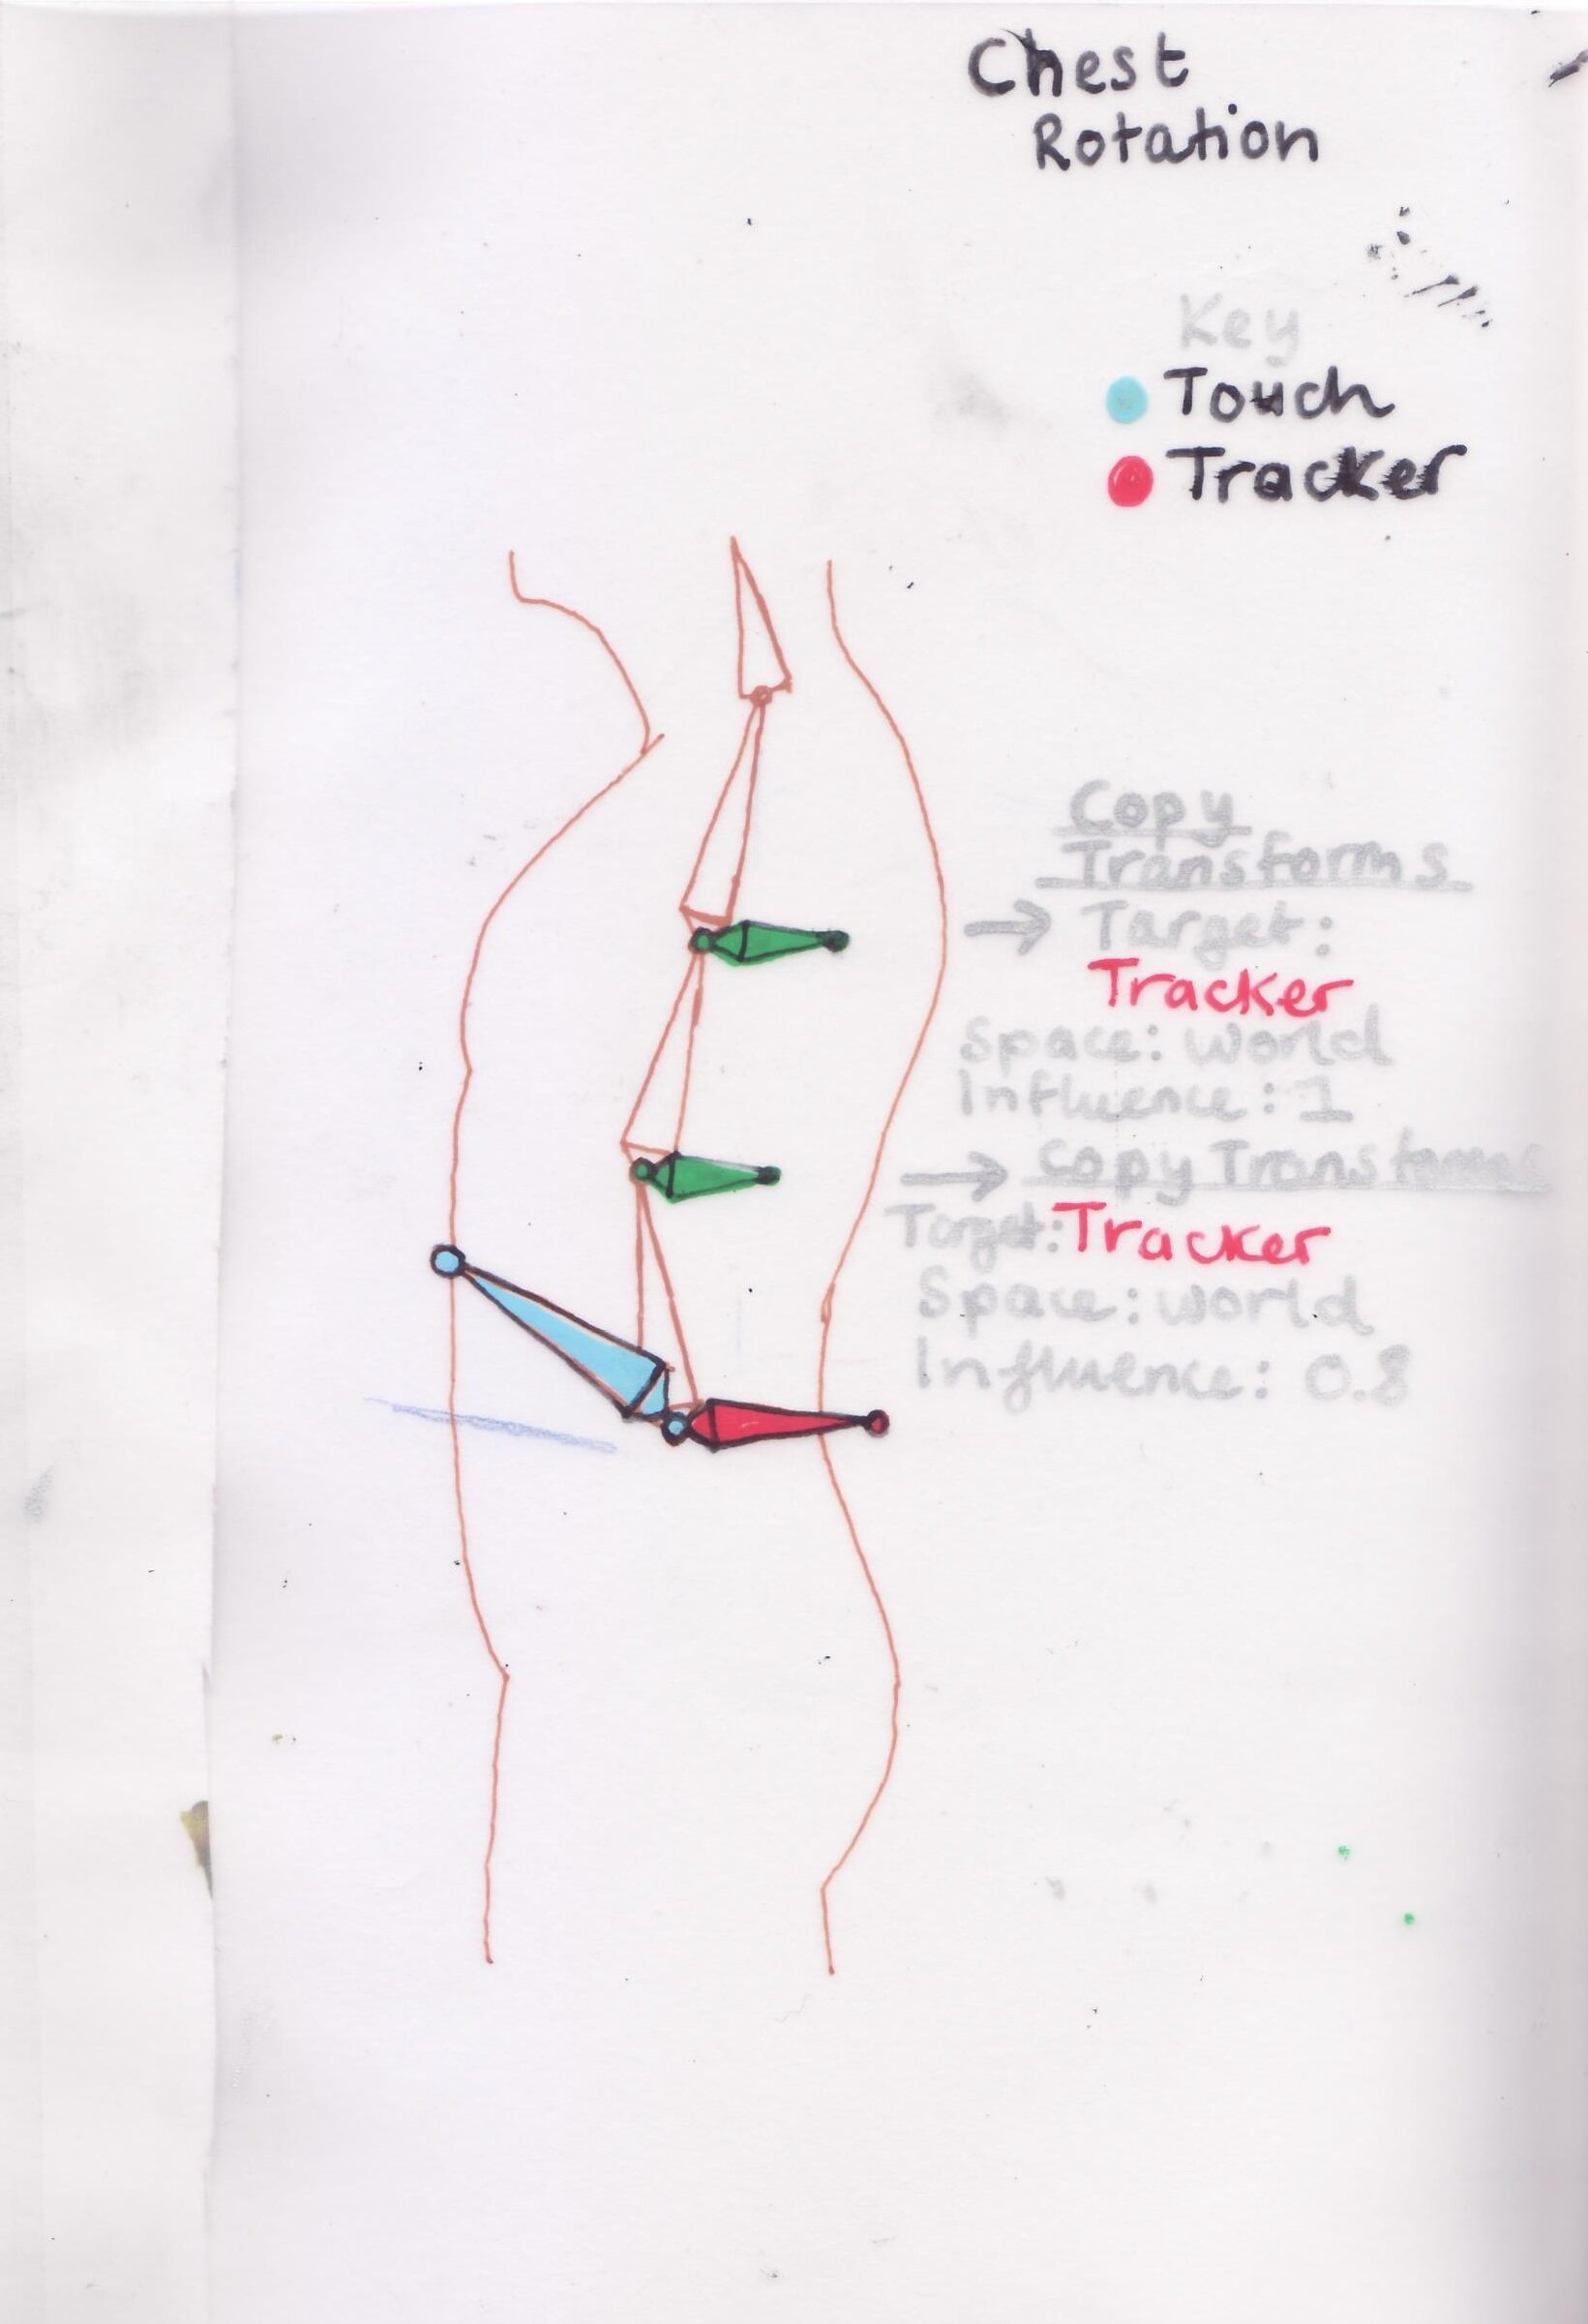
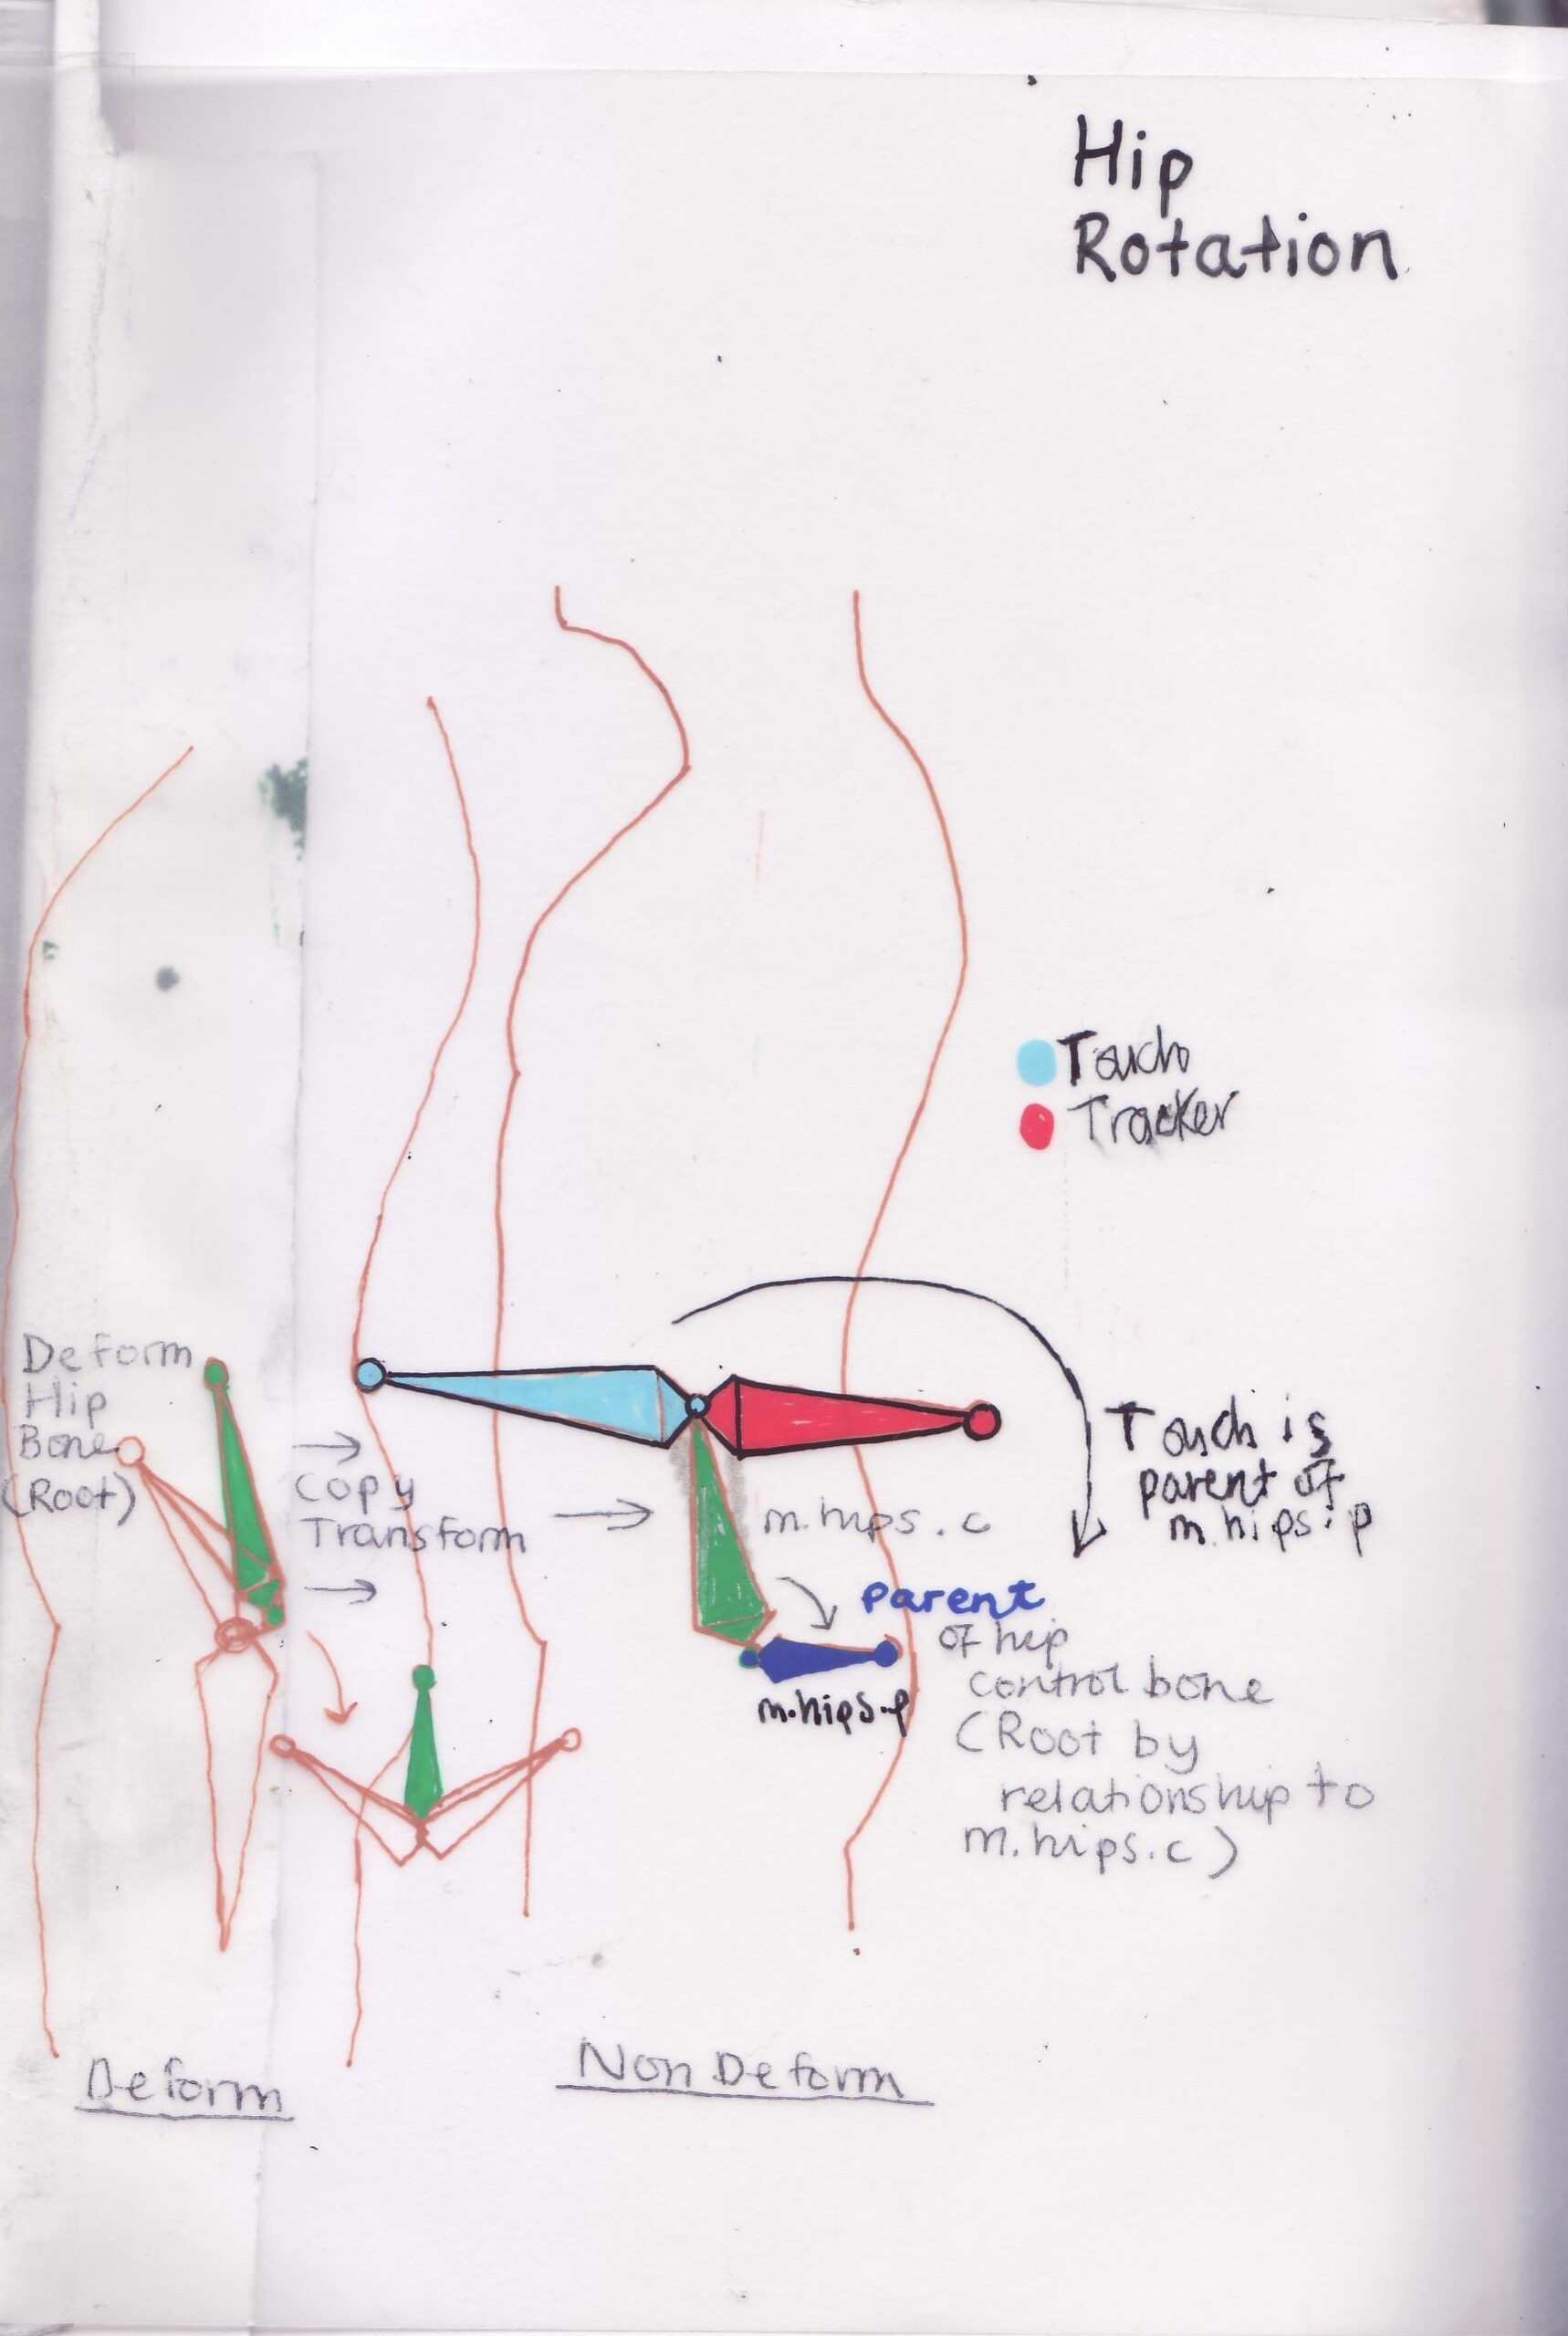
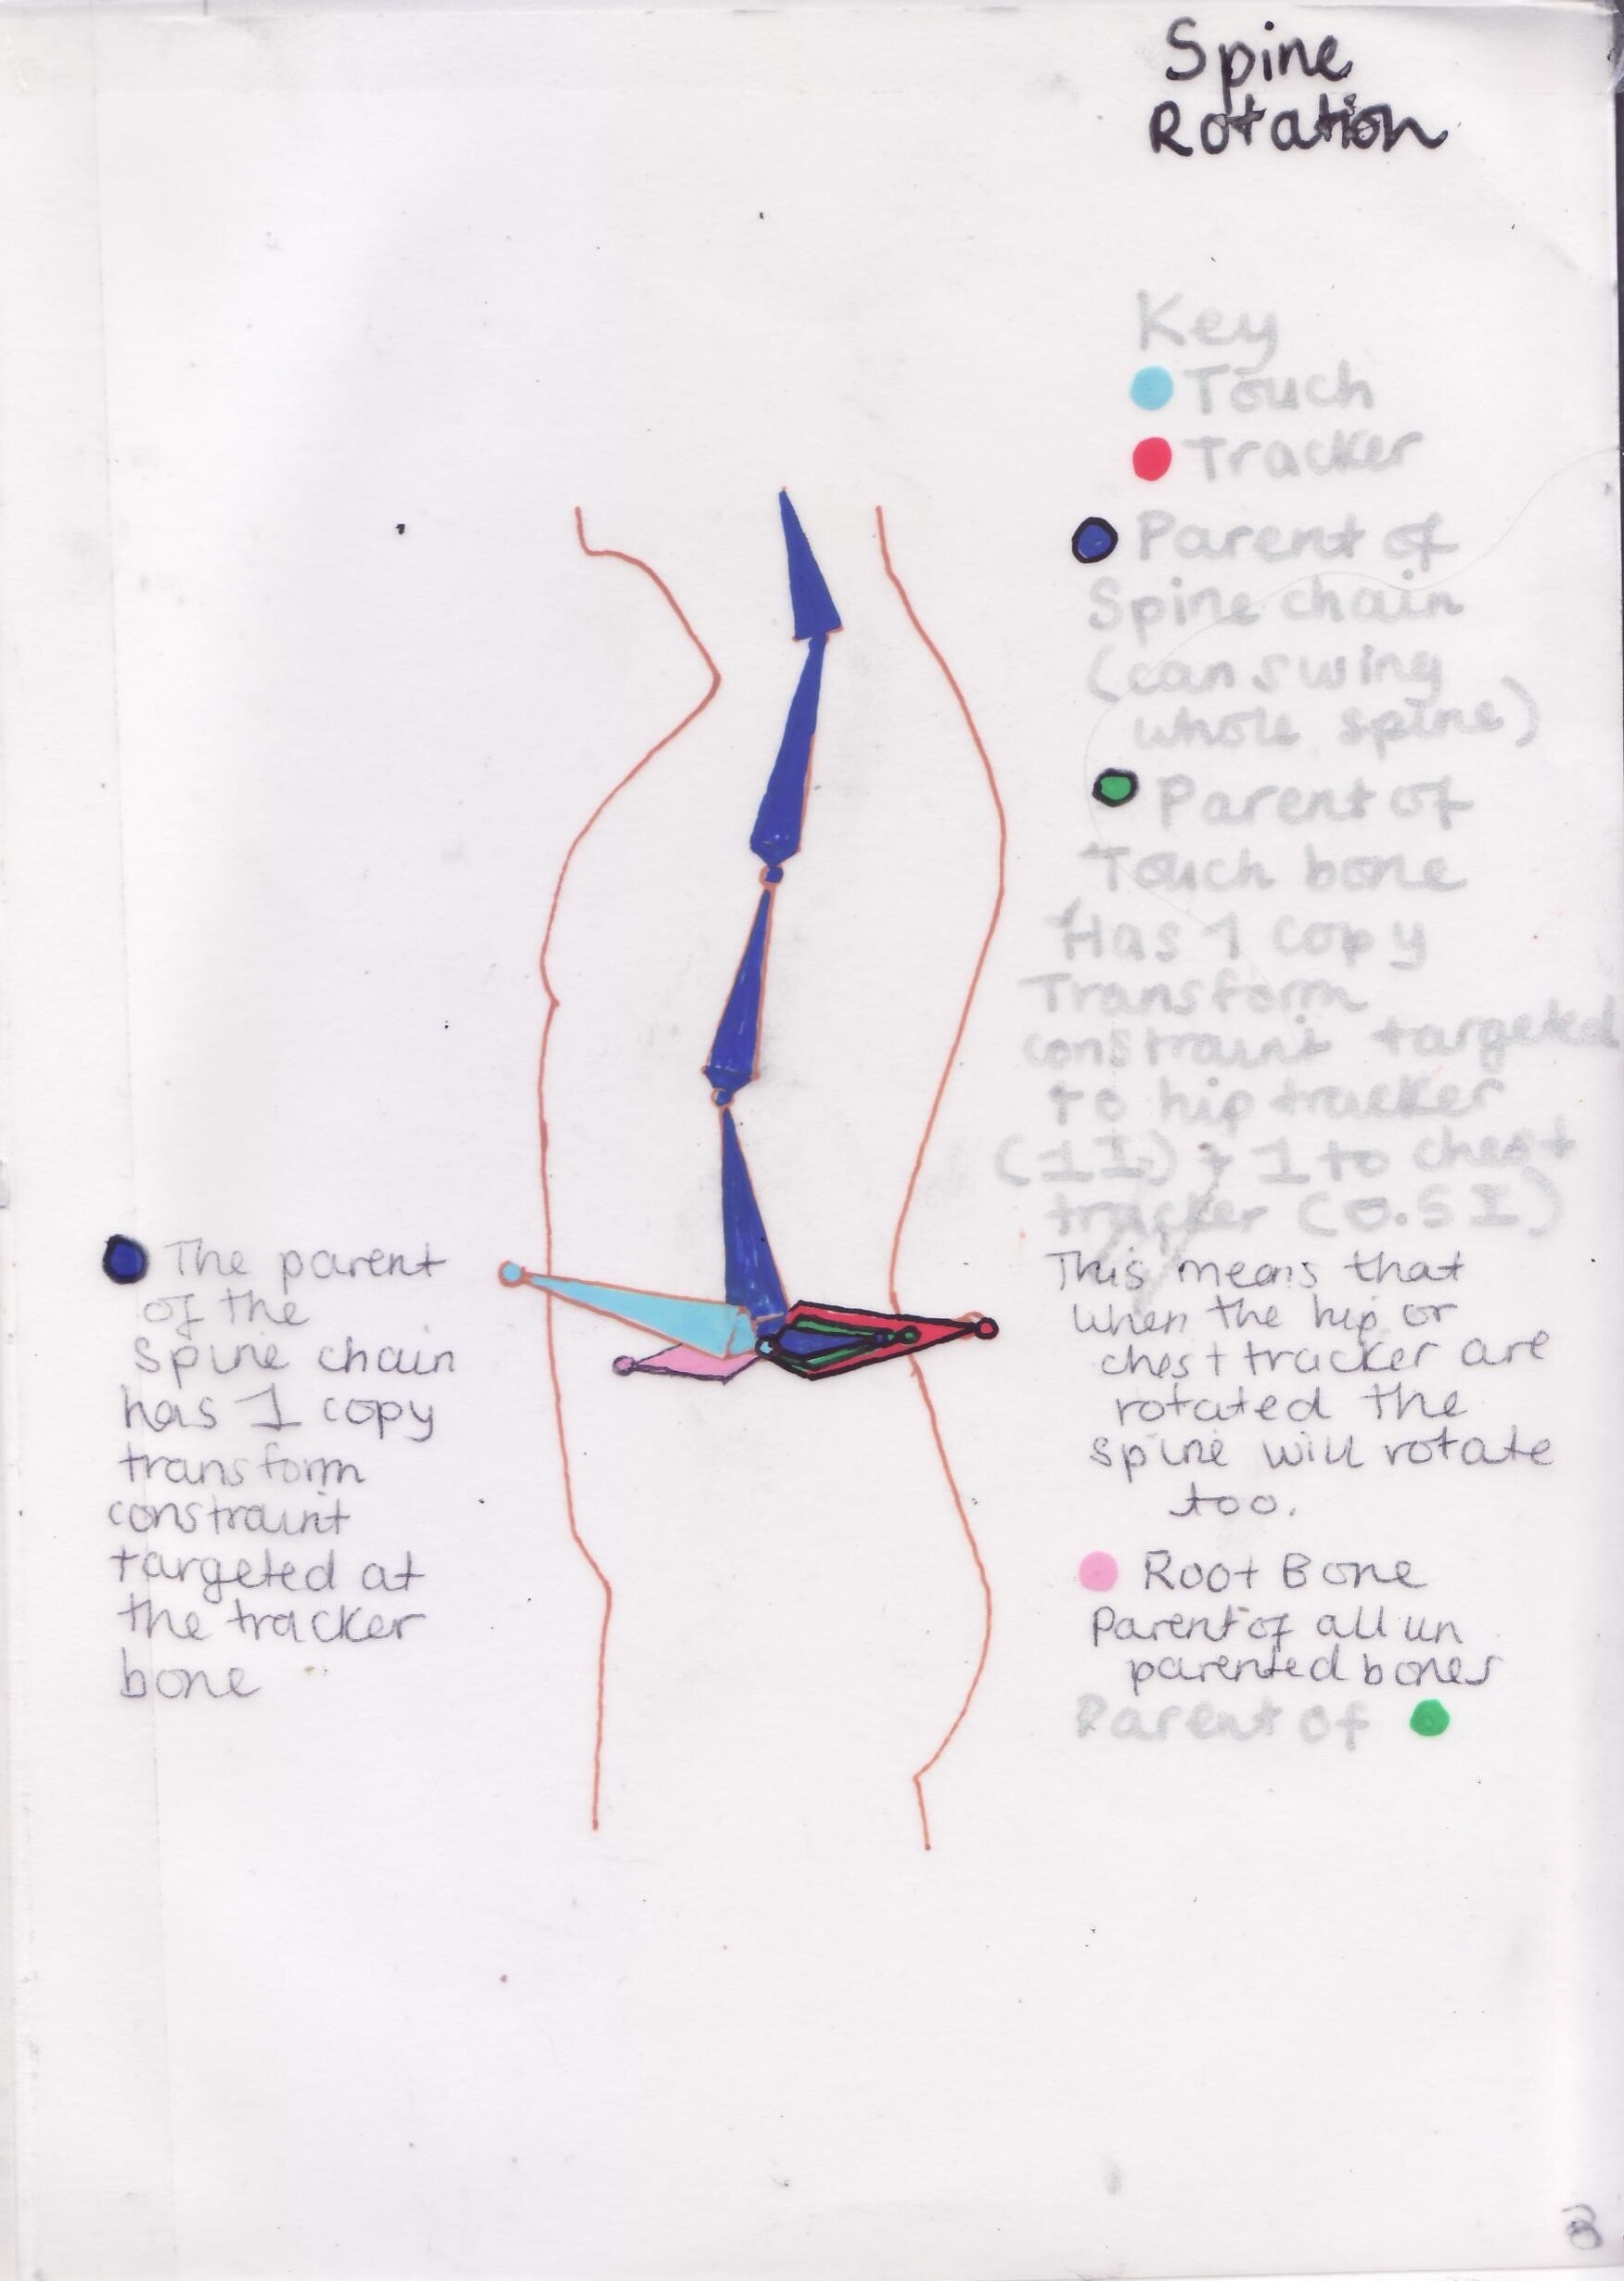
Here are some of my diagrams for understanding the Hip/Spine/Chest rig of the non deform bones established before this lesson.
Thankyou for any help ![]()
![]()