Your character is a mess. Insane scales and rotations everywhere, origins all over the place.
First level of fixing:
Select the armature. [SHIFT S] --> Cursor to Selected.
Select all the meshes. [SHIFT CTRL ALT C] --> Origin to Cursor.
[CTRL A] Apply --> Rotation and Scale
Also, remove the Armature modifier for each mesh and delete all the vertex groups.
Second Level of fixing:
Your meshes are a mess. No faces. (And triangles aren’t recommended for animations… And in general. Blender prefers quads anyway.)
Edit each mesh.
Select all. [W] --> Remove Doubles.
Select all again. [F] to make faces everywhere.
[CTRL N] to recalculate the normals. (Expect some manual work on the arms. It’s a total mess.)
Back to Object mode. Select all your meshes and set the shading to Smooth from the Tools panel. This makes it easy to find the inverted normals.
Use [W] --> Flip Normals in Edit mode for the last fixes. You’ll have to select the problematic faces one by one. (No quad, no edge loops, no help.)
And it might not be a bad idea to separate the feet. 2 feet, one shoe… Problem! 
Third level of fixing:
The armature is a mess. No root bone. Some disconnected bones floating in space… (LARM2 and JAW.)
Select all the bones in Pose mode. [ALT G], [ALT R], [ALT S] to reset the armature to its rest post.
To create the missing root, Set the 3D cursor to the origin of the mesh. [SHIFT S] in Object mode then [SHIFT A] in Edit mode. Move the newly created bone down to the feet or backward. Not sideways! (We just need to put it out of the way.) Let’s rename it “Root”.
Then parent BACK2, LBONE and RBONE to “Root”. (Keep Offset.) Deactivate the deformation for “Root”.
Fix a bit the bones which aren’t inside the mesh… And the left arm bone which should be named “LARM1” IMHO.
Fourth level:
Once the armature is fixed, we can finally think about using it.
First thing, unparent the meshes (and the lamps) which are parented to the armature. Use the Outliner. Expand the Armature line and select its children. [ALT P] --> Clear Parent (over the viewport).
Select a mesh and then the Armature. [CTRL P] Set Parent To --> With Automatic Weights.
Rinse and repeat for all the meshes.
This will create all the vertex group and assign some (not too bad) weights.
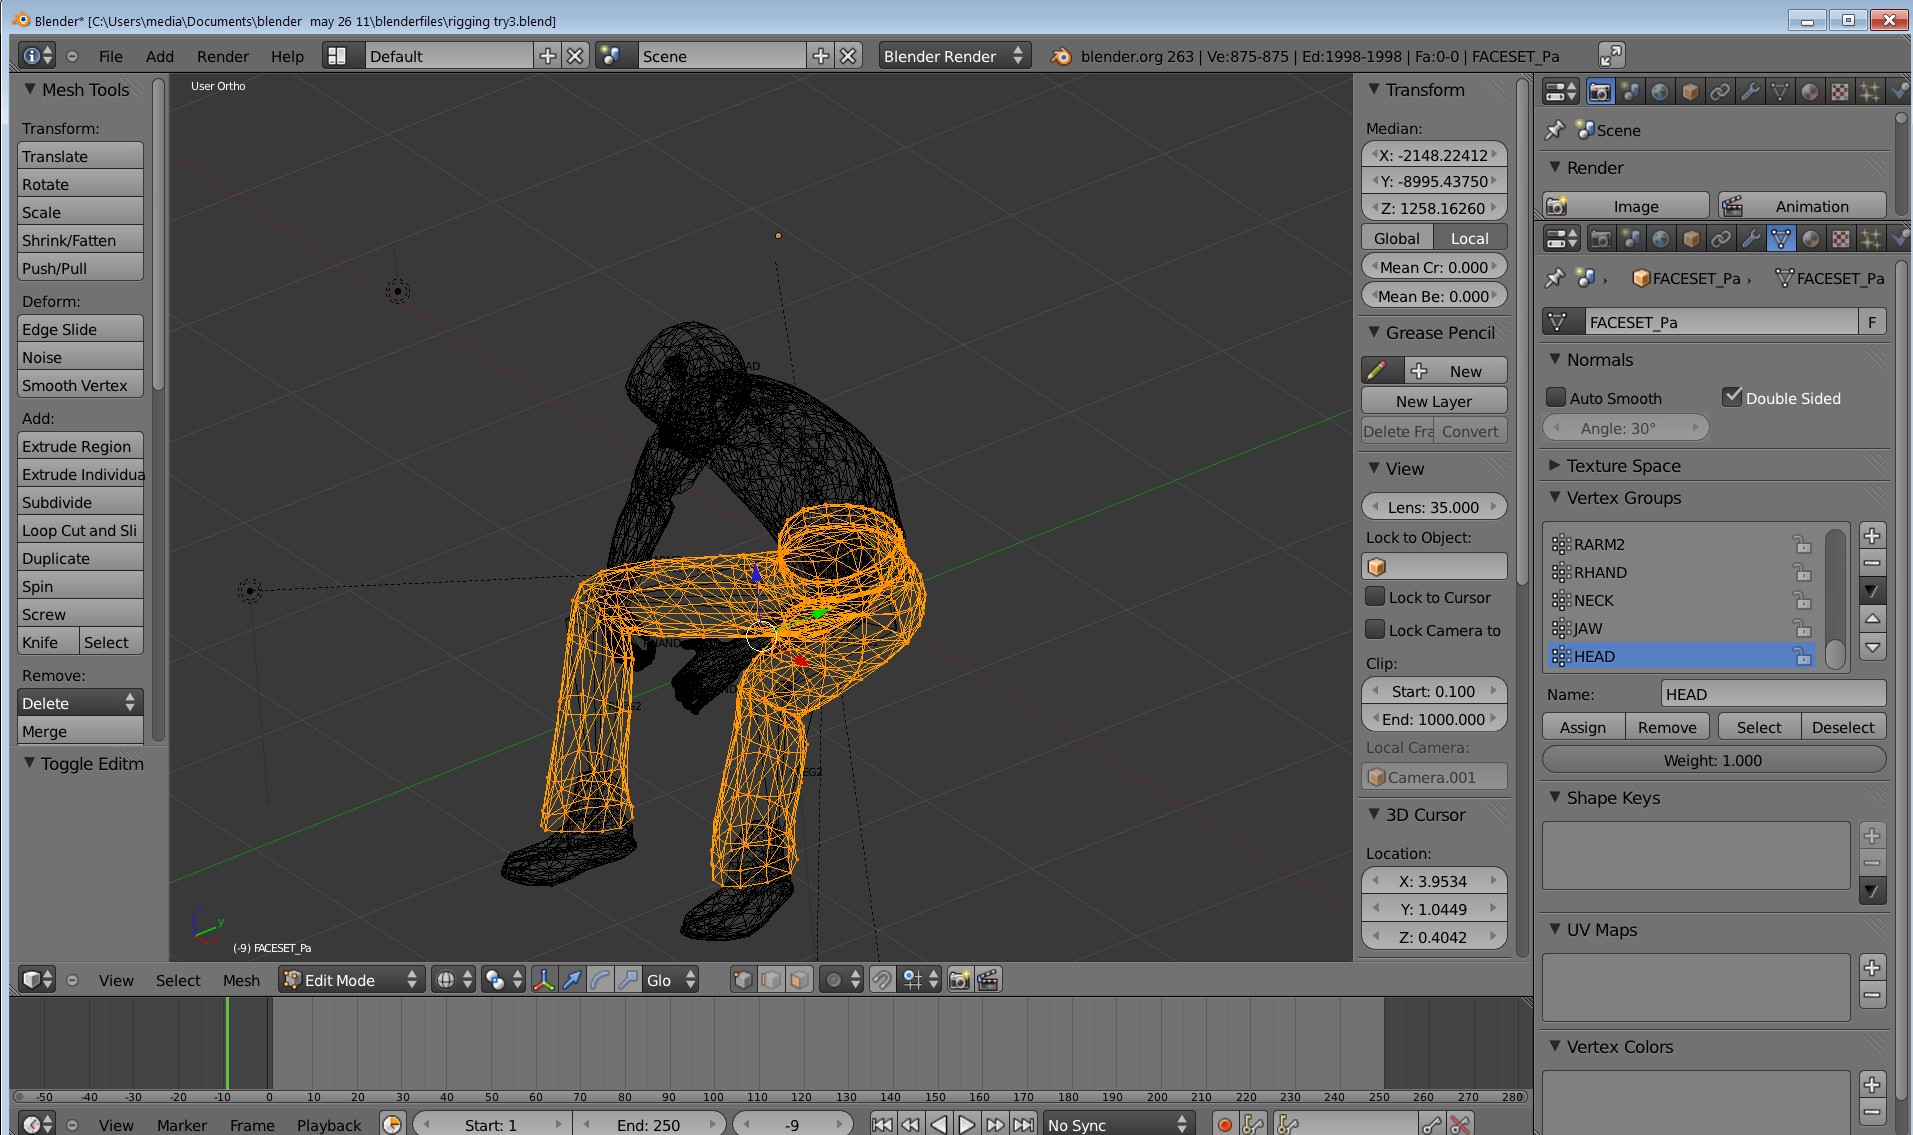
Edit all the meshes one by one and delete the useless vertex groups. Like, for example, the feet don’t need to know what the head bone does. This is especially necessary for the arms and legs which are a bit tangled.
Last step:
Now, you can think about weight painting.
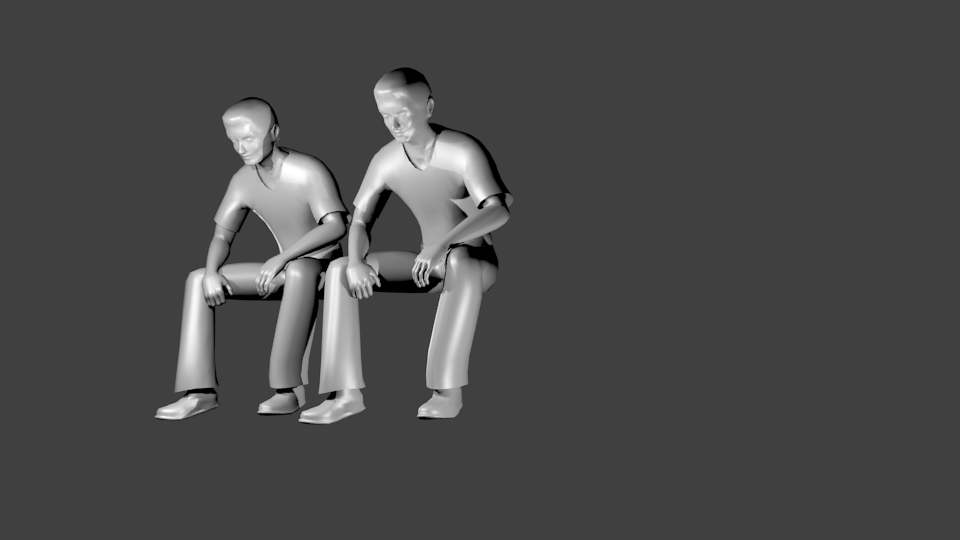
Just don’t have too high hopes. You will certainly be able to alter a bit the pose to make your character ride a bike or drive a car… but to make him stand or walk is out of reach of any fixing. Look around and you’ll see that all the characters are usually modeled in a T-pose… for a good reason.
Much later:
Once you’ll have finished playing with your character. Delete him and restart from scratch with quads… or else, with a bit of patience, you can join all the triangles 2 by 2. :eyebrowlift:
The blend file with the result of my work: rigging try4.blend (1.51 MB)
I showed you mine, now show me yours. 

 It’s in none of the 2 files. I can’t do anything.